Install MikroTik Cloud Hoster RouterOS in Hyper-V Server
MikroTik has done a great job with RouterBoard, RouterOS, and SwitchOS. All three of them are giving us full flexibility and magic to have fully functional and reliable computer networks. MikroTik network devices are mostly used by ISPs, but they can serve any other purpose. RouterOS runs on a physical RouterBoard, but it can be also installed as a virtual appliance on the hypervisor (Hyper-V Server or VMware). Today´s article will be about deploying MikroTik RouterOS as a virtual appliance on Hyper-V Server 2019. The installation procedure can be also applied to previous versions of Hyper-V Server, as well to Hyper-V Client which can be deployed on Windows 10 (Pro, Enterprise, Education). Also, the same concept applies to VMWare ESXi.
MikroTik has four release versions including long-term, stable, testing, and development. In case you´re deploying RouterOS in a production environment, the recommendation is always to go with the stable release.
Download proper virtual hard disk
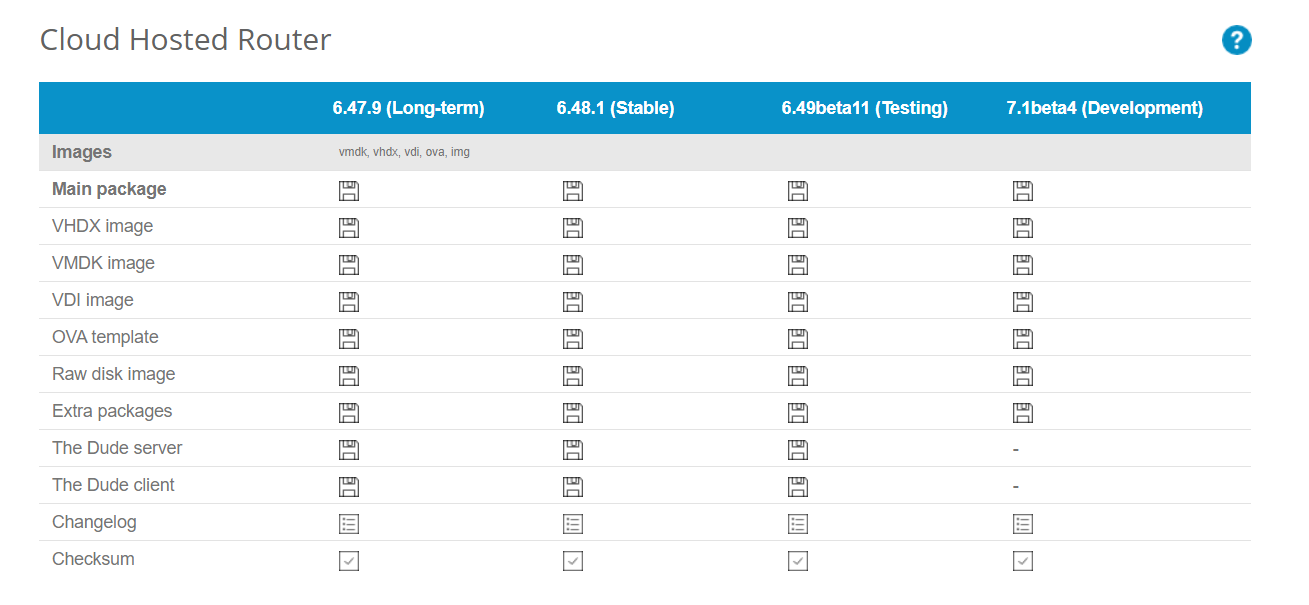
In the first step, we will need to download MikroTik RouterOS virtual hard disk for Hyper-V Server. That can be done on the official MikroTik Download page. Under VHDX, click on the floppy button to download the latest stable version. At the time of this writing, the latest stable version is 6.48.1.
VHDX is for Hyper-V Server, VMDK for VMware ESXi, VDI for Oracle VirtualBox and OVA is the default template that can be deployed to any hypervisor.
Add VHDX to Hyper-V Server
In the second step, we will create a virtual machine and load the downloaded VHDX file.
- Open Hyper-V Manager
- Under the Actions pane, click on New and then Virtual Machine
- Under Before You Begin to click Next
- Under Specify Name and Location, add your virtual machine name and choose where you would like to store your virtual machine, and then click Next. By default, Hyper-V Server will store virtual machines at C:\ProgramData\Microsoft\Hyper-V. In my case the virtual machine will be called “RouterOS” and I´ll use the default location.
- Under Specify Generation click Generation 1 and click Next
- Under Assign Memory, select Use Dynamic Memory for this virtual machine and then click Next
- Under Configure Networking, choose a virtual switch that will connect this virtual machine to the rest of the network
- Under Connect Virtual Hard Disk select Use an existing virtual hard disk, browse for the disk, and click Next. The size of the downloaded VHDX is approximately 72 MB.
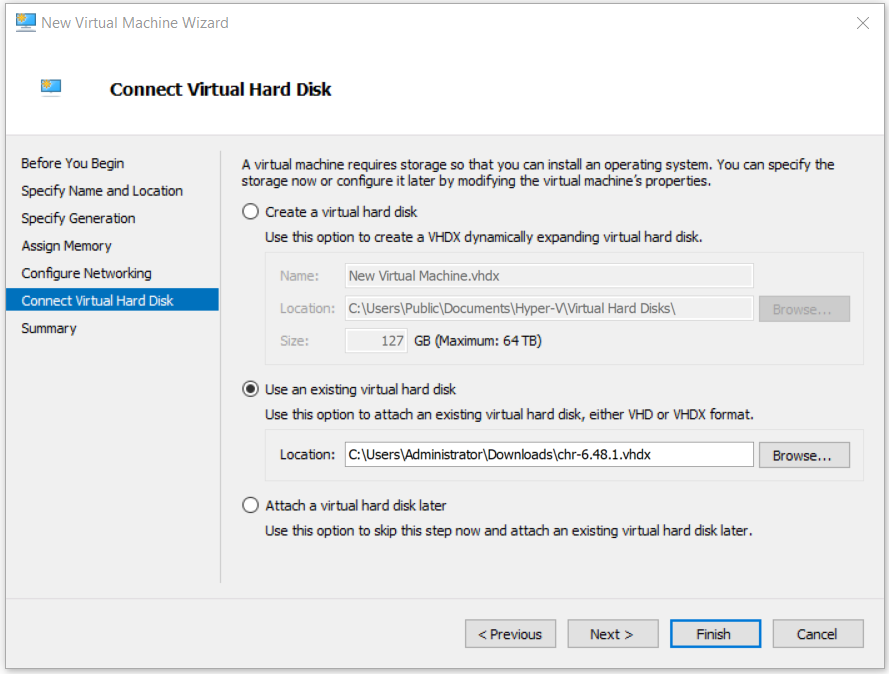
- Under Competing the New Virtual Machine Wizard, verify if all settings are fine and then click Finish.
- Right-click on created virtual machine “RouterOS” and then click Start.
- Double click on the VM to open VM Connection
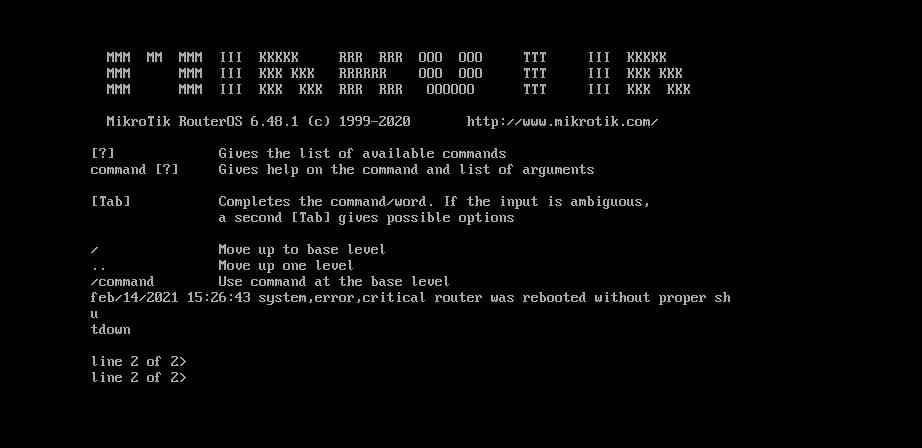
- Type default username and password which is username: admin, password blank.
- Accept software license by typing Y.
- Happy configuring!