How to Install gpedit.msc on Home Edition of Windows 10/11
The differences between the Professional and Home editions of Windows 10 and Windows 11 are rather subtle. But one tool that is missing from the Home version is the Group Policy Editor (Gpedit). This shortcoming is noticed by network administrators but also by regular users when they try to enforce certain fixes on Windows 10 or Windows 11.
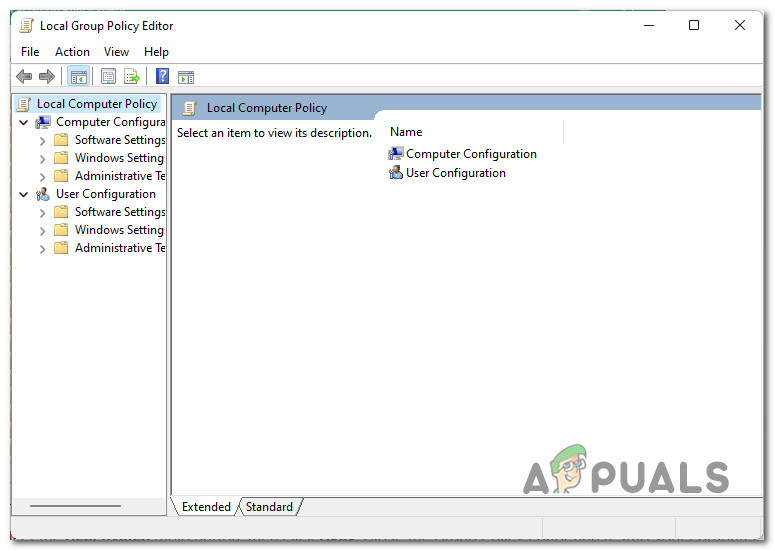
If you’ve recently tried using the Local Group Policy Editor (Gpedit) only to be welcomed by the following message, you’re most likely using a Home version:

If you enjoy the technical aspect of windows, not having access to this highly useful tool is a huge drawback because group policies are often used to manage the settings of the local machine.
Note: The alternate method is to go through the registry keys and manipulate them to change the settings but using the Group Policy editor is a whole less risky mainly because you can revert your settings without much headache.
If you’re using the Home version of Windows 10 or Windows 11 and the Group Policy Editor is not available, this article will show you how to install it without having to change your OS version.
But keep in mind that the exact process of doing so will be different depending on if you’re using Windows 11 or Windows 10.
Follow one of the sub guides below depending on what Windows iteration version you’re using.
How to Install the Group Policy (Gpedit) on Windows 11
This method will help you create a Powershell script inside a bat file that you will later need to run with admin access in order to enable the Group Policy Editor on your Windows 11 computer.
Here’s what you need to do:
- Open up a Run dialog box by pressing Windows key + R. Inside the box that just appeared, type ‘notepad’ and press Ctrl + Shift + Enter to force Notepad to open with admin access.

Accessing the Notepad window Note: If you are prompted by the User Account Control, click Yes to grant administrative privileges.
- Once you’re inside the elevated Notepad menu, paste the following code inside the empty notepad window:
@echo off

>nul 2>&1 "%SYSTEMROOT%\system32\cacls.exe" "%SYSTEMROOT%\system32\config\system"
REM --> If error flag set, we do not have admin.
if '%errorlevel%' NEQ '0' (
echo Requesting administrative privileges...
goto UACPrompt
) else ( goto gotAdmin )
:UACPrompt
echo Set UAC = CreateObject^("Shell.Application"^) > "%temp%\getadmin.vbs"
echo UAC.ShellExecute "%~s0", "", "", "runas", 1 >> "%temp%\getadmin.vbs"
"%temp%\getadmin.vbs"
exit /B
:gotAdmin
if exist "%temp%\getadmin.vbs" ( del "%temp%\getadmin.vbs" )
pushd "%CD%"
CD /D "%~dp0"

pushd "%~dp0"

dir /b %SystemRoot%\servicing\Packages\Microsoft-Windows-GroupPolicy-ClientExtensions-Package~3*.mum >List.txt
dir /b %SystemRoot%\servicing\Packages\Microsoft-Windows-GroupPolicy-ClientTools-Package~3*.mum >>List.txt

for /f %%i in ('findstr /i . List.txt 2^>nul') do dism /online /norestart /add-package:"%SystemRoot%\servicing\Packages\%%i"
pause
Note: This is a Powershell script that will force your Windows 11 installation to install the missing Group Policy Editor utility.
- Next, click on File from the ribbon bar at the top and then click on Save As.

Saving the script as - Inside the Save As menu, set a viable location where you want to store the script, then change the Save as type drop-down menu to All Files. Next, name the file however you want, but ensure to end it with the ‘.bat’ extension.

Creating the Windows 11 runable script Note: This will force your OS to treat it like an runable script.
- Next, navigate to the location where you previously saved the script, right-click on it and choose Run As Administrator from the context menu.

Running the .BAT file as administrator Note: Keep in mind that this script uses a DISM sub-component to download the required Group Editor files, so ensure you are connected to the internet before going through this step.
- Restart your computer and wait for the next startup to complete, you should find that the Group Policy Editor will become available as soon as your Windows 11 PC boots back up.
How to Install the Group Policy (Gpedit) on Windows 10
The following steps will show you create a Powershell script that needs to run with admin access in order to enable the Group Policy Editor on your Windows 10 computer.
Here’s how to go about doing this:
- Press Windows key + R to open up a Run dialog box. Next, type ‘notepad’ and press Ctrl + Shift + Enter to open up a Notepad window with admin access.
Accessing the Notepad utility - At the User Account Control, click Yes to grant admin access.
- Once you’re inside a notepad, paste the following code inside the empty box:
@echo off

pushd "%~dp0"

dir /b %SystemRoot%\servicing\Packages\Microsoft-Windows-GroupPolicy-ClientExtensions-Package~3*.mum >List.txt

dir /b %SystemRoot%\servicing\Packages\Microsoft-Windows-GroupPolicy-ClientTools-Package~3*.mum >>List.txt

for /f %%i in ('findstr /i . List.txt 2^>nul') do dism /online /norestart /add-package:"%SystemRoot%\servicing\Packages\%%i"

pause
Note: This is a powershell script that will automatically install the Group Policy utility on the Home version of Windows 10.
- Next, click on the File entry from the ribbon bar at the top, then click on Save As.

Creating a powershell script to enable GPEDIT - Next, select a viable location where you want to save the script and change Save as Type to All Files. You can name the file however you want, but make sure to end the name with ‘.bat’.

Gpedit Fix for Windows 10 Note: This forces your OS to treat this file as a .BAT script and allow you to run it.
- Hit save to generate the .bat file, then navigate to the location where you saved it, right-click on it and click on Run As administrator.
Running the .BAT file as administrator Note: Keep in mind that this script uses a DISM sub-component to download the required Group Editor files, so ensure you are connected to the internet before going through this step.
It works! Tks a lot.