Windows 11 supports running Android apps natively which is one of the features that stood out during its launch. This allows you to get rid of the different emulation software that has become the tradition over the years. Microsoft partnered with Amazon to bring Android apps to its machine via the Amazon App Store. How to Install the Google Play Store on Windows 11 Google Play Store is the most famous and used app store on the Android operating system without a doubt. While the Amazon App Store works just fine, it has a limited catalogue of apps in comparison to Google Play Store. In such a scenario, you can sideload an Android app on your Windows 11 machine. However, if the app requires Google Play Services, the app will not be able to work since they are missing altogether. To mitigate all of these obstacles, you will have to install Google Play Store on your system. We will be showing you how to do that in this article.
Install Google Play Store on Windows 11
Installing Google Play Store on your Windows 11 machine involves a number of steps, from modifying the Windows Subsystem for Android kernel to installing the modified WSA on your machine and more. Since we will be modifying the WSA kernel, you will lose any existing data that lives on the subsystem. In this method, we will be using the MagiskOnWSALocal project on GitHub. Before getting started, you will need to make sure your Windows 11 is up to date. Open the Settings app and navigate to Windows Update to install any pending updates. With that out of the way, follow the instructions below to install Google Play Store on your computer.
1. Remove the Existing Windows Subsystem for Android
To start off, you will need to uninstall the existing Windows Subsystem for Android on your computer. This is because we will be installing a new modified version of the WSA which allows you to install the Google Play Store. Follow the instructions below to remove Windows Subsystem for Android:
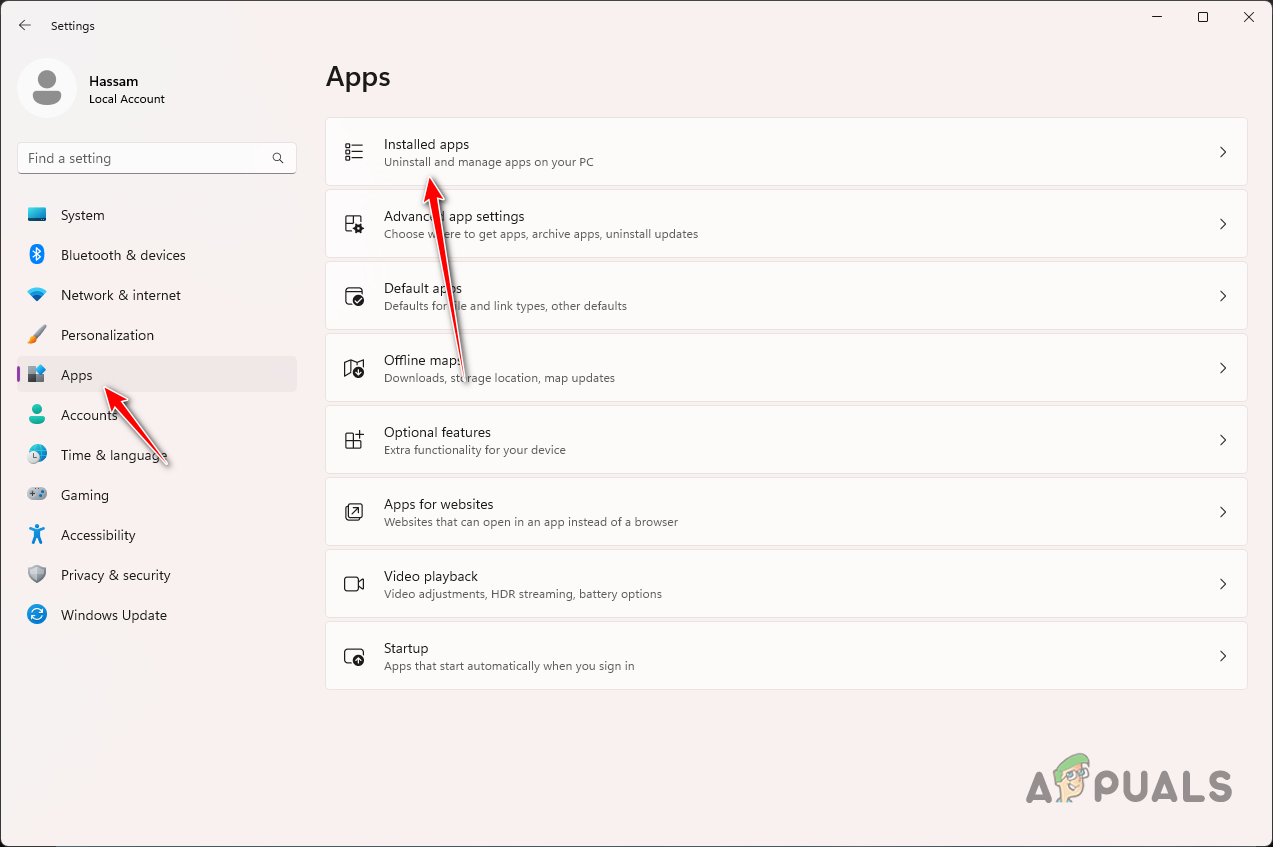
First, open the Settings app on your computer by pressing the Windows key + I on your keyboard.
Navigate to the Apps > Installed Apps menu on the Settings app. Navigating to Installed Apps
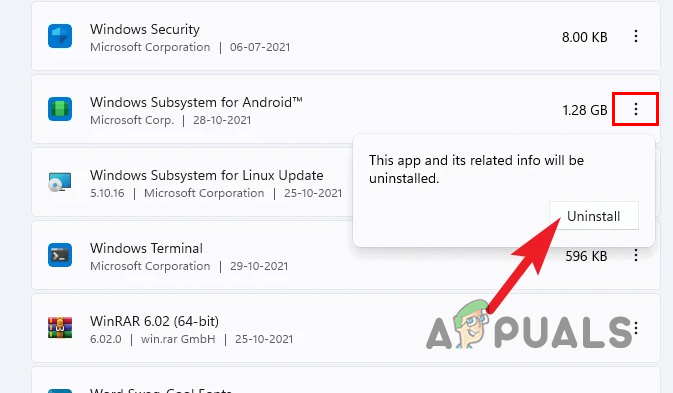
From the list of applications, locate Windows Subsystem for Android.
Click on the three dots and choose Uninstall from the drop-down menu. Uninstalling Windows Subsystem for Android
2. Prepare Modified Windows Subsystem for Android
Now that you have removed the current version of Windows Subsystem for Android from your system, you will have to prepare a modified version of the WSA. This is because the Google Play Store is not available on the Windows Subsystem for Android by default. As such, the kernel needs to be modified to enable the installation of the Google Play Store. Fortunately, there is a community script available that automated the process of modifying the kernel. We will be using the script from the MagiskOnWSALocal project to modify the Windows Subsystem for Android kernel. The script can be run on a Linux distribution only so you will have to download WSL on your computer. Follow the instructions below to do this:
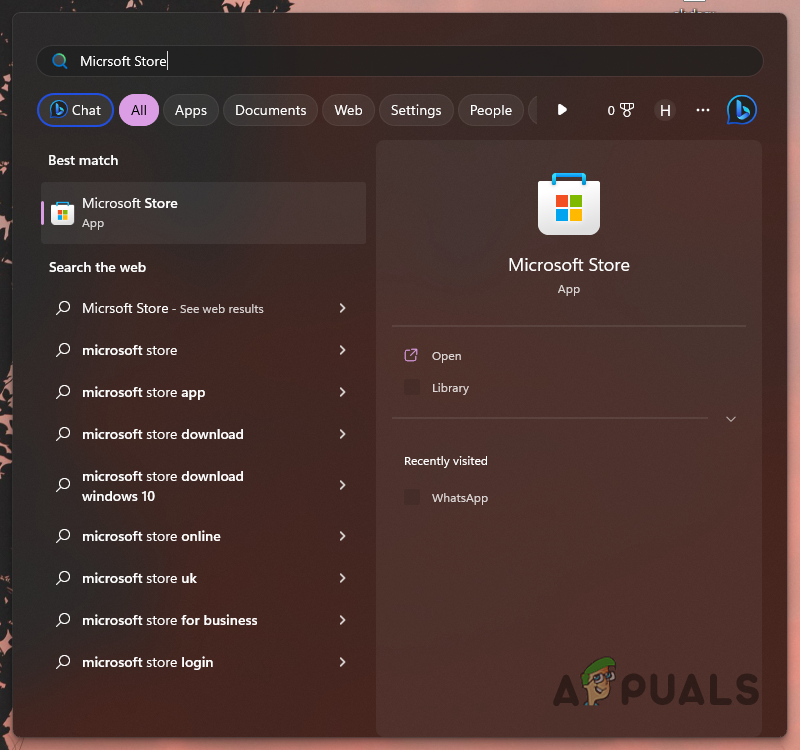
Open the Microsoft Store by searching for it in the Start Menu. Opening Microsoft Store
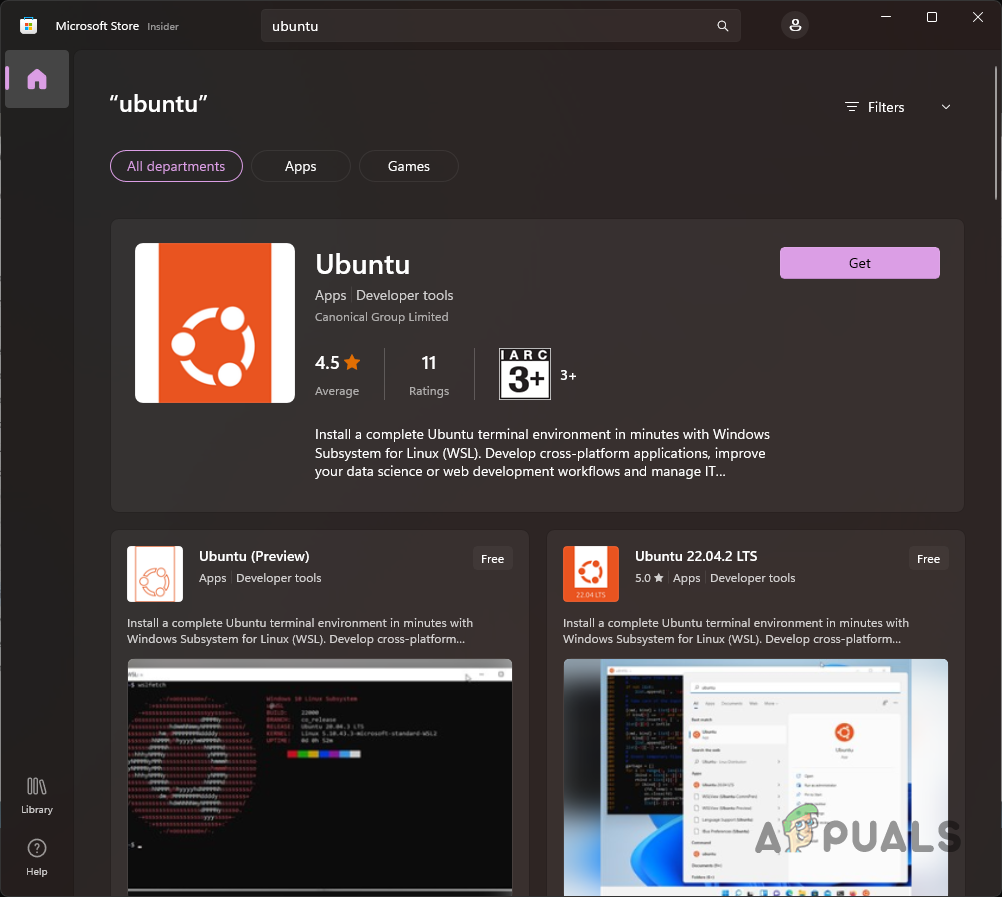
Then, search for Ubuntu via the search bar.
Click on the Get button to install it. Installing Ubuntu on Windows
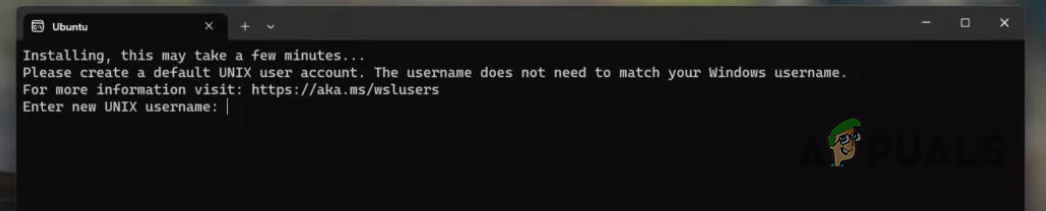
After the installation completes, a Windows Terminal window will open. You will need to provide a username and password for the Ubuntu installation. Doing so will take you to an empty command line. Providing Username for Windows Subsystem for Linux
At this point, type in git clone https://github.com/LSPosed/MagiskOnWSALocal.git in the command line and press the Enter key.
This will download the script required to create a modified version of the Windows Subsystem for Android. Wait for it to complete downloading.
After that, you will have to navigate to the folder the script resides in. To do so, type in cdMagiskOnWSALocal/scripts and hit Enter in the command line.
Finally, type in ./run.sh and press the Enter key. This will execute the script. You will be prompted to enter the UNIX password that you created a moment ago. Enter your password to allow the script to run.
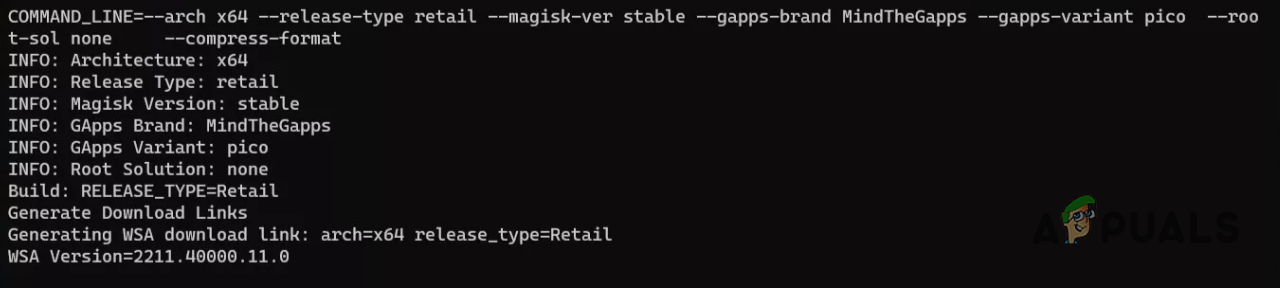
The script will start downloading a number of files and present you with a few prompts. You can go with the default options for all of them.
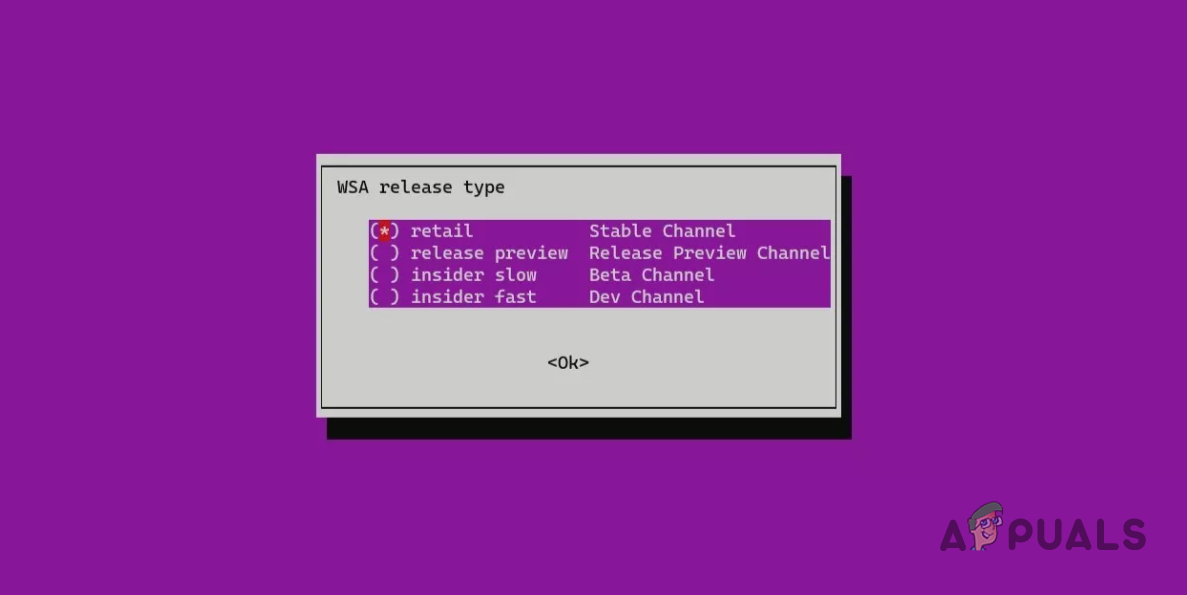
Choose retail on the WSA release type screen and press OK. Choosing WSA Release Type
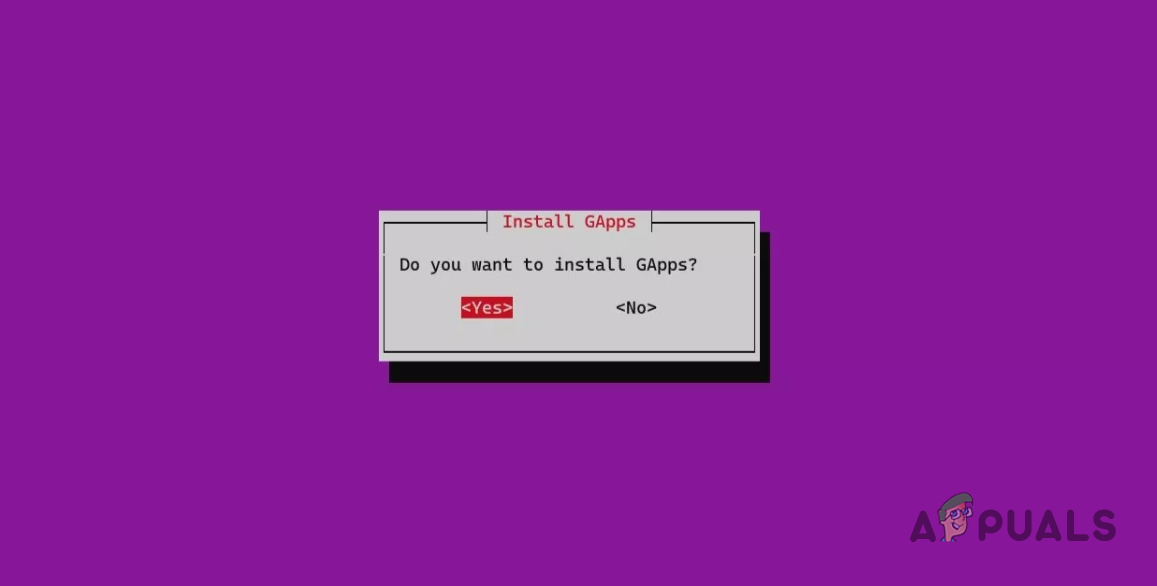
After that, choose Yes on the Install GApps screen. GApps Installation Selection
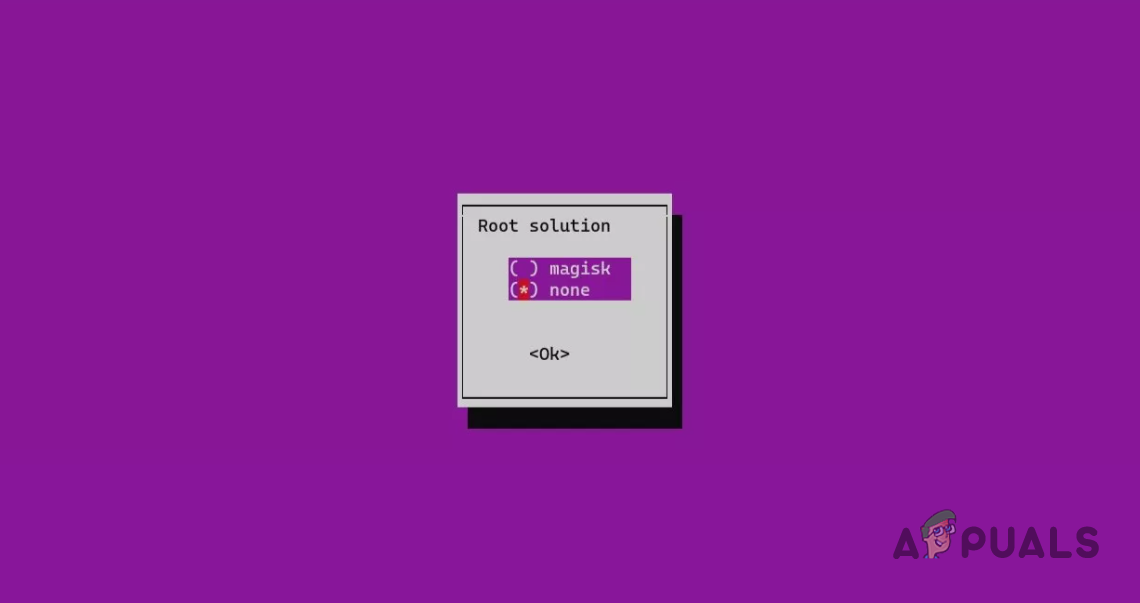
Finally, for the Root solution, choose None.Choosing Root Solution
Once you do that, the script will start downloading the required files on your system. Downloading Required Files for WSA
Wait for it to complete. Once it does, you will be shown an empty command line prompt again.
3. Install the Modified Version of the Windows Subsystem for Android
At this point, you have created a modified version of the Windows Subsystem for Android. All that is left to do is to install the modified WSA and follow it up with installing Google Play Store. Follow the instructions below to do this:
First, you will have to navigate to the output folder to access the new files. Type in cd ../output and hit Enter.
Inside the output, folder exists another folder that contains all the files we need. Since the name of this folder is generated automatically as per the versions, you can use the ls command to find out the name.
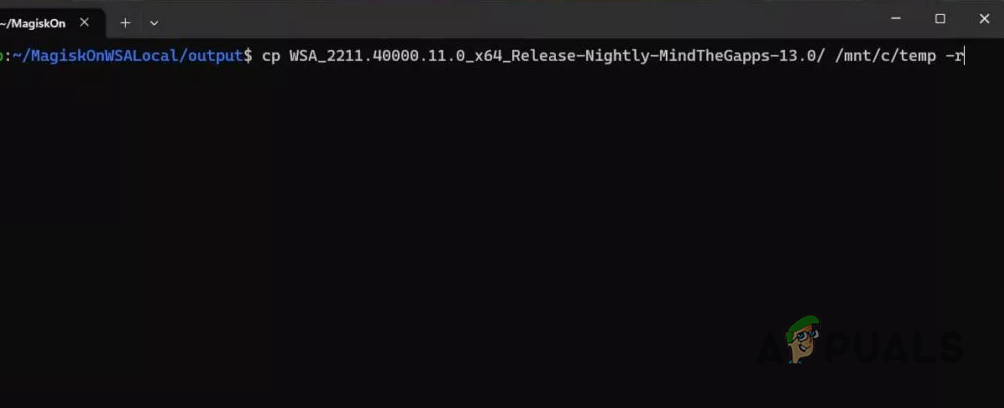
Once you know the name of the folder, you will have to copy it to the C: drive on your system.
Type cp WSA and press the TAB key to autocomplete the folder name. Do not press Enter. You will need to specify a directory for the files to be copied to. You can call the new folder anything, we’ll call it temp in this case.
The final command should look like cp WSA_2011… /mnt/c/temp -r and then press Enter. Do not omit the -r argument at the end. Copying WSA Files
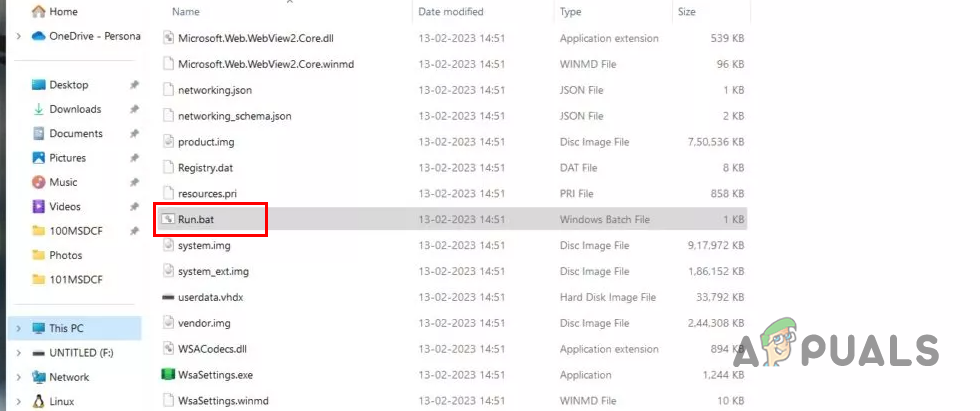
After that, open File Explorer on your system.
Navigate to the folder in the C: drive and run the Run.bat file. Click Yes on the User Account Control dialog box that appears. Running the Script
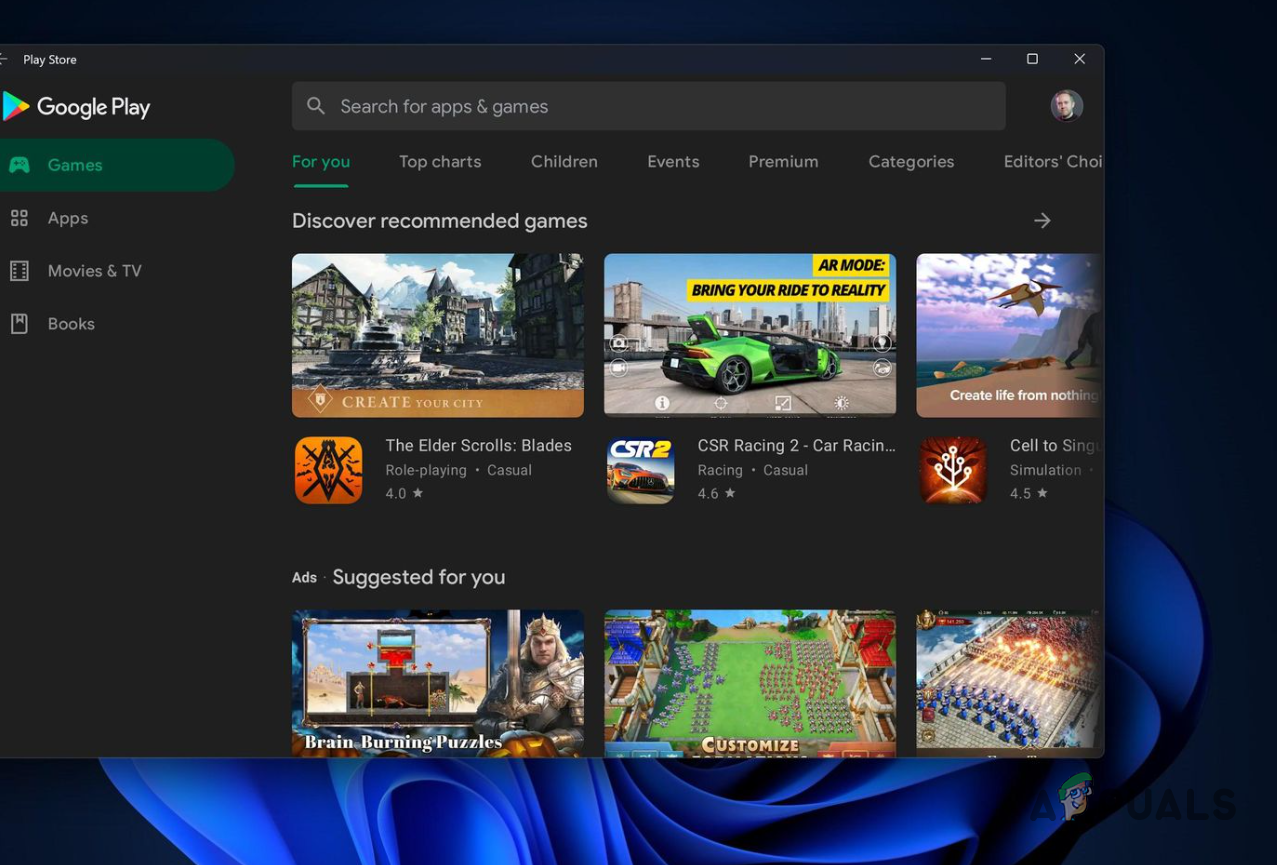
Wait for it to complete. Once it completes, you will see the Google Play Store screen on your monitor. Google Play Store on Windows 11
4. Cleaning Up
Finally, the last step would be to clean up all of the files that were generated during this process. These files are no longer needed and were only meant to install the Google Play Store on your system. With that achieved, there is no purpose and you can remove them with no issues. To do this, follow the instructions below:
In the WSL command prompt, type in rm ~/MagiskonWSALocal -rf and press Enter.
This will remove all of the script files from your WSL. You can also choose to uninstall WSL from your system since it is no longer needed.
Follow the same instructions as uninstalling WSA above to do so.
Kamil is a certified MCITP, CCNA (W), CCNA (S) and a former British Computer Society Member with over 9 years of experience Configuring, Deploying and Managing Switches, Firewalls and Domain Controllers also an old-school still active on FreeNode.
Comments
41
ST
StrandNov 17, 2021
Hello, i followed this guide but can’t get it to work. Noticed that this guide gets me the 1.8xxxxx update and I have got 1.7xxx working before on my PC. When I install the wsa i can start the settings but adb cannot connect to the subsystem? Can’t sideload anything, do you know what it could be? (have followed the guide two times now and get the same result)
That must be the update, please wait we will investigate this issue and let you know. Can you try re-installing the adb in the meantime? Download the fresh version from official website.
Same problem as ‘Strand’ (month ago) otherwise all else works fine:”cannot connect to 127.0.0.1:58526: No connection could be made because the target machine actively refused it. (10061)”
Yes I have the same issue It looks like they Blocked the instalation, Ir is region blocked? I unistalled everuthing all was well until the “connect” command (adb.exe connect 127.0.0.1:58526)
I have the issue the with the “connect” command (adb.exe connect 127.0.0.1:58526) It looks like they Blocked the installation, Ir is region blocked? I uninstalled everything all was well until there. Also, the kernel replacement, the C:GAppsWSAmisc path, It shows 2 kernels, one is x86_64 and another named. ARM64. It’s not like in your tutorial. Which one should I choose? Thanks for the tutorial. I hope you have an answer for me (all of us).
I also have the same problem as you do: the C: gappswsa misc path, it shows 2 kernels, one is x86_ 64 and another named. However, after my common sense operation, I can connect to 127… But can’t elevate the permission. The Su command seems to have no effect: https://uploads.disquscdn.c…
Yes, it’s official. The steps from here on “Set up Google Play Store on Windows Subsystem for Android” are not working. I get error “adb error (10061)” https://uploads.disquscdn.c… Using the arm and the x86_64 kernels wont work. I did the procedure 3 times. Here is the moment I get stuck, Now also the adb kit you provide here is from megaupload, it is impossible for me to download it. Can you provide another link? Used the official ADB as well same result. https://uploads.disquscdn.c… Is there any fix for this? Thank you.
I can confirm I have the same error (10061) as well, followed all the step flawlessly, I can also confirm David’s situation, we had tho different kernels and manipulating either or both of them wont work too…I had installed previously ADB myself, I tried to play with it, without it, uninstalling it and use the ADBkit provided above but nothing will make me go throught Error 10061.
i would try deleting the .Android folder in your user folder. i had used adb prior with the unmodified WSA and after removing WSA and installing wsa with google play store had the same error trying to adb in.this folder resides here: c:usersuserid.Android hope that helps!
It does work, but a few steps are a bit off./apply.sh ./unmount_images.shshould be./apply.sh./unmount_images.shkinda obvious, but if u r copying/pasting we can miss thatKernel should be used the one with x86_64, which I only renamed to “kernel” after processing everything, not sure if it makes a dif, but …for those who can’t access adb connect, it must first be installed in the system and WSA must be opened at least once, which can be done by accessing the developer mode manage option inside it, if it is possible to connect it will show an ip address in the settings.
I wasn’t able to download the file from rg.adguard:Our services aren’t available right nowWe’re working to restore all services as soon as possible. Please check back soon.
When I try and do Add-AppxPackage -Register C:WindowsSubsystemAndroidAppxManifest.xml It gives me this error, Windows cannot install package MicrosoftCorporationII.WindowsSubsystemForAndroid because the package requires architecture ARM64, but this computer has architecture x64.
I followed another guide and installed amazon’s WSA and used ADB to install apps and it worked even though my PC isn’t officially supported by Win11, but I got the same error as Ethan when following this guide
Hi, I followed your instrcutions, and everything seemed to be working fine while installing. But now when I try to sign in to Google Play, I get an error that: “There was a problem connecting to http://www.google.com” How can I fix this?
Hi @muhammadzubyangul:disqus, thanks for the great guide! Does this procedure allow Windows to update the WSA, or is it limited to the version at the time of setup? I’d hate to have to go through all that every few weeks!
Does not work at all on the latest update. Fails to deploy with 0x80073D10 error “The deployment operation failed because the package targets the wrong processor architecture. Windows cannot install package MicrosoftCorporationII.WindowsSubsystemForAndroid because the package requires architecture ARM64, but this computer has architecture x64.”
I think the kernel file is the problem here. I also got the file as “kernel-x86_64”. Firstly I copied and pasted the file without changing the name. Then WSA send a message telling there was an important file missing without starting. So I went back and changed the name of the kernel file from “kernel-x86_64” to “kernel” and started WSA. This time the previous message didn’t come but the WSA didn’t start. It kept on loading for about 2 minutes and automatically shut down itself. I tried to start WSA many times but ended up with the same result. After a while I replaced the kernel with the original kernel that was in the tools folder and started WSA. This time everything worked. But then the play store sign in button didn’t work. So I followed your guide from the “Set up Google Play Store on Windows Subsystem for Android” step. Then this error came. https://uploads.disquscdn.c…
I can confirm this. renaming kernel-x86_64 to kernel and it tries for a couple of minutes and crashes, with the original kernel file I can use ‘su’ to change to root and can’t sign into the Play store.
Is there not a script or pre-modified WSA available now to streamline this process? For all the work involved, I’m surprised the closest thing we had was just the MasgiskOnWSA script.
Add-AppxPackage : Deployment failed with HRESULT: 0x80073D10, The deployment operation failed because the package targets the wrong processor architecture. Windows cannot install package MicrosoftCorporationII.WindowsSubsystemForAndroid because the package requires architecture ARM64, but this computer has architecture x64. NOTE: For additional information, look for [ActivityId] ec2eba8f-e3bb-0002-c8a2-bcecbbe3d801 in the Event Log or use the command line Get-AppPackageLog -ActivityID ec2eba8f-e3bb-0002-c8a2-bcecbbe3d801 At line:1 char:1 + Add-AppxPackage -Register C:WindowsSubsystemAndroidAppxManifest.xml + ~~~~~~~~~~~~~~~~~~~~~~~~~~~~~~~~~~~~~~~~~~~~~~~~~~~~~~~~~~~~~~~~~~~~~ + CategoryInfo : NotSpecified: (C:WindowsSubsy…ppxManifest.xml:String) [Add-AppxPackage], Exception + FullyQualifiedErrorId : DeploymentError,Microsoft.Windows.Appx.PackageManager.Commands.AddAppxPackageCommand
1. You guys accidentally pulled the ARM64 msix package to start out with. 2. This guide is non-functional as it stands currently.WSA has been updated to android 12 base & these tools are not able to accommodate that ‘currently.’


Hello, i followed this guide but can’t get it to work. Noticed that this guide gets me the 1.8xxxxx update and I have got 1.7xxx working before on my PC. When I install the wsa i can start the settings but adb cannot connect to the subsystem? Can’t sideload anything, do you know what it could be? (have followed the guide two times now and get the same result)