How to Fix ‘Install BlockHead’ Error in Oblivion on Windows
Some Oblivion is reporting that they end up seeing the ‘Install Blockfaces‘ error despite the fact that the BlockHead mode is already installed on their computer. This issue is reported to occur on every recent Windows version including Windows 7, Windows 8.1, and Windows 10.
After investigating this particular issue extensively, it turns out that there are several different underlying causes that might trigger this mod error on your PC. Here’s a list of potential culprits:
- The game is launched without any mods – Before you explore any potential causes that might be causing this issue, you need to ensure that the game actually launches with the modded infrastructure. So before you do anything else, ensure that you launch the game via the obse_loader.exe.
- Mod is launched via NMM – If you attempt to launch this mod via Nexus Mode Manager, this is most likely why you see this in-game error message. Keep in mind that Blockhead is a plugin that needs to be installed in Data/OBSE/Plugins in order to work properly. If you tied to install it via NMM, redo the installation via OBSE and see if the problem is now fixed.
- Corrupted headhuman.dds file – As it turns out, you can also expect to see this error popping up in instances where you’re dealing with some type of corruption that’s affecting your fleet of modes. In this case, you should be able to fix the problem by reinstalling the core game and removing any trace of mods and plugins before redoing the installation.
- Steam Overlay is Disabled – Keep in mind that the overlay feature in Steam is a super important requirement for OBSE that needs to be enabled in order for the mod launcher to work. If this feature is disabled by default, you should be able to fix the problem by accessing your Steam’s settings and enabling the overlay feature from the In-Game settings.
- Missing admin access – Under certain circumstances, you can also expect to see the BlockHead error due to permission issues. In this case, the game is unable to load up files outside the core installation, so none of your modes will actually be loaded. If you’re dealing with a permission issue, you should be able to fix the problem by forcing the Steam executable to run with admin access at all times.
- The executable is flagged as false-positive – Keep in mind that because the modded versions of Oblivion contain a lot of custom files, you can expect certain security suites to flag them as potential security threats. In this case, you can resolve the issue by establishing a whitelisting rule in your AV / Firewall settings that will accept both the main Oblivion executable and the main Steam executable.
Now that you know every potential culprit that might be responsible for causing the ‘Install BlockHead‘ error in Oblivion, here’s a list of methods that other affected users have successfully deployed in order to fix the issue:
Method 1: Launching the Game via obse_loader
If you’re encountering the ‘Install BlockHead‘ error while launching the game by double-clicking on the main executable (or launching directly through Steam or GOG Launcher), it’s possible that the game ends up launching without all the mods and plugins that you previously installed.
To make sure that’s not the case, navigate to the location where you installed the game and double-click on obse_loader.exe to ensure that the game launches with mods.

Note: This method assumes that you have correctly installed OBSE and the BlockHead mode correctly.
Once you have ensured that you launched the game through the OBSE loader, create a new game and see if the ‘Install Blockfaces‘ error is fixed.
In case you still end up seeing the same error code on the face of your character during the initial creation menu, move down to the next method below.
Method 2: Using OBSE instead of NMM (if applicable)
Turns out that the vast majority of users that are encountering this issue have installed the BlockHead mode via the Nexus Mode Manager application. However, it seems like this particular mode was not exactly designed to work with NMM.
Blockhead is a OBSE plugin that needs to be installed under Data/OBSE/Plugins. If your preferred way of installing is different, repeat the installation correctly.
According to some affected users finding themselves in a similar situation, the issue was finally resolved once they installed OBSE Loader (Oblivion Script Extender) and launched the mode from there. This is confirmed to fix the in-game faces with ‘Install BlockHead‘ message written on them.
If this scenario is applicable, follow the instructions below to reconfigure your Oblivion installation in order to load the BlockHead mode via the OBSE Loader utility:
- First things first, start by closing the game (if it’s opened) align with every piece of supporting software like Nexus Mode Manager.
- Next, open your default browser, visit the official download page of Oblivion Script Extender and click on the link associated with Latest Loader.

Oblivion script extender - Wait until the download is complete, then use a utility like WinRar, WinZip, or 7Zip to extract the contents of the obse_loader.zip archive.
- Once the contents of the archive have been extracted, take the obse_loader executable and paste it directly into the root location where you installed the game.
Note: The obse_loader should be located in the same location where you are storing the Oblivion.exe and OblivionLauncher.exe files. - Once the obse_Loader.exe is pasted in the correct location, double-click on it and wait until the game launches normally.
- Start a new game and see if the issue was resolved and the character faces are displayed without the annoying ‘Install BlockHead‘.
In case the same issue is still occurring, move down to the next potential fix below.
Method 3: Reinstall & Remove headhuman.dds file (if applicable)
If none of the methods below have worked in your case, you should assume that you’re either dealing with some kind of corruption that is affecting the BlockHead files that were brought along with the mod or you’re dealing with underlying issues with the OBSE loader.
If you find yourself in this particular situation, you should be able to fix the problem by ensuring that both the BlockHead mod files and the main OBSE Loader mode are correctly reinstalled.
Important: Keep in mind that on top of uninstalling Oblivion conventionally, you also need to get rid of any remnant mod files that are left behind in the installation folder.
If you’re looking for step by step instructions, here’s a sub-guide that will guide you through the whole screen:
- Ensure that Oblivion, any associated launcher, or mod is completely closed and no background process associated with the game or its support files are running in the background.
- Next, press Windows key + R to open up a Run dialog box. Inside the Run text box, type ‘appwiz.cpl’ and press Enter to open up the Programs and Features menu.
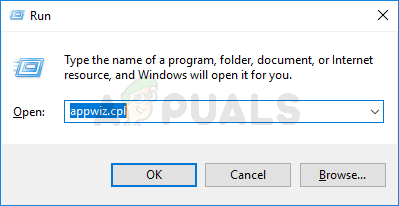
Opening the Programs and Features menu - Once you’re inside the Programs and Features menu, scroll down through the list of installed programs and locate the Oblivion installation. When you see it, right-click on it, then choose Uninstall from the context menu that just appeared.
- Next, follow the on-screen prompts to complete the uninstallation operation, then restart your computer.
- After your computer boots back up, open File Explorer and navigate to the location where Oblivion was previously installed. If you didn’t install it in a custom location via Steam, you should find it here:
C:\Program Files (x86)\Steam\steamapps\common\oblivion
- Once you’re inside the location where Oblivion was previously installed, select everything inside and delete it to ensure that you don’t carry over any data that might be corrupted to the new installation.
Note: If the installation folder contains files that you absolutely want to keep, at least make sure to access the imperial folder (located in Textures\characters\imperial) and delete the headhuman.dds file. - Reinstall the game from the same channels, then follow the instructions of clean installing OBSE and applying the blockhead plugin.
- Launch the game through the OBSE Loader and see if the problem is now fixed.
If this problem is still not resolved, move down to the next potential fix below.
Method 4: Enabling Steam Overlay (if applicable)
If you’re launching the game through Steam, keep in mind that you will need to ensure that Steam’s Overlay feature is also enabled if you want to make sure that OBSE is allowed to run at full capacity.
Several affected users have confirmed that the issue was finally resolved after they accessed Steam’s settings and enabled the in-game overlay feature before launching the modded version of Oblivion once again.
Follow the instructions below to access the built-in settings of Steam and enable the Steam Overlay feature in order to ensure that OBSE can make use of it:
- First things first, ensure that Oblivion is completely closed and no associated process is running in the background.
- Open Steam and sign in with your user credentials.
- Once you have successfully signed in with your credentials, click on Steam from the ribbon bar at the top, then click on Settings from the context menu that just appeared.
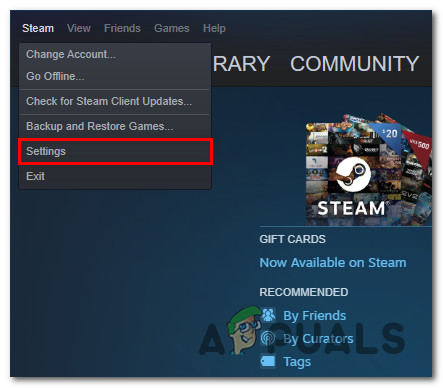
Accessing the Settings menu of Steam - Once you’re inside the Settings menu, click on In-Game tab from the menu on the left, then move over to the right-hand side and check the box associated with Enable the Steam Overlay while in-game.

Enable the built-in Steam overlay - Once the change has been enforced, click Ok to save the changes, then launch Oblivion once again conventionally and see if the issue is now fixed.
In case the issue is still not resolved, move down to the next potential fix below.
Method 5: Running Steam with Admin Access
According to some affected users, you can also expect to see the ‘Install Blockfaces‘ error if you’re dealing with a permission issue. Because the modded version of Oblivion relies on a lot of files outside the core installation, you need to ensure that you launch Steam in admin mode in order to allow the game to make use of all the modes that are installed alongside the regular installation.
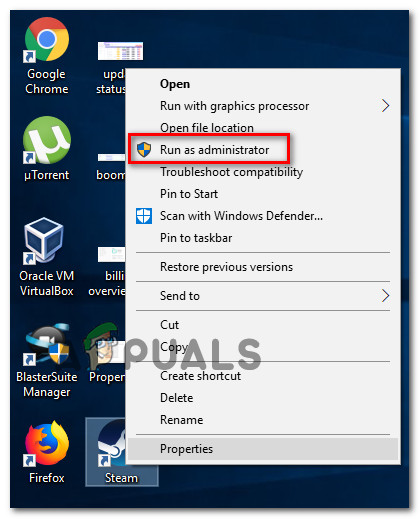
Several affected users dealing with the same issue have confirmed that they managed to fix the issue by right-clicking on the executable that you use to launch Steam and choose Run as Administrator from the newly appeared context menu.
If this method was successful, you can take some time to modify the default behavior of the main Steam executable to make sure that it always opens with admin access:
- Ensure that Steam is closed and not running in the background.
- Next, open File Explorer (or My Computer) and navigate to the location where Steam is installed. By default, you’ll find it in the following location:
C:\Program Files (x86)\Steam
Note: if you installed Steam in a custom location, navigate there instead.
- Once you arrive at the correct location, go ahead and right-click on the steam.exe executable, then click on Properties from the newly appeared context menu.
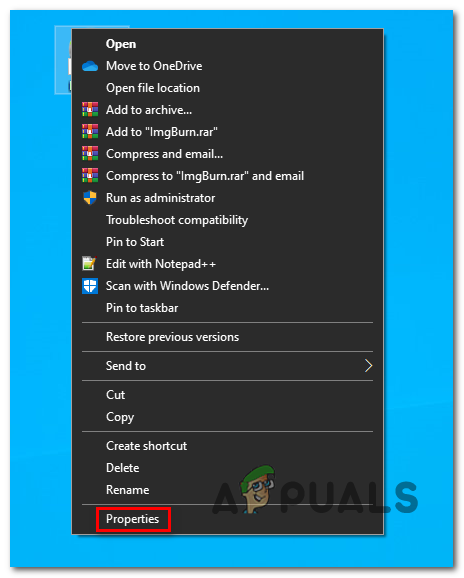
Accessing the properties screen of Steam - Once you’re inside the Properties screen of Steam, click on the Compatibility tab from the ribbon menu at the top, then move over to the Settings menu and check the box associated with Run this program as an administrator.
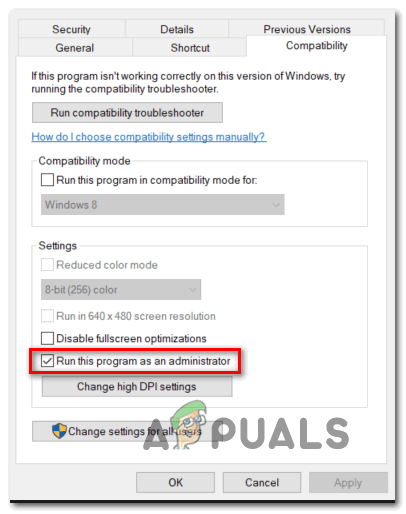
Configuring the Steam’s executable to run with admin access - Once the change has been successfully enforced, click on Apply to save the changes, then launch the modded version of Oblivion once again and see if the issue is now fixed.
In case the same problem is still occurring, move down to the next potential fix below.
Method 6: Make Oblivion.exe + Steam a trusted file in your AV (if applicable)
If none of the methods above have worked in your case and you previously ensured that the game integrity is intact, one last culprit that you should investigate is interference caused by your security suite.
As it turns out, you can also expect to deal with the ‘Install BlockHead‘ error in situations where the main Oblivion executable is blocked by a security app (Firewall or Antivirus) due to a false positive.
Keep in mind that if you’re using mods, the game deviates from the standard file lineup that most AV suites will expect, which might trigger the false positive.
Unfortunately, if you’re using a 3rd party suite, we can’t provide you with a definitive guide as the steps of whitelisting an item will be different from software to software. In this case, you will need to search online for specific steps of whitelisting an executable in your 3rd party AV / Firewall.
On the other hand, if you’re using the default AV combo (Windows Defender and Windows Firewall), you can follow the instructions below to Steam.exe and the executable that you use to launch Oblivion:
Note: This fix assumes that you are launching the game through Steam. If you launch through GOG, you need to adapt the instructions below to the locations of GOG.
Here’s a quick step by step guide on making Oblivion.exe + the Steam executable trusted items in your AV:
- Open a Run dialog box by pressing Windows key + R. Next, type ‘control firewall.cpl’ and press Enter to open up the Windows Firewall window.
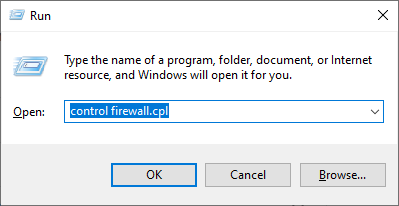
Accessing the Firewall menu via the Run box - Once you’re inside the main menu of Windows Defender Firewall, get access to the menu on the elect to click on Allow an app or feature through Windows Defender Firewall.
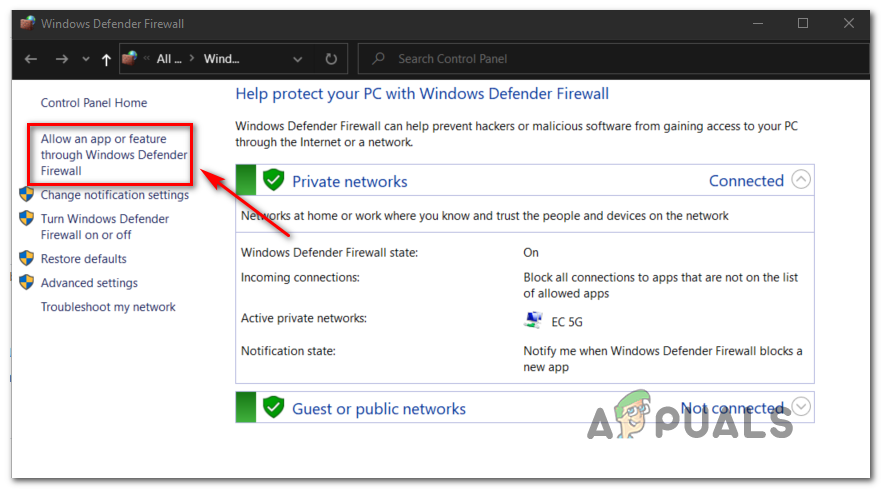
Allowing an app through Windows Defender firewall - Once you’re inside the Allowed apps menu, go ahead and click on the Change settings button, then click on Yes at the User Account Control prompt.
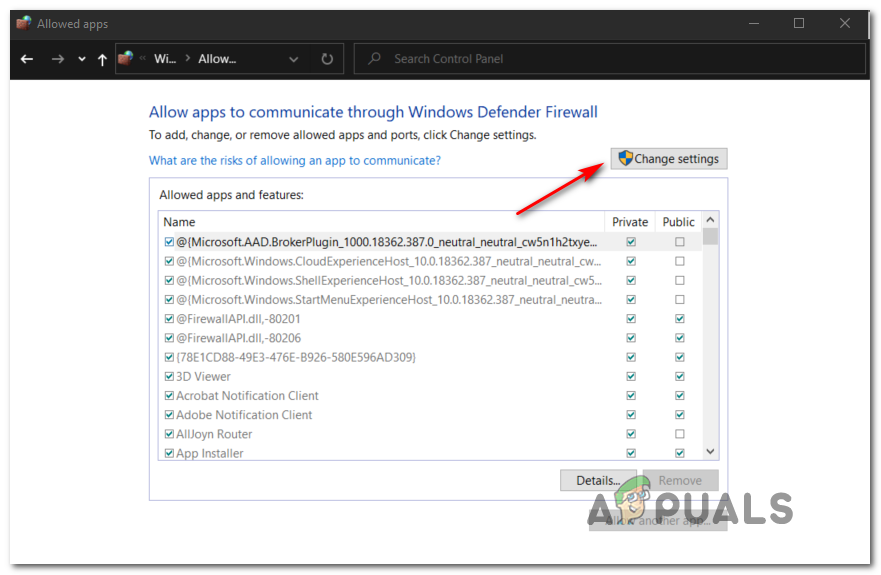
Changing the settings of Allowed items - Once the list finally becomes editable, navigate under Allow another app, then click on Browser and navigate to the location where the Oblivion game is installed.
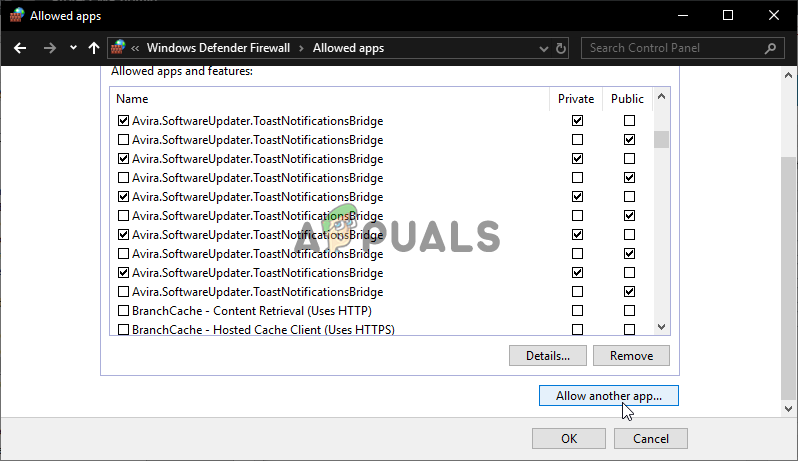
Allowing another app to the list of allowed items Note: The default location of the main Oblivion executable is:
C:\Program Files (x86)\Steam\steamapps\common\oblivion - Once the Oblivion executable has been successfully added to the list of excepted items, do the same thing with the main Steam executable.
- Finally, after both the main game executable and Steam’s executable have been excepted inside your AV suite, ensure that you enable both the Private and Public checkboxes for both.
- Restart your computer, then launch Oblivion once again and see if the issue is now fixed.


