Fix: Instagram Store App won’t install in Windows
You won’t be able to install the Instagram desktop application on your computer via the Microsoft store if the essential services aren’t functioning correctly. These services provide a seamless transfer of data from Store to Windows destination. Moreover, a corrupt cache of the Microsoft store or a software conflict can also cause you to face this problem.

Here are a number of methods that’ll help you resolve this frustrating issue.
1. Use WsReset to Reset Store Cache
Over time the Microsoft Store can accumulate a corrupt cache that could eventually cause errors such as being unable to install the application. In such a scenario, Windows comes built-in with a tool that’ll help bypass antivirus protection and delete the cache automatically. Here are the steps to do so:
- Press the Windows key to open the start menu.
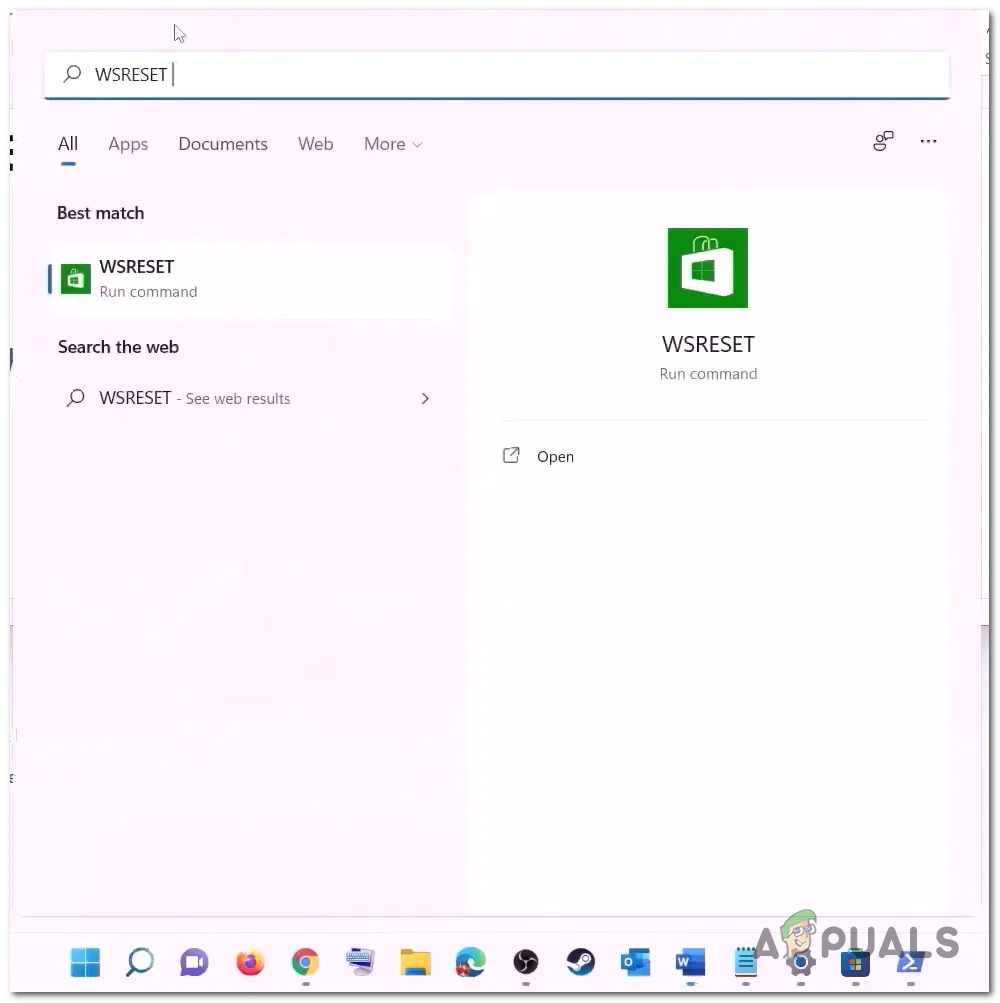
Opening WsReset application via the start menu - Search WsReset in the search box and hit the enter key.
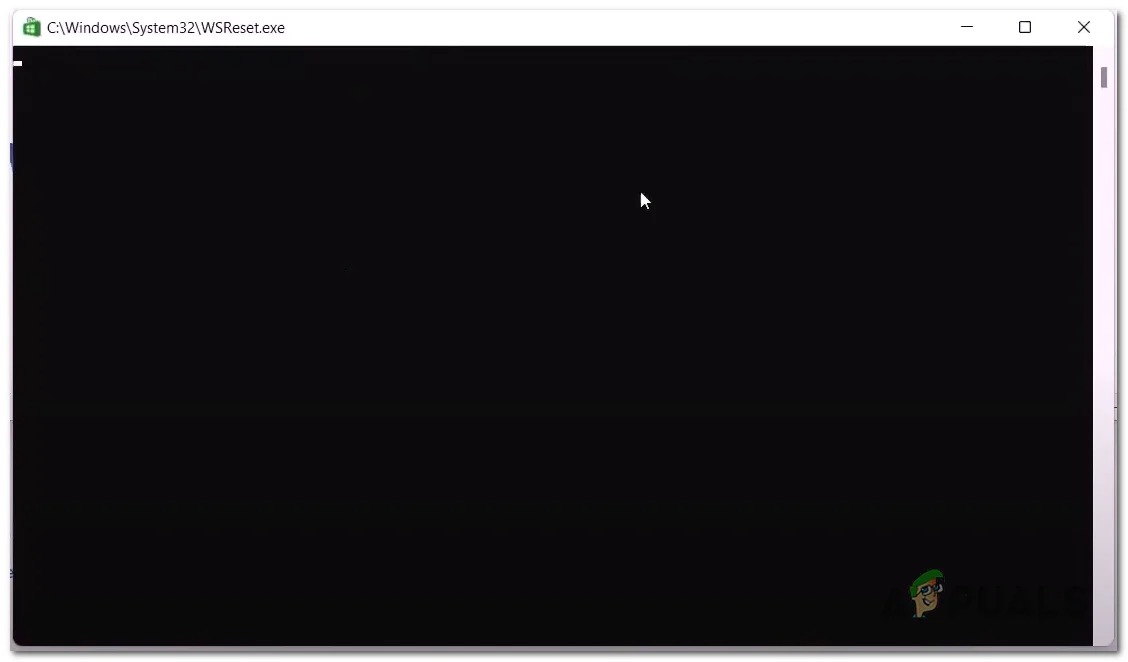
WsReset deleting the Microsoft cache - A blank Command line prompt will open, wait for a while.
- The prompt will eventually close automatically, This indicates that the cache has been deleted.
Once done, Head over to the Microsoft store and Try installing the Instagram application. If the problem presumes continue to the next step.
2. Repair and Reset the Microsoft store
If you’re experiencing troubles with the Store applications, you can resolve them by resetting or repairing Microsoft Store. Windows comes built-in with tools that’ll aid you in doing so.
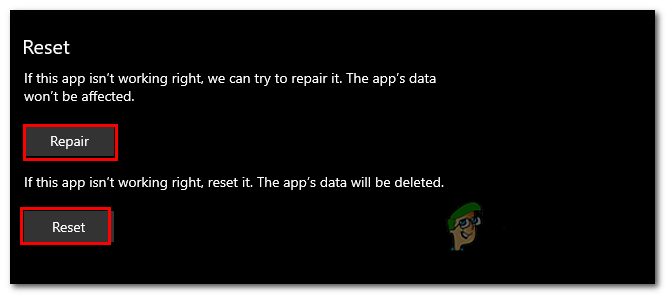
The Repair feature will look for any vulnerabilities and fix them by reinstalling the files, repairing damaged registry entries, or restoring default settings.
Similarly, The Reset feature will restore the application to its default state, this means that all the user data i.e settings and preferences will be deleted.
Follow these steps to repair and reset the Microsoft store:
- Open the Start menu by pressing the windows key and in the search bar, search for “Settings.”
- Click on “Apps.”
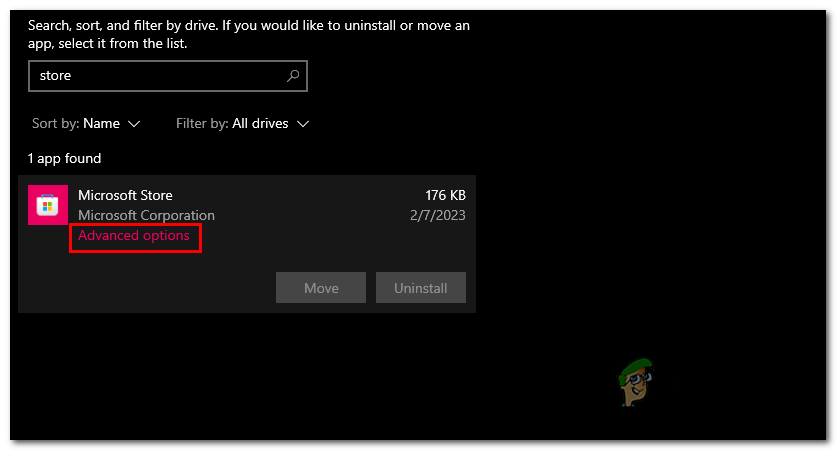
- Scroll down and click on “Microsoft Store.”
- Click on “Advanced options.”
Opening the advanced options of the Microsoft store - Click on the “Repair.” button, Wait for a while.
Clicking on the Reset button - Launch the Microsoft store, and try installing the Instagram application.
- If the problem presumes, head back to the settings and click on the “Reset” button.
3. Re-register Windows Store
Windows apps are registered with the operating system using a special manifest file that contains information about the app’s identity, files, and dependencies. If this registration information becomes corrupted or damaged, the app may not work as expected, or it may not work at all.
“Re-Registering” means resetting the application’s registration information in windows. This process will resolve issues that are preventing the apps from working correctly. Here are the steps to do so:
- Open the Run dialogue box by pressing the Windows + R keys and type “Powershell” in the text field.
Opening the PowerShell terminal via the Run dialogue box - In the PowerShell terminal, paste the following command and hit the enter key.
Get-AppxPackage -AllUsers | Foreach {Add-AppxPackage -DisableDevelopmentMode -Register "$($_.InstallLocation)\AppXManifest.xml"} - Wait for a while for the command to finish processing.
4. Restart necessary services
Several services in the background work together to facilitate the smooth working of the Microsoft store, It is possible that these services are either stopped or need a quick restart. Here are the steps to do so:
- Press the Windows + R keys simultaneously to open the Run dialogue box and type “CMD” in the text field.
Opening command prompt via the run dialogue box - Paste the following commands in the command prompt to restart the “Microsoft Install service”
net stop Installservice
net start Installservice
- Similarly, Paste the following commands to restart the “Windows update” service
net stop wuauserv
net start wuauserv
- Once the services have restarted, restart your computer for the changes to take effect.
5. Change Install Directory
Installing Instagram on a different drive will solve the issue. Microsoft store automatically installs applications inside the C drive. Follow these steps to install the Instagram application on a different drive:
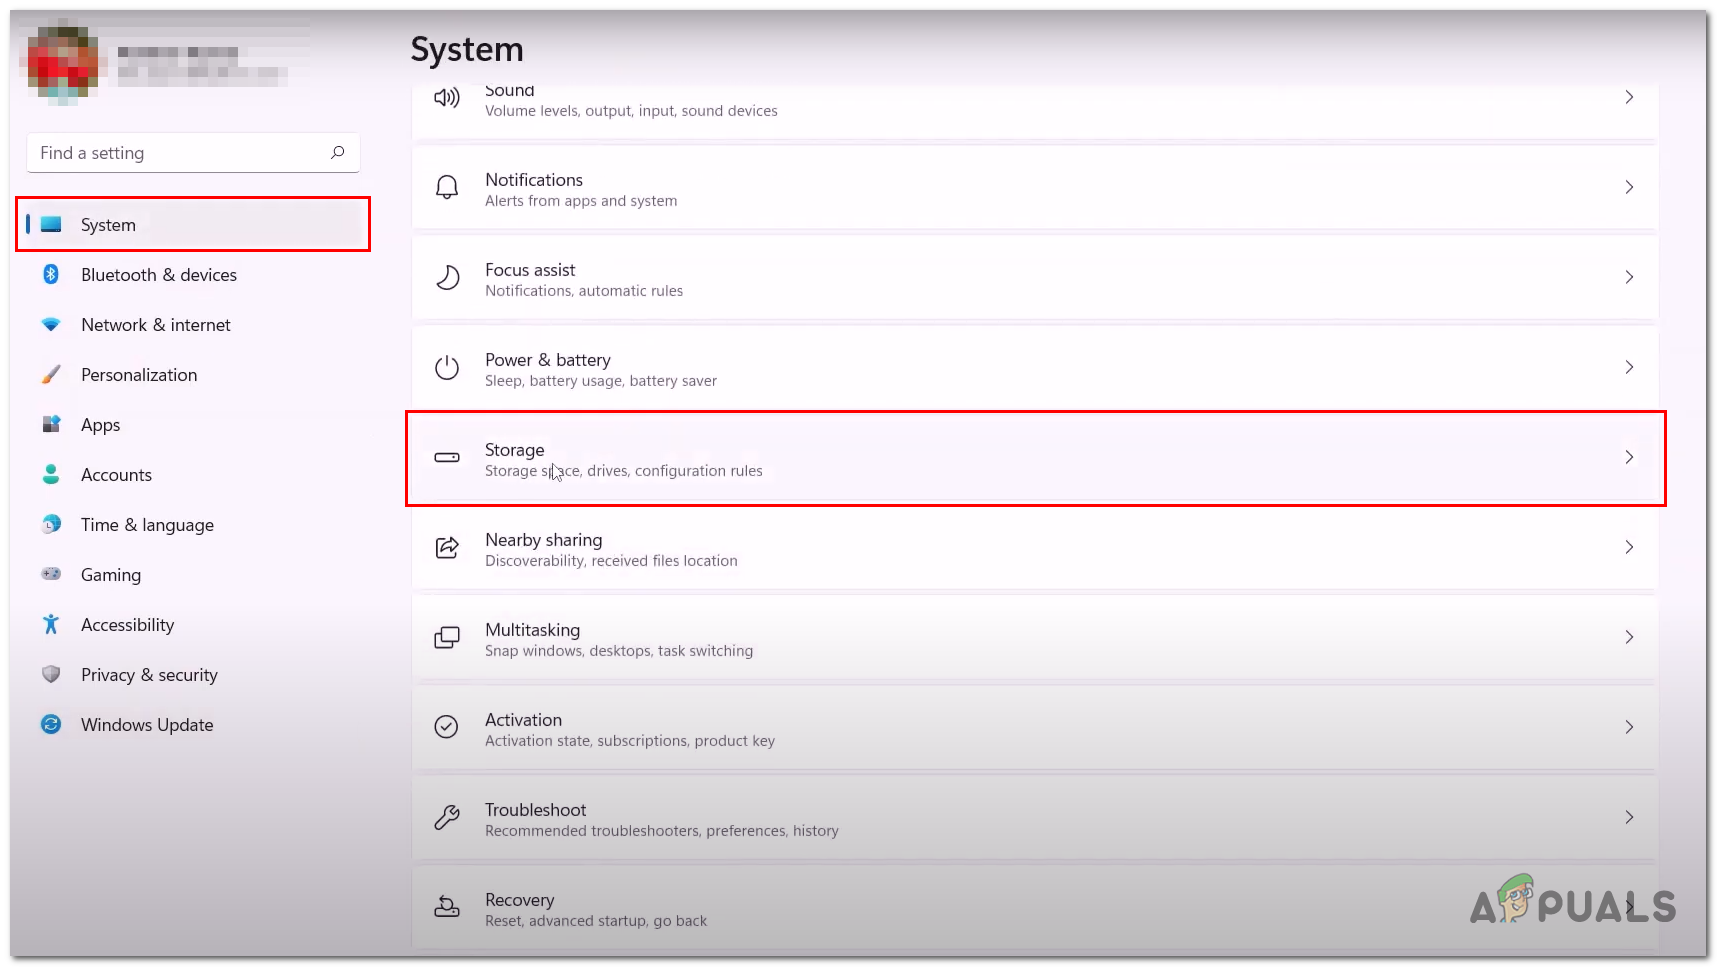
- Press the Windows key on your keyboard and click on the Settings icon.
- Now, on the left side of your screen. Click on Storage.
Installing Microsoft applications on a different drive - Scroll down, Click on Advanced storage options.
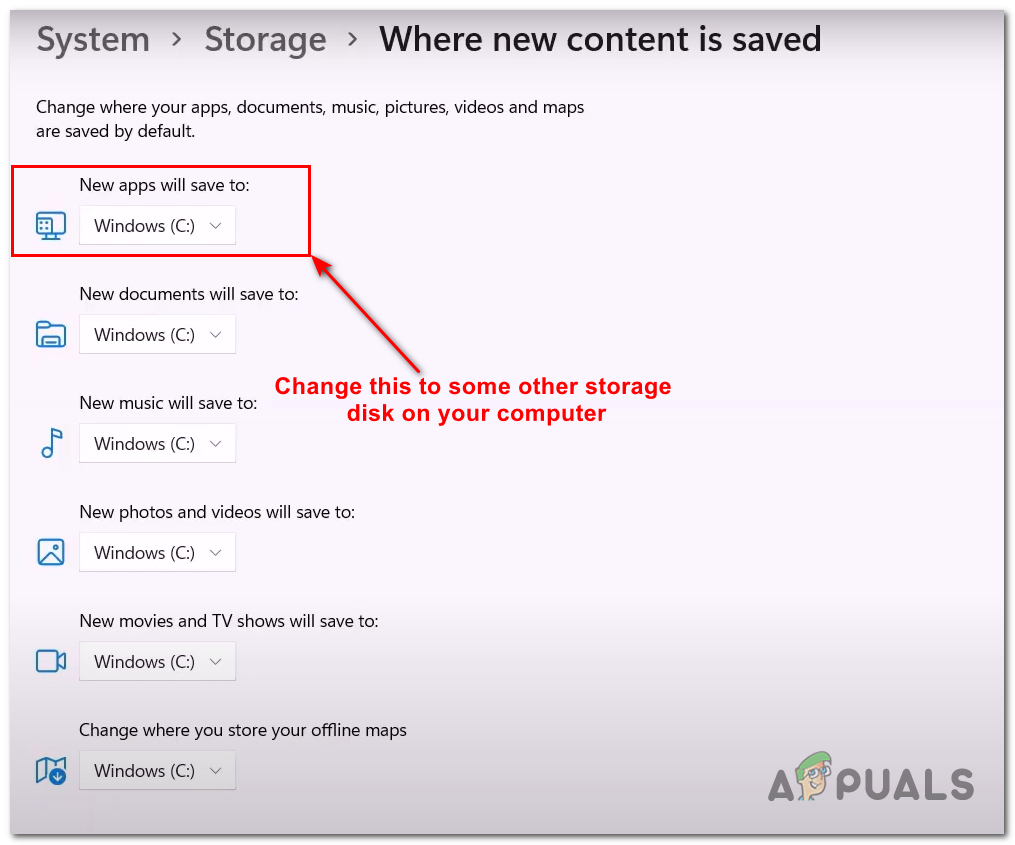
Installing Microsoft applications on a different drive - Now, Click on Where Content is saved.
- Change the New apps will save to setting from Local Disk C: to some other storage disk on your computer.
- Click on Apply.
6. Rename the WpSystem and Windows Apps folder
WpSystem and Windows Apps folders are created when users try to use non-system directories for windows related processes. Renaming the folders will rectify the issue. Follow these steps to do so:
- Open the Directory you chose to save applications in the previous step.
- Now, Right-Click on Wpsystems and click on properties
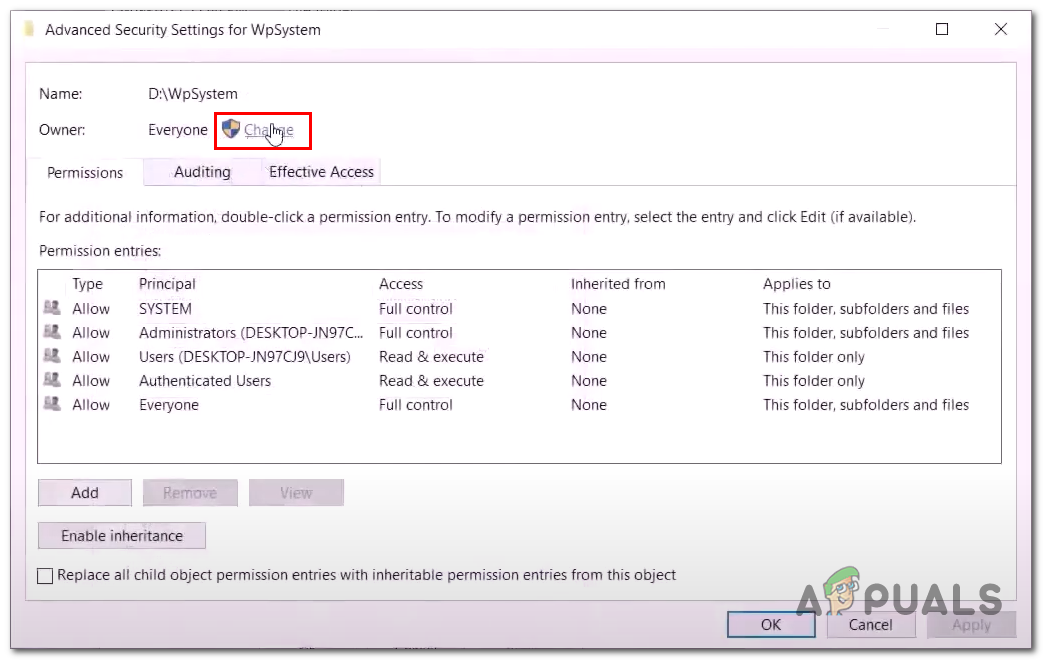
- In the navigation menu, Navigate to Security > Advanced.
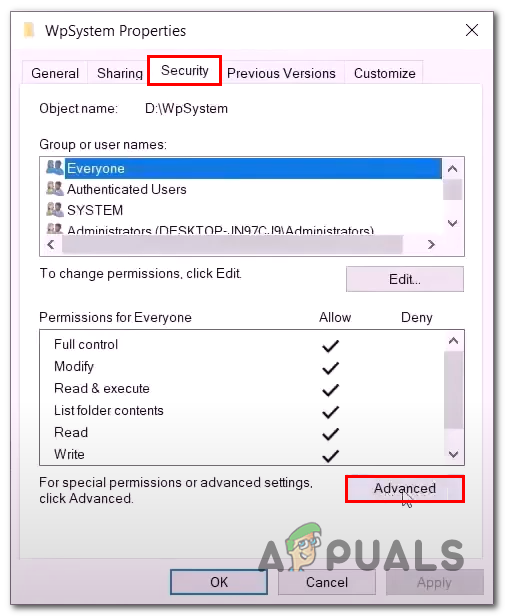
Renaming the WPsystems and Windows apps folder. - Now, Click on Change.
Renaming the WPsystems and Windows apps folder. - In the textbox, type Everyone and click on Check names.
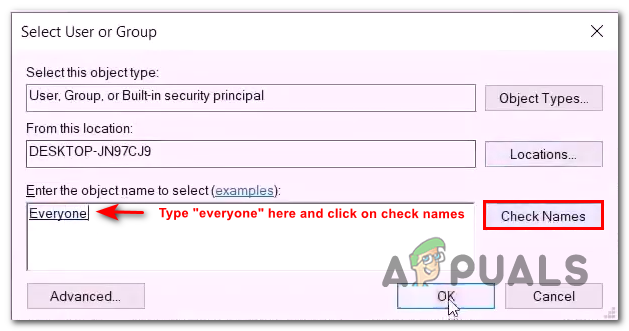
Renaming the WPsystems and Windows apps folder. - Click on OK to apply the settings.
- Now, Check the box with the text Replace owner on sub-containers and objects.
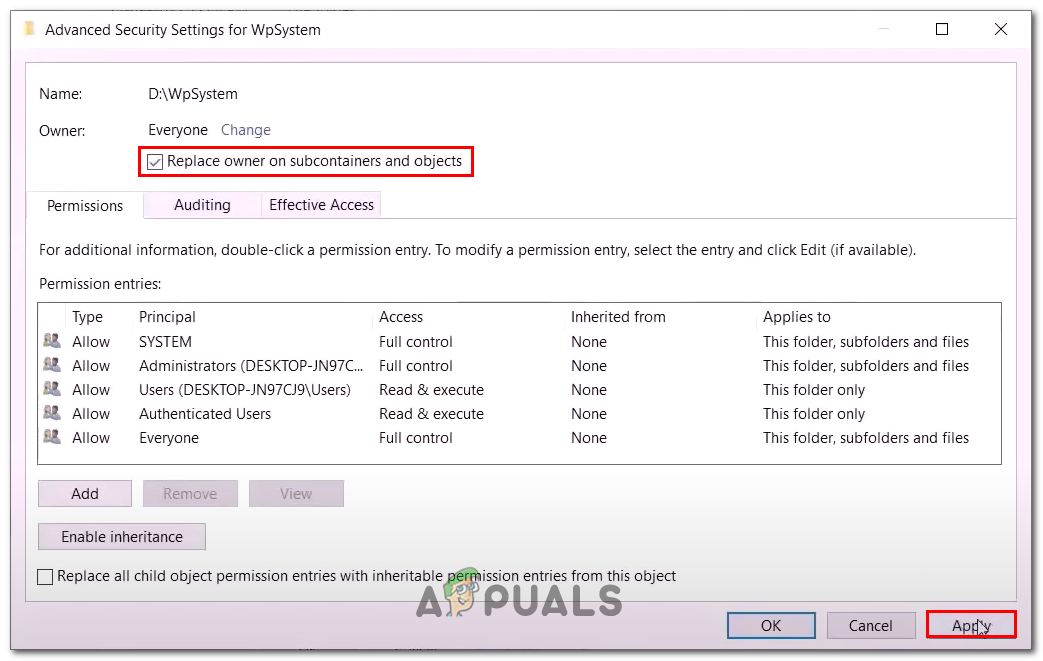
Renaming the WPsystems and Windows apps folder. - Hit Apply and Click Ok.
- Right-click on the Wpsystems folder and click on Properties.
- Again, Click on Security and click on Advanced.
- Click on the Add button.
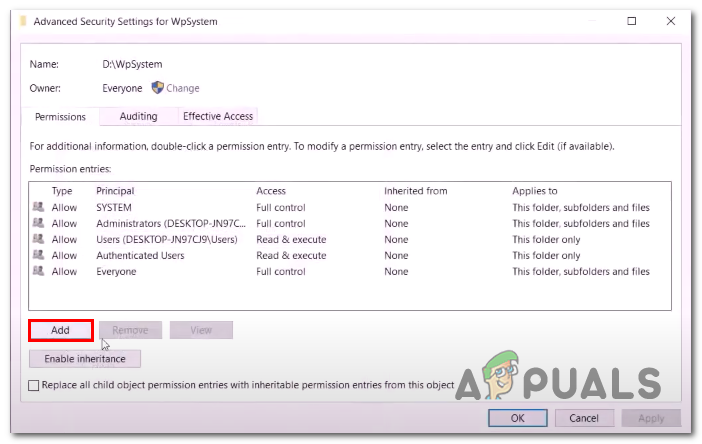
Renaming the WPsystems and Windows apps folder. - Now, Click on Select a principal.
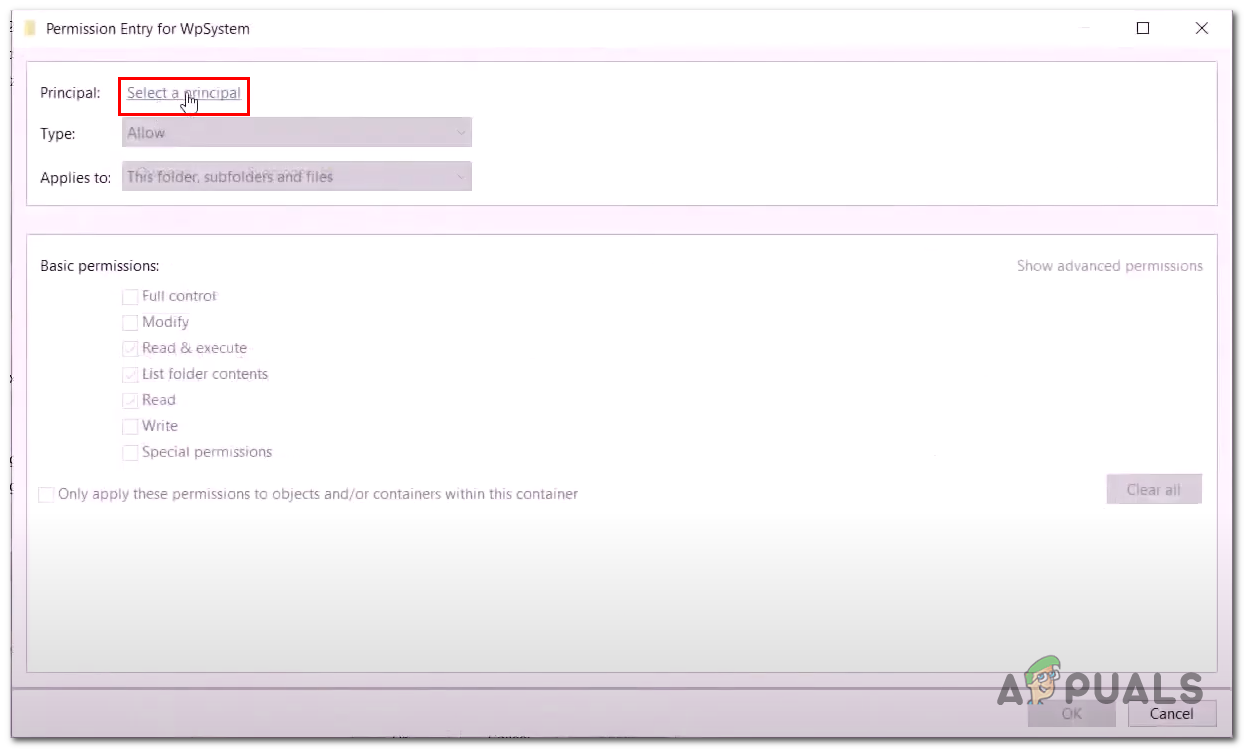
Renaming the WPsystems and Windows apps folder. - In the text box, type Everyone and click on the check names button.
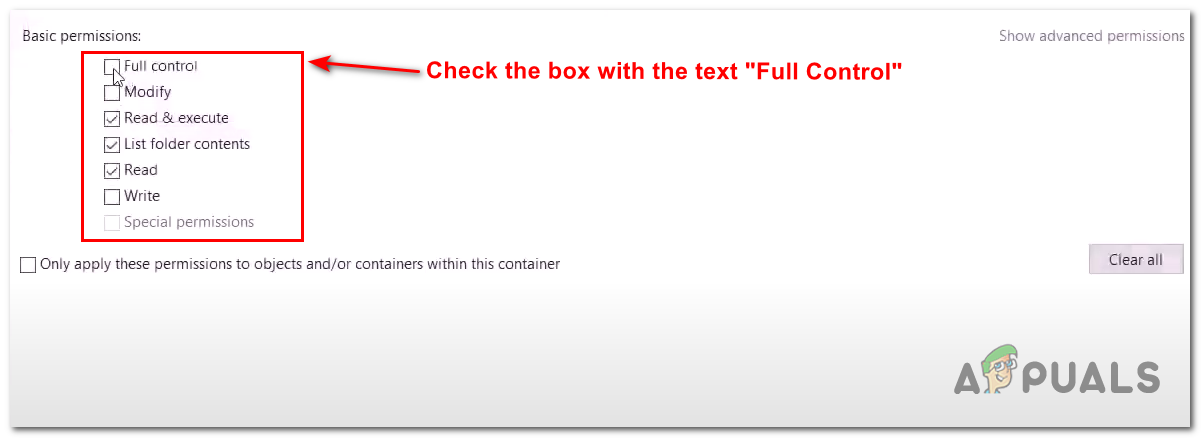
- Check the Full control box and click on apply, and hit OK.
Renaming the WPsystems and Windows apps folder - Now, rename the WPsystems folder to WPsystems.old.

Renaming the WPsystems and Windows apps folder.
7. Update Microsoft Store
An outdated installer might cause users to face installation issues; follow these steps to update the Microsoft store.
- Open the Microsoft store
- In the bottom-left corner of your screen, click on the Library icon, as shown in the image below:
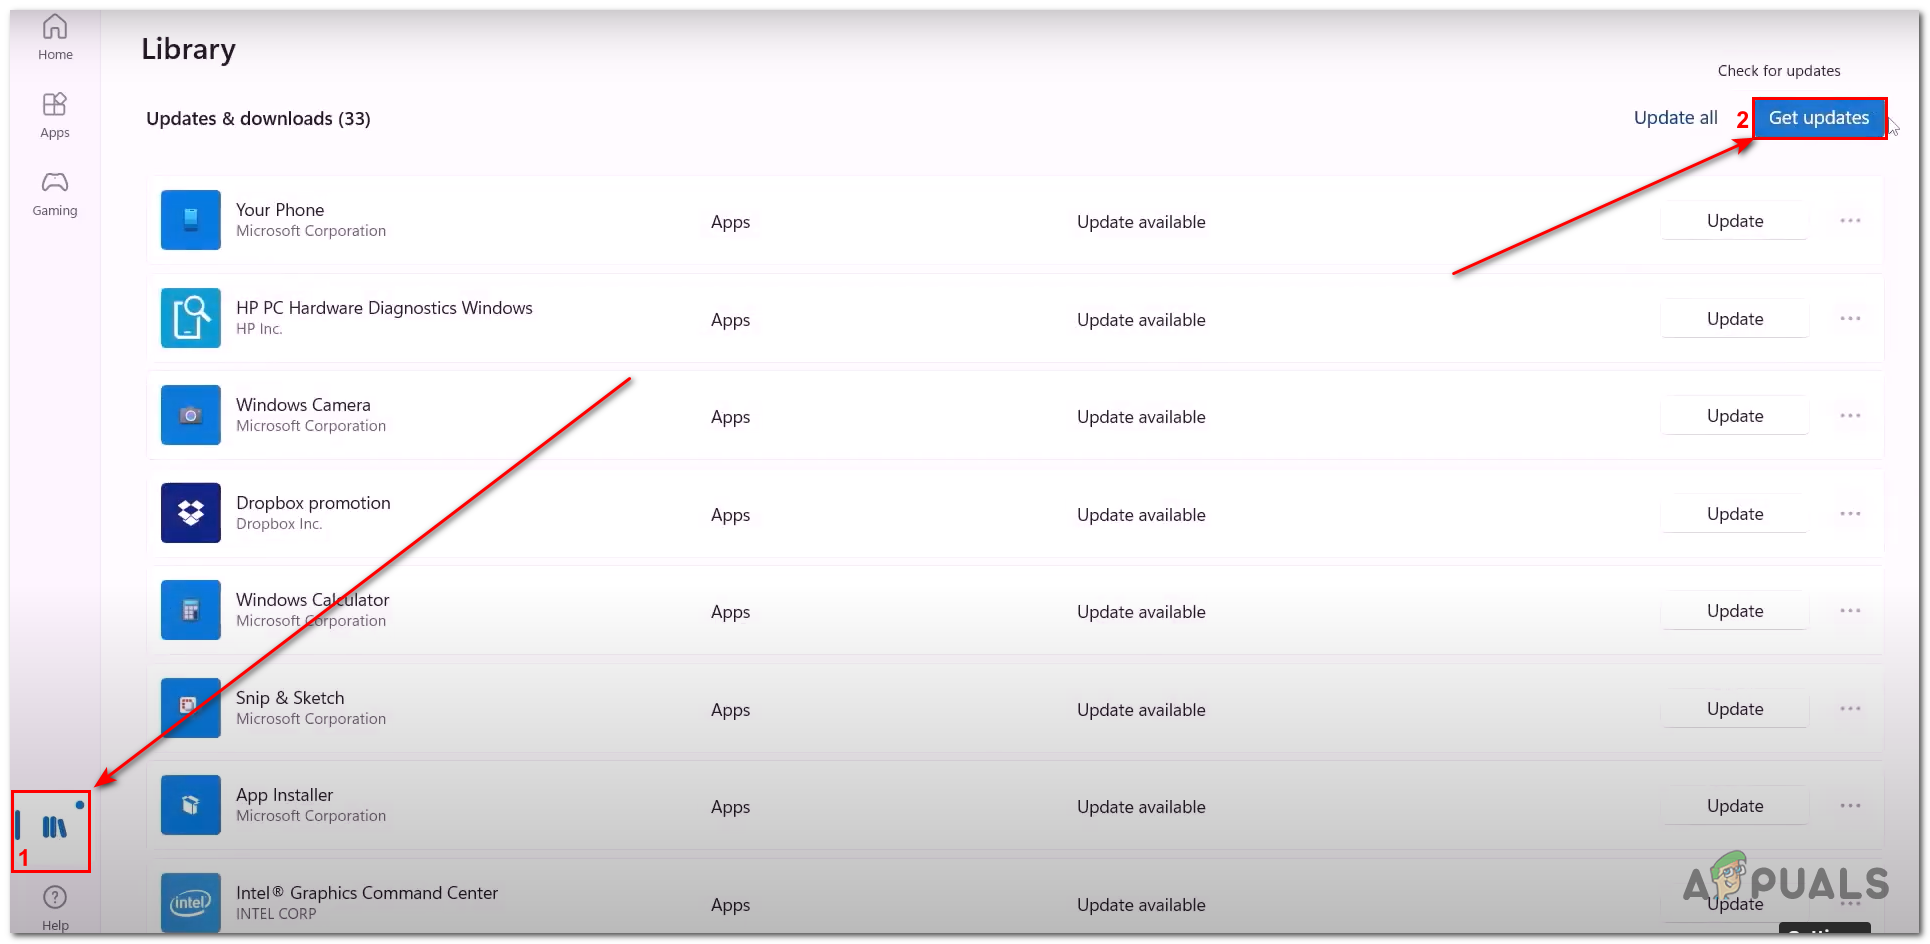
Updating Microsoft store from the built-in feature - Now, click on the Get updates button
- Install if any updates are available
8. Delete the Microsoft store local cache
Another method of deleting the Microsoft store cache. Over time, the Microsoft store accumulates many cache files; these cache files may be causing a problem for you when installing additional applications from the Microsoft store. We’ll be deleting the Microsoft store local cache in this method; follow these steps to do so:
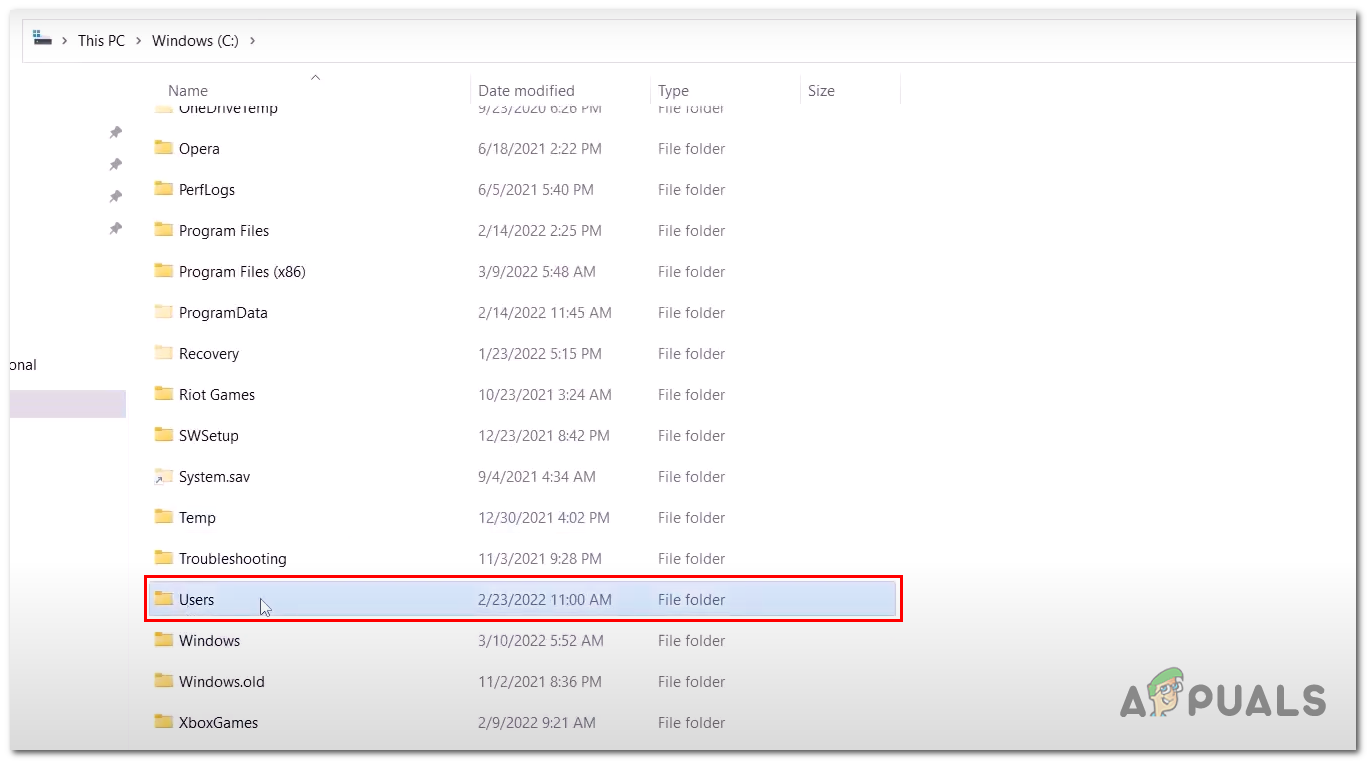
- Open File explorer and open the Local Disk C drive
- Open the Users folder as shown in the image
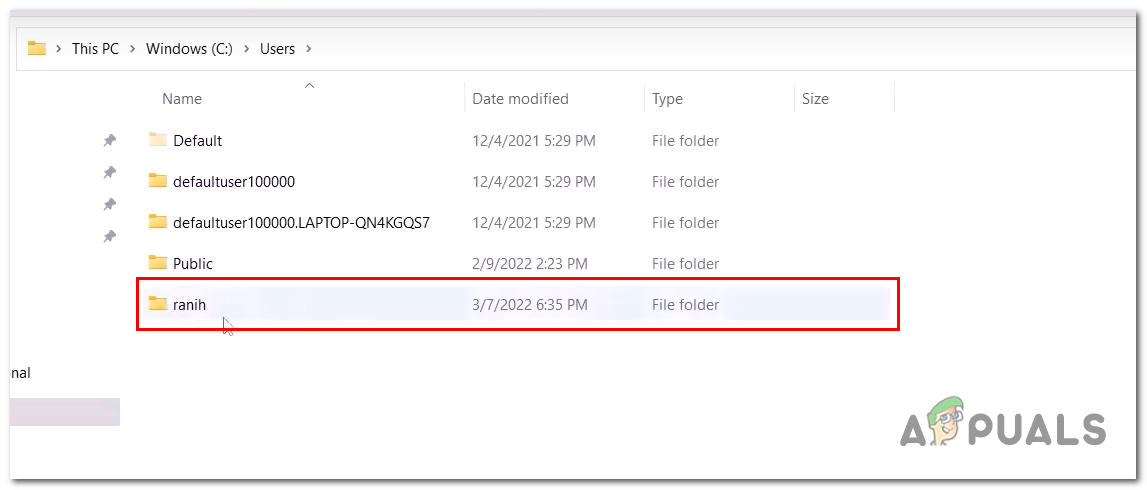
Opening the Users folder inside of the Local Disk C: - Now, Double-click on the folder with your computer’s username to open it, e.g., ranih.
Opening your computer’s user folder. - After that, Open the App Data folder. This folder is usually hidden, so follow these simple steps to view it.
- Click on the View button inside the toolbar, as shown in the image below.
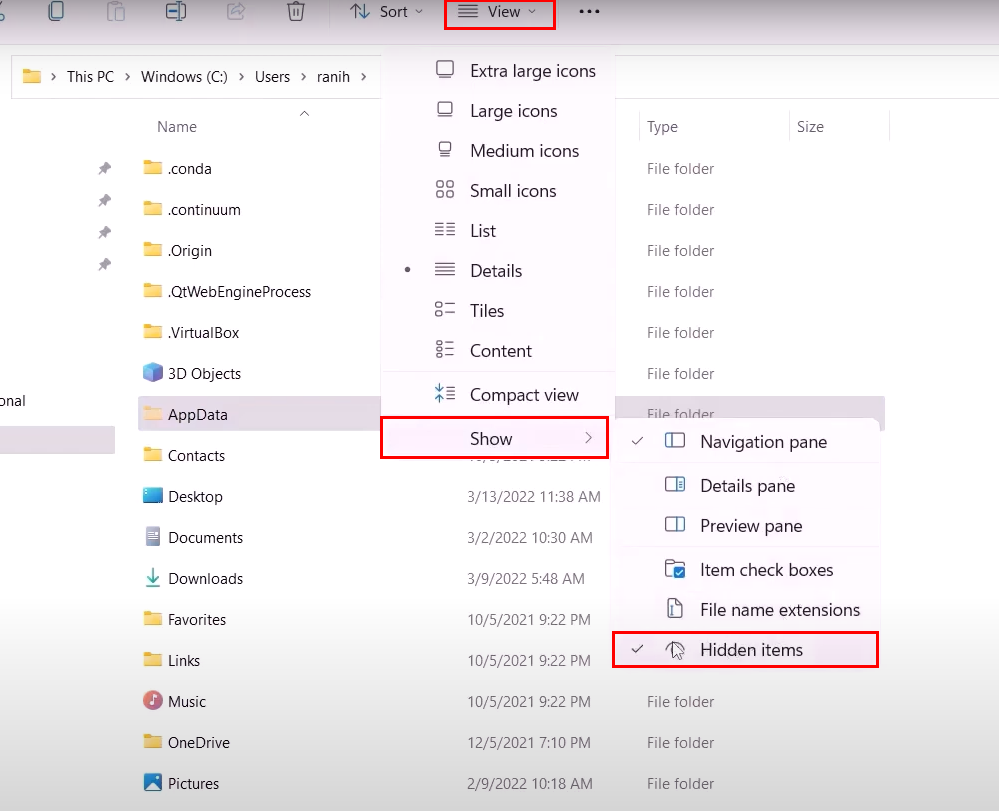
Viewing the hidden items - Click on the Show button to open the drop-down menu.
- Now, Click on the Hidden Items button.
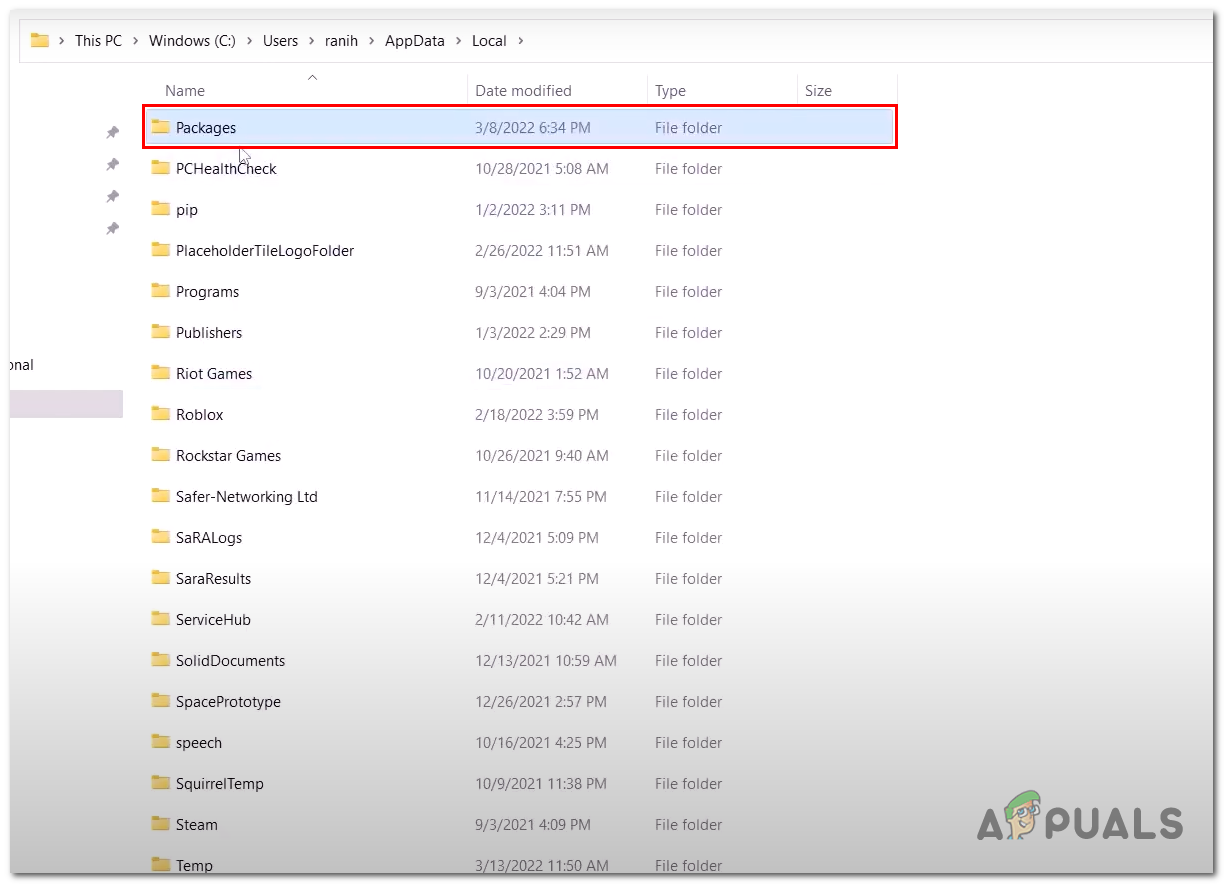
- Inside the Appdata folder, Click on the Local folder to open it.
- Now, Open the Packages folder as shown in the image below.
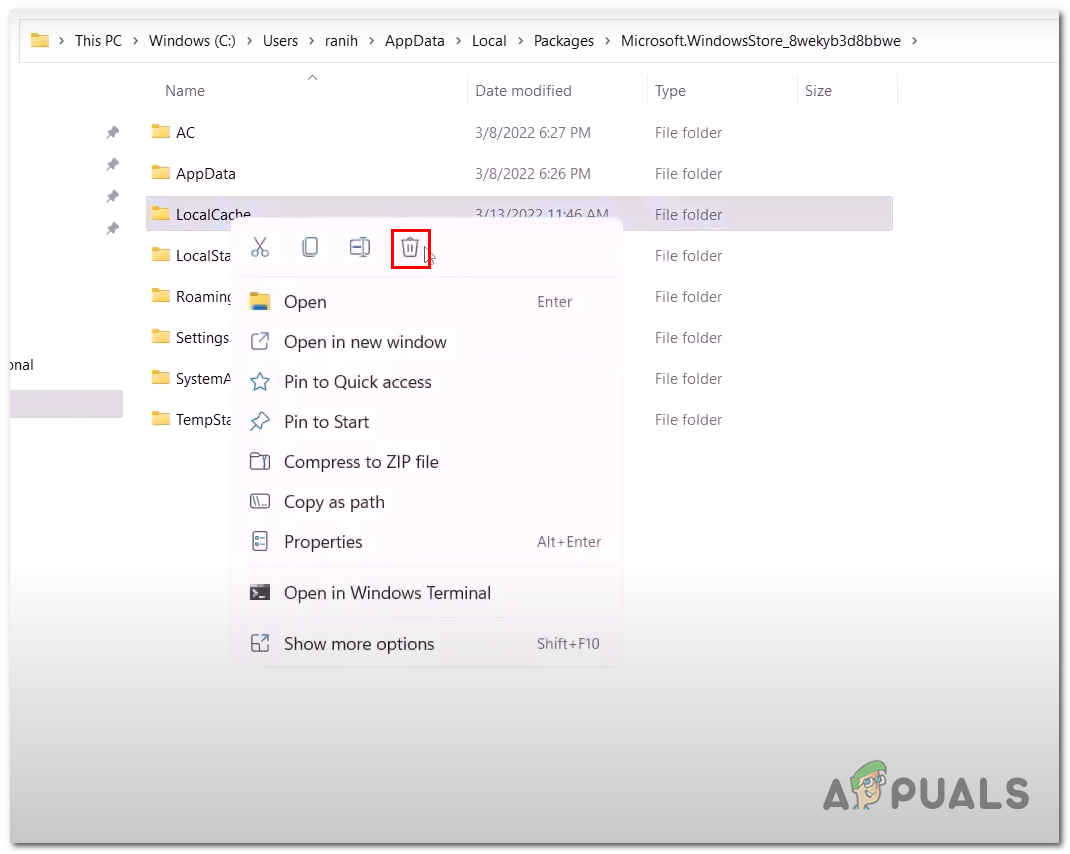
Opening the packages folder inside of the AppData - Inside the Packages folder, locate Microsoft.WindowsStore_8wekyb3d8bbwe folder and open it.
- Now, Right-Click on the Local cache folder and delete it.
Deleting the Microsoft store local cache - Once deleted, Restart your computer.


