Indexing Broken in Windows 11? Try these fixes!
Windows 10 search indexing is designed to make finding things on your computer faster by creating an index of your files, but recently several users reported that they have been experiencing issues while trying to use it. Apparently, Windows 11 indexing breaks due to unknown reasons, preventing the users from using the search feature.
In this guide, we will walk you through different effective troubleshooting methods that can help you rebuild the broken indexing in Windows 11. Let’s jump right in!
Run the Search and Indexing Troubleshooter
The easiest way to fix Windows 11 search problems is by using the built-in Search and Indexing troubleshooter. This troubleshooter is developed specifically to scan the operating system for indexing-related issues and fix them without much user input.
Here is how you can run the Search and Indexing troubleshooter in Windows 11:
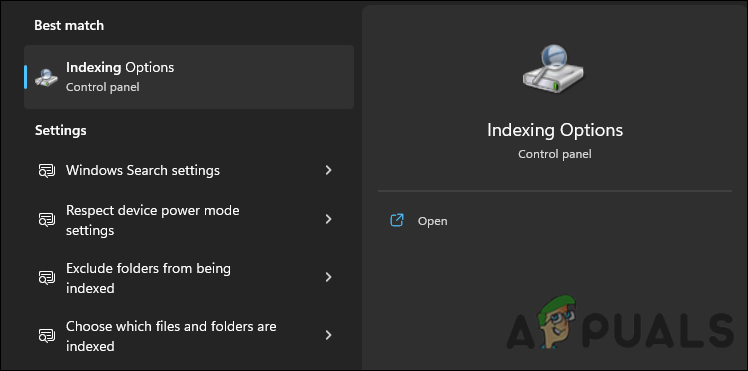
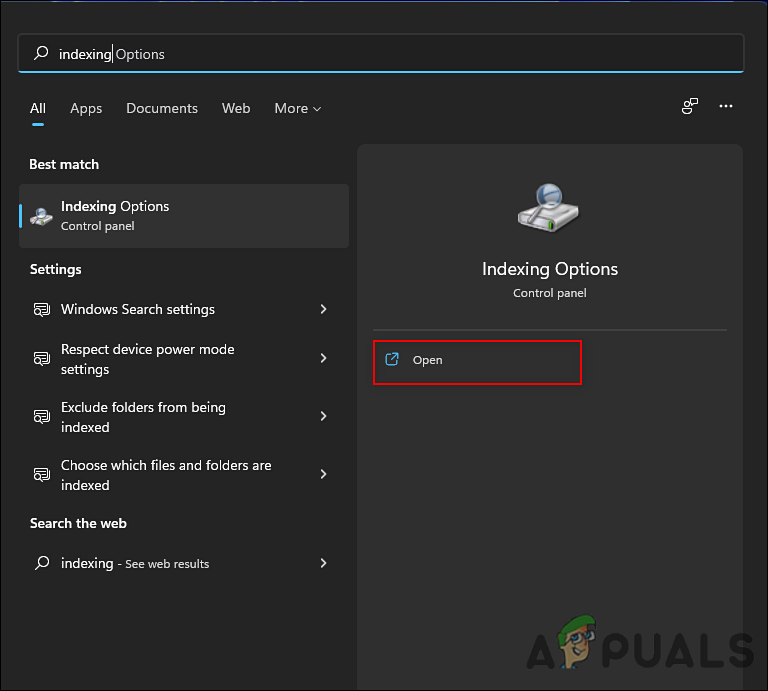
- Click on the search icon on your taskbar and type indexing in the Search field.
- Select Indexing Options.
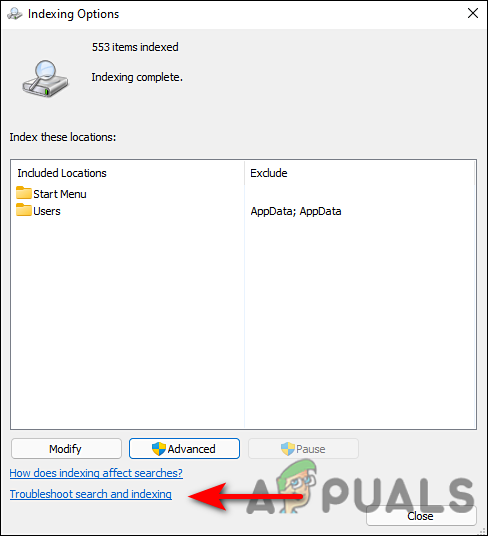
Launch indexing options in Windows 11 - Now, click on Troubleshoot search and indexing.
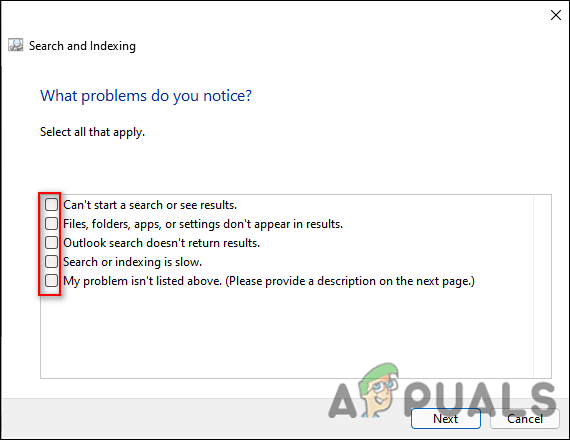
Troubleshooting indexing - In the next window, select the issue you’re experiencing.
Checkmark the issues you are experiencing - To complete the troubleshooting procedure, follow the steps on the screen.
Use PowerShell to Repair Indexing Issues
As it turns out, the indexing issue can also occur if certain files in the Search folder of your operating system become corrupt. Luckily, the solution to this is fairly simple. Several users managed to fix the problem by disabling indexing via Powershell, emptying the Search folder, and then re-enabling the indexing.
Here is how you can do that:
- Type Powershell in the search area of your taskbar and click on Run as administrator.
- Hit Yes in the User Account Prompt to proceed.
- Once you are inside the Powershell window, type the command mentioned below. This will disable indexing on Windows 11.
dism /online /disable-feature /featurename:SearchEngine-Client-Package
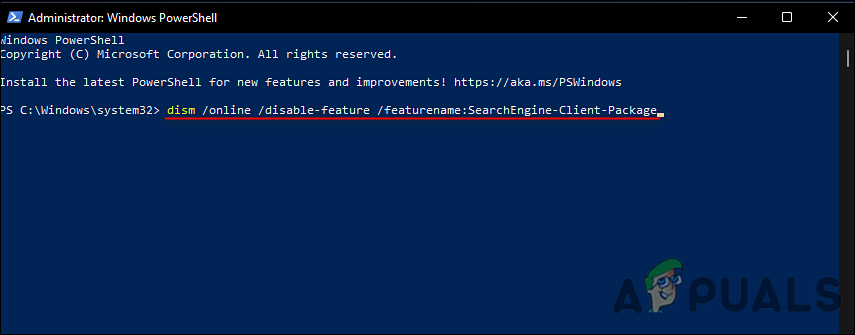
Disabling Indexing - Once the command is executed, restart your PC.
- Upon reboot, head over to the search section in the taskbar again and this time, type Services.
- Click Open.
- In the Services window, locate and right-click on Windows Search.
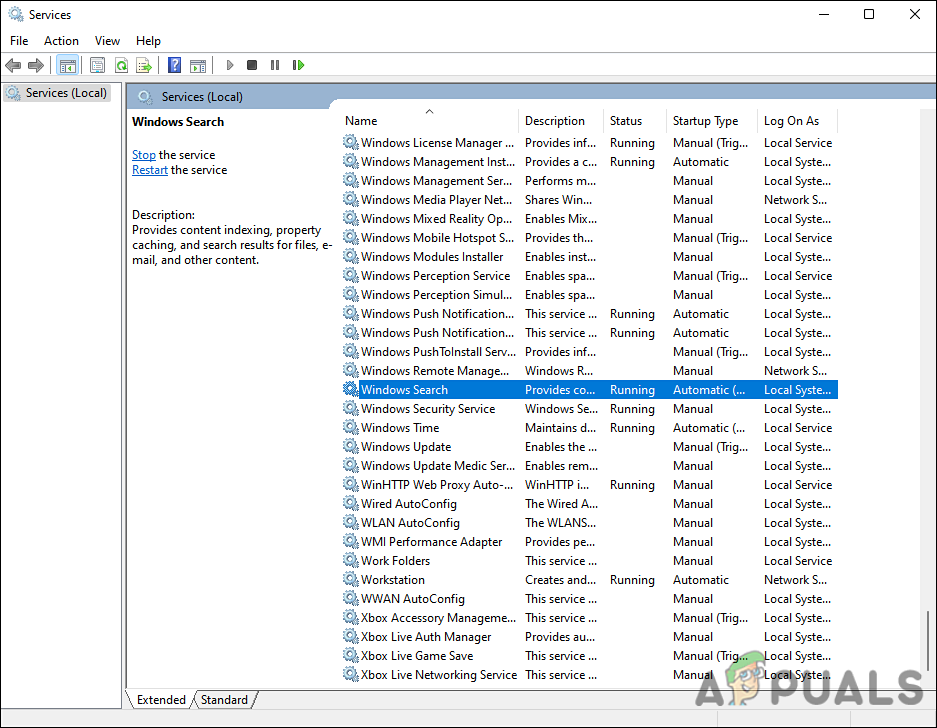
Launch Windows Search service - Select Properties from the context menu displayed on your screen.
- In the Properties window, click on the Stop button and then select Apply > OK.
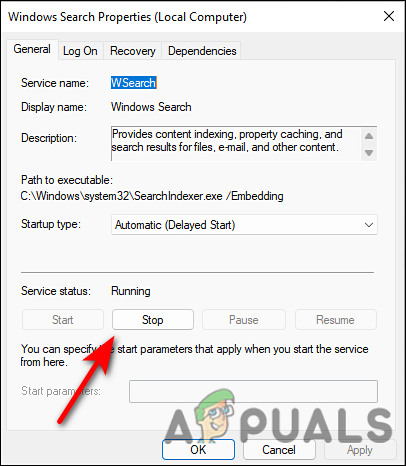
Stop Windows Search service - Now, launch File Explorer and navigate to C:\ProgramData\Microsoft\Search.
- Delete all the contents of the Search folder.
- Finally, launch Powershell as an administrator again and this time, execute the following command.
dism /online /enable-feature /featurename:SearchEngine-Client-Package
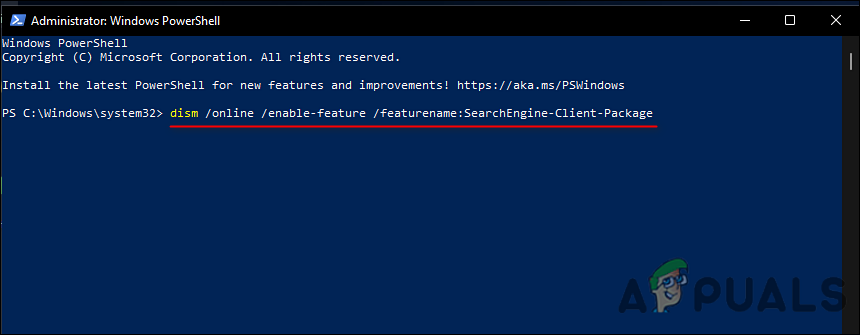
Enable indexing on Windows 11 - Once the command is executed, check if the issue is resolved.
Restart Windows Search via Task Manager
Indexing may not work or work relatively slowly if there is a generic bug or glitch affecting the service. Most of the time, these bugs can simply be fixed by restarting the service, which is why we suggest you give it a chance.
Follow these steps to successfully do so:
- Head over to the search area of your taskbar and type Task Manager.
- Click Open to launch the Task Manager window.
- Navigate to the Details tab and locate SearchUI.exe in the Name column.
- Right-click on the SearchUI.exe process and select End task.

End SearchUI.exe process - Once you end the task, restart your PC and check if the issue is resolved.
Rebuild Search Index
Another way to fix the bugs and corrupted databases are to rebuild the index. In the process of resetting and rebuilding the Windows search index, you delete all of its contents and tell Windows 11 to start indexing again, which resolves the error.
Here is all that you need to do:
- Use the Start menu to search for Indexing Options and hit Open.
- At the bottom of the Indexing Options window, click on Advanced.
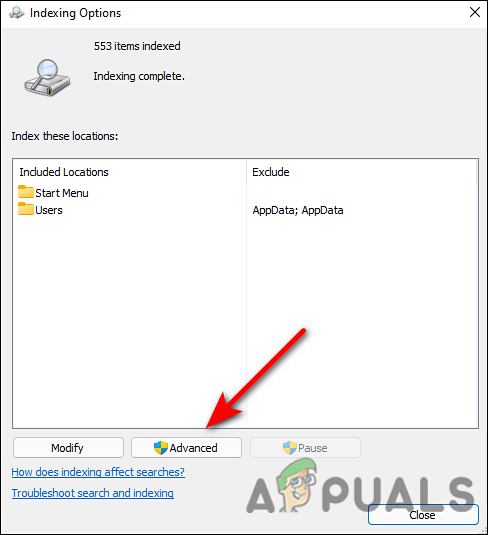
Access advanced indexing setting - Click on Rebuild in the Advanced Options window under Troubleshooting.
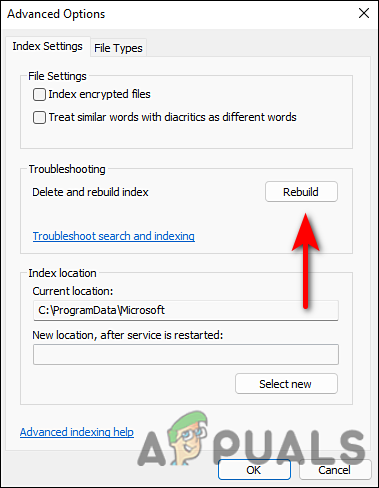
Rebuild indexing on Windows 11 - Lastly, click OK in the confirmation box.
Windows will now begin rebuilding the index. It may take some time depending on how much data is stored on the system. During this process, you might have issues using the Windows Search program, which is why we recommend using it when the process is successfully completed.
Force Outlook to Use Built-in Search
To fix the indexing issue within Outlook in Windows, you can direct Outlook to use the built-in search feature instead. For this purpose, we will be using Windows Registry, which is an advanced tool that saves low-level information about Windows programs and processes.
The Registry Editor is an administrative-level utility, which is why we highly recommend you to create a Registry backup before you proceed with the steps mentioned below, just in case.
Once you do that, follow these steps:
- Open a Run dialog box by pressing Windows + R keys simultaneously on your keyboard.
- In the text field of the dialog box, type regedit and hit Enter.

Opening up Windows Registry - Once you are inside the Registry Editor, navigate to the location mentioned below.
HKEY_LOCAL_MACHINE\SOFTWARE\Policies\Microsoft\Windows
- Right-click on the Windows key and select the New > Key option.
- Name the new key Windows Search.
- Double-click on the newly created key.
- Now right-click anywhere in the right pane and select the New > DWORD value option.
- Name the new key PreventIndexingOutlook.
- Now, double-click on PreventIndexingOutlook and under Value data, type 1.
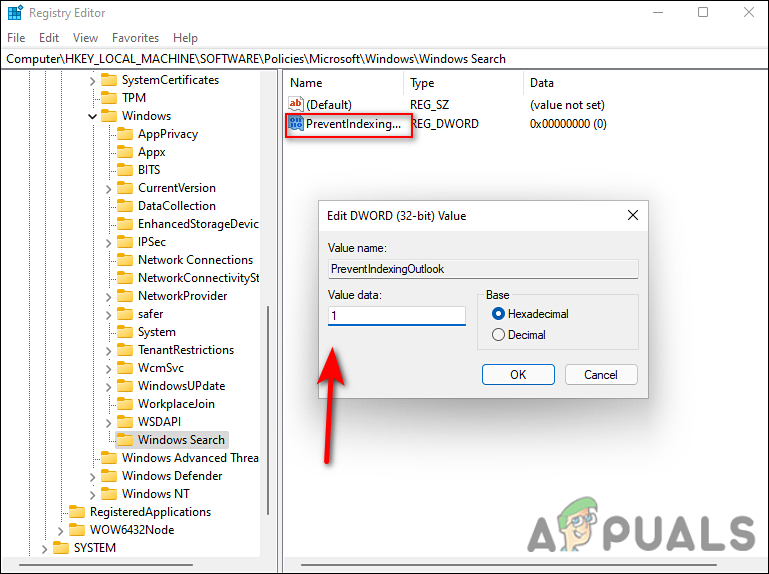
Modify Registry Key - Hit OK and then close the Registry Editor.
- Finally, restart your PC and check the issue is resolved.
Reset Windows 11
If none of the methods mentioned above works for you and you are still facing the indexing issue, then we suggest you go ahead and reset your PC.
With Reset this PC, you are able to reinstall Windows 11 using the local files that are on your system. This solution provides you with the option of keeping your personal files and folders so that no sensitive information is lost. However, resetting your PC will make you lose the third-party apps that you have installed on your Windows.
Here is how you can reset Windows 11:
- Launch Windows Settings by pressing Windows + I keys simultaneously on your PC.
- In the Settings window, click on the System tab that is located on the left-hand side of the screen.
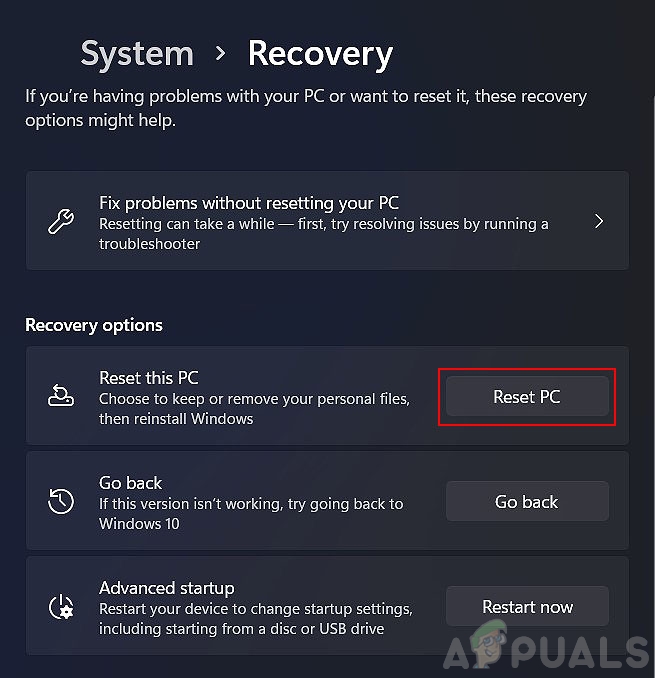
- Scroll to the bottom of the System tab until you see the Recovery option and click on it.
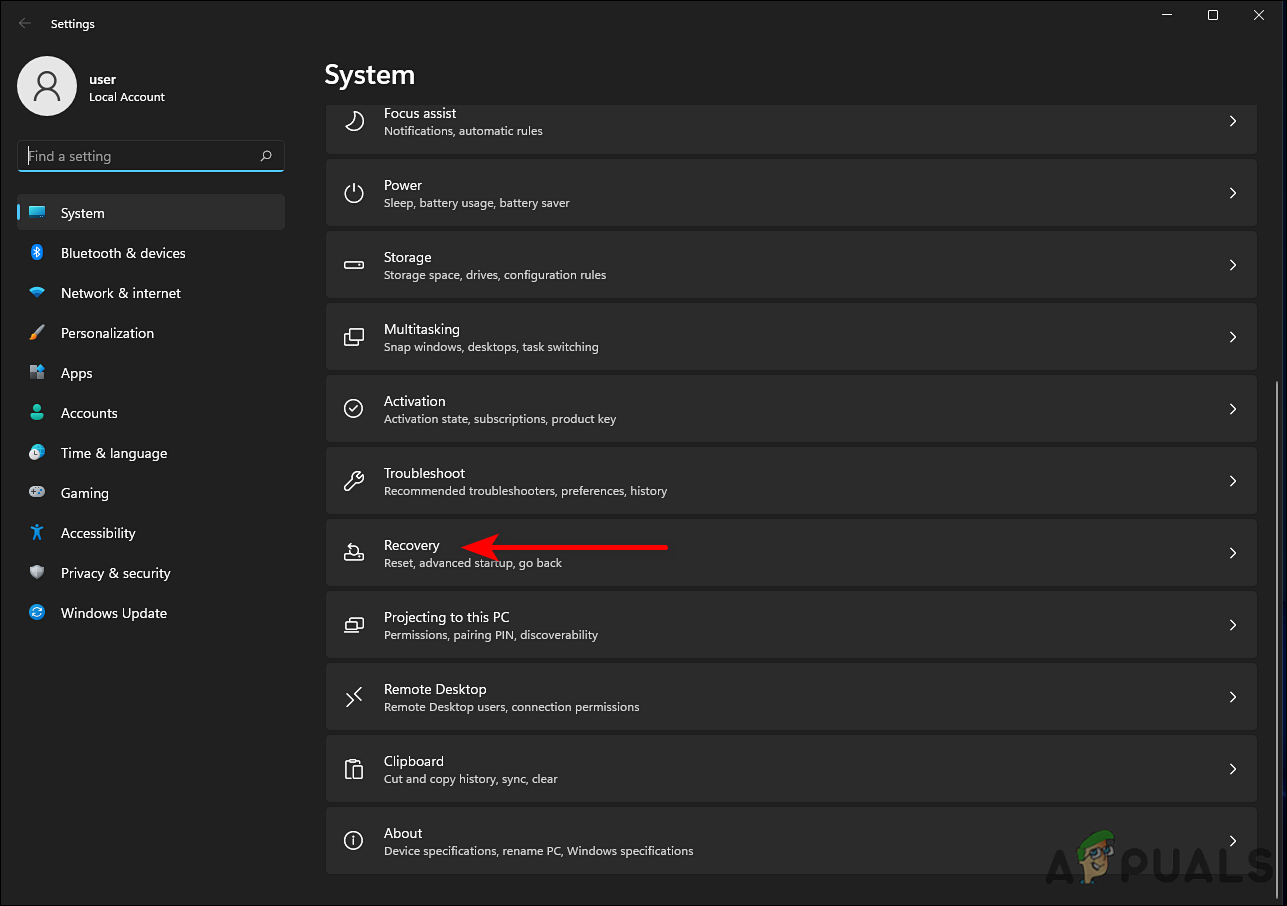
launch Recovery settings - Next, click on Reset PC next to the Reset this PC option.
- In the Reset window, choose whether you want to keep the files or uninstall everything.
- Next, choose Local reinstall.
- Once you have picked how you want to install Windows, simply click Next when the next prompt appears. If you’d like to change any setting, simply click on the Change settings option. Finally, on the Ready to reset this PC screen, click on the Reset button.


PreventIndexingOutlook did the trick for me. The client outlook coult use the indexing at all I tried everything… for days…. until I found this article… you saved my life. Thank you!!.