How to Use Windows VSTs in latest REAPER 5.93 Linux-Native builds
As REAPER v5.93 introduced Linux-native builds to the popular digital audio workstation, many users are wondering how they can use their favorite Windows-based VST plug-ins in the Linux builds. Fear not, Appuals has the solution.
REAPER has no native bridge to run Windows VSTs on Linux, but there are a few third-party tools that will accomplish the job. They are:
- LinVST (Ubuntu 14.04 32-bit and Debian Stretch)
- Airwave (AMD64.deb and x86_64.pkg.tar.xz)
- Carla (ArchLinux and Debian / Ubuntu)
All of these third-party tools rely on Wine to provide OS support to the plug-ins, and your mileage is definitely going to vary. Some VST plug-ins will work flawlessly, others will be a disaster.
Please be aware that we are providing basic guides to setting up these tools – for in-depth troubleshooting, you should consult the particular tools manual.
Windows VSTs in LinVST:
- Download the LinVST version for your environment – either the embedded Window version or the standalone version, though the embedded version is likely the default choice for most users.
- Copy all of the Lin-VST-server files from the version that was installed to your /usr/bin pathway.
- Make a folder to place all of your Windows VSTs inside of.
- In LinVST’s convert folder, start the linvstconvert, and then choose the linvst.so from the version folder.
- Point linvstconvert to the folder you created that contains all of your Windows VSTs, then hit the Start (Convert) button.
- Start up REAPER DAW and add your Windows VSTs folder to the plug-ins folder in REAPER’s settings.
Windows VSTs in Airwave:
Install the required packages: multilib-enabled GCC, cmake, git, wine, Qt5, libmagic.
Arch Linux (x86_64) example:
· sudo pacman -S gcc-multilib cmake git wine qt5-base
Fedora 20 (x86_64) example:
· sudo yum -y install gcc-c++ git cmake wine wine-devel wine-devel.i686 file file-devel libX11-devel libX11-devel.i686 qt5-devel glibc-devel.i686 glibc-devel
Ubuntu 14.04 (x86_64) example:
· sudo apt-get install git cmake gcc-multilib g++-multilib libx11-dev libx11-dev:i386 qt5-default libmagic-dev· sudo add-apt-repository ppa:ubuntu-wine/ppa· sudo apt-get update· sudo apt-get install wine1.7 wine1.7-dev
Get the VST Audio Plugins SDK from Steinberg.
Unpack the VST SDK archive. Further I’ll assume that you have unpacked it in your home directory:
${HOME}/VST3\ SDK.Clone the airwave GIT repository
git clone https://github.com/phantom-code/airwave.git
Go to the airwave source directory and execute the following commands:
mkdir build && cd buildcmake -DCMAKE_BUILD_TYPE="Release" -DCMAKE_INSTALL_PREFIX=/opt/airwave -DVSTSDK_PATH=${HOME}/VST3\ SDK ..makesudo make installOf course, you can change the CMAKE_INSTALL_PREFIX as you like.
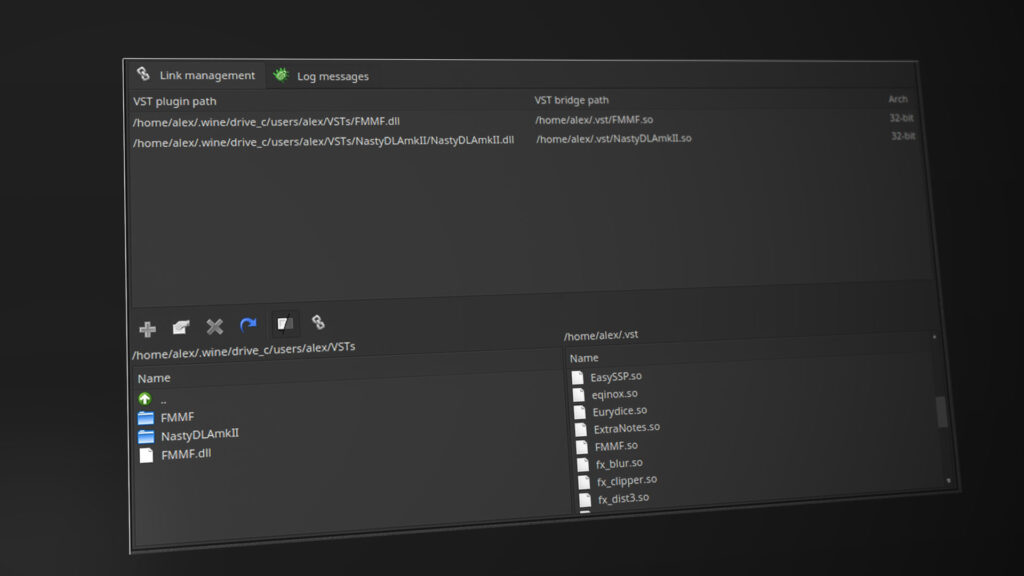
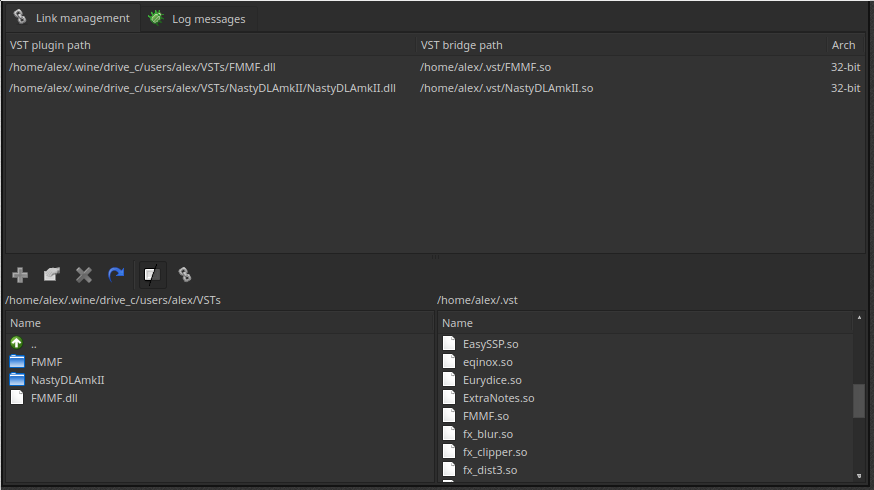
- Run the airwave-manager
- Press the “Create link” button on the toolbar.
- Select desired wine loader and wine prefix in the appropriate combo boxes.
- Enter a path to VST plugin DLL file in the “VST plugin” field (you can use the “Browse” button for convenience). Note, that the path is relative to the selected wine prefix.
- Enter a “Link location” path (the directory, where your VST host looks for the plugins).
- Enter a link name, if you don’t like the auto-suggested one.
- Select a desired log level for this link. The higher the log level, the more messages you’ll receive. The ‘default’ log level is a special value. It corresponds to the ‘Default log level’ value from the settings dialog. In most cases, the ‘default’ log level is the right choice. For maximum performance do not use a higher level than ‘trace’.
- Press the “OK” button. At this point, your VST host should be able to find a new plugin inside of the “Link location” directory.
Windows VSTs in Carla:
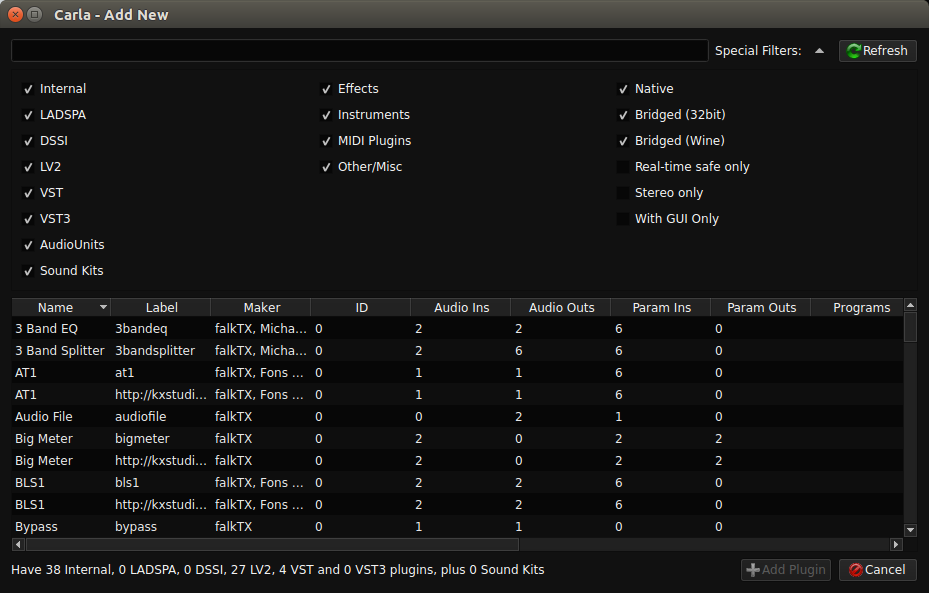
- Install Carla for your Linux version (Carla-Git seems to work best for most users).
- Install all the available Carla bridges from the package manager.
- Launch Carla as a standalone app, and click the plus button to add plug-ins.
- Using the search button, make sure that the “Windows 32” box is ticked, then scan for plug-ins. You may need to adjust the search path in Carla’s settings.
- When the plug-ins are found, close Carla, then launch REAPER.
- Add Carla as a plug-in to REAPER, and the Carla plug-in to load Windows VSTs.