How to Use the Crop Tool in Adobe Photoshop
The crop tool in Adobe Photoshop enables the designer to cut a picture, to a size of their choice. Cropping is not just limited to reducing the visible size of an image, but also has certain features which allow the user to rotate the image before it is cropped, giving it a different angle. Cropping an image becomes vital at times when you need to use only a certain part of the image. Here is how you can use this tool on Adobe Photoshop.
- When you open Adobe Photoshop to a new file, this is how it appears on the screen. Towards the left of your screen, where you find all the tools for Editing an image on Photoshop, locate the third icon, which is the crop tool for Adobe Photoshop. Now there are chances that the icon would be slightly different because of the default settings for Photoshop. But don’t worry, you can always click the right button of your mouse which will open a dropdown list of tools for this specific tool. You can use these tools to crop your image and also adjust the perspective of your image.
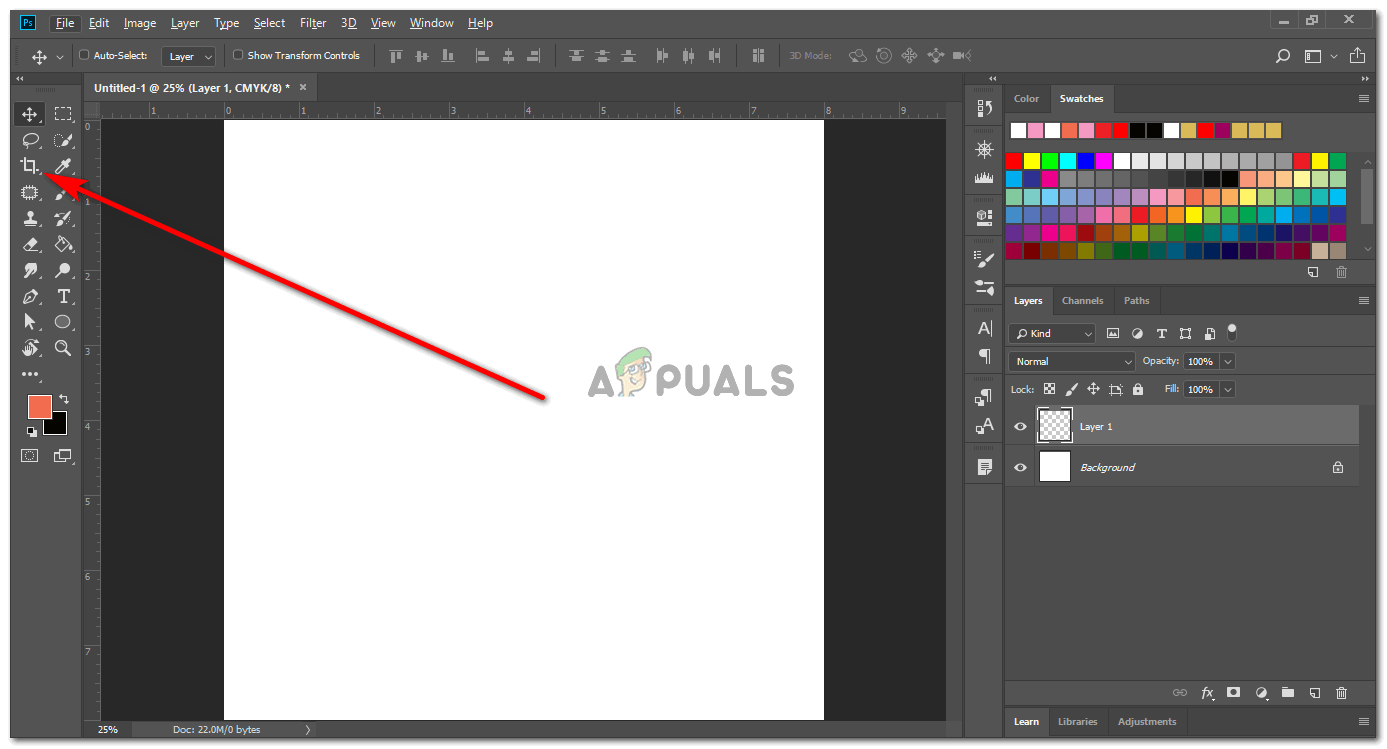
Accessing the Crop Tool from the toolbar on Adobe Photoshop on the left of the screen. 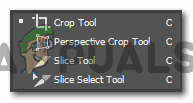
The dropdown list for this tool shows different cropping tools which can be used by the designer. - When you press the crop tool icon that is towards the left of the screen, and then tap the image or the layer that you want to crop, these borders will appear on the artboard.
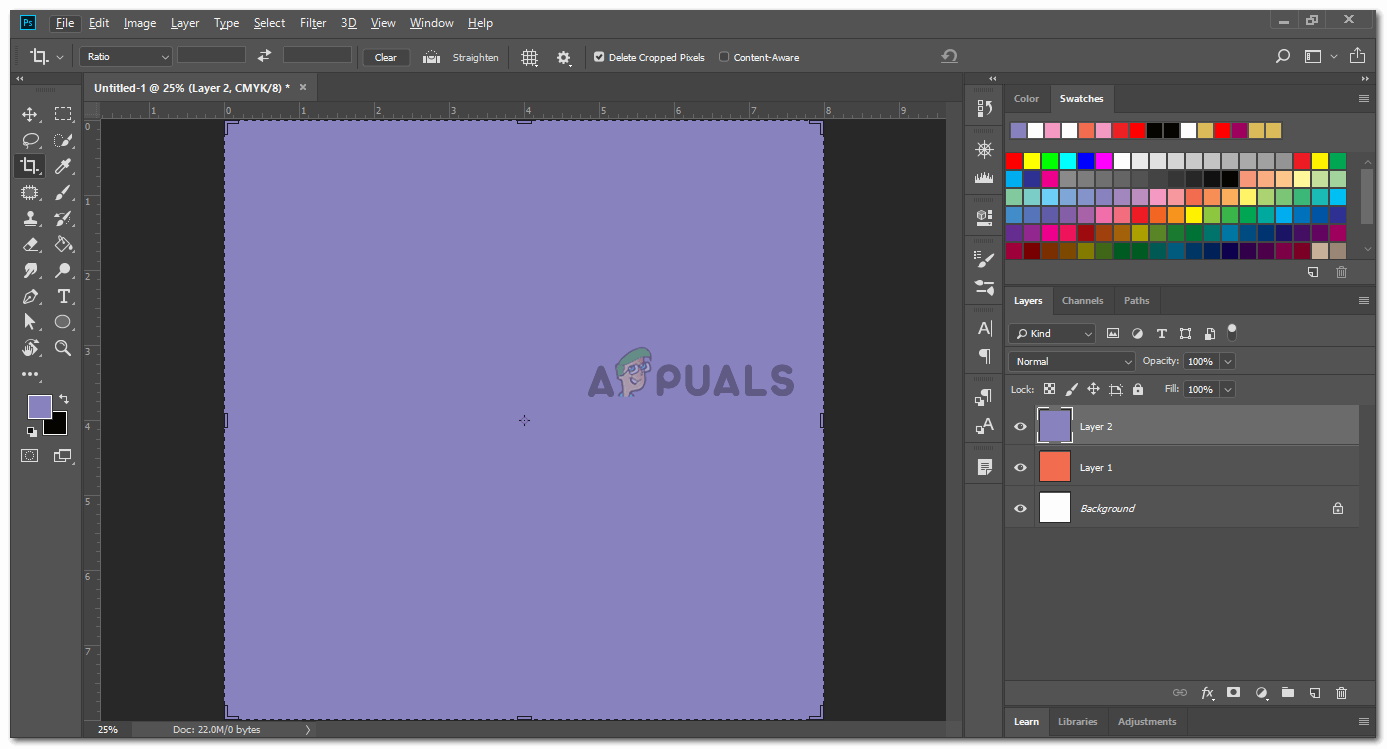
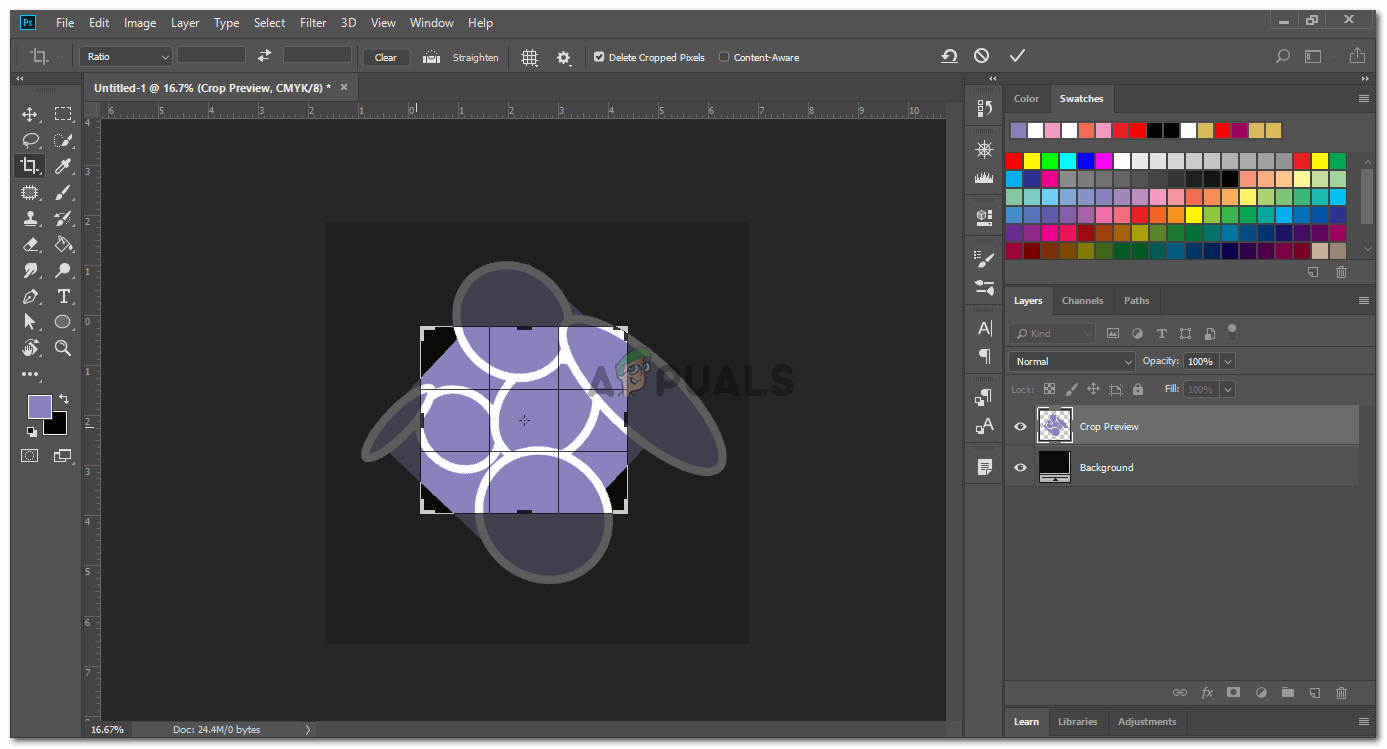
The cropping borders that appear on the image. - All the corners of this frame and the sides have bars on them which can be dragged to crop the image. These bars help you decide what part of the image you want to keep and what part of it you want to be removed.
All of these bars can be used to increase or decrease the size of the cropping area - Once you have dragged in or dragged the crop bars out, you can click on the tick arrow that is point number 2 in the image below. Clicking on this tick mark will finalize the crop settings that you just made and would crop the image instantly after you have clicked this tick tab.
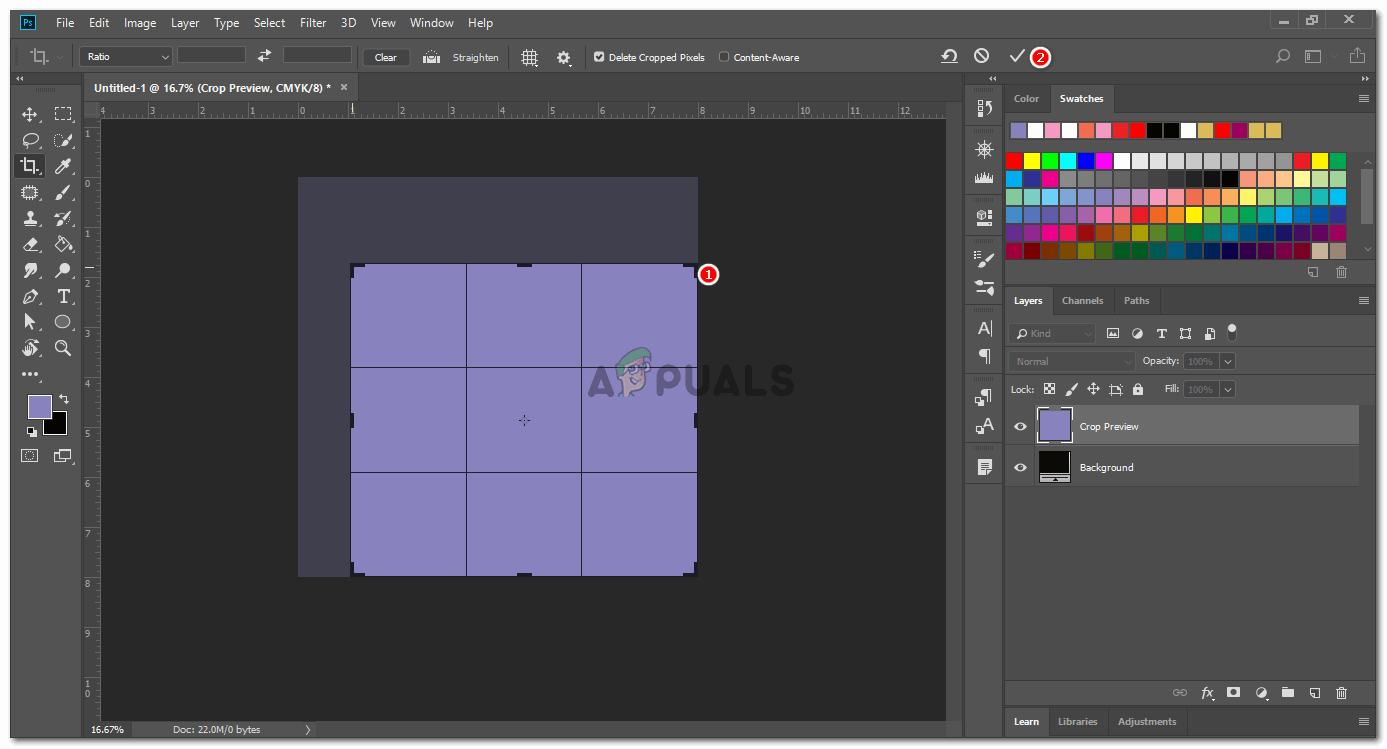
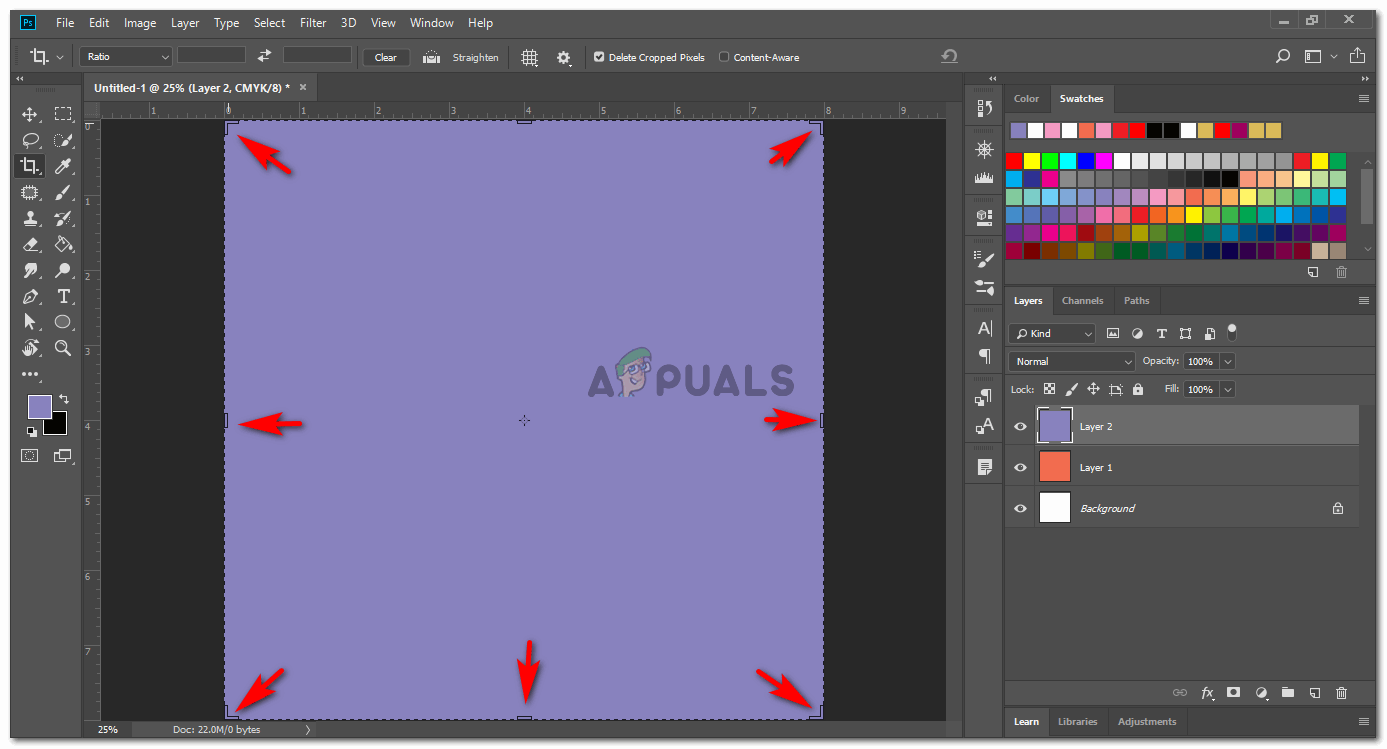
When you drag the cropping borders, the background will become darker to show the user that this part will be cropped. 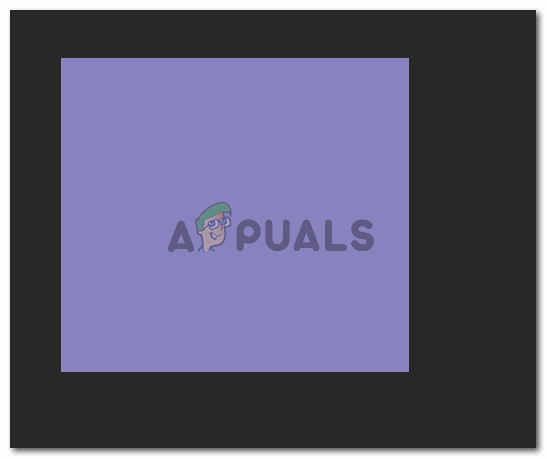
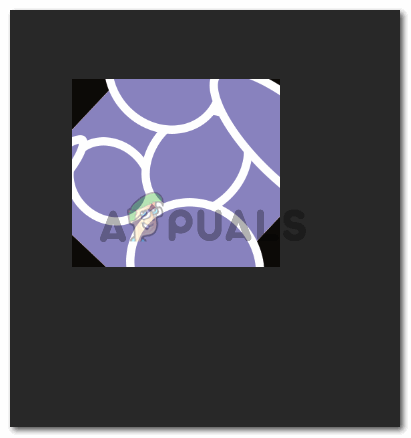
Cropped image - Once your crop bars are still showing on the image, and if your bring your cursor towards the corners of these bars, you will find a cursor which is a bit curved, something similar to the arrow that I drew in the image below. This arrow can help you rotate the image that you want to crop.
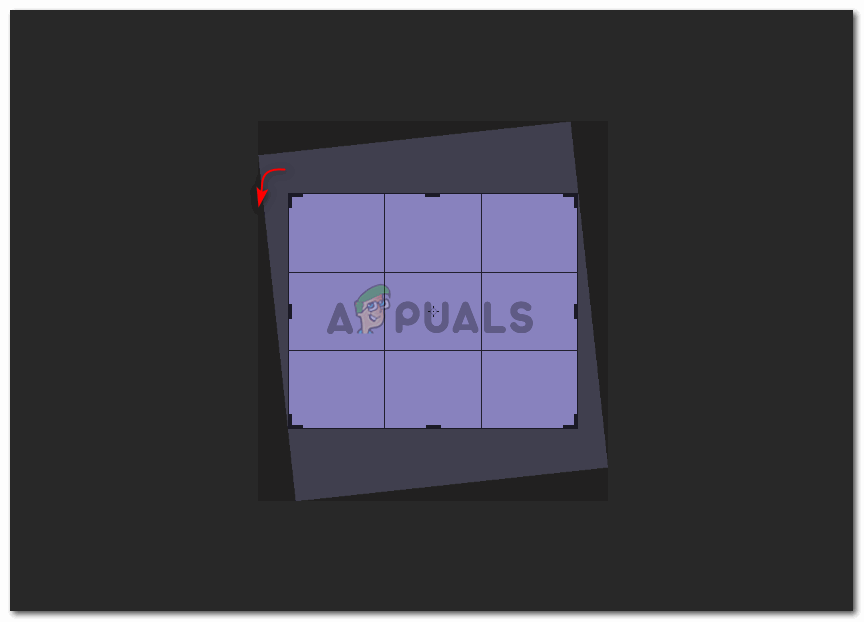
Rotate the image according to your design on Photoshop - For a better understanding of the previous step, I added a few shapes to the layer so that when I rotate the image, the change is visible.
I drew a pattern so that when I rotate the image it is visible I rotated the image after drawing the shapes and this is how it looks now.
Rotate it as per your requirements Once you are done with the rotations, you can click on the tick tab on the top toolbar. Your image will get cropped accordingly.
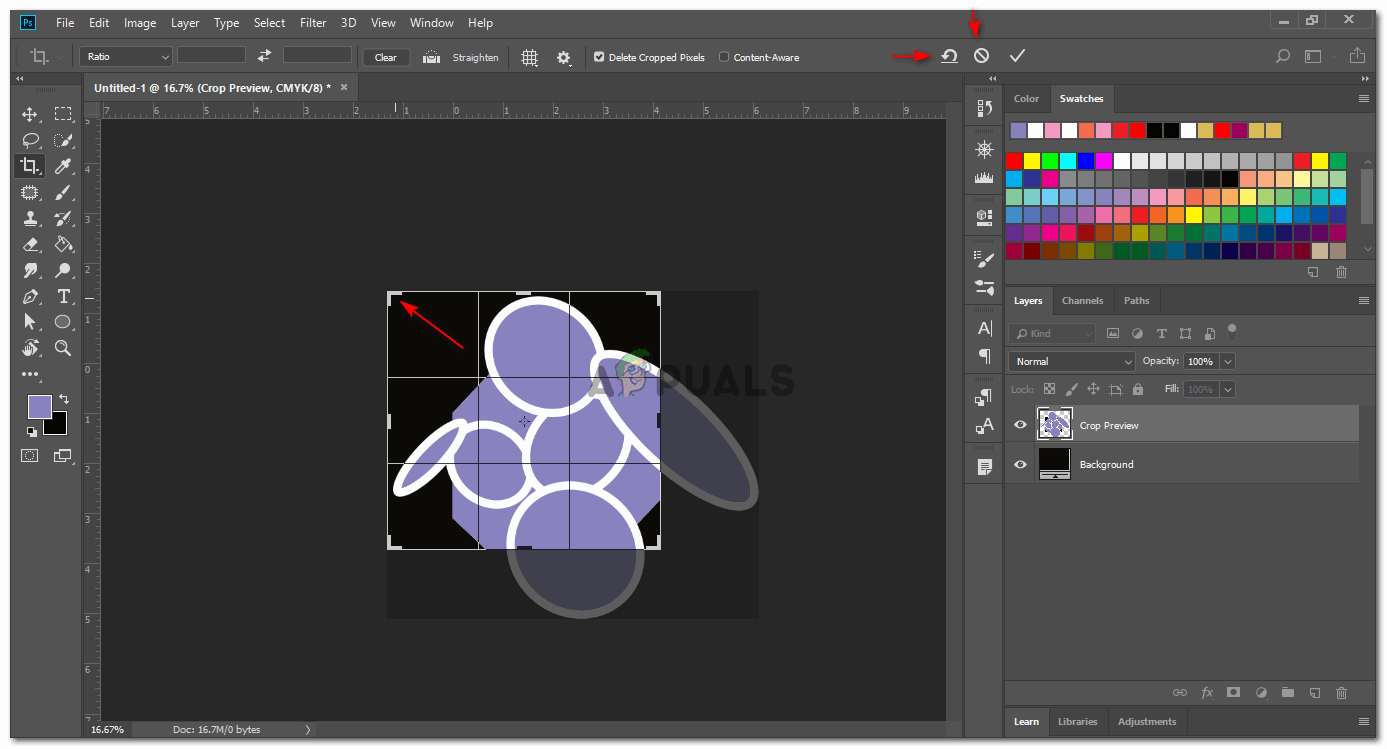
Rotated image - You can undo the cropping that you just did by clicking on the icon first from the left of the two icons next to the tick icon. You can cancel any cropping by clicking the tab which is in the center. And lastly, you can drag out from the corners of the bars by going in the direction of the arrow as shown in the image below,
Other important icons you need to know about - If this cropping size is something that you would need in the future as well, you can always save this preset on Adobe Photoshop. For saving a preset for cropping, firstly you need to click on the downward facing arrow on the top toolbar, as shown in the image below. This will show you all the presets saved here. Click on the icon shown by the arrow in the image below to save a customized preset.
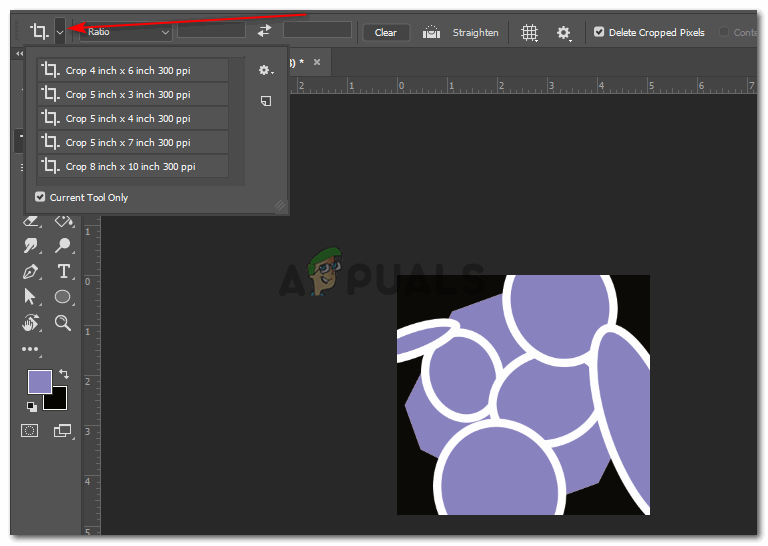
Adding your Crop tool presets which can be used whenever in the future use 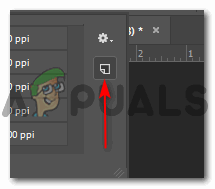
This tab will add a cropping preset to your program. This will lead you to a dialogue box for saving a name for your preset. Add a name for your preset and click the OK button.
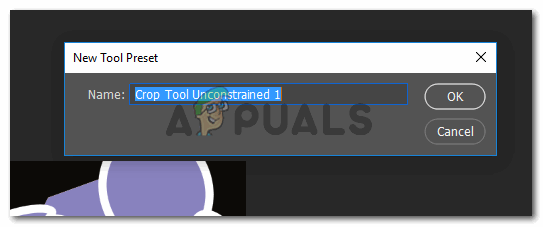
Add a specific name for your preset. You can add the size of the preset here to keep it all organized. Your preset will be visible in the preset menus. You can add as many preset here as you like.


