How to Add and Setup Multiple Monitors on Windows?
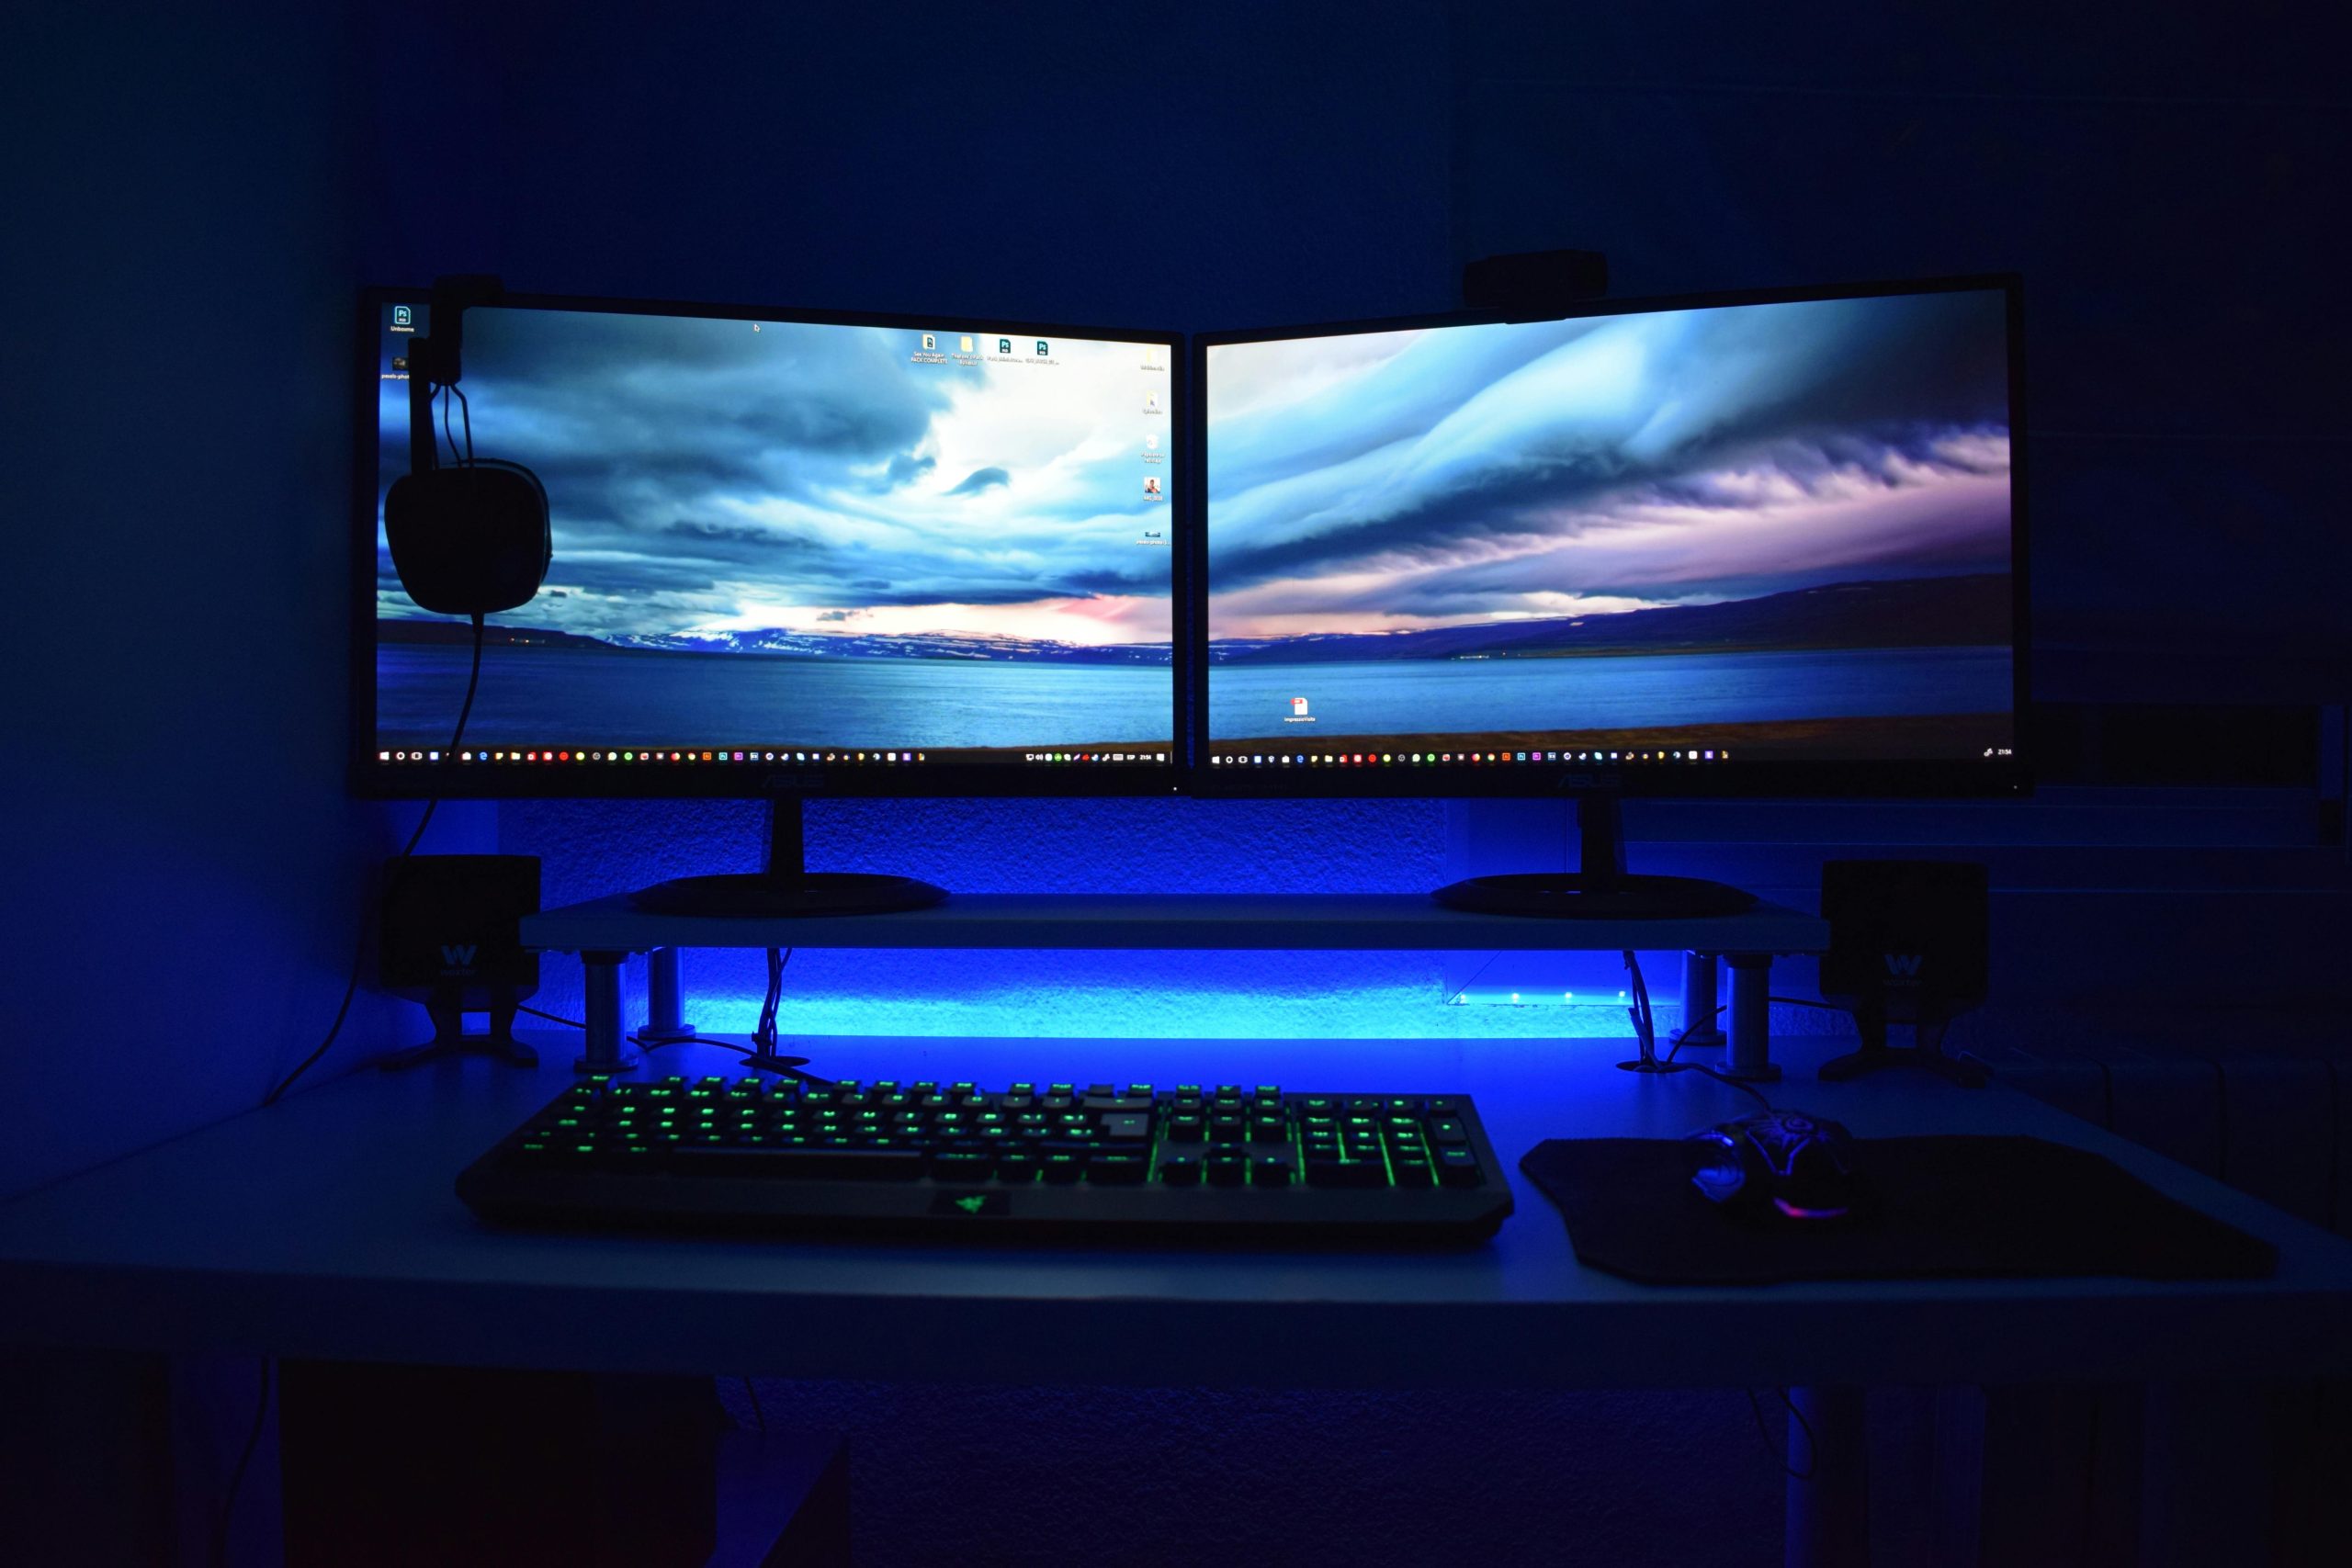
Setting up dual monitors can help you stay organized and productive. If you often multitask, consider using multiple monitors to boost productivity and improve your work environment. Adding multiple monitors is especially useful for presenting in Zoom meetings or streaming video games on platforms like Twitch or YouTube to read chats comfortably.
Note: Actual benefits may vary based on task type, work style, and ergonomics.
1. Check Compatibility
Before we start, check the number of monitors your GPU supports by visiting the manufacturer’s site. This is crucial because compatibility issues will prevent you from adding more than one monitor.
Also, inspect your GPU’s ports to ensure they match your monitors’ inputs. A quick Google search of your GPU name with the keyword “specification” can also help.
2. Set Up Dual Monitors on Windows
After confirming your GPU supports multiple monitors, you can start setting up dual monitors. Newer GPUs often use HDMI and DisplayPort. For older systems, use VGA and DVI ports, possibly with adapters.
Once you’ve connected both monitors with the right cables, configure these settings:
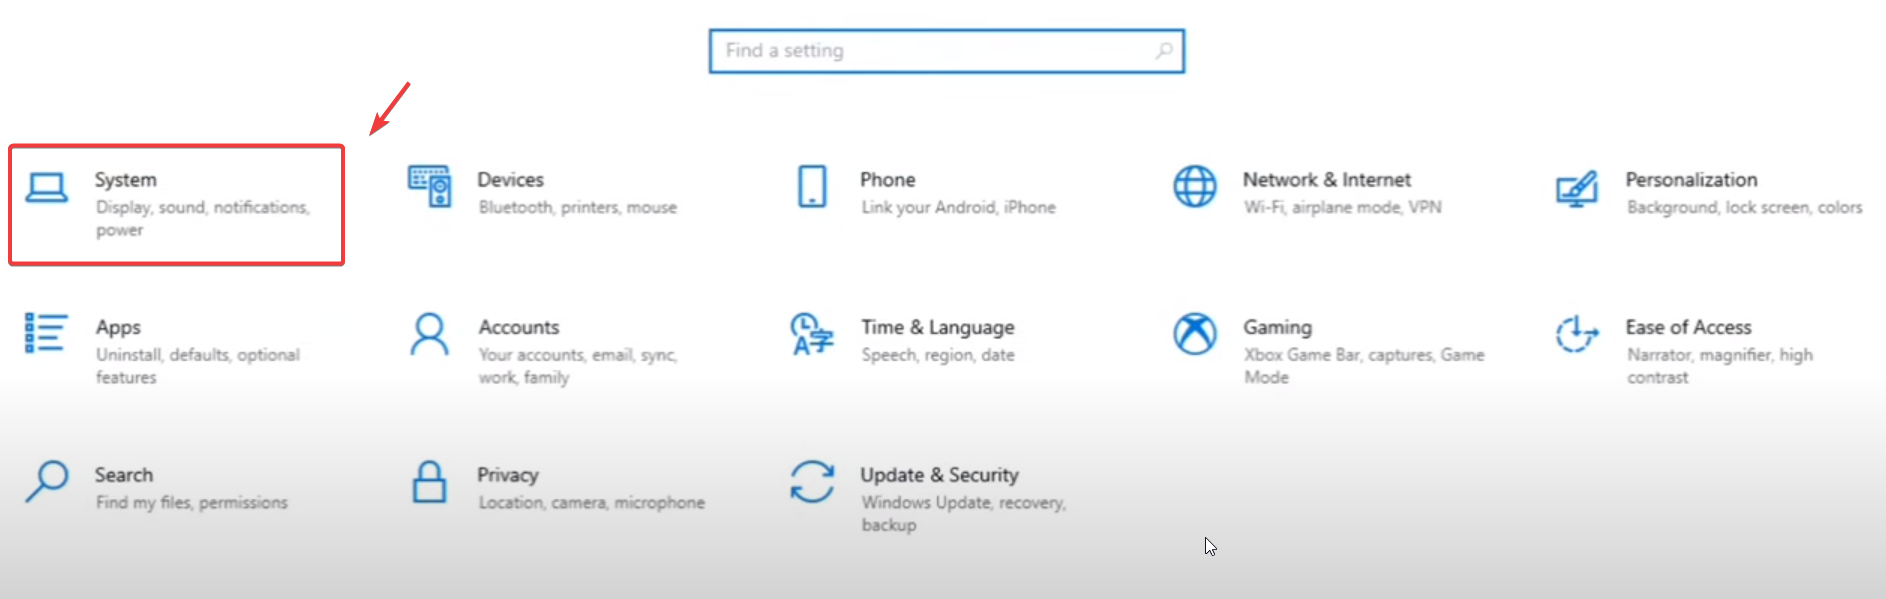
- Open Settings by pressing Win + I.
- Go to System > Display.
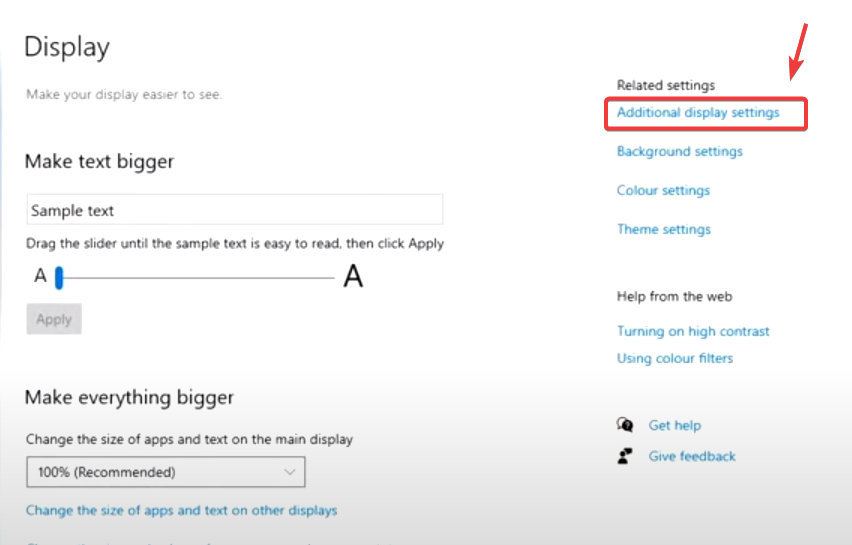
- Click Additional Display Settings. You’ll see numbered boxes indicating connected monitors. Number 1 is your main monitor. Rearrange them by clicking and dragging to match their physical arrangement.
- Click Apply to save the settings.
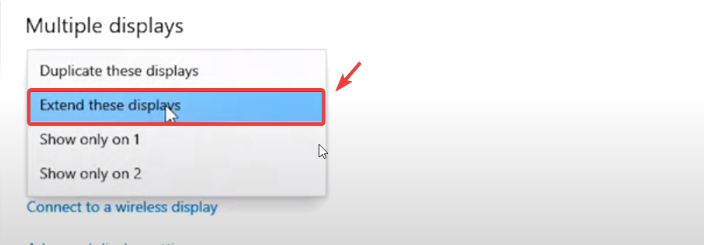
- Scroll down and select Extend These Displays from the Multiple Displays Menu. This extends your workspace.

- You’ve successfully added dual monitors to your Windows 10.
3. Troubleshooting Common Issues
If you encounter problems, here are some common issues and solutions:
- Monitor Not Detected: Ensure all cables are connected securely. Try unplugging and replugging cables, and restart your computer.
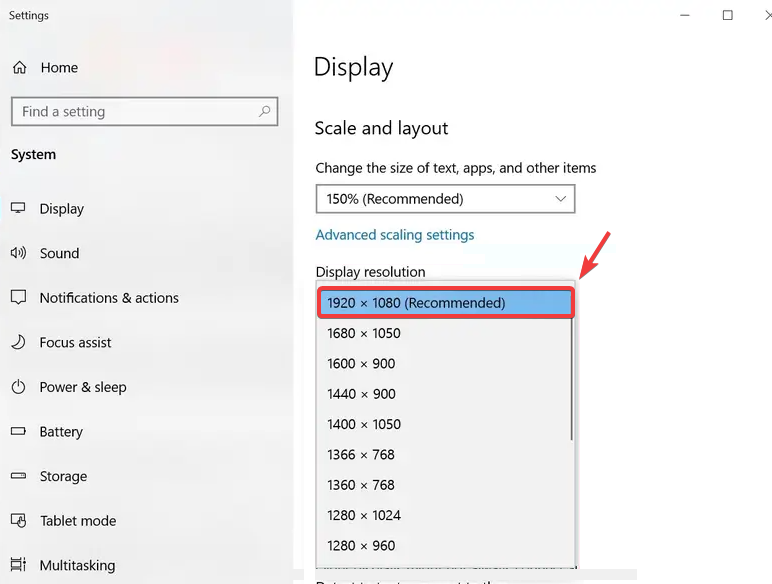
- Incorrect Resolution: Go to Settings > System > Display. Scroll to Display Resolution and choose the recommended setting for each monitor.
- Displays Not Extending: Ensure you selected Extend These Displays from the Multiple Displays Menu. If the issue persists, update GPU drivers and check for Windows updates.
4. Adjusting Additional Settings
For a better experience, adjust these additional settings:
- Change Primary Monitor: Go to Settings > System > Display. Click on the monitor you want as the primary, then check Make this my main display. This directs taskbar and default notifications to this monitor.

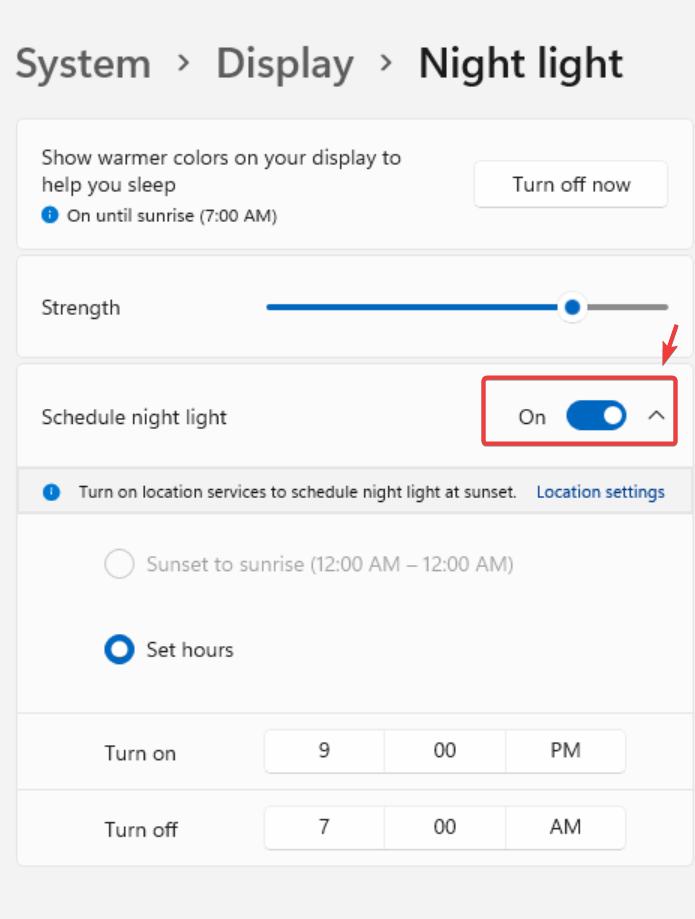
- Night Light: Reduce eye strain by enabling Night Light in Settings > System > Display.
- Orientation: For a vertical monitor, change the orientation in Settings > System > Display and select the appropriate option from Display Orientation.

By following these steps, you can fully use dual monitors to boost productivity and comfort.