How to Setup a SYSLOG Server to Log Network Events on Windows 10
Typically network devices store event messages on the device itself. However, you can configure it to send to a specific server. The server, henceforth, is called a Syslog server. The network sends all the event messages to the Syslog server specified where you can make certain rules for different types of messages. To be able to do this, we will be using the Kiwi Syslog Server tool from SolarWinds. SolarWinds has developed several software that can be used for managing systems, networks etc.
Installation of the Kiwi Syslog Server
To set up a syslog server, first, you will have to download the Kiwi Syslog Server tool from SolarWinds official site. The link to the tool can be found here or you can take a look at the best syslog servers here.. Once downloaded, run the installation file. During the installation, it will ask you to whether to install the utility as a service or as an application. You are going to want to install it as a service since it will allow the Kiwi Syslog to process messages even when the user is not logged in. The rest of the installation is straightforward and there’s nothing that needs explanation.
Setting up the Kiwi Syslog Server
Now, once you have installed the Kiwi Syslog Server on the system, you are going to need someone to walk you through the options available. Don’t worry, we are going to cover all the important features that are provided in the free edition of Kiwi Syslog Server. Follow the given instructions:
- Go to the Start Menu and open up the Kiwi Syslog Server.
- Now, one of the first things you need to do when you install a syslog server is to set up filters and actions. Press Ctrl + P or simply click File > Setup to get the setup window.
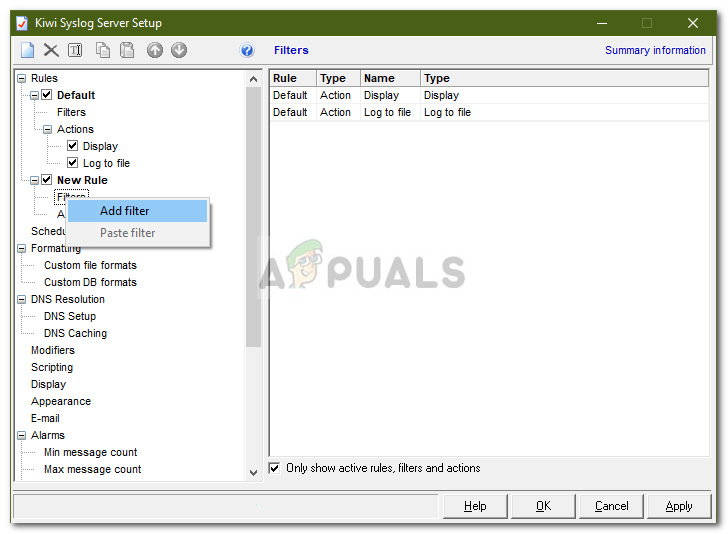
- Basically, filters are used to decide what will happen when a message is received. With the tool, you can filter a message based upon priority, IP address range, the content of the message, the source of the message AKA hostname etc. You can set a filter by creating a new rule or in the rules created by Default. To create a new rule, right-click Rules and select Add rule. Then, highlight Filter, right-click and select Add filter.
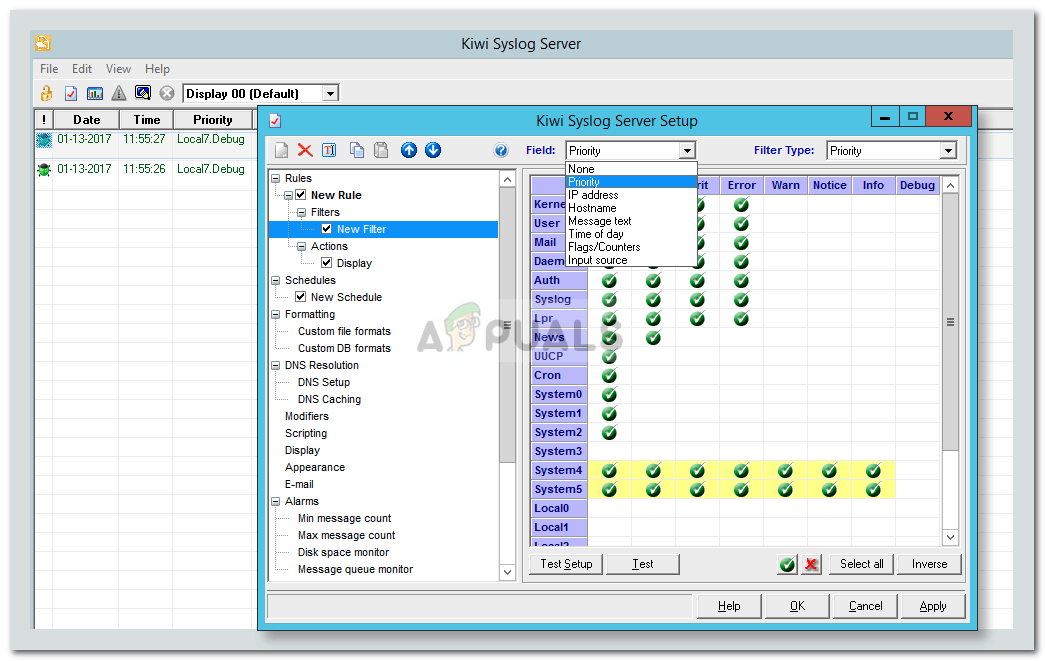
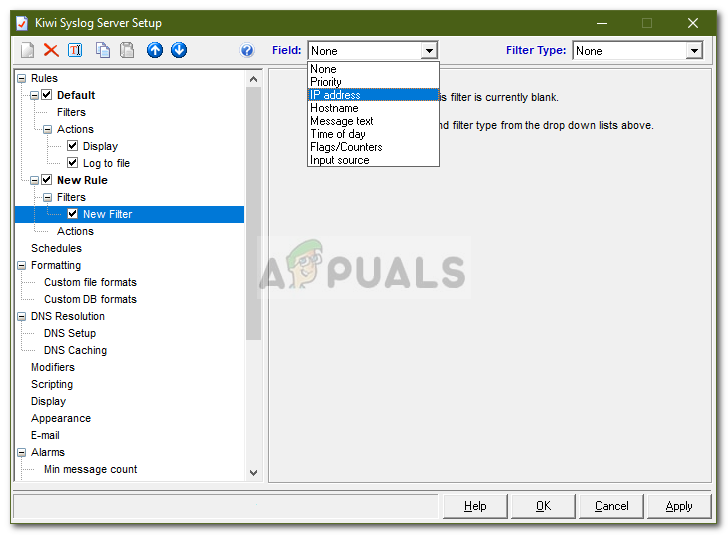
Adding New Filter - You can rename the filter whatever you want, however, a name that suggests what the filter is for is recommended. You can set the filter type by choosing from the drop-down list in front of Field. As an example, we’ll select IP address.
Choosing Filter Type - After that, you have Actions. Actions basically tell the server what to do when a specific Filter has been met. It can display the received messages, store them in a log file, play a sound etc. However, in the free edition, there are limitations to the actions that you can perform. To set an action, highlight Actions, right-click and select Add action.
- You can choose what it does by choosing from the drop-down menu in front of Action.
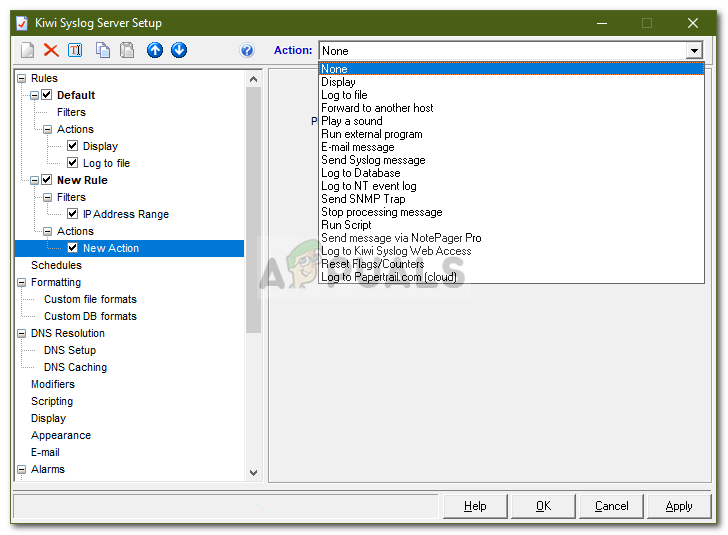
Choosing Action Type - There are tons of things that you can do with this utility. You can change how the messages are displaying by going to Display, set alarms when certain conditions are met etc.
- With this utility, you can also receive traps. SNMP Traps are sort of similar to syslog in that they are real-time notifications that notify you when you have a network problem.
- You can make the utility listen for SNMP traps by going to SNMP under Inputs.
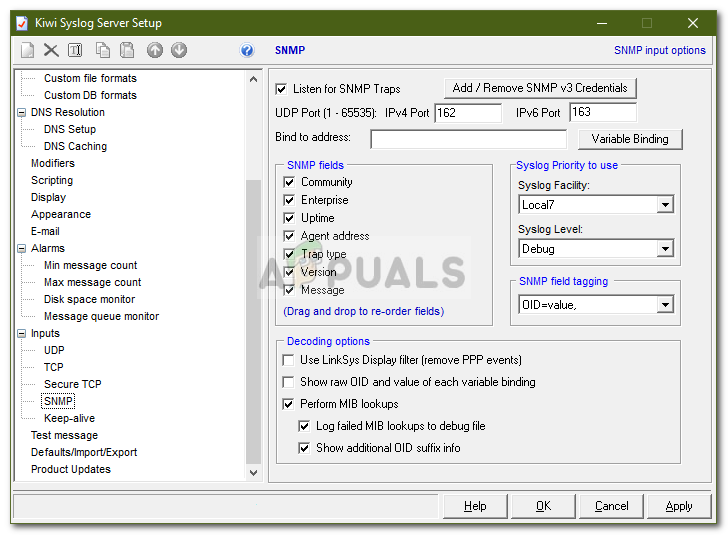
Listening to SNMP Traps - By default, the utility listens to all the messages sent to the server on the UDP port 514. You can also make it listen for TCP Syslog messages by enabling the feature.
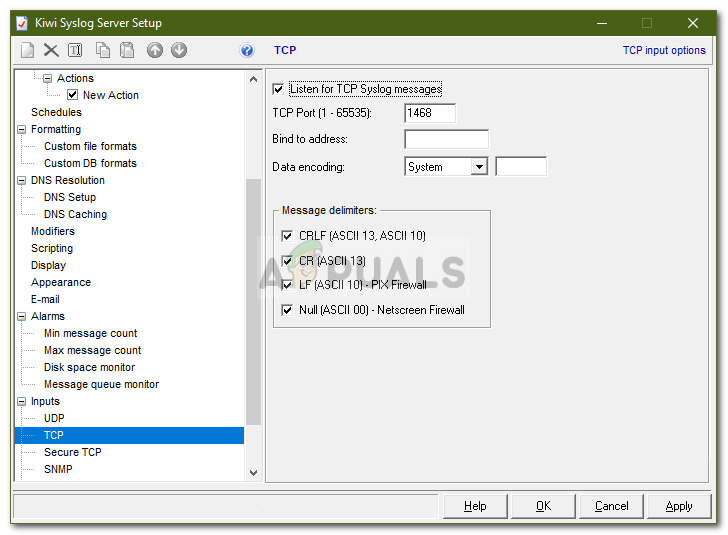
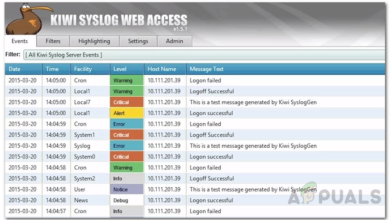
Enabling Listen to TCP - Once done, all the messages sent to the server on the UDP port 514 or any other that you have configured will be displayed.
- If you want to save all the Rules, filters and actions that you have created, you can do so by going to Defaults/Import/Export. There, click on ‘Export Settings and Rules to INI file’.
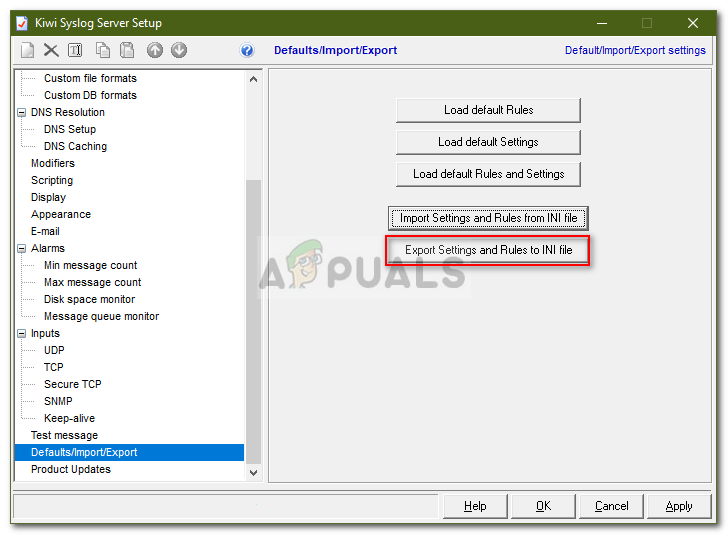
Exporting Settings to INI File - Save the file anywhere you like.
- You can also reset all the Rules and settings by clicking ‘Load default Rules and Settings’.
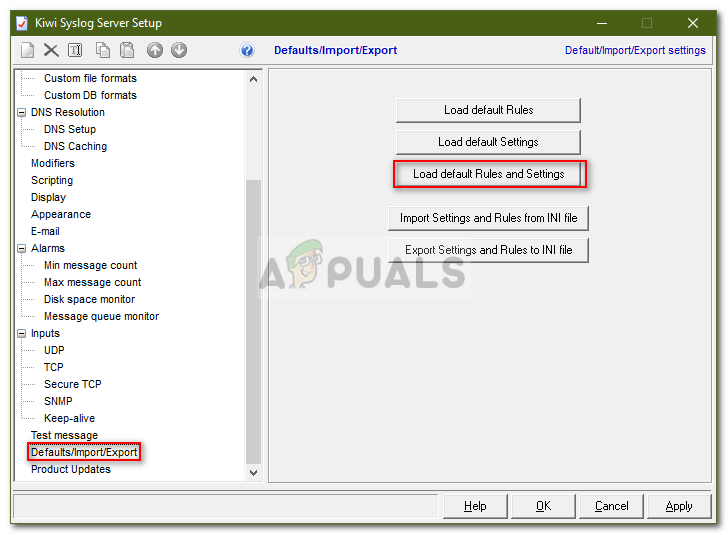
Loading Default Settings