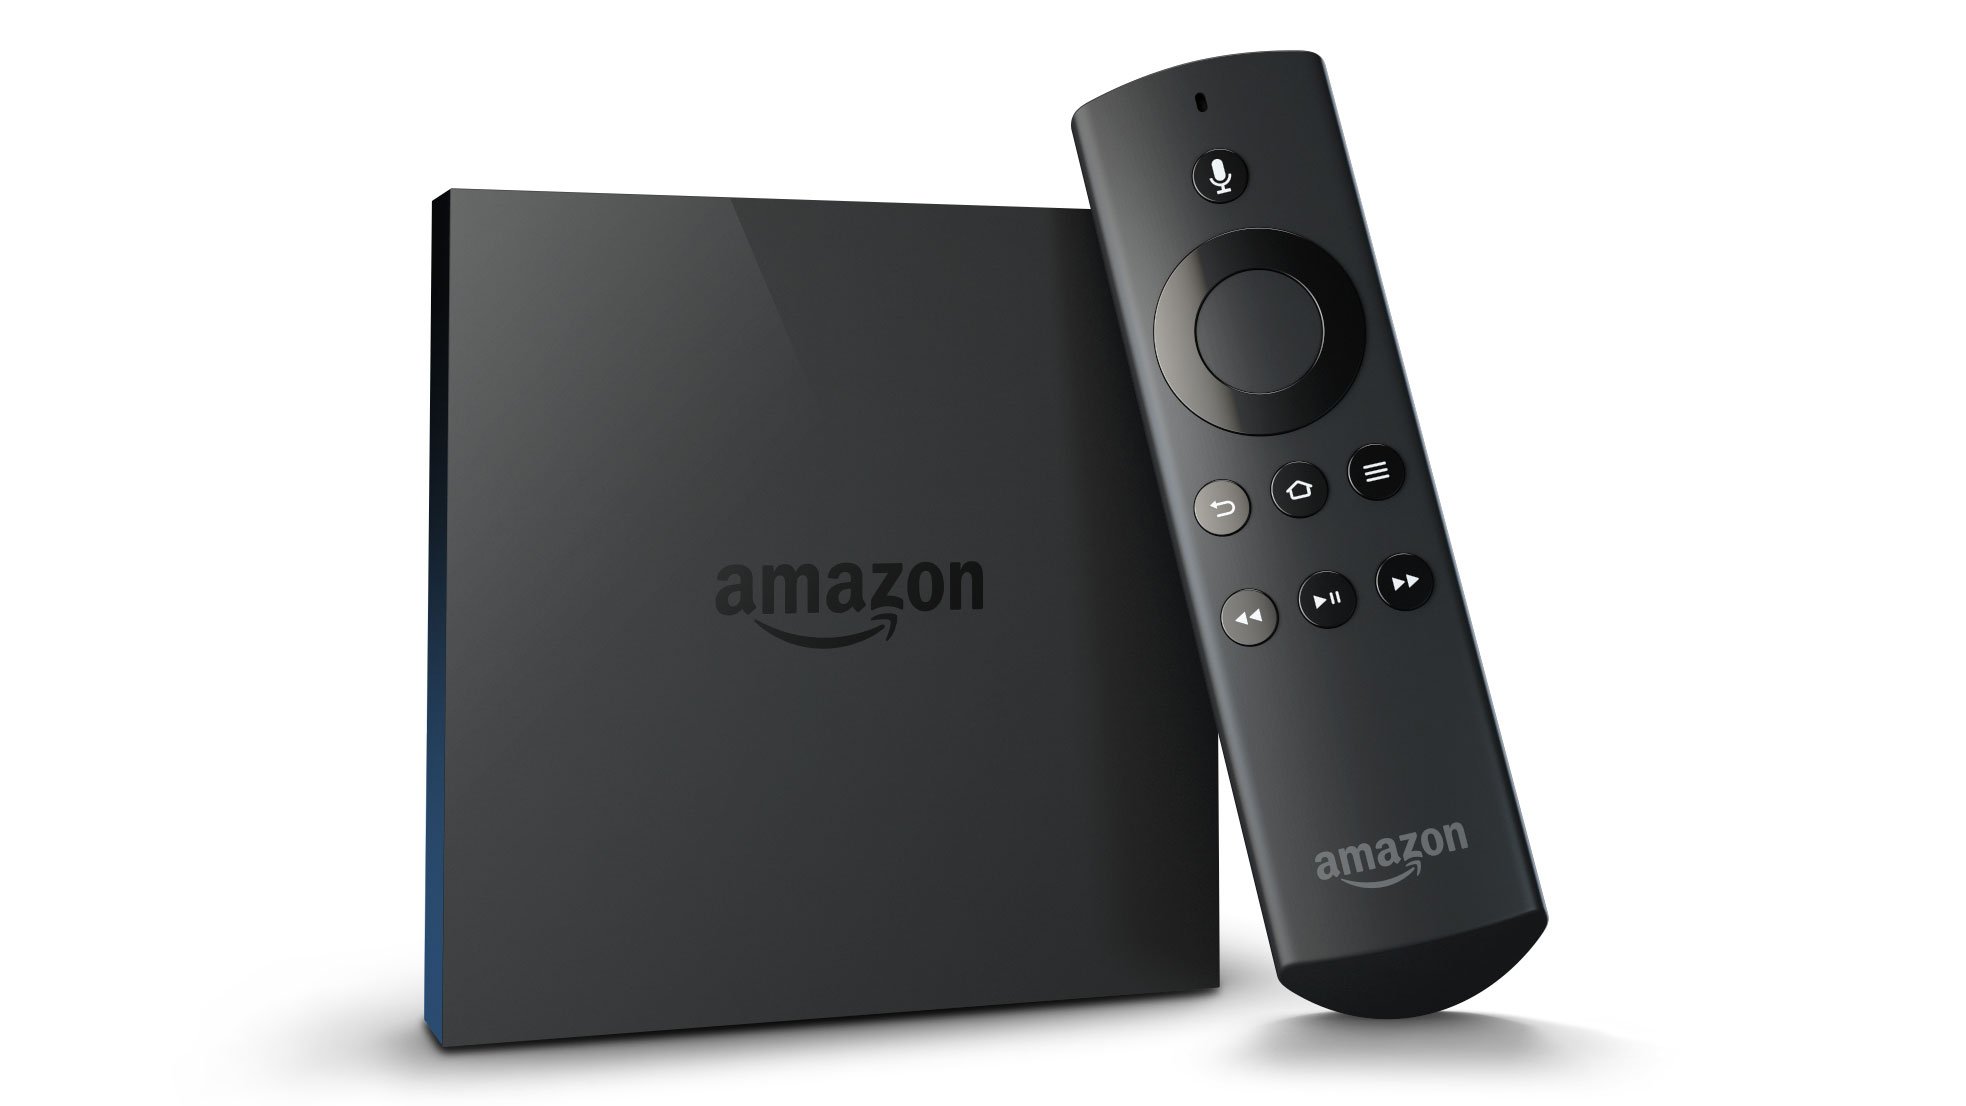
How to Set Up Your Amazon Fire TV Box
Amazon is really venturing out into the world of multimedia and streaming with its Amazon Prime TV streaming service, and the Amazon Fire TV box and stick. The new 4K Ultra HD compatible Fire TV box allows users to access all of their Amazon Video content, as well as regional TV services, on-demand streaming, 24-hour news, gaming and even access a wide range of apps.

The box is designed to compete with the popular Apple TV box, offering added convenience for those who want to buy movies and other items from its online store directly via their TV. If you or a loved one recently purchased a new Amazon Fire TV, you can easily set it up on your HD or 4K TV using this simple guide.”
Setting Up the Hardware
The first step to getting the Amazon Fire TV experience is making sure you understand the hardware, and how to set it up.
Step One: HDMI
The first step involves taking the HDMI cable and inserting one end into your Amazon Fire TV box, and the other into the back of your TV. Modern HD TVs will have more than one HDMI slot. Should none of the HDMI ports be in use, opt for the one marked as ‘1’. This will simplify the process when changing the input settings on your TV.
Step Two: Power
Now you need to make sure that your Fire TV device has power. One end of the power cord, supplied with the Fire TV box, will need to be plugged into the back of the device, and the other into a power outlet. If you’re opting for the smaller Fire TV stick, then you will be able to use a USB port to provide power to the device.
Step Three: Channel
Now you’ll need to turn on your television and find the right input channel. If you have inserted the cable into the first HDMI slot, then you will be able to find it on the input settings under ‘HDMI 1’.
Step Four: Boot
Now, simply turn on the power being supplied to the box, and a light should appear. This signifies that the Fire TV device is turned on, and you should see the Amazon logo appear on your screen, assuming that you have it set to the right channel.
Step Five: Remote
Finally, insert 2 AAA batteries into the back of your remote control. This remote control not only allows you to control the Fire TV with buttons, but it also has a voice control feature that makes it easier to navigate your media.7
Preparing Your Wi-Fi Connection
Once you have prepared the hardware, you will need to set up your Internet connection. This will allow you to connect to all of your multimedia accounts, make online purchases, stream movies, and do so much more.
Step One: Settings
Find the Settings menu on your Amazon Fire TV, select System, then choose Network. Once on the Network page, your device will automatically scan for nearby Wi-Fi connections for you to choose from.
Step Two: Choose
Now you need to choose your preferred network. If you don’t find the network you want to connect to, try using the Rescan button, or the Join Other Network button to look for other networks that might be hidden.
Step Three: Password
Assuming your connection is password protected, you will be asked to enter it. If you don’t know your password, try looking on the back of your router, as many contain all necessary information on a label.
Step Four: Confirm
Confirm all your details and if all is correct, you should see a confirmation message on your screen showing that you are connected to the network.
Preparing Your Ethernet Connection
If you’re planning to use an Ethernet connection, which can be more reliable for people with poor reception in some parts of their house, then it’s just as easy to set up.
Step One: Connect
First of all, you will need to connect one end of an Ethernet cable into the back of your Fire TV, and then connect the other to your router.
Step Two: Settings
Now, open up the Settings Menu, and go to System and Network. Choose ‘Wired’.
Step Three: Confirmation
Once you have chosen the Wired option, your Fire TV will go about automatically detecting your connection. You will not be required to type in any other information for this connection as all information will be transferred directly to your device from your router.