How to Save an Image from Google Slides
Google Slides, is one of the few popular forums where people make their presentations for work or for college. Usually what happens is, that the work for a presentation which requires a number of images and data, is often lost because you think you won’t need it in the future. So you delete the additional files like important links and important images which you thought you wouldn’t need. But somehow, now, you need that picture and the only way to get it is from the Google presentation that you created which is saved on your Google Drive.
Here is how you can download an image from a presentation on Google Slides.
- For an example, I went to my Google Docs after signing in to my Gmail account and clicked on the Slides tab on the left.

Access Google Slides from Google Docs - A number of templates appeared on my screen, so I selected a random template to help you explain how I downloaded an image from that presentation. Now I didn’t make a new presentation, I just opened a template which already had a number of images which were not on my laptop.

Using an already existing template to show you how to save a picture from a slide When we ourselves make a presentation, we add images and also add links from where we got those images to avoid any copyright claims. This is another way through which you can get these images from a Google slide, by finding the links on the image and then using it to access the website.

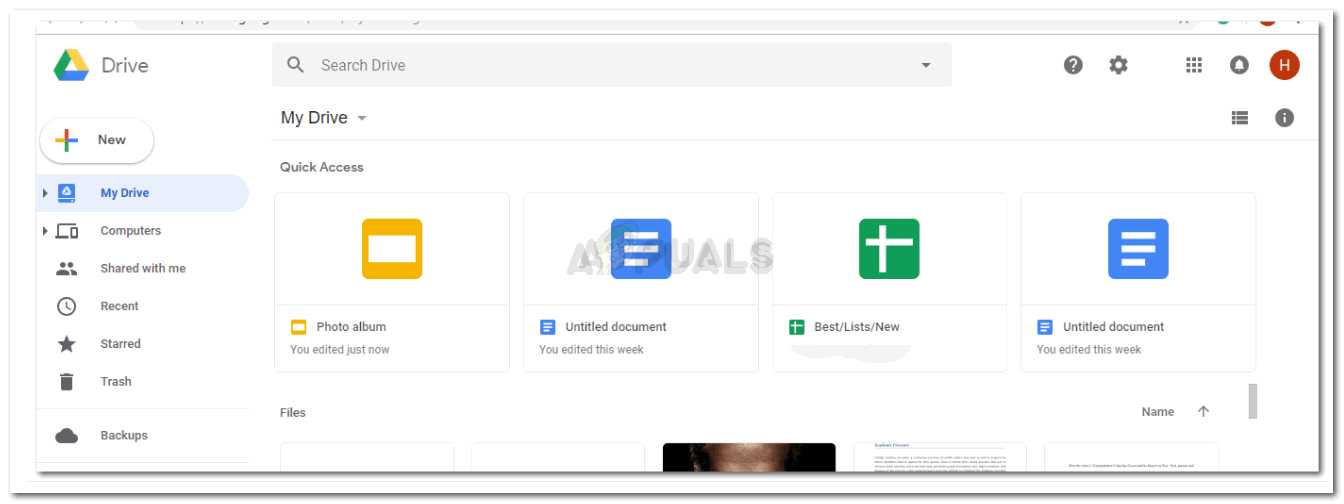
This template had a number of pictures, adding pictures in slides makes the slide very interesting. - Once this has been saved on my Google drive, I will access the file from Google Drive, because that is where all my work is saved. You will find all your old work here too, which you had done on the Google products.

After saving the work, I will go to Google Drive to open my saved work as a Google Slide - Now, I will select the image that I want to save. When I select the image, these blue borders appear around the image, indicating that this image has been selected.

Click on the image you want to save till these blue lines appear - I will click the right button of the mouse on the selected image. This will show me the following options.

Click the right button on the image, and save to keep Out of these, I need to click on the one that says ‘Save to Keep.’ This will keep this image saved on your Google data, which will now appear on your right once you have saved the image to keep. You still have to save the image for your computer.

Save to keep does not download the image to your computer. - Now click the right button of the mouse on the image that is in the right panel. Out of the various options that appear, click on ‘Save Image as…’. This is the option we always use whenever we have to save a picture from the internet.

Now, the picture that you saved to keep, click right on it

Add the details for the image. And click the ‘Save’ tab.
- You will see that the image has been downloaded when this added bar shows on your Chrome, which appears whenever you download something from the internet.

The download panel which shows on your screen every time you download something from the internet is an indicator that your file has been downloaded or is downloading. - Your image has been saved in the location you selected in step number 6. You can now reuse the image whenever as it is saved in your laptop for good now. If the image does not belong to you, however, you will have to add the source to it when reusing it. And if it belongs to you, you can use it anyway.

Since the image is saved on your laptop, you don’t have to download it again from the slides. You can use the downloaded image for whatever work you have Just to be sure that you don’t lose it this time, have a backup for all the images you want to save. Download them on Google Drive, add them in your USB or email it to yourself for safe keeping. That way, you will not have to go through this whole process again. Although it is an easy process, but back up for everything is a good idea.


