How to Prints Emails and Attachments Automatically
Being successful in today’s world has a lot to do with finding reliable, automated solutions that will speed up your workflow and make your job easier. If you work in telesales, retail or a similar sector, chances are you are receiving a lot of email attachments with orders and receipts that have to be printed. But if you have to print out stuff frequently, it could quickly become a full-time job. In a situation like this, automating the printing of your email attachments will definitely free up a lot of your time.
But keep in mind that this automation process cannot be done through a web app like Gmail.com or Outlook.com. So far, only email clients are capable of achieving this functionality. Chrome and Firefox have a number of extensions/add-ons that will make printing email attachments easier and faster, but they aren’t capable of automating the whole process.
Using email clients to automatically print email attachments
Using an email client like Outlook or Thunderbird opens up a whole new avenue of automating possibilities. With the right extensions, add-ins, and/or scripts, you can configure your email client to print any queue, including your Inbox. You can then set specific rules to print the email followed by the attachment, or print the attachment exclusively.You can get even more specific by configuring your email client to print based on the sender or based on the file type of the attachment.
Note: Your email provider is not important. As long as you use a dedicated email client like Outlook or Thunderbird, this should work with any email provider (Gmail, Hotmail, Yahoo, etc.) if they are configured properly.
If you’re using Outlook, there are a lot of paid add-ins that will enable you to do this with ease. Here are some good examples:
Note: All of the add-ins above will cost over $20, but most of them will offer a trial period.
If you’re not looking to spend money, there are free alternatives to automate the printing of your email attachments. But keep in mind that you’ll need to spend some time tweaking on your email client. In the event that you decide to go this route, allow us to make your job easier. We have included three step-by-step methods that will help you achieve this functionality with your email account.
The most elegant solution that will automatically print emails and email attachments is to use a dedicated software. But configuring an external email manager to automate this process will eventually require you to spend some money. Follow Method 1 to configure Automatic Email Manager 6 to print your email and email attachments. They offer a 30 days trial period, so you’ll be able to try it out for free before spending any money.
The second method (Method 2) implies adding a VBA script and a rule to Outlook. Although it will require you to get quite technical, it’s the most efficient guide out of the two. If you’re not particularly fond of Outlook, you can go another route (Method 3) and use Thunderbird along with two extensions to automatically print your email.
When you’re ready to start, follow one of the methods below to automate the printing of your email attachments. Let’s begin.
Method 1: Using Automatic Email Manager 6 to print email attachments
If you’re not using a dedicated email client like Outlook or Thunderbird, then configuring an external email manager is the most reliable solution. Automatic Email Manager 6 will allow you to connect any email box including POP3, IMAP4, Exchange, 365, Gmail, Yahoo, and the list goes on.
The software will allow you to define specific actions using an intuitive rule system. It will allow you to print from specific senders or print only the attachments from the emails. Follow the guide below to install and configure Automatic Email Manager 6 to automatically print emails and email attachments:
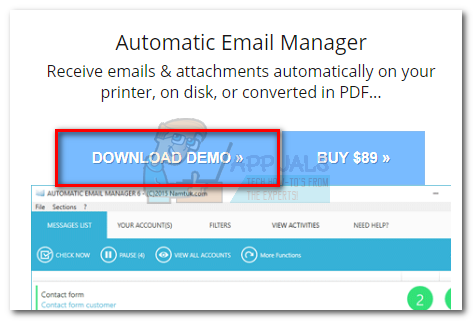
- Download the installer from the official website. If you want to test it first, click on Download Demo.
- Open Automatic Email Manager and follow the on-screen prompts to install it on your system.

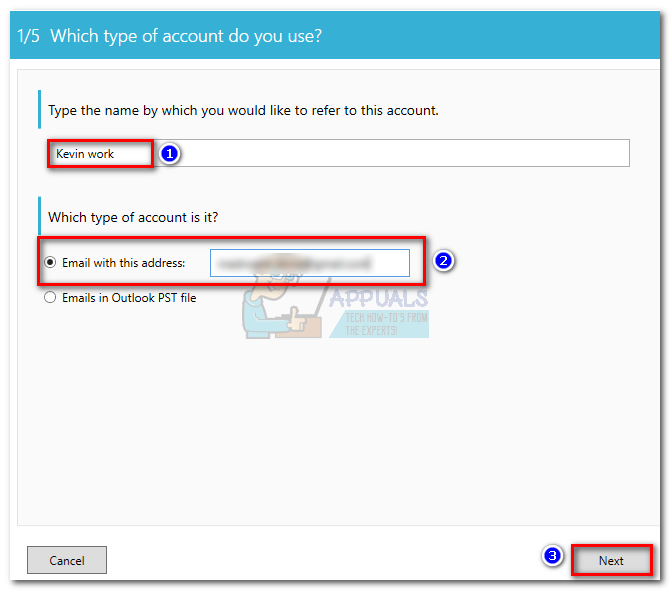
- Start the application and insert a name that will be used for your account reference. Then, select Email with this address and insert your email from where you want to print the emails. Finally, hit Next to proceed.
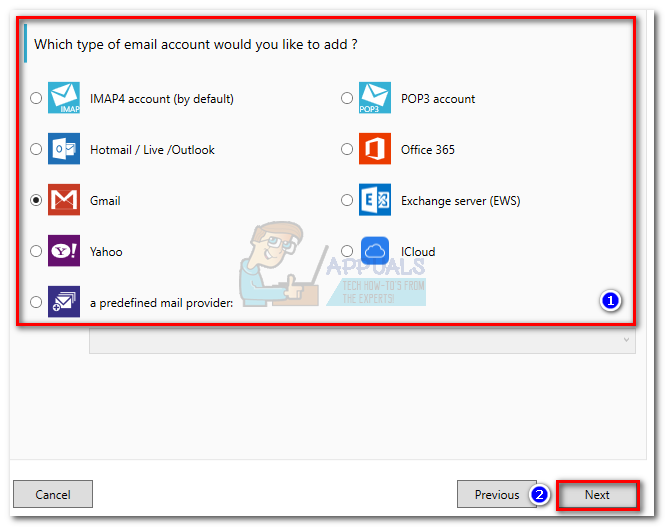
- Select your email type from the list. If your email provider is not in the predefined list, select the predefined mail provider option and look for your email configuration. Hit Next to proceed further.
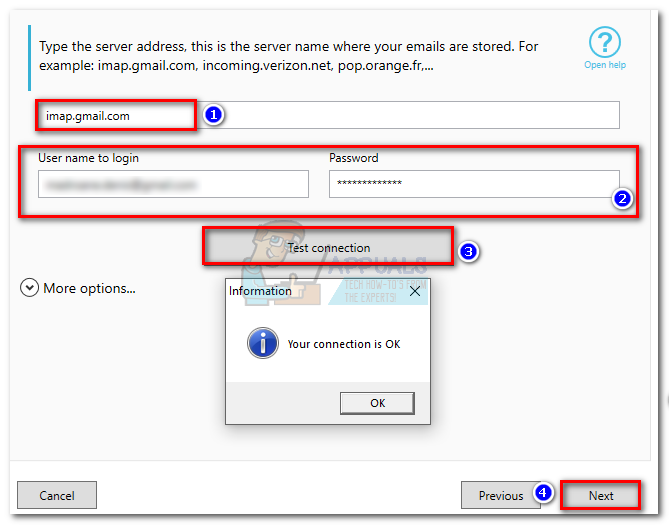
- In the next window, start by checking if the server address of your email is correct. If it is, insert your email and password in the boxes below. Then, click on Test connection to make sure your configuration is working. Finally, hit Next.
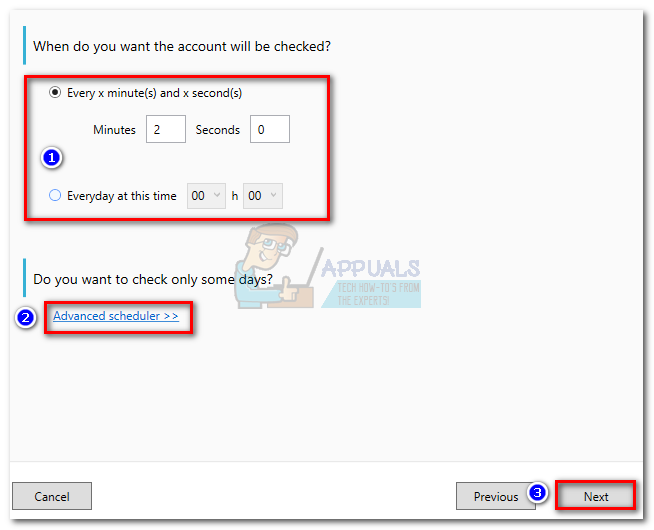
- Set the checking interval of your account according to your needs. You can also configure it to only check during your working days by clicking on the Advanced Scheduler. Hit Next to advance.
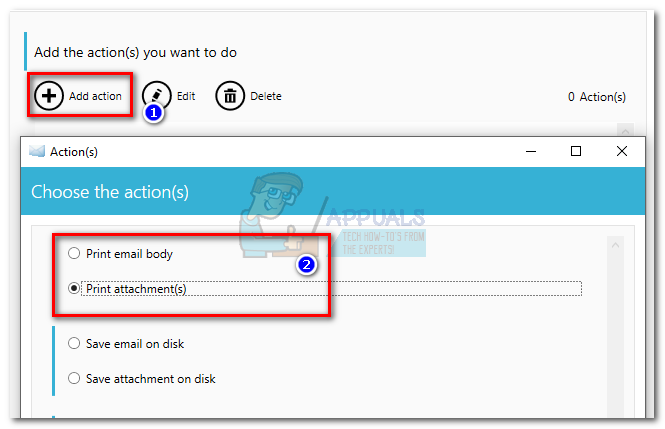
- Next, click on Add action. Select Print attachments or Print email body, depending on what you need. Hit Next and select the printer that you want to use.
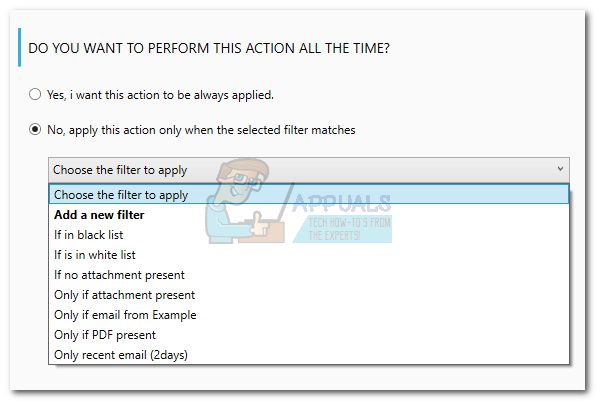
- You’ll then have the option of applying a certain filter by selecting No. If you want the operation to be applied at all times, select Yes. Finally, hit Ok to confirm the action you’ve just created.
Note: If you want the software to print both the body of the email and the attachments, go ahead and create a second action with the other scenario. For e.g. if your first action was about printing attachments, create a second one that will print the body of the email.
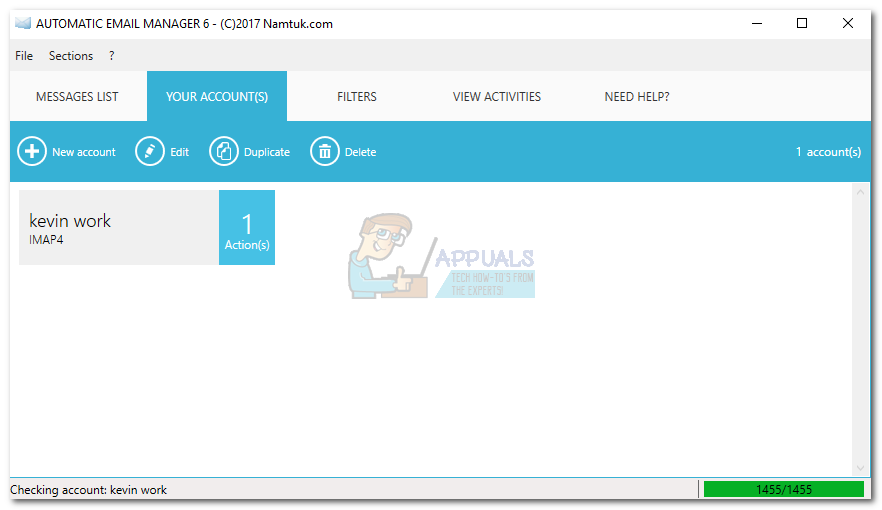
After you hit OK, Automatic email manager will begin checking your inbox and print out anything that meets the criteria you previously established.
Method 2: Using Outlook to Automatically Print Email Attachments
Outlook is the most popular email client, so if your job revolves around your email account, chances are you’re already using it. Outlook is highly configurable and will allow you to print attachments of incoming emails.
To do this, we are going to create a VBA script in Outlook and then use it with an Outlook rule. Here’s a complete walkthrough of the whole process:
Note: The following steps are confirmed to work in Outlook 2016. Although we haven’t tested with older versions, the script below should theoretically work with all Outlook versions all the way back to Outlook 2010.
Creating a VBA script + rule to print email attachments automatically in Outlook
- Open Outlook and access the Developer tab from your toolbar, then click the Visual Basic button.
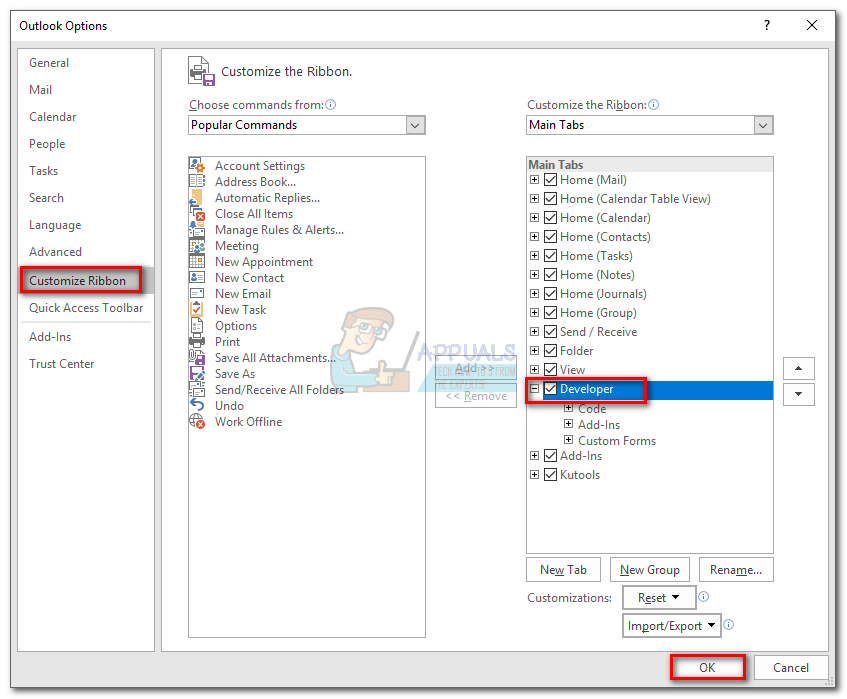
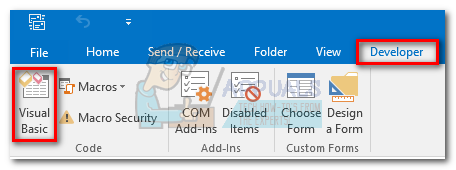 Note: If you don’t see the Developer tab, go to File and click Options. From there, click the Customize Ribbon tab and check the box next to Developer. Hit Ok to confirm. Now, the Developer tab should be visible in the ribbon at the top of the screen.
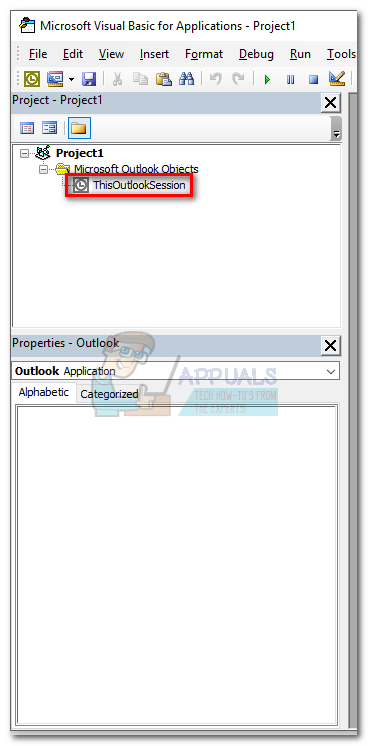
- Once the Microsoft Visual Basic for Applications window is active, expand the Project1 tree (on the left). Then, double-click on ThisOutlookSession.
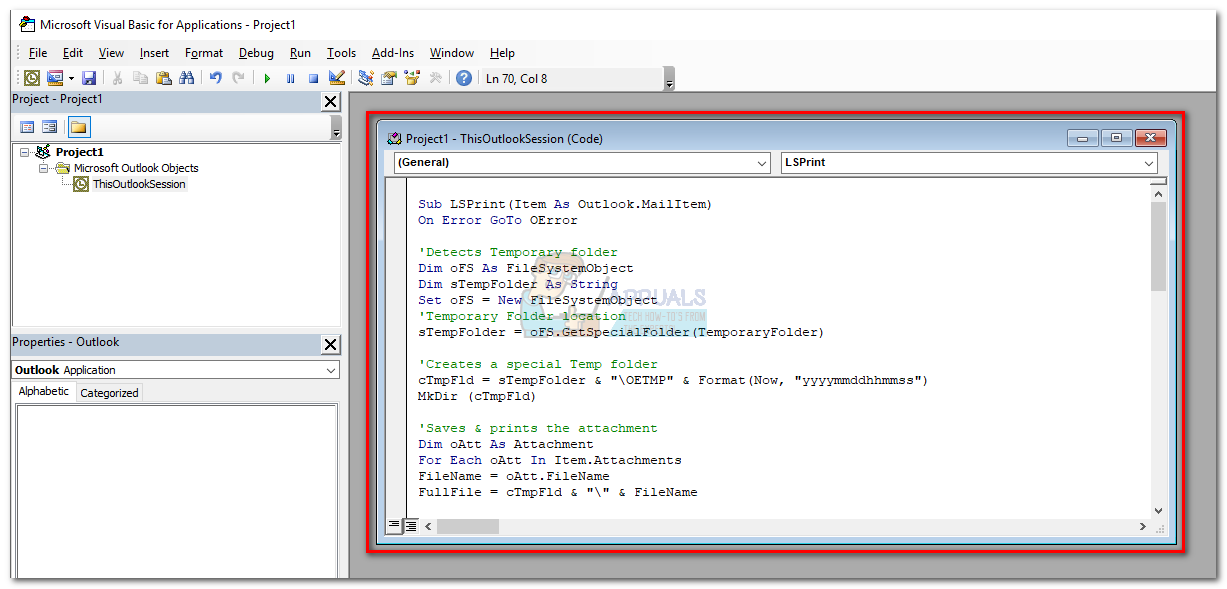
- Now paste the following script code into the Project1 window (on the right):Sub LSPrint(Item As Outlook.MailItem)
On Error GoTo OError’Detects Temporary folder
Dim oFS As FileSystemObject
Dim sTempFolder As String
Set oFS = New FileSystemObject
‘Temporary Folder location
sTempFolder = oFS.GetSpecialFolder(TemporaryFolder)’Creates a special Temp folder
cTmpFld = sTempFolder & “\OETMP” & Format(Now, “yyyymmddhhmmss”)
MkDir (cTmpFld)’Saves & prints the attachment
Dim oAtt As Attachment
For Each oAtt In Item.Attachments
FileName = oAtt.FileName
FullFile = cTmpFld & “\” & FileName’Saving the attachment
oAtt.SaveAsFile (FullFile)’Prints the attachment
Set objShell = CreateObject(“Shell.Application”)
Set objFolder = objShell.NameSpace(0)
Set objFolderItem = objFolder.ParseName(FullFile)
objFolderItem.InvokeVerbEx (“print”)Next oAtt’Cleans up temp files
If Not oFS Is Nothing Then Set oFS = Nothing
If Not objFolder Is Nothing Then Set objFolder = Nothing
If Not objFolderItem Is Nothing Then Set objFolderItem = Nothing
If Not objShell Is Nothing Then Set objShell = NothingOError:
If Err <> 0 Then
MsgBox Err.Number & ” – ” & Err.Description
Err.Clear
End If
Exit SubEnd SuboAtt.SaveAsFile (FullFile)Set objShell = CreateObject(“Shell.Application”)
Set objFolder = objShell.NameSpace(0)
Set objFolderItem = objFolder.ParseName(FullFile)
objFolderItem.InvokeVerbEx (“print”)Next oAtt
If Not oFS Is Nothing Then Set oFS = Nothing
If Not objFolder Is Nothing Then Set objFolder = Nothing
If Not objFolderItem Is Nothing Then Set objFolderItem = Nothing
If Not objShell Is Nothing Then Set objShell = NothingOError:
If Err <> 0 Then
MsgBox Err.Number & ” – ” & Err.Description
Err.Clear
End If
Exit SubEnd Sub
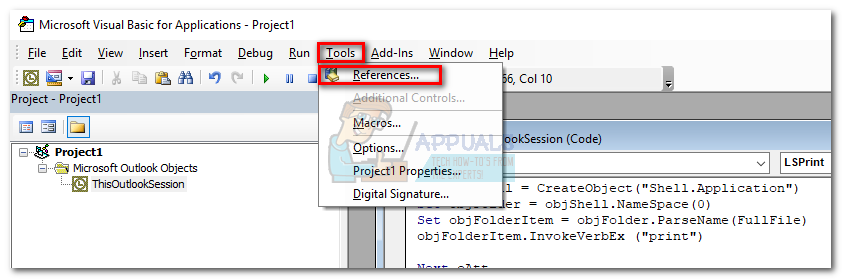
- Once you paste the code inside Project1, go to Tools (in the top section of the screen) and click on References.
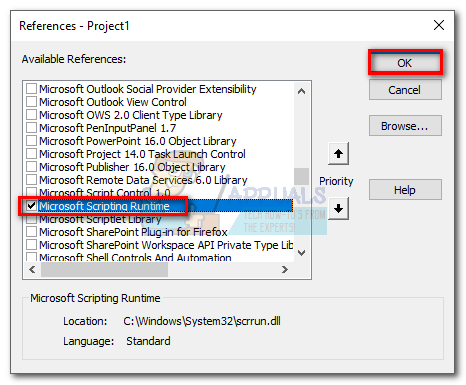
- Scroll down and check the box next to Microsoft Scripting Runtime. Click OK to save your option and close the References window.
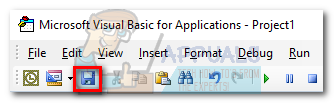
- Now hit the Save icon in the top-left corner of the Visual Basic window. Now you can safely close Visual Basic.
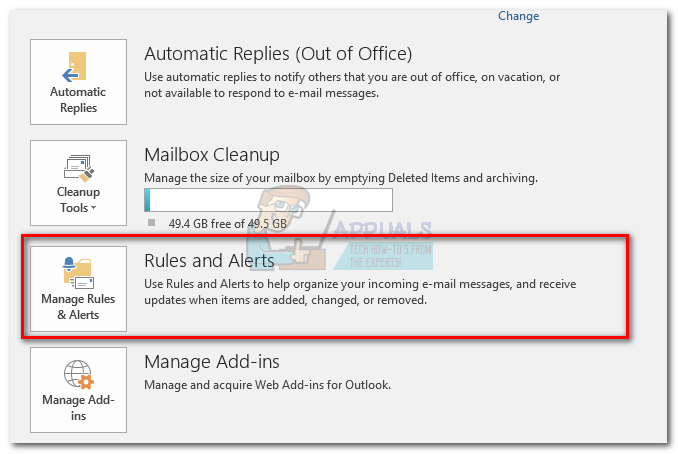
- Next, go to File and click on Rules and alerts.
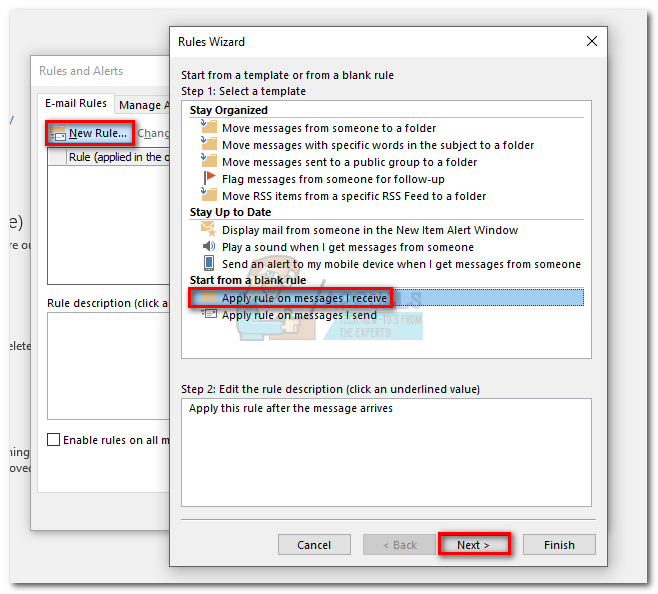
- Click on New Rule, then click on Apply rule on messages I receive. Click Next to proceed.
- Now you need to decide on the condition that needs to be met. If you want all your attachments to be printed, check the box next to “which has an attachment”. Hit Next to proceed.
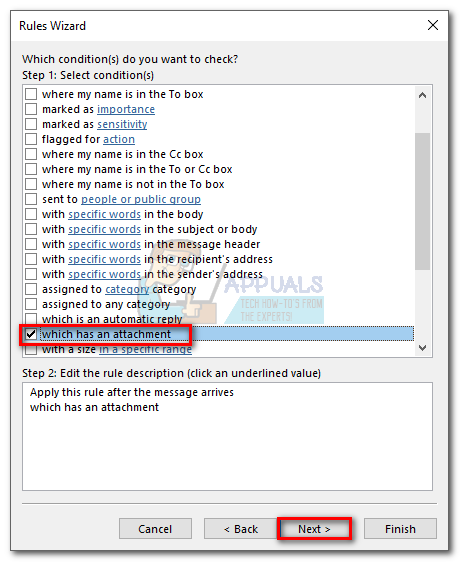 Note: If you don’t want to print all your attachments, you can use a different condition here. The script should also work with specific senders or specific words.
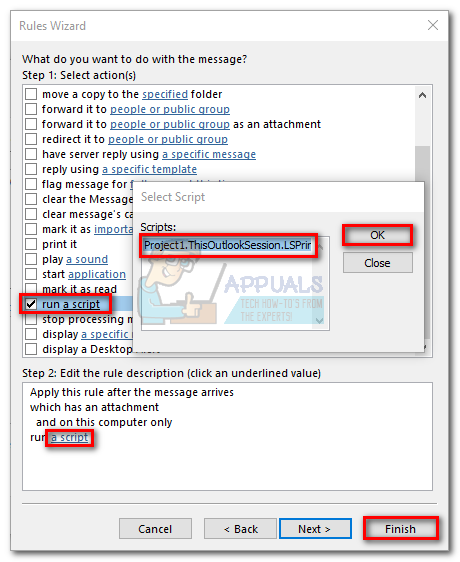
 - In the next window, check the box near run a script. Then, click on a script, highlight ThisOutlookSession and hit Ok. Next, hit Finish to confirm.
- In the Rules and Alerts window, make sure the box next to the rule you’ve just created is checked. When it is, hit Apply.
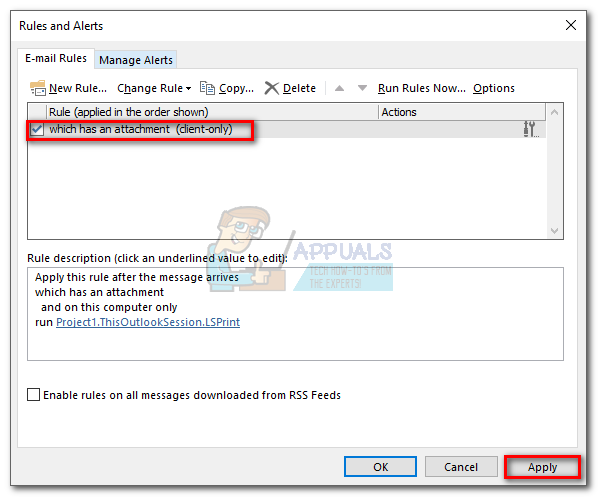
That’s it. The email attachments should automatically come out of the printer as soon as you receive them.
Important: Keep in mind that this will only work while Outlook is opened and your email account is configured on this particular computer. Also, make sure your printer is fully configured and has all the required drivers.
Method 3: Using Thunderbird to Automatically Print Emails
Mozilla Thunderbird is a free, open source email client. The community behind is very active, allowing you to find a lot of extensions that will add to the already great functionality.
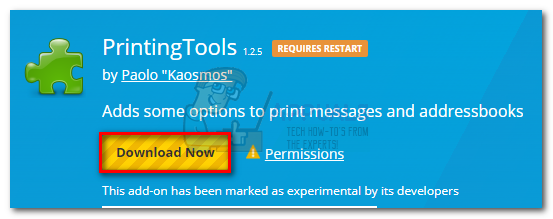
Returning to the task at hand – configuring Thunderbird to automatically print emails is not hard, but will require you to invest some time. We’re going to use two extensions: FitaQuilla and Printing Tools.
Note: Keep in mind that this method will not print the attachment from an email. It will only print out the title and the body of the received email. If the email’s body includes jpeg or png files, they will also be printed out.
Configuring Thunderbird to print out emails automatically is fairly easy. The only minor drawback is FitaQuilla – the extension is not updated to be compatible with the latest version of Thunderbird, so you’ll need to install it manually.
If you decide to use Thunderbird to print out your email attachments efficiently, follow the guide below.
Using Thunderbird + FitaQuilla + Printing Tools to automatically print email attachments
PS: This method may work or may not work.
- Download & install the latest version of Thunderbird from the official website.
- Download FiltaQuilla and Printer Options to your system.
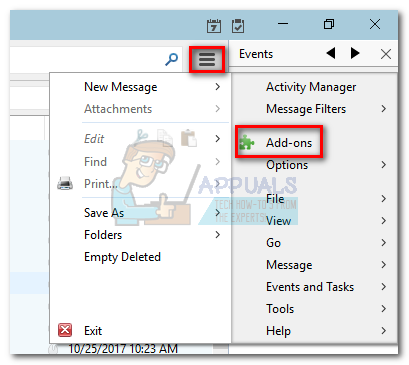
- Open Thunderbird, tap the menu icon in the top-right corner and click on Add-ons.
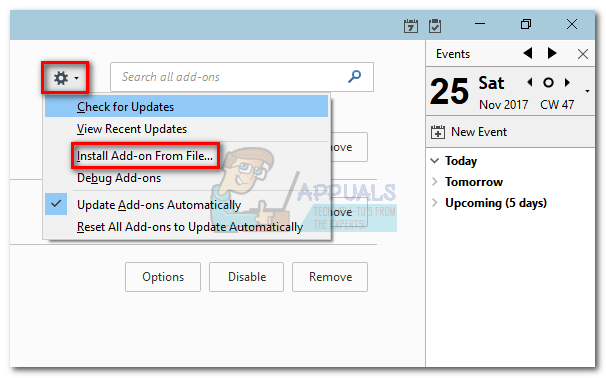
- Tap on the gear icon and click Install add-on from file.
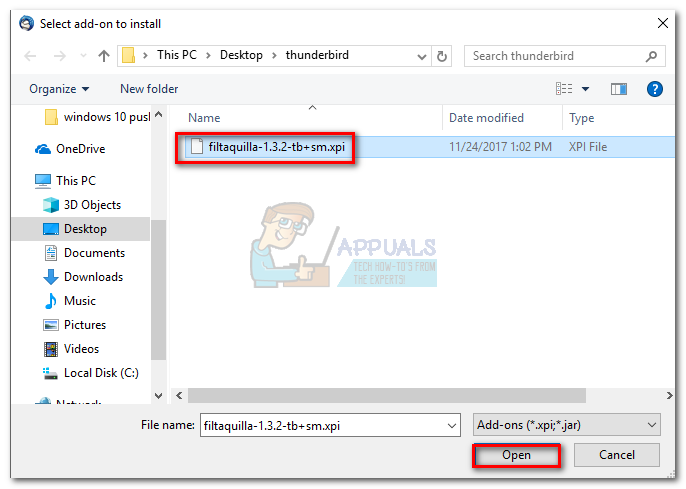
- Navigate to where you downloaded the add-on, select it and click Open.
- Repeat step 4 and 4 with the other extension and restart Thunderbird.
- Once Thunderbird opens again, go to Add-ons > Extensions and click the Options button of PrintingTools.
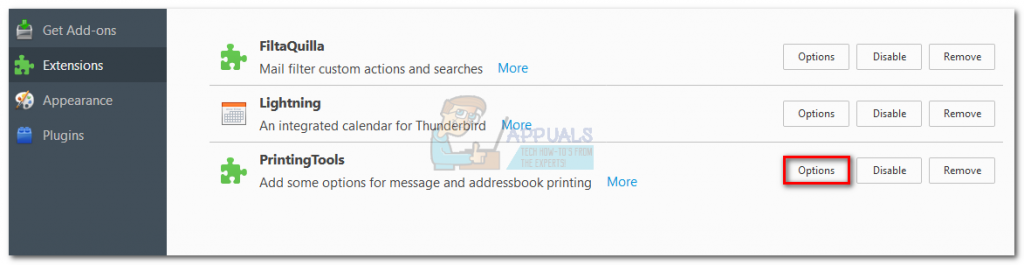
- Select the Global printing options and check the box next to Print without the dialog window. Hit Ok to save your selection.

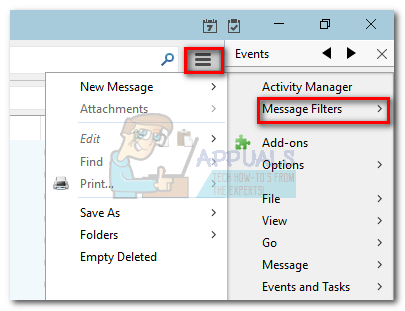
- Click the menu button again and go to Message Filters > Message Filters.
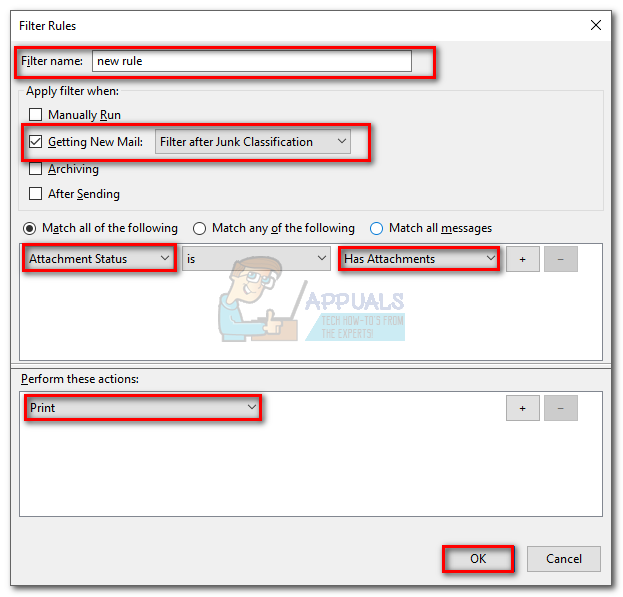
- Click the New button to create a new filter. Start by inserting a name for your filter. Then, check the box next to Getting New Mail and filter it after Junk Classification. After that, set the condition to Attachment Status > Is > Has Attachments. Finally, set the final action to Print, then hit Ok to save.
- Now return to the Message Filters window and make sure the filter is enabled.
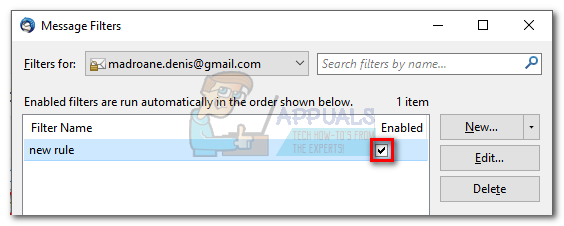
That’s it. Your Thunderbird email client is now configured to automatically print emails Make sure it’s turned on and your email is configured properly in Thunderbird.
I tried to follow Method with both Outlook 2012 and Outlook 2016 and in both when I get to step #10 there is not an option called “run a script” so I am not able to select the new script. How can I get the “run a script” option?