How to Install Windows 10 on External Hard Drive
Windows 10 is a series of personal computer operating systems produced by Microsoft as part of its Windows NT family of operating systems. It is the successor to Windows 8.1 and was released to manufacturing on July 15, 2015, and broadly released for retail sale on July 29, 2015. Windows 10 receives new builds on an ongoing basis, which are available at no additional cost to users.

Windows 10 can be installed through the official Microsoft disk or through their website. The operating system features support to be installed through USB, DVD, or CD. But installing the Windows 10 on an External Hard Drive can be a tricky business therefore in this article, we will teach you the easiest methods to install the operating system on an External Hard Drive.
How to Install Windows 10 on External Hard Drive?
If you try to use the media creation tool in order to make a bootable External Hard Drive you might end up with an error. Therefore, in this process, we will make sure that all the errors are removed and the bootable Hard Drive is created successfully for which perform the following steps:
- Plugin your External Hard Drive through USB
- Now we will format the Hard Drive to NTFS make sure to back up any data on the Hard Drive
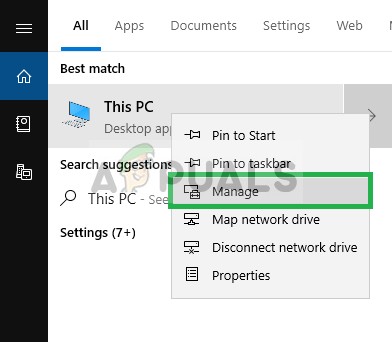
- Type “This PC” in the search bar on the taskbar

Typing “This PC” in the search bar - Right-Click on the “This PC” icon and select “Manage”
Right Clicking on the icon and selecting Manage - In the Computer Management Window, Double click on the “Disk Management” option under the Storage heading on the left side

Double Clicking on the Disk Management option under the storage heading - It will take a few moments to recognize the Hard Drives attached to the computer
- After it shows all the Hard Drives attached to the computer, right-click on the name of your External Hard Drive and click on “Format”
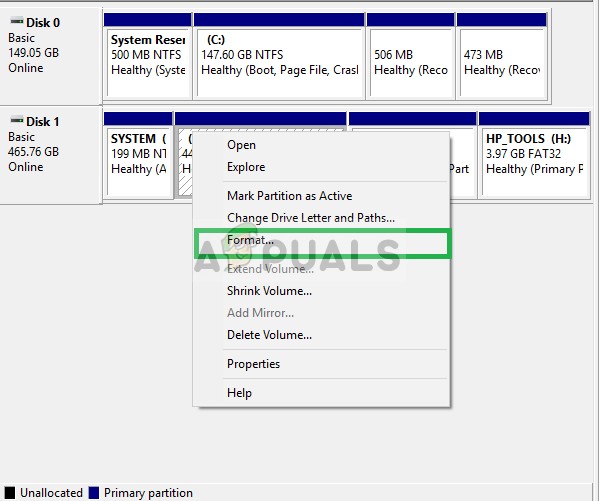
Right-Clicking on the Hard Drive and selecting Format option - Select File Type as “NTFS” and check the “quick format” box before you click OK
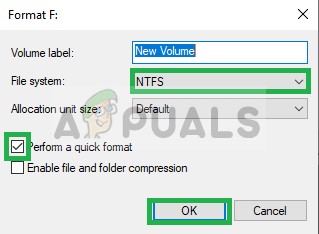
Selecting NTFS and checking quick Format Box - A warning will pop up that will tell you that all the files on the Hard Drive will be lost, select OK if you want to continue
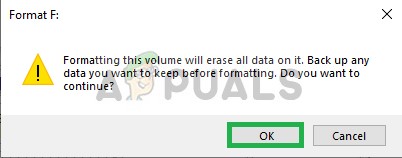
Selecting OK in the warning box - It will take just a few seconds and your Hard Drive will be formatted into NTFS
- Now that the Drive is in the NTFS format, download Windows 10 Media Creation Tool from here
- After downloading the Media Creation tool, run it
- It will take a few minutes to get things ready, after that, it will ask you whether you want to “upgrade your PC” or “Create Installation Media“, Select the “Create Installation Media” option.
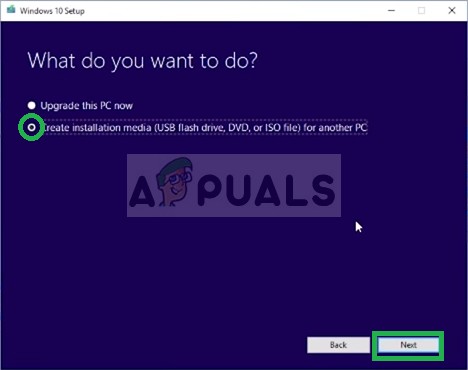
Selecting Create installation Media Option - Now it will prompt you to select Language, Architecture and the Edition of the Windows.
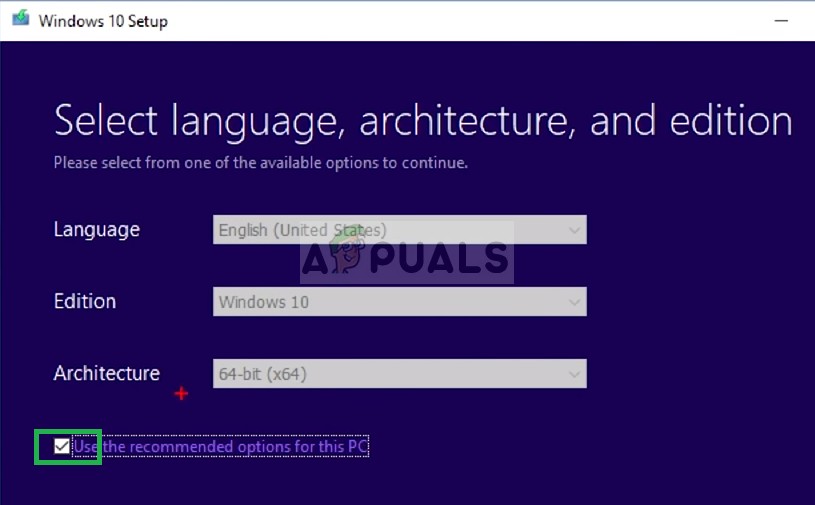
Selecting the Language, Architecture and the edition - Select the “use recommended settings” option or edit it to your preference and click on next
- After that, it will ask you to choose which media you want to use, Select the ISO option and Click next
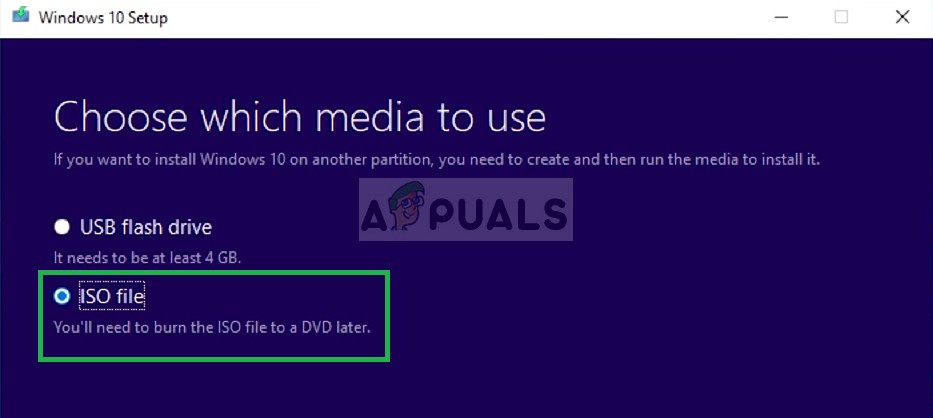
Selecting ISO - Now select the path in which you want to download the ISO and click on Save
- This will download the Windows 10 ISO to the location that you selected
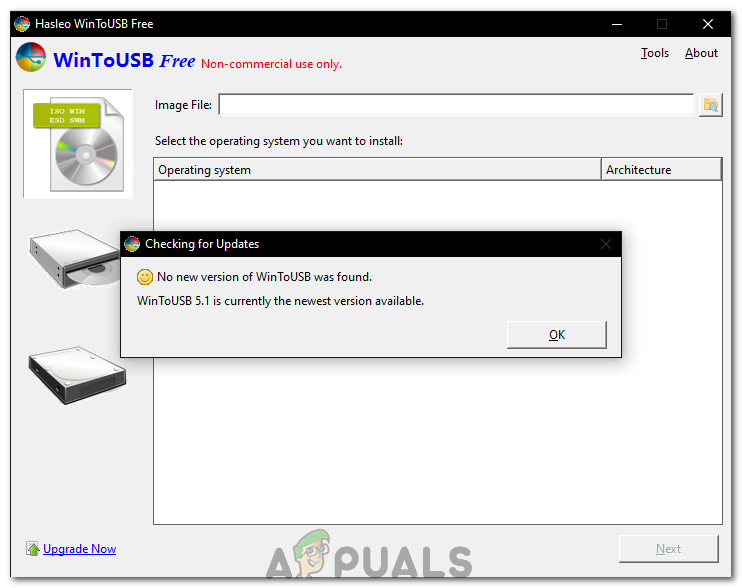
- Now download “wintousb” from here
- Once downloaded, run the program and install it
- After the program is installed, open it and click on OK in the checking for an updated prompt message
Clicking on “OK” - Click on the “Browse For Folder” option in the top right and select the path where you downloaded the Windows 10 ISO

Clicking on the “Browser for Folder” option - Select the edition of Windows 10 that you want to install and click on “Next“
- Click on the Dropdown and select your External Hard Drive
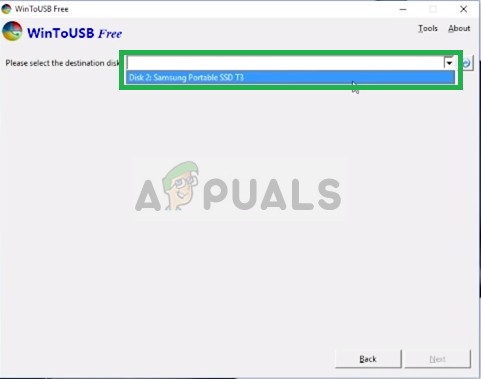
Selecting the External Hard Drive from the drop down - Select your Hard Drive in both “System Partition” and “Boot Partition” Options, make sure Legacy mode is selected and click on “Next”
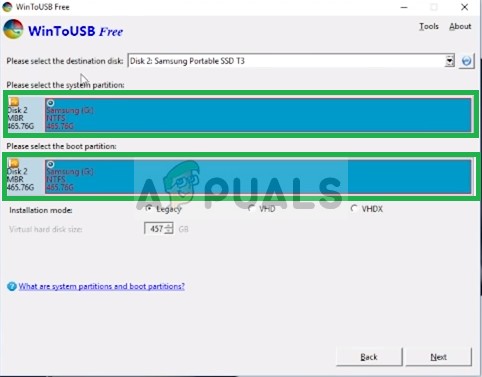
Selecting Hard Drive in both the settings - Now wait until the Windows is installed on the Hard Drive
- Once it is installed, restart the computer and press F2, Del or F12 button to get into the bios
- In the bios navigate to the “boot options” and select ‘Boot Mode” as “Legacy Support‘ and “Boot Priority” as “Legacy First“.
- Now save your changes and reboot.
- Windows 10 should now be installed on the “External Hard Drive“
This process will install Windows 10 on the External Hard Drive and windows can now boot remotely on any computer that supports the architecture.


What does that mean?