How to Convert FAT32 to NTFS
FAT32 is a formatting system that was used by operating systems before Windows XP. This system does support up to 32GB of individual partitions on a USB Drive. However, it can only store individual files that are less than 4GB in size. Also, the FAT32 system has much less security because the changes made to the drive aren’t logged in this type of system and if an unexpected interruption occurs during the process the, the whole drive needs to be repaired in order for it to work properly.
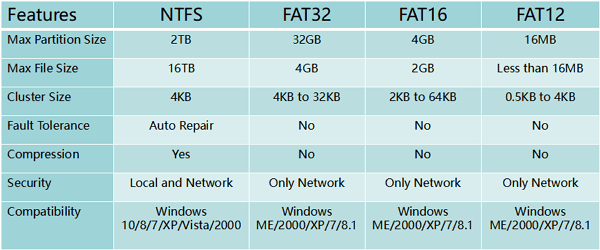
On the other hand, NTFS is a more modern format of storage. NTFS has much more theoretical limits of storage and it doesn’t have a limit on the size of individual files which means that you can really big files on it provided that space is available on the drive. Therefore, the NTFS format is much better than the FAT32 format. In this article, we will teach you the easiest way to convert your FAT32 drive to NTFS.
How to Convert FAT32 to NTFS?
In spite of NTFS being the better format, some manufacturers still format their Drives in the FAT32 system. This can easily be changed using your Windows or MAC operating system. In order to convert FAT32 to NTFS, follow the guide below:
For Windows:
- Make sure to backup all data on the USB Drive that is to be converted. All the data on the drive will be lost during the formatting process.
- Plug in the USB drive into a port and wait for it to be recognized.
- Click on the “Windows Explorer” icon and then on the “This PC” icon from the left pane.
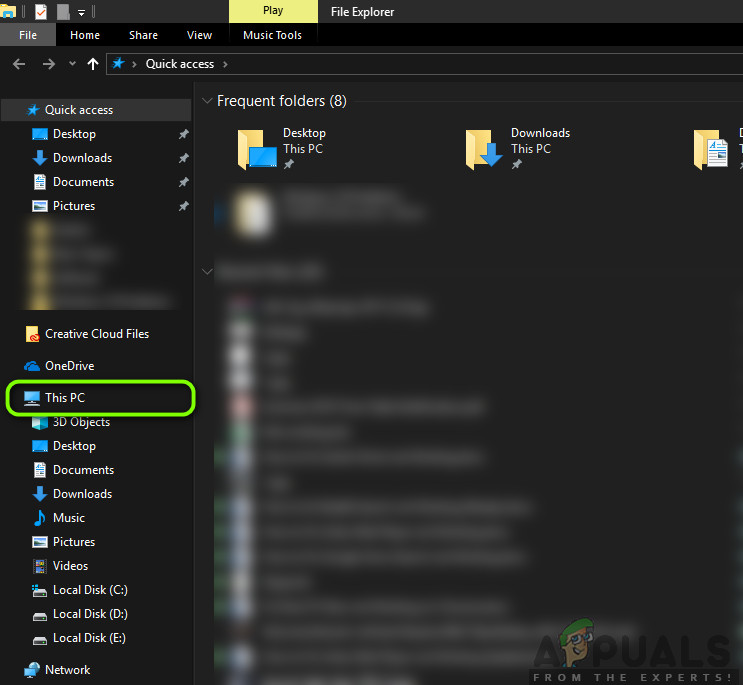
Selecting “This PC” from the left pane - Right–click on the name of the USB Drive that you just plugged in.
- Select “Format” from the list of options.
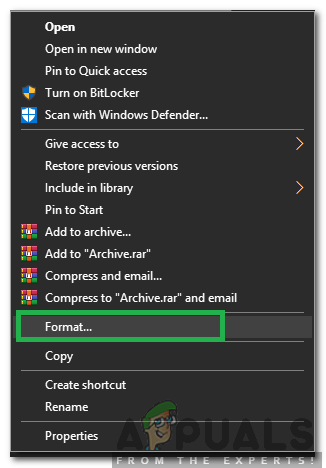
Right-clicking on the drive and selecting “Format” from the list of options - Click on the “File System” dropdown and select “NTFS” from the dropdown.
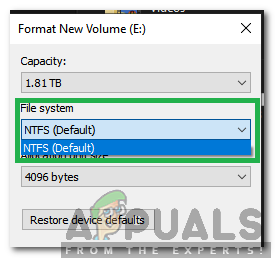
Clicking on the File System dropdown and selecting “NTFS” - Check the “Quick Format” box and click on the “Start” option.
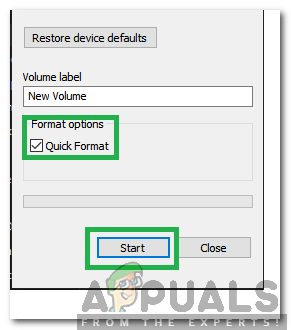
Checking the “Quick Format” option and clicking on “Start” - Wait for the formatting process to be completed.
For MacOS:
MacOS needs a special driver to be installed in order to support the NTFS file system. In order to convert to NTFS on a Mac:
- Download and install this driver on your MacOS before proceeding.
- Plug in the USB drive that needs to be formatted
- Click on the “Finder” window and select “Applications” from the left pane.
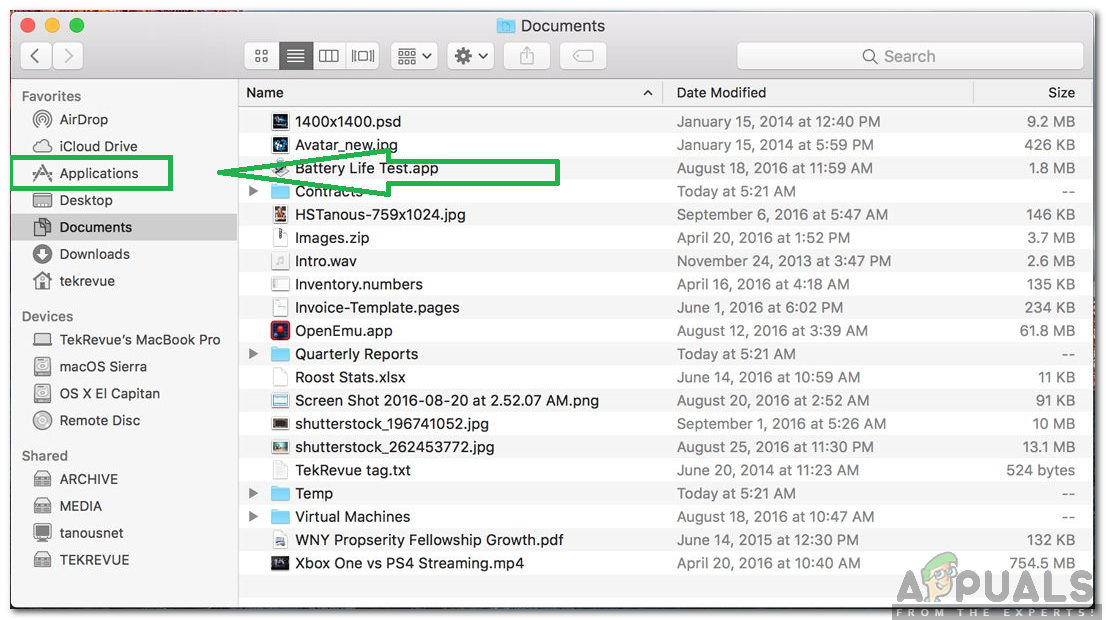
Opening the Finder Window and clicking on “Applications”. - Scroll down and double click on the “Utilities” folder.
- Select “Disk Utility” from the list and double click on it.
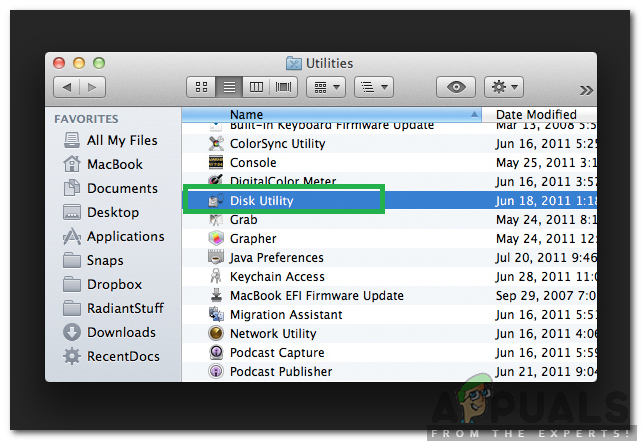
Double-clicking on the Disk utility option - Select the name of the USB Drive from the left pane.
- Click on the “Format” dropdown and select “Windows NT File System (NTFS–3G)” from the list.
- Click on the “Erase” option and then select “Erase” in the warning prompt.
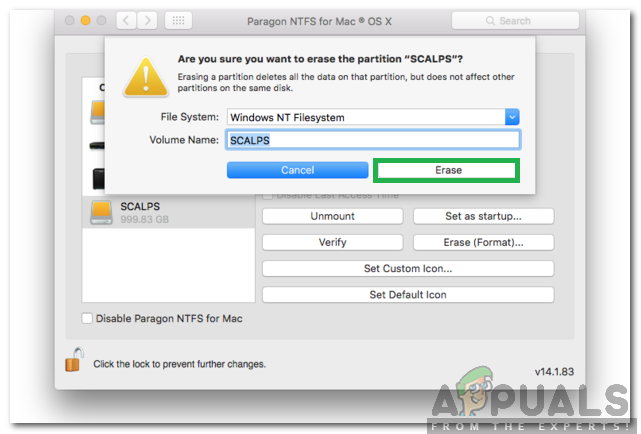
Selecting “Erase” in the warning prompt - Wait for the formatting process to be completed.


