How to Install Compiz on Xubuntu
Xubuntu is compatible with the latest version of all of the compiz packages. This is true of Xfce4 as a whole, so those using other Linux distributions based around the relatively lightweight Xfce4 desktop environment can install the compositor in a similar way. The one peculiarity that Xubuntu and other Xfce4 users are likely to run into is the fact that their X Windows installation already uses xfwm4 as a window manager. Compiz, while it’s a compositing tool, operates as a secondary window manager.
This might mean that any themes that you currently have installed for xfwm4 won’t be available once you’ve finished installing Compiz. Then again, this might be precisely what you want, because Compiz has a rather extreme amount of customization options. The xfwm4 window manager actually provides some compositing features, which can also be disabled to save GPU power, but Compiz can do much more heavy lifting. Have some themes picked out and then make sure that if you had a GTK2 theme installed on Xubuntu before that you’re ready to add GTK3 support.
Installing Compiz on Xubuntu
Open a terminal window at the desktop by opening it either from the Whisker menu or by holding down Ctrl, Alt and T at the same time. From the CLI prompt, type sudo apt-get install compizconfig-settings-manager and then push the enter key. You may be prompted for your password if you haven’t used the sudo command yet from the terminal you opened. Once this process is finished, you’ll then need to run sudo apt-get install compiz to install the main package.
Compiz is large, so this might take a few moments. As soon as you’ve had your prompt returned, you can type ccsm to open the Compiz plugin configuration menu. If everything went according to plan, then you could hold down Ctrl and R at the same time to bring up the Application Finder to start this program. You might also look for it on the Whisker menu. It could show up in Applications if you don’t have the Whisker menu enabled.
What plugins are available in this window will depend on what packages got installed when you installed Compiz. There are several you will certainly want to enable to make sure that Compiz works as the majority of Xubuntu users expect it to. Ensure that the checkboxes next to Composite, OpenGL and Animations are selected, or otherwise almost all other features will not actually turn on. These libraries are needed in order to allow Compiz to animate windows on the desktop.
Maximumize and Place Windows also need to be on if you want to move windows around the desktop like normal. Application Switcher should be on if you plan to use Alt+Tab to switch between different windows. Move Window is needed in order to move windows around with the mouse. You should turn on Cube if you plan to use any sort of 3D cube effects to display multiple workspaces. Most people associate this plugin with Compiz. Some users have actually taken to calling the cube plugin simply Compiz because it’s the primary reason that they install the compositing window manager in the first place.
Window Decoration enables the title bar and buttons for the windows, which means that almost all users will want to enable this plugin. The only time you might want to disable that is if you’re setting up a pure tiling environment. You’ll also more than likely want to turn Scale on to allow you to rescale windows.
Now you should have a fully functioning installation Compiz installation. If anything went wrong during the installation, or if apt-get was unable to find the correct repositories, then make sure that you’re connected to the Internet and run sudo apt-get update to update the repositories. You may also wish to attempt sudo apt-get upgrade or run the Xubuntu Software Upgrader from the Whisker menu to ensure that you’re working with all of the latest packages. Should you still have difficulties, and then try sudo apt-cache policy compiz-fusion-plugins-extra to make sure that the apt-get software is finding the repositories properly.
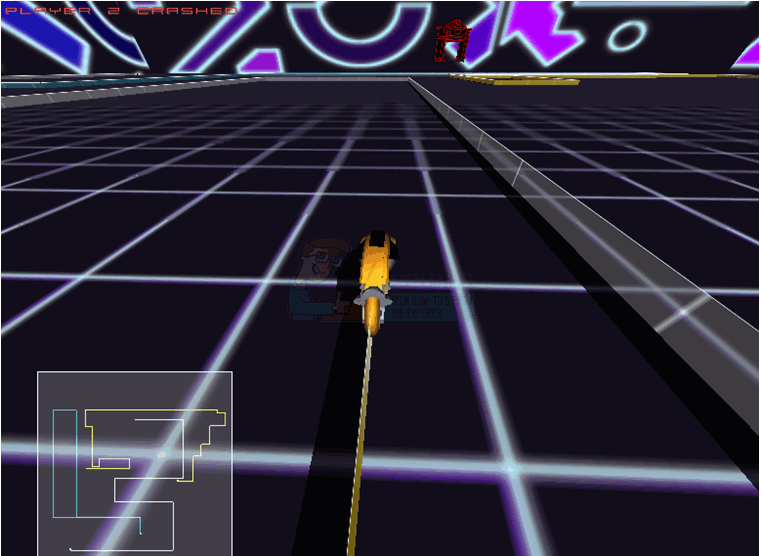
Consider the issue of weight once Compiz seems to be working correctly. At first, it might seem like Compiz uses less system resources than xfwm4, but this is because it forces your GPU to do the heavy lifting. This means that you’ll have more RAM and CPU power for applications and games, but your GPU could be taxed. Compiz makes heavy use of graphics rendering routines, so an easy way to test this is to run a program that uses OpenGL. Some users like to test it with the GLtron or Kobo Deluxe apps if installed. Start one of these from the Xfce applications menu.

Run a game of GLtron if you have it installed, and check if it runs choppy. If it does, then push the Esc button and check the internal video settings. Should these be acceptable for your graphics hardware then Compiz might need some further adjustment.

If you have Kobo Deluxe installed as many Xubuntu users do, then push Esc in a game, open Game Options and ensure that Starfield Mode is set to Parallax. If it is, and the game doesn’t seem choppy, then you probably have Compiz interfacing with your GPU just fine. You might even try the Insane Starfield Density mode and see if it has any effect. While it might be difficult for you to actually play with this screen on, modern video hardware working correctly should be able to handle these effects while still managing Compiz effects as long as you have proper hardware acceleration.

If your theme is outdated and only supports gtk-2.0 theming, then you’ll need to find one with a proper gtk-3.0 theme. Likewise, if you find that Docky is blurry after you’ve installed Compiz, then make sure that you have the Blur plugin switched off. Compiz supports this actually as yet another OpenGL effect, though some users have incorrectly thought of it as a bug.