How to Get Rid of AdChoices
Adware is among the most taxing and incessant foreign invaders that exist in the world of computers. Advertisements are widely regarded as the most obtrusive elements on the World Wide Web, which is why ad blockers have rocketed up the list of most commonly used add-ons and extensions for internet browsers. Once it has infected a computer, adware causes the user to see tons and tons of advertisements in an array of different situations. There is an annoyingly broad spectrum of adware in existence, and one of the most common pieces of adware happens to be a menace that goes by the name of AdChoices.
AdChoices is a program that usually sneaks on to unknowing computers during the installation of other, legitimate software. AdChoices is distributed without the knowledge of the people installing it and sometimes without even the knowledge of the developers of the application that the adware is being installed alongside. In addition, AdChoices disguises itself as a somewhat helpful application, resulting in even somewhat skeptical victims allowing the adware to be installed. Once AdChoices has been installed on a computer, it not only displays advertisements to the user but also installs intrusive third-party toolbars for internet browsers and other malicious programs that further add to the heaps of advertisements the victim sees because of the adware.
You can often rid yourself of the petulant advertisements you see because of AdChoices while using an internet browser by installing and enabling an extension or add-on for that specific internet browser designed to block advertisements (something like AdBlock or Adblock Plus, for example). However, this method often ends up either only working for a portion of all the ads AdChoices bombards victims with or not working at all because of countermeasures set up and used by the adware.
Thankfully, though, there is no need for you to go nuclear and take any drastic measures such as reinstalling Windows on your computer from scratch. As is the case with all other malicious intruders, AdChoices can be gotten rid of – you just need to put in a little bit of effort. If you have been unfortunate enough to be infected by AdChoices, here’s how you can get rid of the notorious adware:
Phase 1: Uninstalling AdChoices from the Control Panel
First and foremost, you need to rid your computer of the root of all the chaos that has been inflicted upon it – the AdChoices program that was installed on it. As aggravating as AdChoices can be, uninstalling it works basically the same way as uninstalling any other application or program on a Windows computer. To uninstall AdChoices from your computer, you need to:
- Press the Windows Logo key + R to open a Run dialog.

- Type appwiz.cpl into the Run dialog and press Enter to launch Windows’ Add or remove programs utility.

- Wait for Windows to populate the list of applications and programs installed on your computer.
- Look through the list of applications and programs installed on your computer for a listing for AdChoices, right-click on it and click on Uninstall. Go through the onscreen instructions and prompts in the resulting uninstallation wizard to successfully uninstall the malicious application from your computer.

Note: If no listing for AdChoices exists within the list of applications and programs, the adware is almost certainly disguising as itself as another application. If that is the case, simply uninstall any and all applications from the list that you do not recognize or do not use. To make it easy for you to discriminate between friend and foe, you may sort the list of applications by Installed On and look for unknown or suspicious programs installed at or around the same time you started seeing symptoms of the adware infection.
Phase 2: Uninstalling any and all toolbars associated with AdChoices
AdChoices is not limited to being a standalone application – once it infects a computer, it installs an array of conduits, chief among them being malicious toolbars associated with the adware for every single one of the internet browsers the victim uses. Once you have uninstalled the AdChoices application, you need to also uninstall these toolbars so as to make sure all avenues used by the adware are demolished. In order to uninstall any and all toolbars associated with AdChoices, here’s what you need to do:
On Google Chrome:
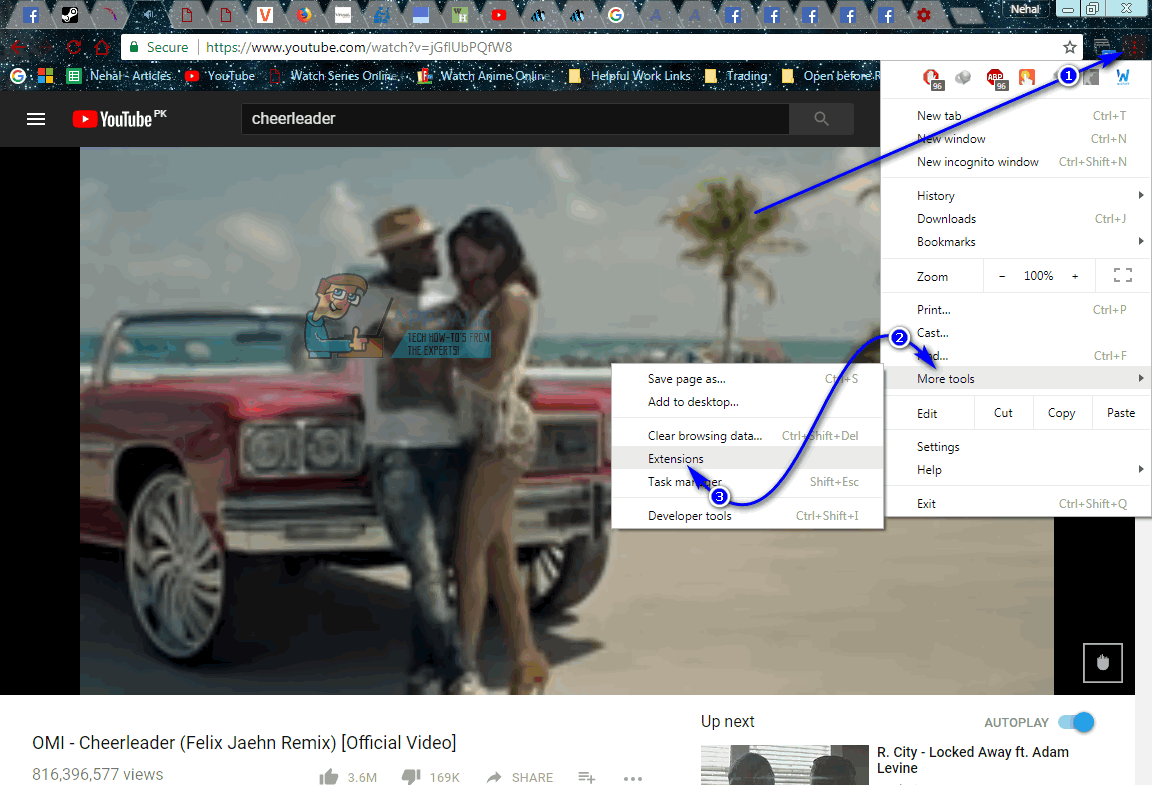
- Click on the Options button (represented by the three vertical dots in the top-right corner of the window).
- Hover over More tools in the resulting context menu.
- Click on Extensions.
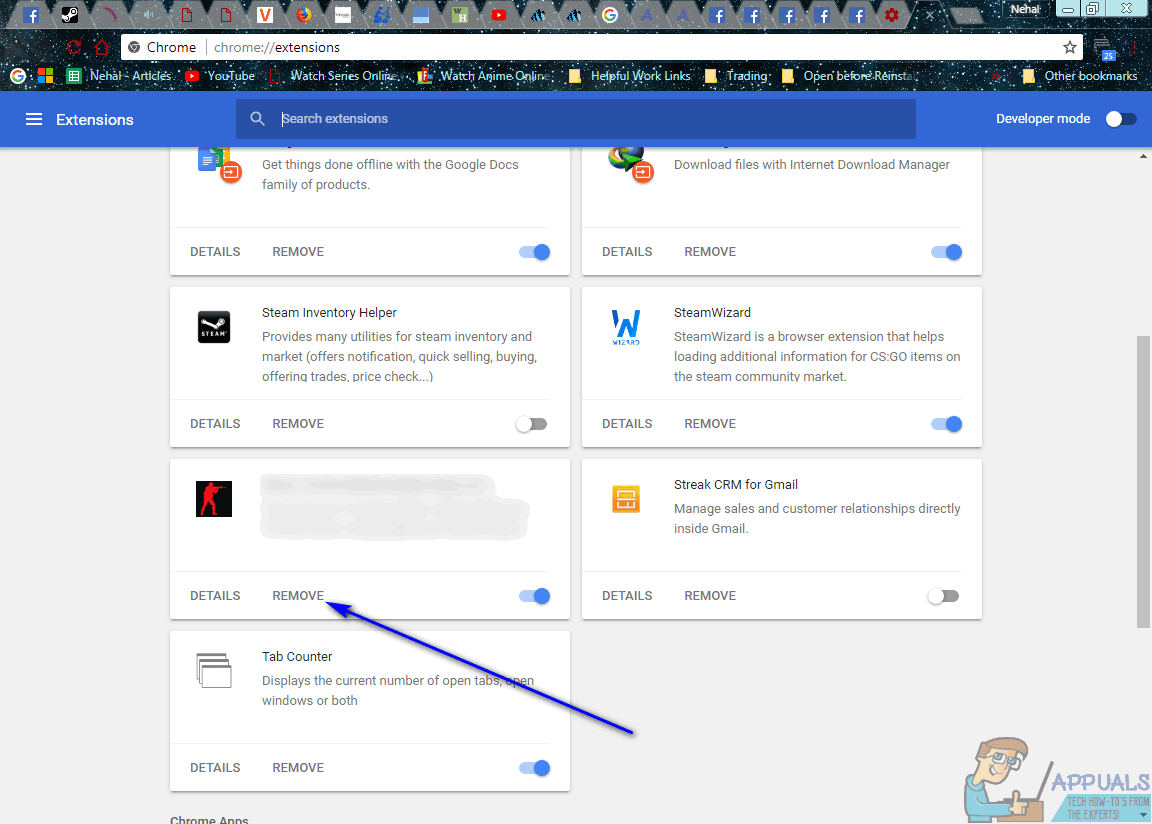
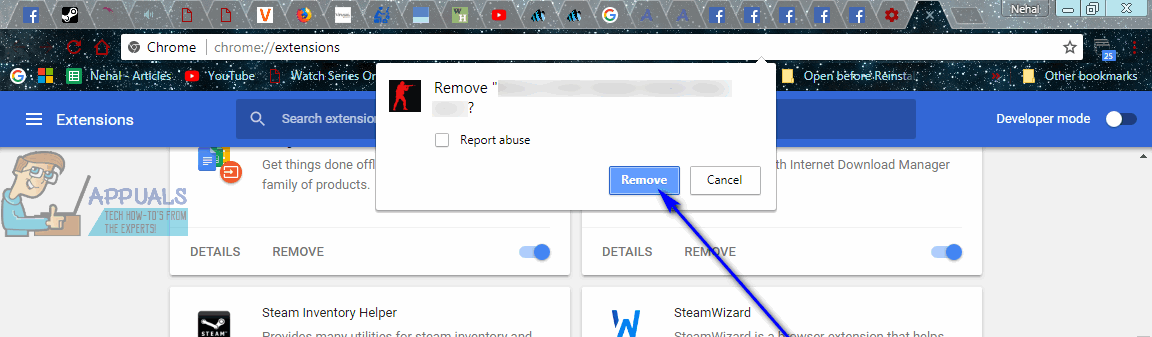
- Locate the extension associated with AdChoices (a surefire tell is that this is going to be an extension you don’t recognize and an extension that looks out of place), click on Remove under its listing and click on Remove in the resulting dialog to confirm the action. If there are any other active extensions that you do not recognize or have any use for, remove them from Google Chrome as well.
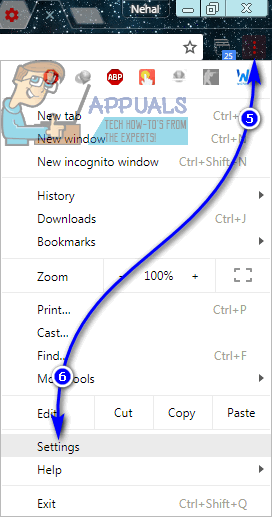
- Click on the Options button once again.
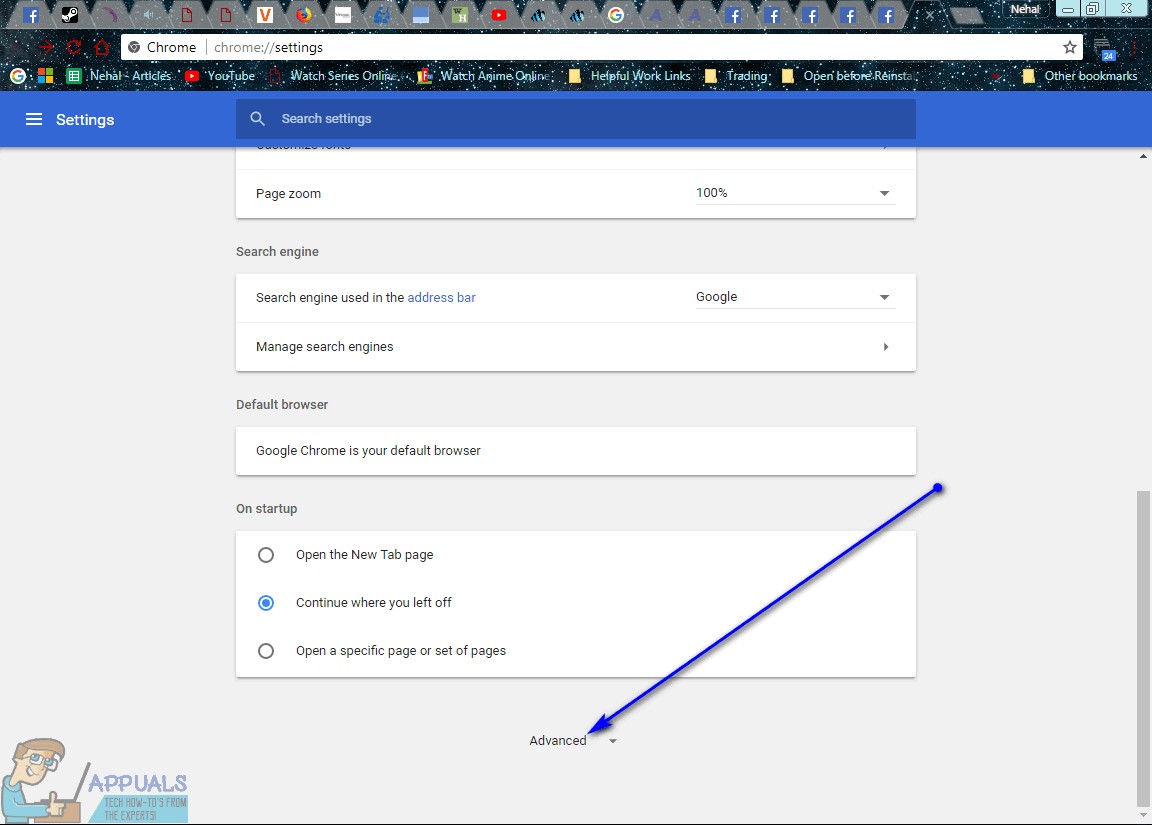
- Click on Settings in the resulting context menu.
- Scroll down to and click on Advanced.
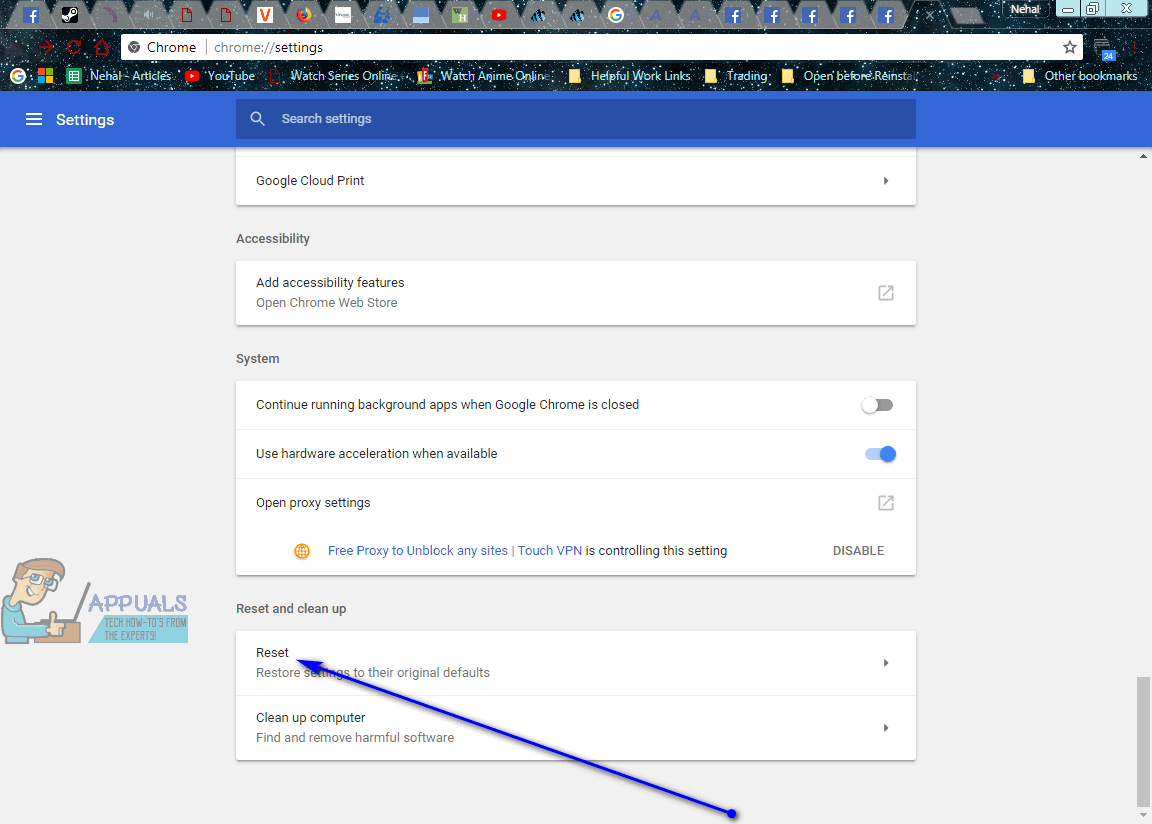
- Scroll down to the Reset and clean up section.
- Click on Reset.
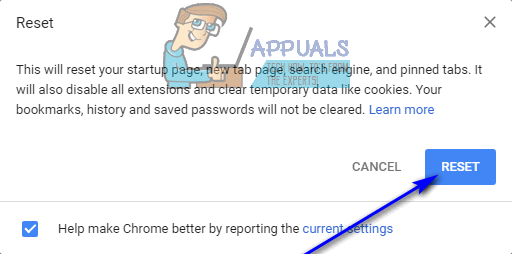
- Click on Reset in the resulting popup to confirm the action and have your Google Chrome slate wiped clean.
On Mozilla Firefox:
- Press Ctrl + Shift + A.
- Click on Plugins in the left pane.
- Configure non-essential and unrecognized plugins to Never Activate.
- Click on Extensions in the left pane.
- Disable, or preferably remove, if possible, any and all unwanted or unknown extensions your instance of Mozilla Firefox has.
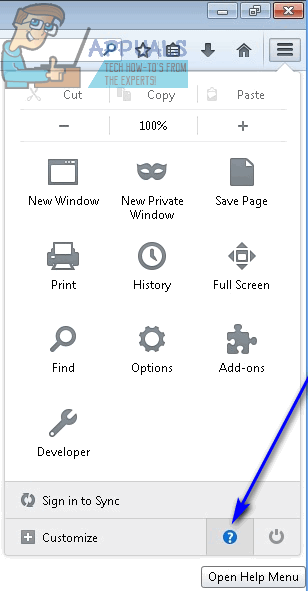
- Click on the Options button (represented by the three vertically stacked lines in the top-right corner of the window).
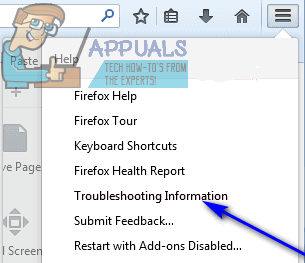
- Click on the Open Help Menu button (represented by the question mark icon).
- Click on Troubleshooting Information.
- Click on Reset Firefox….

- Click on Reset Firefox in the resulting dialog to confirm the action.
On Internet Explorer:
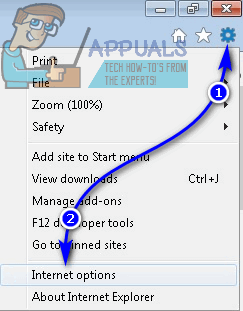
- Click on the Gear icon in the top-right quadrant of the window.
- Click on Internet options.
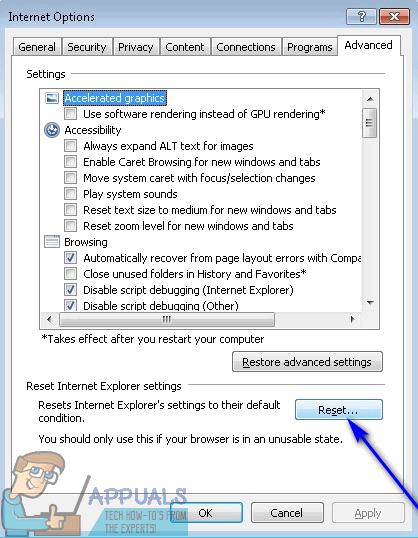
- Navigate to the Advanced tab.
- Under the Reset Internet Explorer settings section, click on Reset….
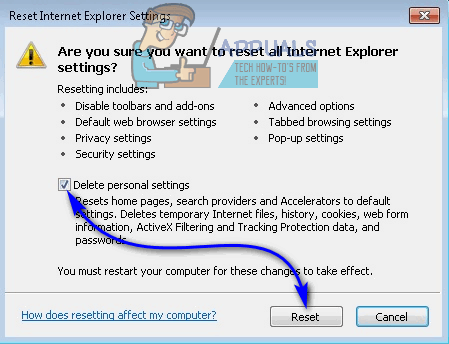
- Enable the Delete personal settings option, and click on Reset to completely reset Internet Explorer to its factory settings.
Phase 3: Scanning for adware, malware or any other threats
Once you have removed both the main AdChoices application and all of its tributaries from your computer, all there is left to do is make sure there was nothing left behind and that the entirety of the adware invasion has been blown to smithereens. You can make sure that you successfully got rid of AdChoices and all the chaos it brought with it using third-party computer security applications. What you need to do is:
- Go here and click on Free Download to download an installer for Malwarebytes – arguably the premiere antimalware program for the Windows Operating System in the market right now.

- Navigate to where you saved the installer, locate it and double-click on it to run it.
- Go through the installer by following the onscreen instructions and prompts, and Malwarebytes will be successfully installed on your computer by the end.
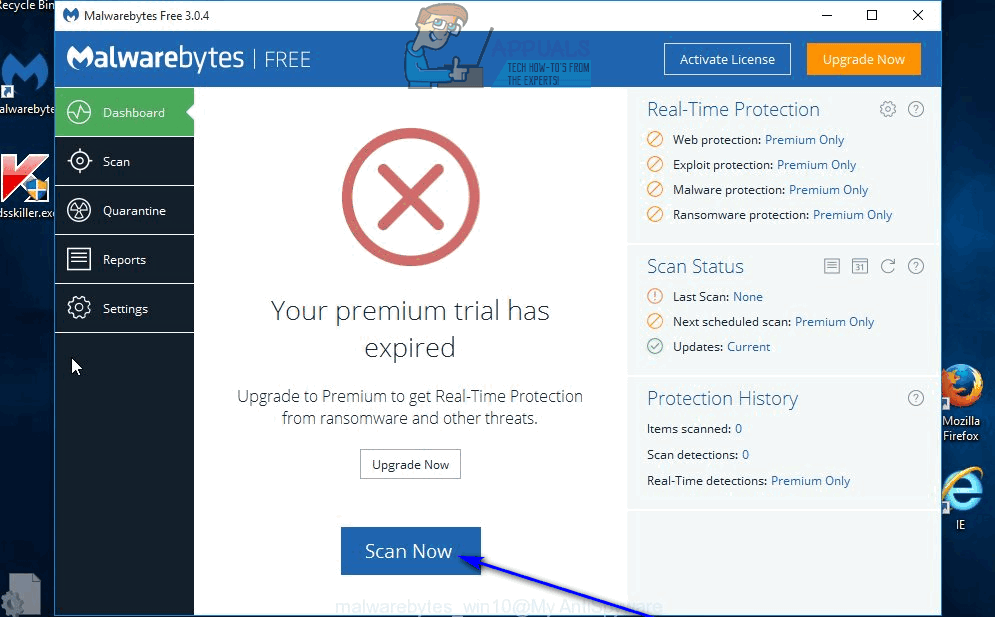
- Close any and all programs currently running on your computer, and then launch Malwarebytes.
- Click on Scan Now.
- Wait for Malwarebytes to scan your computer for any and all unwanted software or intruders, adware included.
- Once you have the results of the scan in front of you, make sure all of the threats found are selected, and then click on Quarantine Selected.
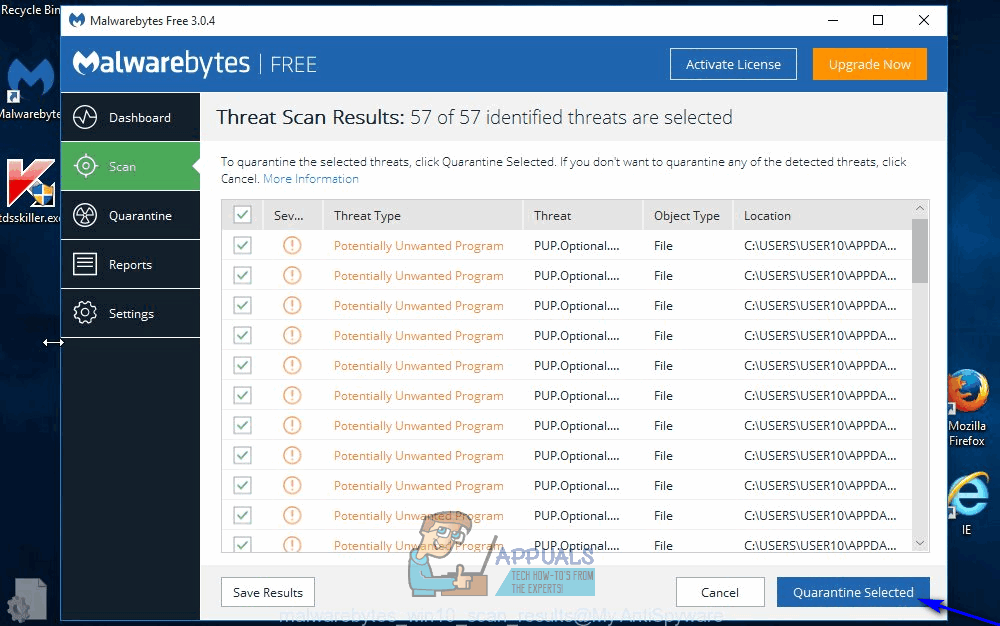
- The application will disinfect your computer of all the intruders it detected. Once it is done, be sure to restart your computer.
- Go here and click on Free Download to download a portable version of AdwCleaner – a computer security program designed specifically to check for and deal with adware.
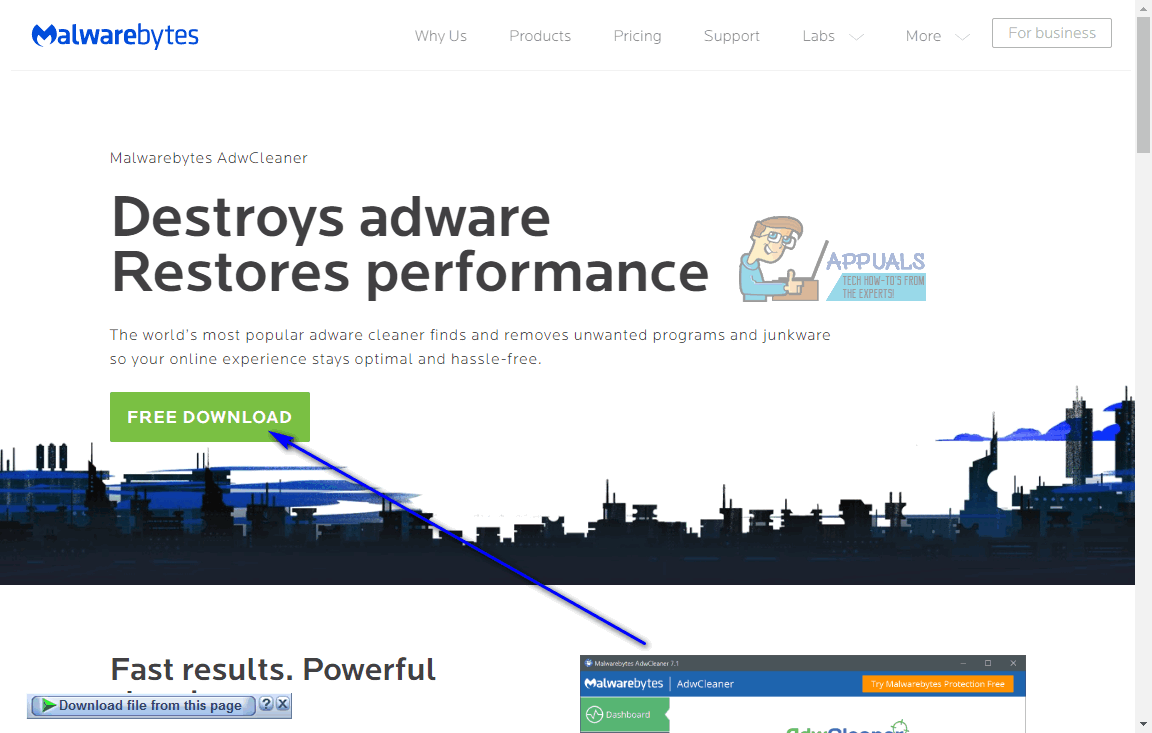
- Navigate to where you saved the downloaded file, locate it and double-click on it to run it. When you do so, AdwCleaner will start up – no installation required as what you downloaded was a portable version of the application.
- Click on Scan.
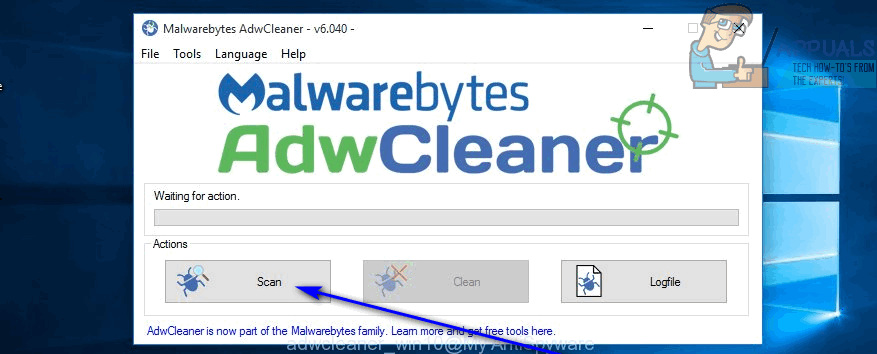
- Wait for the application to scan your computer.
- When you get the results of the scan, make sure all of the malicious entities flagged by AdwCleaner are selected, and then click on Clean.
- In the resulting dialog, click on OK to confirm the action.


