How to Fix ‘Xfinity Wi-Fi HotSpot not Working’
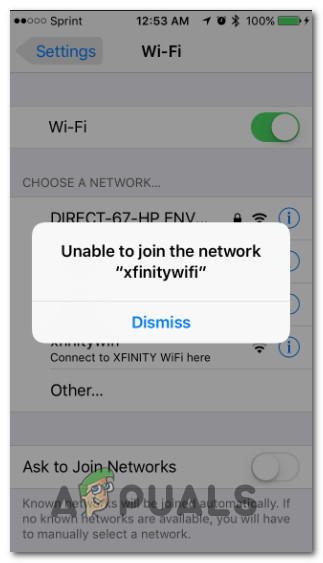
Some users are reporting that their Xfinity WiFi HotSpot is no longer working. In the vast majority of reported cases, affected users are saying that the hotspot used to work before breaking abruptly. In most cases, user report that they are able to connect their devices to it, but there’s no Internet access whatsoever. But there are also cases where the user can’t connect to the hotspot network at all (mostly encountered with IOS devices). The issue is not exclusive to Windows 10 as it’s also encountered on Windows 8 and Windows 7.
What is causing the ‘Xfinity WiFi HotSpot’ issues?
We investigated this particular issue by looking at various user reports and the repair strategies that are commonly being used to fix this problem. As it turns out, there are several potential culprits that might end up triggering this error:
- Xfinity Device limit is surpassed – This issue can also occur if the number of devices exceeds the maximum permitted number. If this scenario is applicable to your current situation, you can resolve the issue by reviewing all your devices and clean up the list by removing those devices that are not being used.
- IP configuration is not agreeable – If you’re using a dynamic IP configuration, chances are the issue will be resolved and you will be able to connect to to the Xfinity Wifi Hotspot after renewing the IP configuration using a CMD prompt.
- Xfinity WiFi network is hidden – Another reason why you might be having trouble connecting to this network is that it might be actually hidden. In this case, you can use a 3rd party software to identify the hidden SSID and connect o it manually using the MAC address.
If you’re currently looking for a way to resolve the same problem, this article will provide you with several troubleshooting steps that will most likely resolve the issue. Down below, you’ll find a collection of methods that other users in a similar scenario have used to fix this the ‘Xfinity WiFi HotSpot’ issues. Each potential fix that is presented below is confirmed to work by at least one affected user.
If you want to remain as efficient as possible, we advise you to follow the methods in the order that they are presented since they are ordered by efficiency and severity. One of the fixes below should resolve the issue regardless of the culprit that ends up causing it.
Method 1: Clearing MAC address from your account
Keep in mind that there is a limit of devices that can become available for XfinityWifi. If the number of devices exceeds the maximum permitted number, you will be able to fix the issue by reviewing all your devices and clean up the list by removing the devices that are not being used.
Several users that have performed these instructions have reported that their Xfinity Wifi Hotspot has started working again and they were able to connect new devices to it.
Here’s a quick guide on how to clear the MAC (Media Access Control) address in association with your account:
- Visit this link (here) and sign in with your account – make sure that you’re using the primary user ID.
- Once you’re logged in, navigate to the section listing all your devices and remove the device that is refusing to connect (you can locate it using the MAC address or by name).
- When you manage to locate the correct device, click the Remove button associated with it.
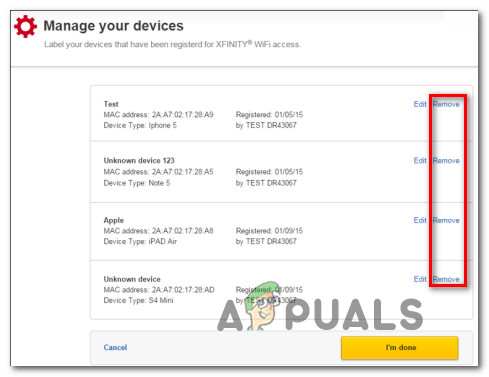
Removing the device that is causing the issues - If you’re asked to confirm “Are you sure you want to remove this device?”, click on Remove once again.
- Try to connect with to the XfinityWifi hotspot again and see if the issue has been resolved.
If you’re still encountering the same issue, move down to the next method below.
Method 2: Renewing the IP configuration
Some affected users that we’re encountering the issue from a PC or laptop have reported that that the issue was no longer occurring and they were able to connect normally after using an elevated Command Prompt to flush and renew the IP configuration. This is typically reported to be effective with dynamic IP configurations.
Here’s a quick guide on renewing the IP configuration on a Windows PC:
- Press Windows key + R to open up a Run dialog box. Then, inside the text box, type “cmd” and press Ctrl + Shift + Enter to open an Elevated Command Prompt. When prompted by the UAC (User Account Control), click Yes to grant administrative privileges.
- Inside the elevated Command prompt, type the following command and press Enter to release the current IP configuration:
ipconfig /release
- Once the current IP configuration has been released, type the following command and press Enter to renew the IP configuration of your Windows machine:
ipconfig /renew
- Once the command is processed successfully, close the elevated Command Prompt and see if the issue has been resolved by trying to connect to the Xfinity Wifi Hotspot.
If you’re still encountering the same Xfinity error, move down to the next method below.
Method 3: Connecting through MAC address
If the first method didn’t allow you to resolve the issue, let’s try a different route. Some affected users have resolved this issue by using a 3rd party software called WIrelessMon – a wireless monitoring software to get the problem fixed.
This software will allow you to view the hidden SSID’s of XfinityWifi and connect to them even if they are hidden by default and don’t appear inside the list of available Wi-Fi connections.
Here’s a quick guide on how to use it:
- Visit this link (here) and download a trial version of WirelessMon.
- Follow the installation instructions to install the application on your computer. Launch the program once the application is complete.
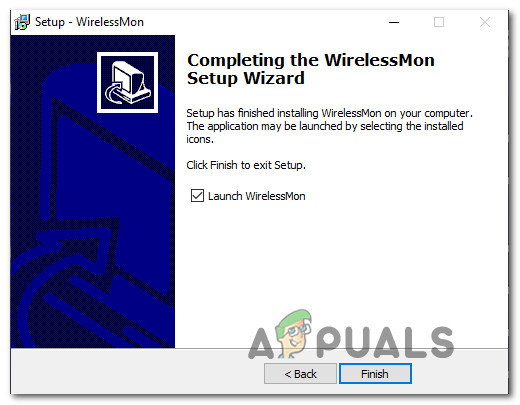
Installing WirelessMon - Click Continue at the first prompt to continue using the free version.
- At the next screen, wait until the list of available networks is generated (in the bottom section of the screen).
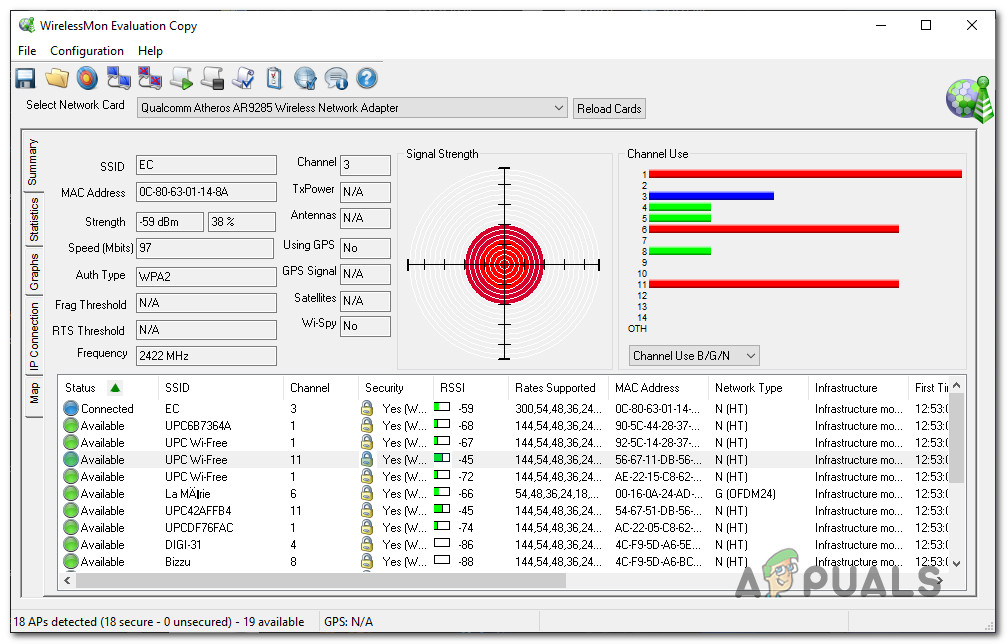
List of available wireless networks on WirelessMon - Now, connect your device to the same Xfinity Wifi network that was previously failing. Do it conventionally, don’t use WirelessMon yet.
- Once the device is connected (but doesn’t have internet access), return to WirelessMon, right-click on the Xfinity Wifi network that is failing to work and choose Connect to Ap.

Connecting to the correct network with WirelessMon - At the Connect to Access Point screen, change the toggle from Connect using SSID to Connect using Mac and click Connect.
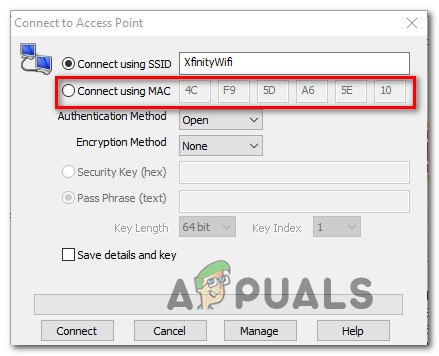
Connecting to Xfinity WiFi Hotspot using the MAC address. - Return to the device that was previously having issues and see if it’s now able to connect.


