How to Fix Windows Update Error Code 800F0A13?
Some Windows users are unable to install certain updates using the conventional way. The error code that comes up after the update fails is 800F0A13. While some users are encountering this issue with several different updates, others are saying that the error code only appears with one update (the rest installed some time). The issue is much more common on Windows 7, but there are also some occurrences of it occurring on Windows 8.1.
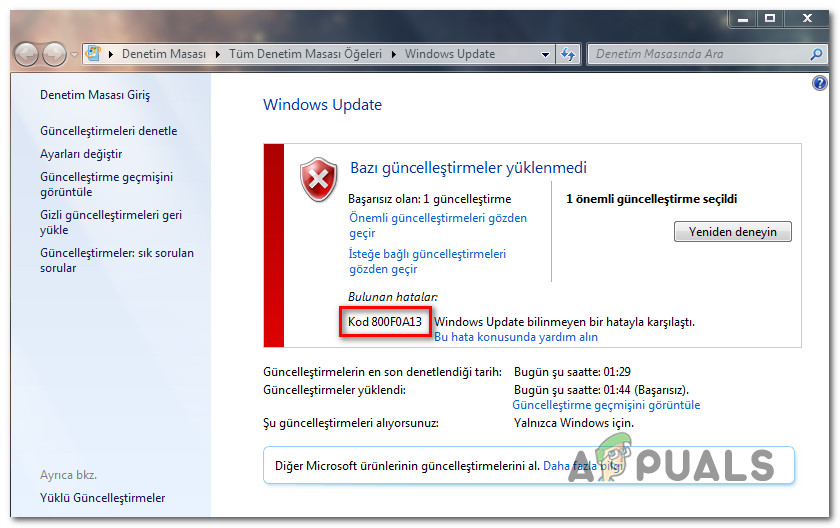
What’s causing the Windows Update 800F0A13 error?
We investigated this particular issue by looking at various user reports and by testing out the different repair strategies that were recommended by other users that already managed to get to the bottom of the problem. As it turns out, several different scenarios will trigger this error message. Here’s a shortlist with culprits that might trigger this problem:
- Generic WU Glitch – As it turns out, in most cases, this issue will occur due to a genetic glitch that was already documented by Microsoft. If this scenario is applicable, you should be able to resolve the issue simply by running the Windows Update Troubleshooter and applying the recommended fix.
- System File Corruption – After investigating several user reports, is possible that the issue is caused by some type of System File Corruption that’s affecting the Windows Update component. If this scenario is applicable, you can resolve the issue by running a series of utilities capable of fixing corrupted os components (DISM and SFC).
- 3rd party AV interference – If you’re using a 3rd party security suite, chances are you’re using an overprotective suite that is interfering with the connection between WU and your OS. In this case, you should be able to resolve the issue by disabling 3rd party interference (either by disabling the real-time protection or by uninstalling the 3rd party AV suite).
- Startup Inconsistency – Under certain conditions, this particular error code can occur in instances where some startup items, kernel processes or background processes belonging to your OS become corrupted. Since these can’t be fixed conventionally, you’ll need to perform a startup repair to resolve the issue.
If you’re currently encountering the same 800F0A13 error and you’re looking for a fix, this article will provide you with several different troubleshooting guides. Down below, you’ll find a collection of methods that other users in a similar situation have successfully used to get to the bottom of the issue.
If you want to remain as efficient as possible, we encourage you to follow the instructions below in the same order that we arranged them in (by difficulty and efficiency). Eventually, you should stumble upon a fix that will resolve the issue regardless of the culprit that’s causing the problem.
Let’s begin!
Method 1: Running the Windows Update troubleshooter
Although multiple scenarios will spawn this error, in most cases, the issue will occur because the WU (Windows Update) is somehow affected. Because of this, you should see if your Windows installation is capable of resolving the issue automatically before trying any of the manual fixes.
In case the issue is happening due to an inconsistency that’s already covered by Microsoft, the Windows Update Troubleshooter should be capable of resolving the issue automatically if the scenario is covered. Several Windows users that were also struggling with this error code have reported that the issue was entirely resolved after they ran this troubleshooter and applied the recommended repair strategy.
If you’re not sure on how you can run the Windows Update Troubleshooter on your Windows 7/Windows 8.1 computer, follow the instructions below:
- Open up a Run dialog box by pressing Windows key + R. Next, type ‘control.exe /name Microsoft.Troubleshooting‘ and press Enter to open up the Troubleshooting tab of the classic Control Panel interface.
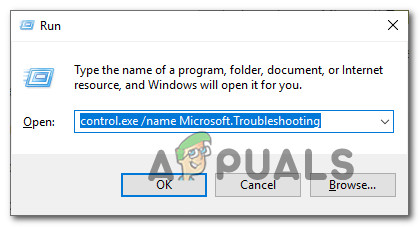
Accessing the Classic Control Panel interface Note: If you’re prompted by the UAC (User Account Control) prompt, click Yes to grant administrative privileges.
- Once you’re inside the Troubleshooting screen, move over to the right-hand side section of the screen and click on Fix problems with Windows Update (under System and Security).
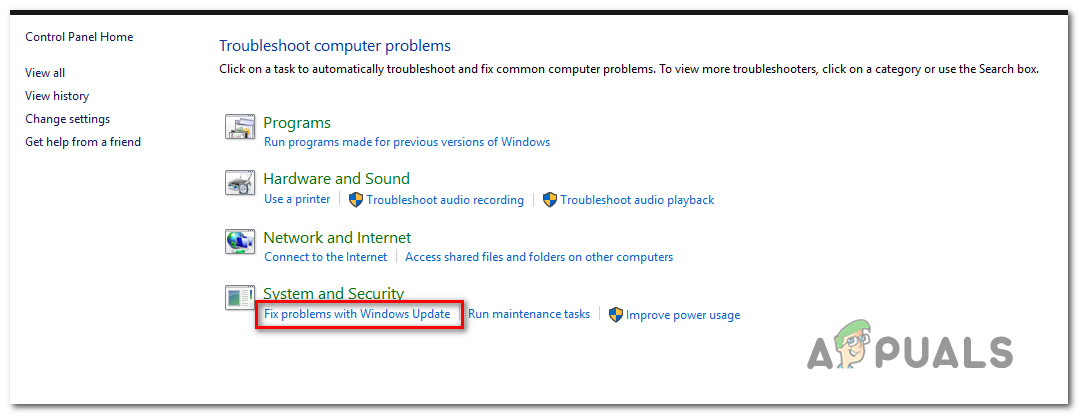
Fixing the problems with Windows update with the Windows Update Troubleshooter - At the initial Windows update screen, click on Advanced, then check the box associated with Apply repair automatically before clicking Next. This ensures that the fix will be automatically applied if a viable one is found.
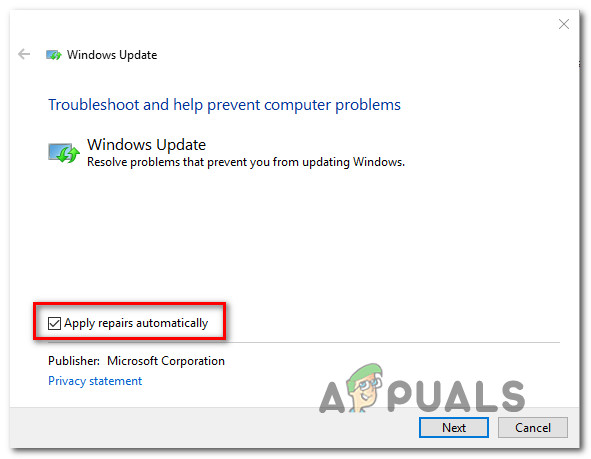
Apply repairs automatically using the Windows Update troubleshooter - Wait for the analysis to complete. This procedure will determine whether any of the repair strategies included with the Windows Update troubleshooter are applicable in your particular scenario.
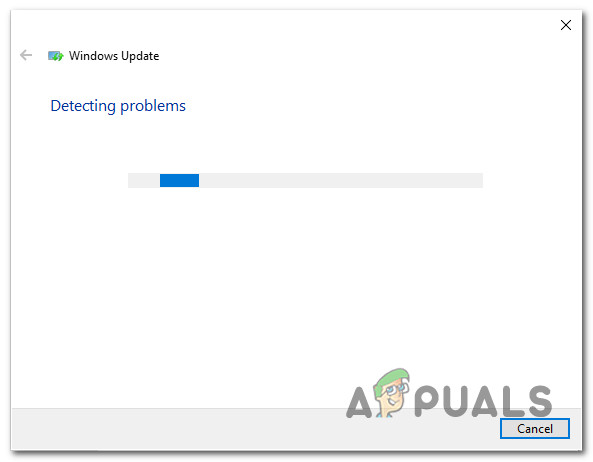
Detecting problem with Windows Update - If a viable repair strategy is identified, you’ll see a different window where you’ll have the option to click on Apply this fix. Next, follow the on-screen instructions to enforce the fix. But keep in mind that depending on the fix that gets recommended, you might or might not need to follow a series of additional instructions.
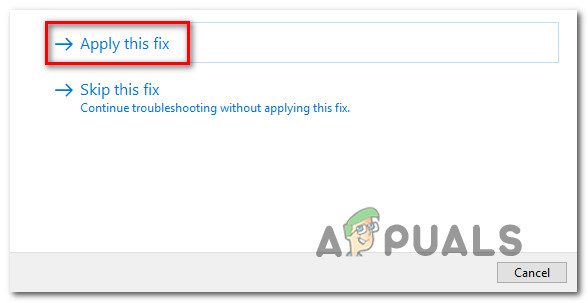
Apply this fix - Once you successfully manage to apply the recommended fix, restart your computer and see if the issue is resolved once the next startup sequence is complete.
If you’re still encountering the 800F0A13 error when you try to install one or more Windows updates, move down to the next method below.
Method 2: Running DISM and SFC Scans
If the Windows Update troubleshooter wasn’t effective in resolving the issue automatically, you might want to investigate for a scenario where System File Corruption is interfering with the WU component and is making the update fail with the 800F0A13 error code.
In case a scenario like this applies to your situation, the most efficient way of resolving the issue is to run a couple of utilities capable of fixing both logical errors and system file corruption. And you don’t even need to rely on 3rd party suites since Windows has two built-in utilities capable of doing this: SFC (System File Corruption) and DISM (Deployment Image Servicing and Management).
Keep in mind that SFC will replace corrupted items by relying on a locally cached copy while DISM uses a sub-component of WU to download healthy copies for the corrupted files that need to be replaced. DISM is more efficient with system corruption while SFC is better with logical errors, so we recommend that you run both in quick succession.
Here’s a quick guide on running both SFC and DISM to resolve the 800F0A13 error:
- Press Windows key + R to open up a Run dialog box. Then, type ‘cmd’ in the newly appeared text box and press Ctrl + Shift + Enter to open up an elevated CMD prompt. When you’re prompted by the UAC (User Account Control) prompt, click Yes to grant administrative privileges.
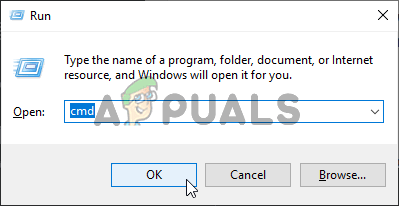
Running Command Prompt - Once you manage to open an elevated CMD window, type the following command and press Enter after each line to initiate a DISM scan:
Dism.exe /online /cleanup-image /scanhealth
Dism.exe /online /cleanup-image /restorehealth
Note: Keep in mind that DISM requires a reliable Internet connection to replace corrupted instances with healthy copies. The first command will replace inconsistencies while the second will initiate the repairing process.
- After the DISM scan is complete, restart your computer and then continue with the steps below. Even if no file fixing is reported, you should continue with the next instructions.
- Once the next startup sequence is complete, follow step 1 again to open up another elevated CMD prompt. But this time, type the following command instead and press Enter to initiate an SFC scan:
sfc /scannow
Note: Under no circumstances, you should interrupt this process after the initial scan is started. Doing this will expose your system to other logical errors that might end up producing other errors in the future.
- As soon as this can is finished, restart your computer and see if the 800F0A13 error is resolved at the next system startup.
If the same error code is still occurring while you try to install a pending Windows update, move down to the next method below.
Method 3: Disabling 3rd party interference (if applicable)
According to several different user reports, this particular issue can also occur due to an overprotective AV suite that is preventing the WU component from communicating with the Microsoft server to download the update.
Several 3rd party suites are signed out for causing this problem, but Avast is the most common culprit. McAfee Sophos and Comodo are also reported as security suite that might be causing this problem.
If you’re using a security scanner that you suspect is responsible for the 800F0A13 error, you should be able to resolve the issue either by disabling the real-time protection or by uninstalling the 3rd party security suite that’s responsible for the interference.
First, you should start by disabling real-time protection and check to see if the issue is still occurring. Of course, this procedure will be different depending on the security client that’ you’re using. But with the vast majority of 3rd party AV suites, you can do this directly from the taskbar icon. Simply right-click on your security suite icon and look for an option that disables the real-time protection.
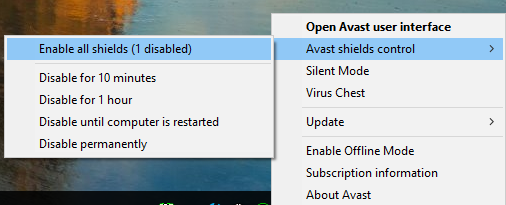
After you manage to disable the real-time protection, attempt to update again and see if the issue is now resolved.
If you’re still encountering the 800F0A13 error, you should uninstall the AV completely and remove any remnant files that will still enforce the same security rules. If you decide to do this, follow the steps outlined in this article (here). It will show you how to uninstall the security program without leaving behind any leftover files that will still trigger the same issue.
If this method isn’t applicable or you already confirmed that your external AV suite is not causing the issue, move down to the final method below.
Method 4: Performing a Startup Repair
If none of the methods above have allowed you to resolve the issue, chances are you’re dealing with some type of corruption that cannot be resolved conventionally. In scenarios like this, the best possible fix you can apply that will not cause data loss is to perform a Startup Repair.
This procedure will repair any files that are critical to the Windows startup process including boot data, Kernel processes, and native background processes. But keep in mind that to perform a startup repair procedure, you will either need the Windows Installation media or a system recovery disk.
If you don’t have either of these, you can still perform the procedure by creating a startup repair media. If you’re determined to start following this procedure, follow the step-by-step instructions (here).


