How to Fix Windows Update Error 8024001B?
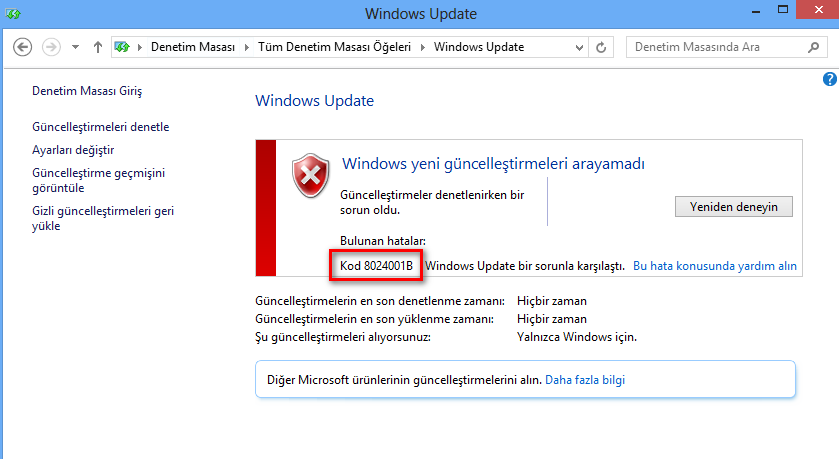
Some Windows users have been reaching us with questions after being unable to update their machines with the latest Windows Update. As it turns out, whenever they try to scan for new updates, they end up seeing the 8024001B error code accompanied by the message “There was a problem checking for updates“. This error appears before the scanning procedure is completed, so affected users never get to see which updates need to be installed. In most cases, this issue is reported to occur on Windows 7 and Windows 8.1
What’s causing the Windows Update Error Code 8024001B?
We investigated this particular issue by looking at various user reports and by testing out the various repair strategies that are being recommended by other users that have already managed to get to the bottom of this issue and fix it. After this analysis, we can conclude that multiple causes might be responsible for this behavior. here’s a shortlist with potential culprits:
- Glitched WU component – As some users have reported, this error code might also be triggered in situations where one or more WU component becomes stuck in a limbo state (the OS thinks the component is open, when in fact it’s not). In this case, you should be able to resolve the issue by resetting all WU components or by using the Windows Update troubleshooter.
- System File Corruption – As it turns out, system file corruption can also be responsible for the apparition of this error code during a WU installation. If one or more WU dependencies becomes corrupted, the entire update operation might be affected. In this case, you should be able to resolve the issue by going for a repair install (or clean install).
- Unidentified interference – In more special circumstances, this error might occur due to an unidentified culprit. It’s possible that a driver update interfered with the WU operation. Since these conflicts are not easy to pinpoint, the ideal approach is to use System Restore to bring back your machine state to a point where this issue was not occurring.
If you’re currently encountering the same Windows Update 8024001B error code and one of the scenarios presented above seem applicable, then this article will likely help you in resolving the issue. Down below, you’ll find a collection of methods that other users in a similar situation have successfully used to bypass the error code and install the Windows Updates normally.
If you want to remain as efficient as possible, we advise you to follow the instructions below in the same order as we arranged them in (via efficiency and difficulty). Eventually, you will get to a reparation procedure that will fix the problem regardless of the scenario that applies to you.
Let’s begin!
Method 1: Running the Windows Update troubleshooter
As you saw in the section above, multiple sections might end up triggering this error message. But, in the vast majority of possible scenarios, the issue is caused by a WU component (not an outside process or service).
Because of this, you should start your troubleshooting guide by seeing if you Windows is not capable of resolving the issue automatically (without any manual setting on your side). This can be achieved by running the Windows Update troubleshooter.
If the problem you’re dealing with is already documented by Microsoft, then the Windows Update troubleshooter should already include a repair strategy that will take care of the issue automatically. Several Windows users that were also struggling to resolve the 8024001B error have reported that they managed to get to the bottom of this issue by running this utility and applying the recommended repair strategy.
If you’re unsure on how to make use of the Windows Update troubleshooter utility, follow the instructions below for step by step instructions:
- Open up a Run dialog box by pressing Windows key + R. Next, type ‘control.exe /name Microsoft.Troubleshooting’ and press Enter to open up the Troubleshooting tab of the classic Control Panel interface.
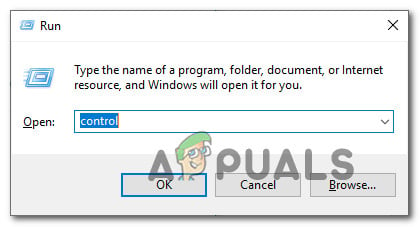
Accessing the classic Control Panel interface Note: When you see the UAC (User Account Prompt), click Yes to grant administrative privileges.
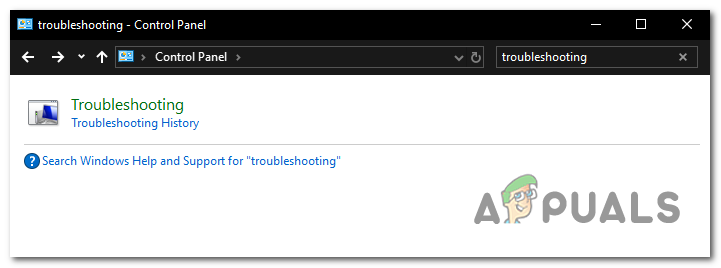
- Once you’re inside the classic Control Panel interface, use the text box in the top-right corner to search for ‘troubleshooting”. Next, from the list of results on the left-hand side, click on Troubleshooting.
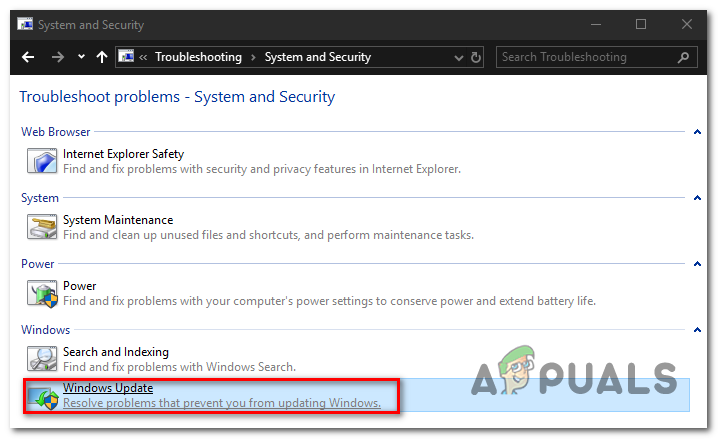
Accessing the Troubleshooting option from the Classic Control Panel interface - Once you’re inside the Troubleshooting window, move over to the right-hand side menu and click on System and Security. Then, from the list of Troubleshooting strategies, click on Windows Update (under Windows).
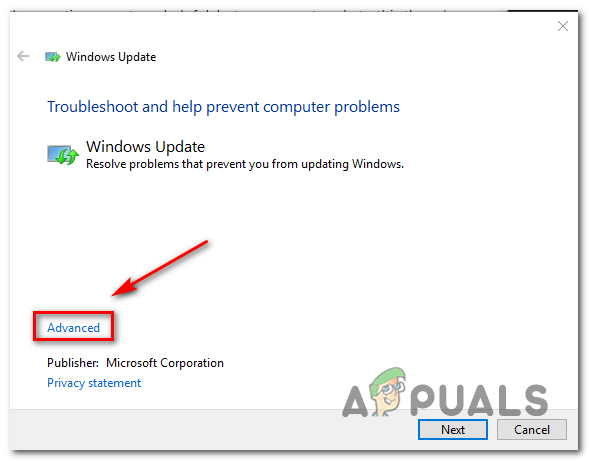
Accessing the Windows Update troubleshooter - Once the Windows Update troubleshooter window is open, start by clicking on the Advanced link, then ensure that the box associated with Apply repairs automatically is checked. Then, click Next to advance to the next menu.
Ensuring that the repairs are applied automatically by Windows Update - Wait for the problems to be detected by your utility. If a viable repair strategy is found, you will be presented with it on the next screen. To take advantage of this, click on Apply this fix and wait for the procedure to complete.
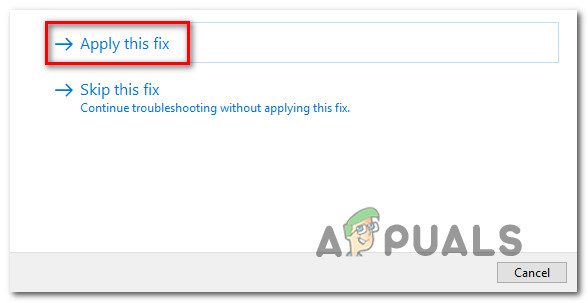
Apply this fix - If your computer doesn’t restart automatically, trigger it yourself and see if the issue is resolved at the next system startup by attempting to update your computer once again.
If the operation still fails with the same 8024001B error, move down to the next method below.
Method 2: Resetting every WU component
Another fairly common scenario that might end up triggering the 8024001B error is a WU (Windows Update) inconsistency that is effectively stopping your computer ability to find and install new updates.
We observed this behavior with several affected users and in the vast majority of cases, they managed to get it resolved by resetting all components and dependencies involved in this process.
If you think this scenario might be applicable, follow the instructions below for step by step instructions on resetting every Windows Update component manually (from an elevated CMD prompt). Here’s a quick guide on how to do this:
- Press Windows key + R to open up a Run dialog box. Next, type “cmd” inside the text box and press Ctrl + Shift + Enter to open up the Elevated Command Prompt. In case you’re prompted by the UAC (User Account Control), click Yes to grant admin access.
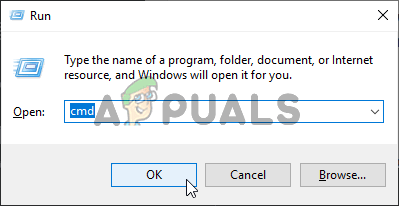
Running Command Prompt - Once you find your way inside the elevated CMD window, type the following command in order and press Enter after each command to stop every essential WU service:
net stop wuauserv
net stop cryptSvc
net stop bits
net stop msiserver
Note: After you finish running these commands, you will have effectively stopped all essential Windows Updates services from running (Windows Update, MSI Installer service, Cryptographic service, and the BITS service)
- After you manage to disable all these services, run the following commands in the same CMD prompt and press Enter after each command to rename the SoftwareDistribution and Catroot2 folders:
ren C:\Windows\SoftwareDistribution SoftwareDistribution.old
ren C:\Windows\System32\catroot2 Catroot2.old
Note: These two folders are important since they are responsible for storing the update files that are being used by the Windows updating component. Renaming them essentially forces your OS to create new instances that will take their place and bypass any sort of file corruption.
- Once you get past step 3, type the final commands in order and press Enter after each one to restart the same services that you previously disabled:
net start wuauserv
net start cryptSvc
net start bits
net start msiserver
- Attempt to search for updates once again to see if you’re still dealing with the error code 8024001B.
If the same issue is still occurring, move down to the next potential fix below.
Method 3: Using the System Restore utility
In case you only started to experience this behavior recently, a recent system change might have brought about this issues with the WU component. A 3rd party service or process might very well be responsible for the apparition of this issue.
Since creating a list with all potential culprits is not possible, we will showcase a cost-efficient approach – using the System Restore utility.
This tool is capable of using a previously created snapshot to restore the entire computer state to a previous point in time where the factors that contributed to the apparition of the 8024001B error were not present.
Keep in mind that by default, Windows is configured to regularly save System Restore snapshots at important actions (such as the installation of a critical update, a driver installation, etc.) Unless you modified this default behavior, you should have plenty of restore points to choose from.
IMPORTANT: Before you start using this utility, consider the fact that any changes you made since the restore point were created will be lost if you use it to restore the machine state to a previous point in time. This includes installed apps, drivers, 3rd party applications, games, etc.
If you understand the repercussions and you still want to proceed, follow the instructions below to initiate the restoring process:
- Press Windows key + R to open up a Run dialog box. Then, type ‘rstrui’ inside the text box and press Enter to open up the System Restore menu.
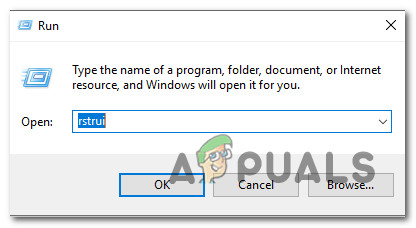
Opening the System Restore wizard via Run box - After you arrive at the initial System Restore screen, click Next to advance to the next screen.
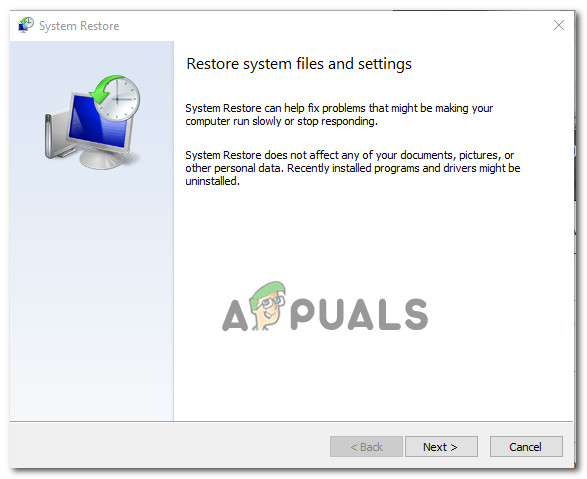
Using System Restore - At the next screen, start by ensuring that the box associated with Show more restore points are checked. After you do this, start comparing the dates of each saved restore point and select the one that is older than the apparition of this issue. With the correct system restore selected, click Next to advance to the next menu.
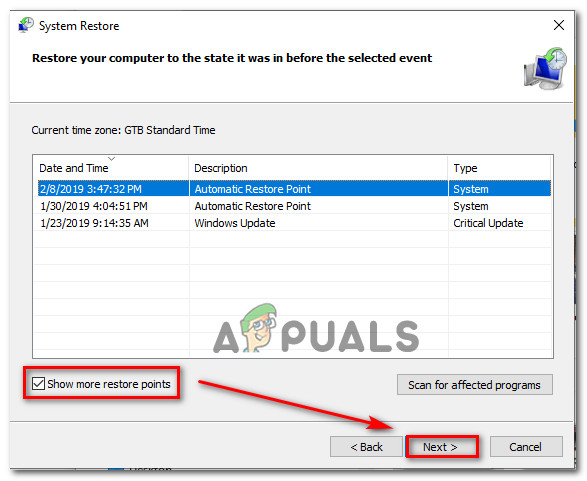
Restoring your system to a previous point in time - Once you get to this point, the utility is ready to go. All that’s left to do now is to initiate the restoring process by clicking on Finish.
- After a couple of seconds, your computer will restart and the previous state will be mounted. When the process is finished, attempt to search for updates again and see if the same issue is still occurring.
If you’re still seeing the 8024001B error code, move down to the final method below
Method 4: Refreshing every OS component
If none of the instructions above have allowed you to bypass the 8024001B error, you can conclude that you’re dealing with some type of system file problem that cannot be resolved conventionally. If this scenario is applicable, the only viable fix that should take care of the problem is to follow a procedure that will refresh every Windows component.
A complete system file reset can only be achieved by two procedures – a clean install or a repair install (in-place repair).
A clean install is easier to perform, but the major downside is that it will not allow you to keep any of your files (apps, games, personal media, user preferences, etc.)
If you’re looking for the most efficient approach, you should go for a repair install (in-place upgrade). It’s a more tedious procedure, but it will only touch system components, allowing you to keep any personal data (including applications and games.


