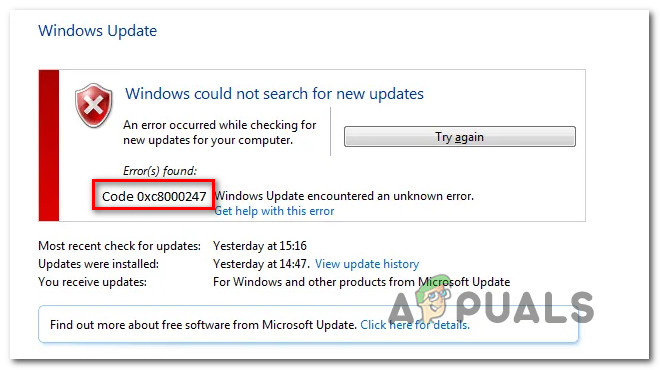
How to Fix Windows Update Error 0xc8000247?
Several Windows users are encountering the 0xc8000247 error code when trying to install an update via the WU (Windows Update) component. The majority of affected users are reporting that the issue only occurs with certain updates – others install just fine. Although the issue is mostly reported on Windows 7, we managed to find some occurrences of the same issue happening on Windows 10 and Windows 8.1.
What’s causing the Windows Update Error 0xc8000247?
We investigated this particular issue by looking at various user reports and the repair strategies that are commonly being used to resolve this error message. As it turns out, several different scenarios will trigger the Windows Update Error 0xc8000247. Here’s a shortlist with culprits that might be responsible:
- Installation is missing the IRST driver – As it turns out, this particular issue often occurs in situations where the machine installation is missing the Intel Rapid Storage Technology Driver (IRST). This scenario is quite common in instances where the Windows installation has been obtained after the user has cloned a previous installation using Acronis or a similar utility. In this case, you should be able to resolve the issue by installing the IRST driver through the official channels.
- 3rd party AV interference – Another scenario that might spawn this error is if you’re dealing with an overprotective AV suite that is interrupting the connection between the end-user machine and the WU server. If this scenario is applicable, you should be able to resolve the issue by either disabling the real-time protection while the update is installing or by uninstalling the overprotective suite and reverting to the built-in security suite.
- Glitched WU component – As some users have reported, this error code might also be triggered in situations where one or more WU component becomes stuck in a limbo state (the OS thinks the component is open, when in fact it’s not). In this case, you should be able to resolve the issue by resetting all WU components (either using the Automated Agent or by doing it all manually).
- System File Corruption – As it turns out, system file corruption can also be responsible for the apparition of this error code during a WU installation. If one or more WU dependencies becomes corrupted, the entire update operation might be affected. In this case, you should be able to resolve the issue by running system file repair scans (DISM or SFC) or by going for a repair install (or clean install).
- Unidentified interference – In more special circumstances, this error might occur due to an unidentified culprit. It’s possible that a driver update interfered with the WU operation. Since these conflicts are not easy to pinpoint, the ideal approach is to use System Restore to bring back your machine state to a point where this issue was not occurring.
If you’re also encountering this issue and you’re looking for a fix, this article will provide you with several troubleshooting guides that should help you to identify and resolve the problem that’s ultimately throwing this error. Down below, you’ll find a collection of potential fixes that have been confirmed to be effective by at least one affected user.
For the best results, we advise you to follow the methods in the same order that we arranged them in since they are ordered by efficiency and difficulty. Eventually, you will stumble upon a fix that will resolve the issue regardless of the culprit that’s facilitating the apparition of this issue.
Method 1: Running the Windows Update troubleshooter
Before we explore other advanced repair strategies, let’s see if your Windows is not capable of resolving the issue automatically. Several users that we’re facing this exact issue have managed to resolve the Windows Update Error 0xc8000247 by running the Windows Update troubleshooter.
This built-in utility contains dozens of repair strategies that will be applied automatically if a viable inconsistency is found. In case the utility finds a viable repair strategy, it will automatically recommend a viable fix that you can apply with a simple click.
Here’s a quick guide on running the Windows Update troubleshooter to resolve the Error 0xc8000247 on Windows:
- Open a Run dialog box by pressing Windows key + R. Next, type “ms-settings-troubleshoot” and press Enter to open up the Troubleshooting tab of the Settings app.
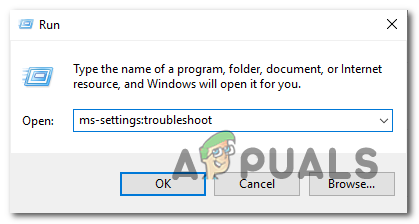
Opening the Troubleshooting tab of the Settings app via a Run box - When you’re inside the Troubleshooting tab, move over to the right-hand pane of the Settings screen and scroll down to the Get up and running section. Once you see it click on Windows Update, then click on Run the troubleshooter from the newly appeared context menu.
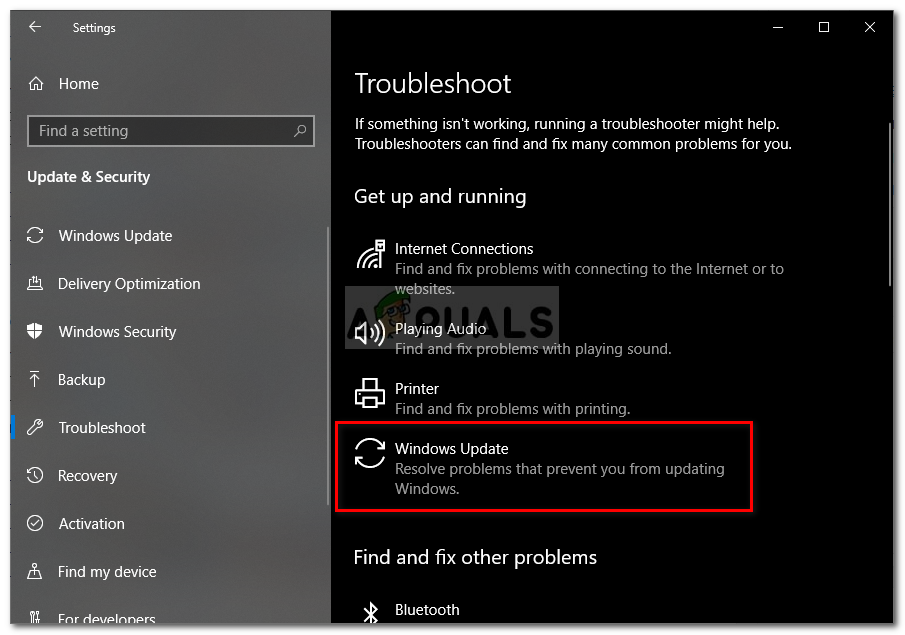
Running Windows Update Troubleshooter - After the utility is started, it will automatically run an initial scan. The purpose of this is to determine whether any of the repair strategies included with it are a match for the particular issue that you’re having.
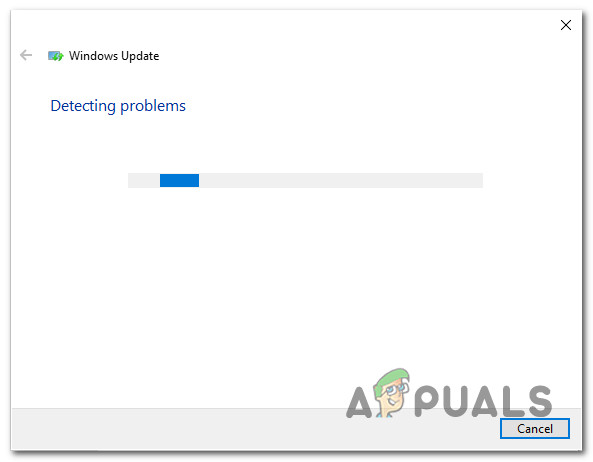
Detecting problem with Windows Update - In case a viable fix is identified, you’ll be presented with a new window in which you can click on Apply this fix to apply the recommended repair strategy.
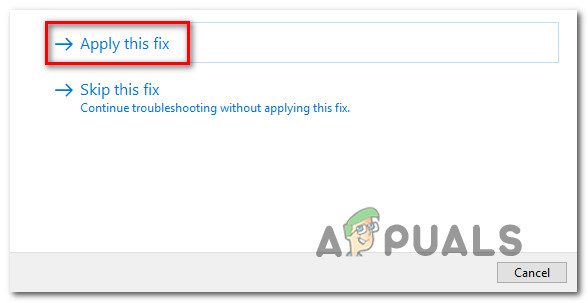
Applying the fix recommended by the Windows Update troubleshooter utility Note: Depending on the type of fix, you might need to follow the on-screen instructions to enforce the recommended fix.
- After the fix is successfully applied, restart your computer and see if the issue is resolved once the next startup is complete.
If the Windows Update Error 0xc8000247 is still occurring or the troubleshooter didn’t find a viable repair strategy, move down to the next potential fix below.
Method 2: Updating the IRST Driver
Some Windows users that were encountering this issue on Windows 7 have reported that they were able to resolve the issue by updating the Intel Rapid Storage Technology Driver (IRST). This particular fix seems to mostly be applicable in instances where this Windows Installation has been obtained after the user has cloned the HDD using Acronis True Image or a similar utility. This particular issue is mostly reported to occur with Western Digital (WD) drives.
If the scenario that you’re facing is similar to this, you should be able to resolve the issue by updating the Intel Rapid Storage Technology Driver (IRST) to the latest version. Here’s a quick guide on how to do this:
- Visit this link (here) and click on Intel Rapid Technology (Intel RST) User Interface and Driver from the list of available drivers.
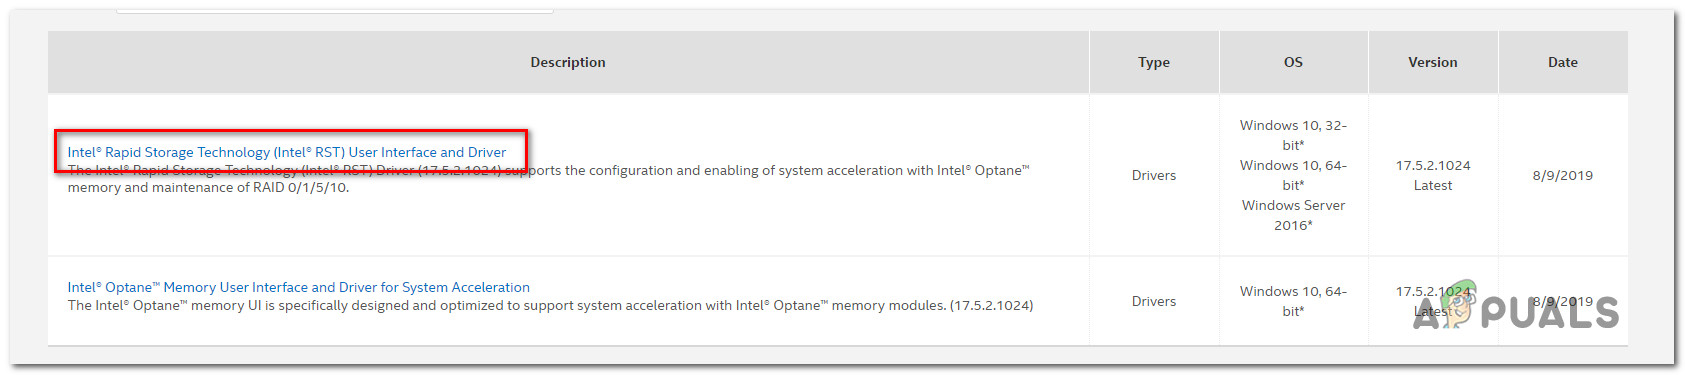
Downloading the latest version of the Intel RST driver - Inside the driver screen, look at the left section of the screen (under Available Downloads) and click on the Download button associated with SetupRST.exe.
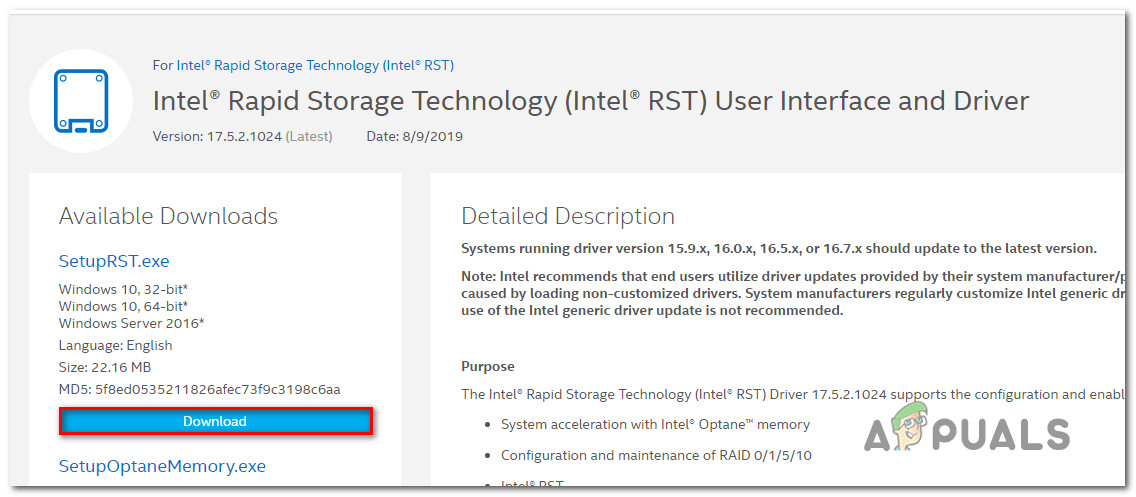
Downloading the Intel Rapid Storage Technology driver - At the Intel Software License Agreement prompt, click on I accept the terms and license agreement. Then, wait for the download to complete.

Accepting the License Agreement - Once the SetupRST.exe file is fully downloaded, double-click on it and click Yes to grant admin access, then follow the on-screen instructions to complete the installation of the Intel Rapid Technology (Intel RST) driver.
- After the installation is complete, restart your computer and see if the issue is resolved once the next startup sequence is complete.
If the same Windows Update Error 0xc8000247 when you try to install an update, move down to the next method below.
Method 3: Uninstall interfering 3rd party application (if applicable)
As it turns out, this particular error code can also occur due to an overprotective AV suite. Judging by the user reports, there are several security suites that might trigger the Windows Update Error 0xc8000247 after they block the communications between the end-user PC with the WU server. Norton, McAfee, and Avast are often pointed out by users for causing this is behavior.
If you’re using a 3rd party AV and you suspect that it might be responsible for the failed update/s, you should be able to resolve the issue by either disabling the real-time protection while the update is installing or by uninstalling the security suite altogether and reverting back to the built-in AV (Windows Defender).
If this scenario is applicable, you should start by uninstalling the real-time protection of your 3rd party AV. But depending on which 3rd party security suite you’re using, the steps will be different. However, in more cases, you can do this by right-clicking on the taskbar icon.
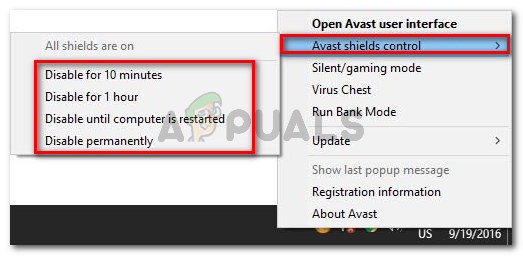
As soon as you manage to disable the real-time protection, try to install the update normally and see if you’re still getting the same issue.
In case the issue is still occurring, you should try uninstalling your 3rd party antivirus altogether while ensuring that you’re not leaving behind any leftover files that might still cause this behavior. To do this, follow the steps in this article (here) to ensure that you install the 3rd party AV along with any remnant files.
If the same 0xc8000247 error is still occurring after you’ve followed the instructions above (or this method wasn’t applicable), start following Method 4 below.
Method 4: Reset all WU components
As it turns out, this particular issue might also occur due to a WU (Windows Update) but that occurs whenever an important component becomes stuck in a limbo state (your OS thinks it’s operational but in fact, it’s not). Several Windows users that were also encountering the 0xc8000247 error have managed to resolve this issue by resetting all WU components that were involved in this operation.
When it comes to achieving this, you have two ways forward- you either go for the automated approach by running the Windows Update Agent or you do the steps manually via an elevated Command Prompt
Follow whichever guide you feel more comfortable with:
Resetting all Windows Update components via the Windows Update Agent
- Visit this Microsoft TechNet page (here) from your default browser and download the Reset Windows Update Agent script.
Download Windows Update Reset Agent - Wait until the download is complete, then extract the zip archive with a free archiving utility like WinZip or 7zip.
- Once the script is fully extracted, right-click on ResetWUENG.exe and choose Run as administrator from the newly appeared context menu.
Running as administrator - Follow the on-screen instructions to run the script that will reset all your WU components. But before you start this process, make sure that you’re not running any operations that require an active internet connection, since this operation will interrupt your network.
- Once the process is complete, restart your computer and see if the issue is resolved at the next system startup.
Resetting all Windows Update components via an elevated Command Prompt
- Press Windows key + R to open up a Run dialog box. Next, type “cmd” inside the text box, then press Ctrl + Shift + Enter to open up an elevated Command Prompt. Once you see the UAC (User Account Control), click Yes to grant administrative privileges.
Running Command Prompt - Once you’re inside the elevated Command Prompt, type the following commands in order and press Enter after each one to effectively stop all WU related services:
net stop wuauserv
net stop crypt
Svcnet stop bits
net stop msiserver
Note: These commands will stop the Windows Update Service, MSI installer, Cryptographic service, and the BITS service.
- Once all relevant services are prevented from running, run the following commands to clear and rename the SoftwareDistribution and Catroot2 folders:
ren C:\Windows\SoftwareDistribution SoftwareDistribution.old
ren C:\Windows\System32\catroot2 Catroot2.old
Note: The SoftwareDistribution ant Catroot2 folders are used by your OS to store temporary update files that are/will be used by WU.
- Once the two update folders have been cleared, run the following commands and press Enter after each one to re-enable the services that we previously disabled at step 2:
net start wuauserv
net start cryptSvc
net start bits
net start msiserver
- After every service is re-enabled, re-install the update that was previously failing and see if the issue is now resolved.
In case you’re still encountering the 0xc8000247 error, move down to the next method below.
Method 5: Running DISM and SFC scans
As it turns out, another potential culprit that might be responsible for the 0xc8000247 error is System File corruption. Since WU relies on a lot of dependencies, there are a lot of system files that might trigger this behavior if certain files become affected by corruption.
Several users that were also affected by this issue have managed to resolve it by running a couple of utilities designed to fix logical errors and system file corruption – DISM (Deployment Image Servicing and Management) and SFC (System File Checker).
SFC replaces corrupted files by using a local archive to replace corrupted instances with healthy copies, while DISM relies on the WU component to download healthy copies to replace bad data. DISM is better at fixing WU related components, while SFC is better with fixing logical errors – that’s why is recommended to deploy both scans.
Here’s a quick guide on running both an SFC and DISM scans from an elevated CMD window to resolve the Windows Update 0xc8000247 error:
- Open up a Run dialog box by pressing Windows key + R. Inside the newly opened window, type “cmd” inside the text box and press Ctrl + Shift + Enter to open up up a Command Prompt with admin access. When you’re prompted by the UAC (User Account Control), click Yes to grant administrative privileges to the CMD window.
Running Command Prompt - Once you’re inside the elevated CMD window, type the following command and press Enter to initiate a DISM scan that will scan and identify issues related to your system files:
Dism.exe /online /cleanup-image /scanhealth
Dism.exe /online /cleanup-image /restorehealth
Note: Keep in mind that DISM needs a reliable Internet connection to download healthy copies that will be used to replace corrupted files. The ‘scanhealth’ command will initiate a scan to look for system files inconsistencies, while the ‘restorehealth’ command will replace any inconsistencies that are found in the first scan.
- As soon as the first scan is finished (even if the utility reported no fixed files), restart your computer and continue with the steps below.
- Once the next startup sequence is complete, follow Step 1 again to open up another elevated CMD window. But this time, type the following command and press Enter to initiate an SFC scan:
sfc /scannow
Note: After this scan is started, don’t close this CMD prompt until the process is complete. If you interrupt the process prematurely, you run the risk of creating further logical errors that might spawn other errors.
- After the scan is complete, restart your computer and see if the issue is resolved at the next system startup.
If the same 0xc8000247 error is still occurring when you try to install a Windows Update, move down to the next method below.
Method 6: Using the System Restore
If you only started experiencing this behavior recently, it’s entirely possible that the issue started occurring due to a change that ended up affecting the updating component. In situations like this, you can avoid any radical approach by starting with a damage-controlled approach – System Restore is a perfect way to start.
System Restore is a utility that is capable of using a previously saved snapshot to restore your computer state to an older point in time. By default, Windows is configured to save System Restore snapshots at important reports such as a critical update installation or a driver update. So unless you modified the default behavior of System Restore, you should be able to follow the instructions below.
But before you start using the System Restore to restore your computer to a healthy state, consider the fact that any change you made after the snapshot was created will also be lost. This includes any installed apps or drivers, 3rd party or Windows native.
If you understand the circumstances and you still want to go through with this procedure, follow the instructions below:
- Open up a Run dialog box by pressing Windows key + R. Next, type “rstrui” inside the text box and press Enter to open up the System Restore menu.
Opening the System Restore wizard via Run box - Once you arrive at the initial System Restore screen, click Next to advance to the next screen.
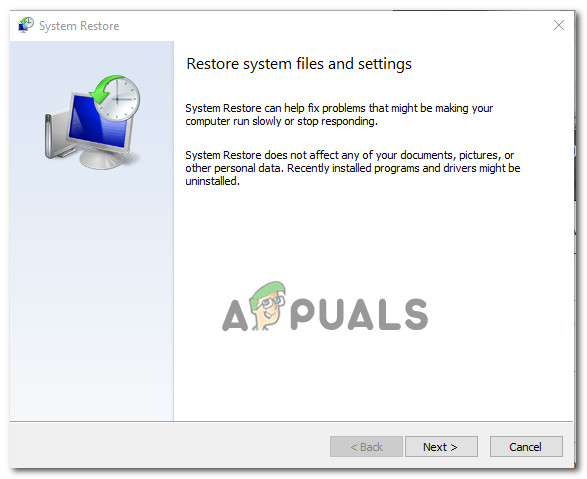
Using System Restore - Once you manage to get to the next screen, start by checking the box associated with Show more restore points. Once you do this, start comparing the dates of each saved snapshot and select one that is older than the date when you first started to experience the 0xc8000247 error. After you select the right snapshot, click on Next to advance to the next menu.
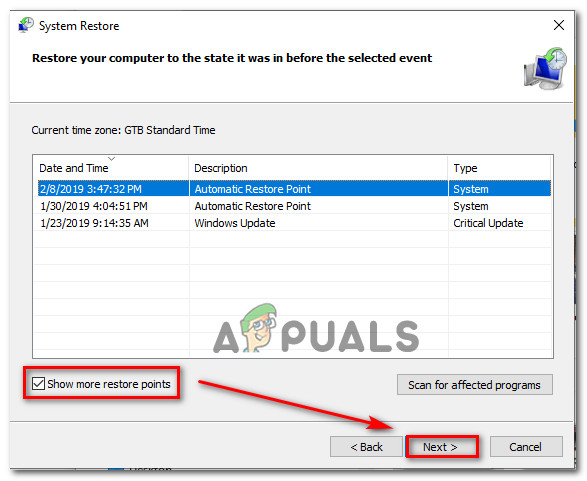
Restoring your system to a previous point in time - Once you get this far, the utility is ready to go, all that’s left to do now is to initiate the restoring process by clicking on Finish. After you do this, your machine will restart and the older state will be enforced.
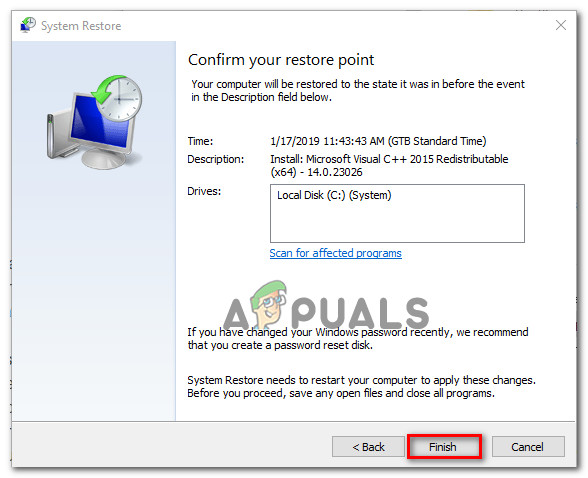
Starting the System Restore process - After the next startup is complete, restart your computer and see if the issue is resolved.
If you’re still encountering the same 0xc8000247 error, move down to the final method below.
Method 7: Perform a repair install / clean install
If none of the methods above have allowed you to bypass the 0xc8000247 error and install one or more Windows Updates, you can conclude that your issue is caused by an underlying system corruption issue that can’t be fixed conventionally.
Several users that were facing a similar issue have reported that the issue was fixed after they refreshed every Windows component. This can either be achieved by an in-place repair (repair install) or by a clean install.
Doing a clean install is a more straight-forward solution, but keep in mind that it won’t allow you to keep your files (applications, games, personal media, etc.) unless you back them out first.
On the other hand, if you decide to go for a repair install, the procedure is a little more tedious, but it will allow you to keep all your files including applications, games, personal media, and even some user preferences.


My system is also showing 0xc8000247 error code message. Is it possible to update windows version ?