How to Fix Windows Update Error 0xc190011f
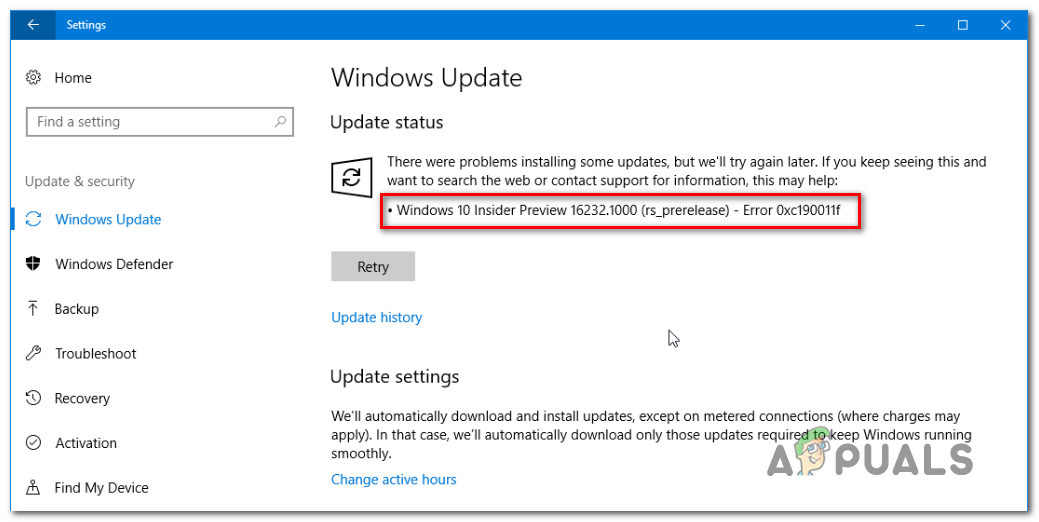
Several Windows users have been reaching us with questions saying that one particular update always fails with the same error code – 0xc190011f. The error code is typically accompanied by the following message: ‘There were problems installing some updates, but we’ll try again later’. In most cases, the update that fails with this error is 1709. Most affected users have reported that they tried to install the update multiple times with the same result. As it turns out, this particular issue is exclusive to Windows 10.
What is causing the Windows Update Error 0xc190011f?
We investigated this particular issue by looking at various user reports and by analyzing the most popular fixes that are typically deployed to resolve this problem. As it turns out, there are different potential culprits that are known to cause this issue:
- Windows Update Glitch – As it turns out, this particular issue can also occur due to a glitch that seems to be exclusive on Windows 10. Several affected users that also encountered this issue reported that they managed to fix it by running the Windows Update troubleshooter.
- System File Corruption – System file corruption can also be responsible for this particular error message. If the WU update folder (or related component) is affected by corruption, you should be able to resolve the issue by running an SFC or DISM scan (or both).
- Glitched Windows Update Components – It’s also possible that your issue is being caused due to one of the WU components that is stuck in a limbo state (it’s neither opened or closed). If this scenario is applicable, you should be able to resolve the issue by resetting the Windows Update Components via an elevated Command Prompt.
- Region language is incorrect – An unlikely but possible culprit can also be your region language that is set up inside the Time & Language menu. Several affected users have reported that they managed to resolve the issue by changing the region to the correct one (the update installed without errors after they did this).
- VPN / Proxy is conflicting with Windows Update – Another possible cause that might trigger this error message is a conflict between a VPN or Proxy client and the updating component. Checkpoint VPN and a few other applications are known to cause this issue. In this case, you should be able to resolve it by uninstalling the 3rd party VPN/Proxy provider.
If you’re currently struggling to resolve the same issue, this article will provide you with a collection of troubleshooting guides that should resolve the Error 0xc190011f. Down below, you’ll find several different potential fixes that are confirmed to be effective by at least one affected users.
For the best results, we advise you to follow the methods in the order that they are presented since they are ordered by efficiency and severity. One of the fixes should eventually allow you to resolve the issue regardless of the culprit that’s causing it.
Method 1: Running the Windows Update Troubleshooter
Before you try anything else, start by making sure that Windows is not automatically equipped to resolve this problem. Windows 10 includes a fairly robust Windows update troubleshooter that might just fix the issue automatically.
Several affected users have reported that they were able to install the failing update by using the Windows Update (WU) troubleshooter to fix the updating component. After doing this and performing a restart, most affected users have reported that the issue was resolved entirely.
Here’s a quick guide on running the Windows Update Troubleshooter to resolve the Error 0xc190011f:
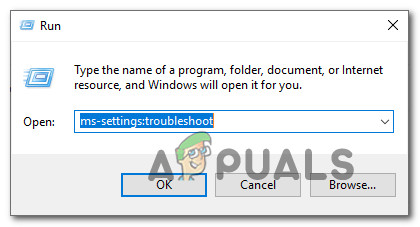
- Press Windows key + R to open up a Run dialog box. Then, type ‘ms-settings:troubleshoot’ inside the text box and press Enter to open up the Troubleshooting tab of the Settings app.
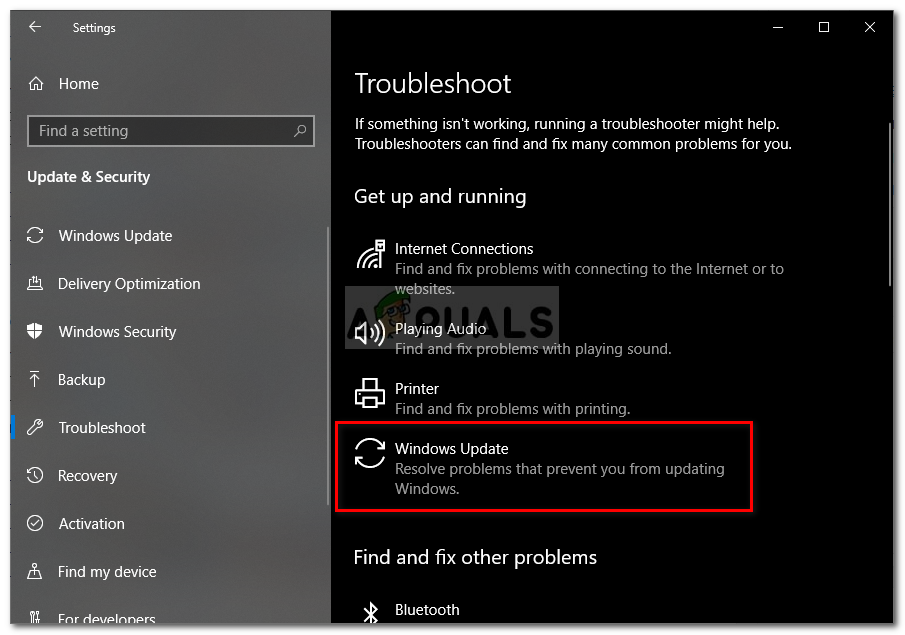
Accessing the Activation troubleshooter - Once you’re inside the Get up and running section, click on Windows Update and then click on Run the troubleshooter.
Running Windows Update Troubleshooter - Once the utility is fully loaded, click Next at the first prompt, then follow the on-screen prompts to apply the required repair strategies.
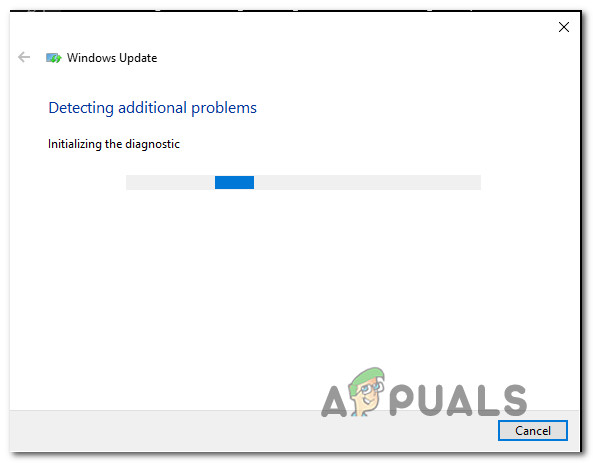
Repairing the WU (Windows Update Component) using the Windows Update troubleshooter - When the procedure is finished, restart your computer and see if the issue has been resolved.
If you’re still seeing the same error message, move down to the next method below.
Method 2: Running SFC and DISM scans
As it turns out, this particular issue can also occur due to some degree of system file corruption. In case some files used by the Windows Update component are tainted by corruption, the update installation will fail as a result.
Some users have reported that the issue was resolved after they performed either a SFC (System File Checker) or DISM (Deployment Image Servicing and Management) scan. Both utilities are capable of repairing system files that can be responsible for this error message, but they do it in different ways.
SFC uses a locally stored folder to replace corrupted files while DISM makes use of WU to download clean files in order to replace files tainted by corruption. For the best results, we advise you to follow both procedures in order to ensure that you fix every possible system file corruption.
Here’s a quick guide on running an SFC and a DISM scan from an elevated Command Prompt:
- Press Windows key + R to open up a Run dialog box. Then, type ‘cmd” inside the text box and press Ctrl + Shift + Enter to open up an elevated Command Prompt. When you’re prompted by the UAC (User Account Control) window, click Yes to grand administrative privileges.
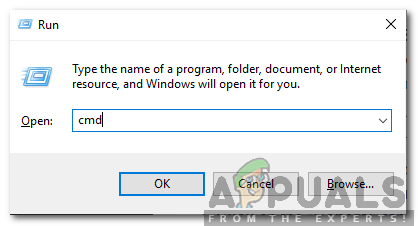
Typing cmd in the Run Prompt and pressing Shift + Alt + Enter to open an elevated Command Prompt - Once you’re inside the elevated Command Prompt, type the following command and press Enter to initiate an SFC scan:
sfc /scannow
Note: Once you start the scan, don’t close the window or restart your computer until the process is complete. Otherwise, you run the risk of creating even more corruption.
- When the scan is finished, close the elevated Command prompt and restart your computer. Once the next startup sequence is finished, try to install the update once again and see if it installs successfully.
- If the same issue is still occurring, return to an elevated Command Prompt by following step 1 again. Then, type the following command and press Enter to perform a DISM scan:
DISM /Online /Cleanup-Image /RestoreHealth
Note: Before initiating the scan, make sure you are connected to a stable Internet connection – DISM relies on WU to download healthy copies of the corrupted files.
- When the DISM scan is finished, restart your computer once again and see if the issue has been resolved by trying to install the update once again.
If you’re still encountering the Error 0xc190011f. move down to the next method below.
Method 3: Resetting the Windows Update Components Manually
If you’ve come this far without a result, you might be able to resolve the issue by resetting the Windows update components manually. If the issue is being caused by a glitch or cache issue, this procedure should allow you to install the update that was previously failing with the error 0xc190011f.
Several affected users have also confirmed that after they followed the steps below they were able to install the failing update with no issues whatsoever. Here’s a quick guide on resetting the WU components manually from an elevated Command Prompt:
- Press Windows key + R to open up a Run dialog box. Then, type the ‘cmd’ inside the text box and press Ctrl + Shift + Enter to open up an elevated Command Prompt.
Typing cmd in the Run Prompt and pressing Shift + Alt + Enter to open an elevated Command Prompt Note: If you’re prompted by the UAC (User Account Control) window, click Yes to grant administrative privileges.
- Inside the elevated Command Prompt, type the following commands in order to reset all Windows update components:
net stop wuauserv
net stop cryptSvc
net stop bits
net stop msiserver
ren C:\Windows\SoftwareDistribution SoftwareDistribution.old
ren C:\Windows\System32\catroot2 catroot2.old
net start wuauserv
net start cryptSvc
net start bits
net start msiserver
- After all the commands are processed successfully, close the elevated command prompt and restart your computer to see if the issue has been resolved once the next startup sequence is complete.
If the same issue is still occurring, move down to the next method below.
Method 4: Changing the Region language
As it turns out, this particular issue can also occur due if the selected Region that is set inside the Settings tab is way different from your actual location. Several users have been able to resolve this issue by changing the Region to the correct one and using the recommended Regional format.
Here’s a quick guide on how to change the regional language and regional format on Windows 10:
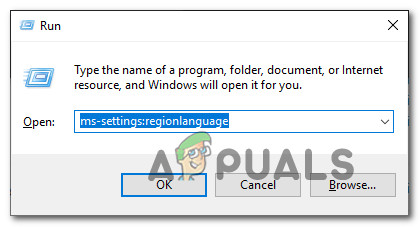
- Press Windows key + R to open up a Run dialog box. Then, type “ms-settings:regionlanguage” inside the text box and press enter to open the Time & Language menu.
Accessing the Time & Language menu - Once you’re inside the Time & Language menu, select Region from the vertical menu on the left-hand side. Then, move over to the right-hand side menu and change the Country and Region drop-down menu to the correct one. Then, move down below to Regional Format and make sure that you’re using the Recommended format.
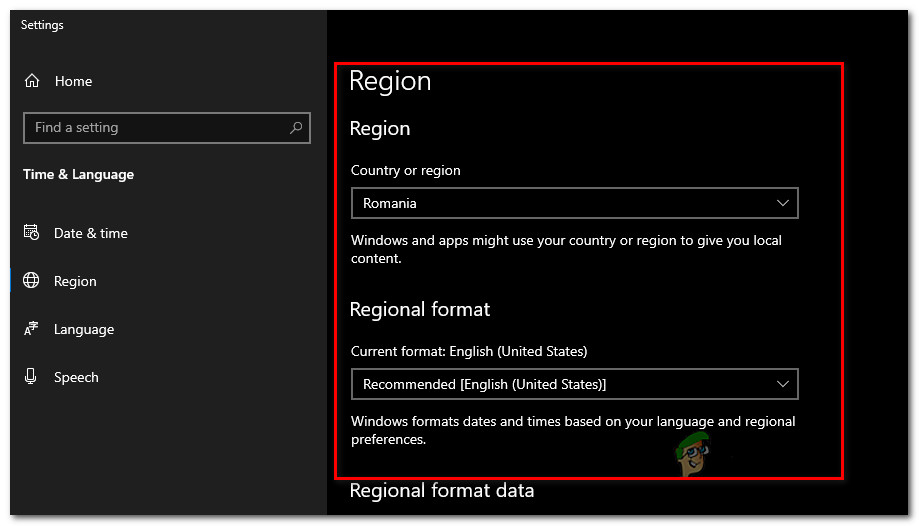
Changing to the Recommended Region and Region Format - Once the modifications are made, restart your computer and see if the issue is resolved once the next startup sequence is complete.
Method 5: Uninstalling VPN or Proxy providers
As it turns out, this particular issue can also occur due to a VPN client or a proxy server that is not accepted by the Windows Update server. Checkpoint VPN is by far the most commonly reported culprit that is known to cause this error.
If you’re encountering the error 0xc190011f with one or more updates and you’re using a VPN / proxy 3rd party client, it’s likely that the WU component is conflicting with the application. In order to test whether this is true, you’ll need to uninstall the VPN/proxy client (at least temporarily, until you manage to pinpoint the client). In the event that you confirm that your VPN or proxy client is causing the error, you can use the built-in VPN or migrate to a different 3rd party solution.
Here’s a quick guide on uninstalling your VPN client in order to resolve the software conflict with Windows update:
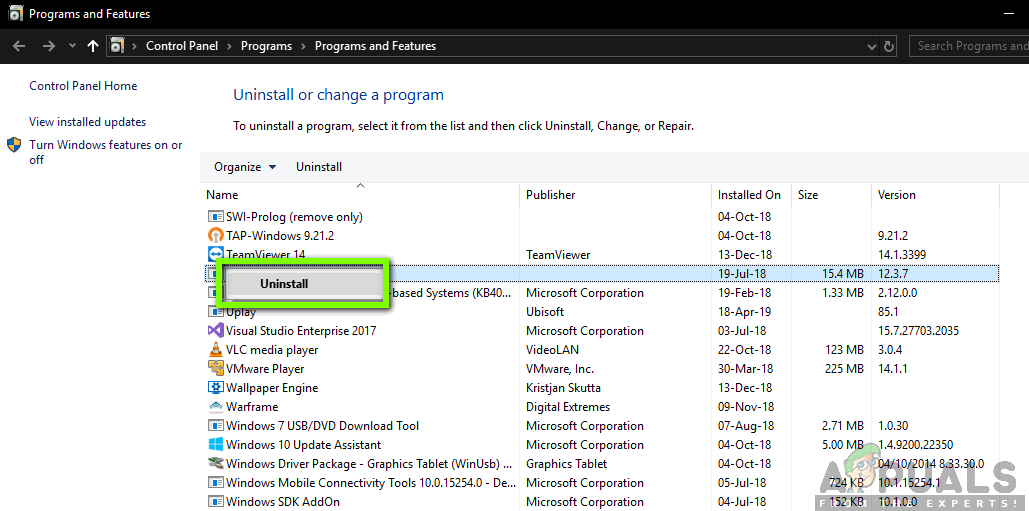
- Press Windows key + R to open up a Run dialog box. Then, type “appwiz.cpl’ inside the text box and press Enter to open up the Programs and Features.

Type appwiz.cpl and Press Enter to Open Installed Programs List - Once you’re inside the Programs and Files tab, scroll down through the list of installed applications and locate your VPN or Proxy app. Right-click on the application that you want to uninstall and click Uninstall from the context menu.
Uninstalling Conflicting VPN/Proxy Applications - From the uninstallation menu, follow the on-screen prompts to complete the uninstall procedure, then restart your computer.
- Once the next startup sequence is complete, try to install the update that was previously failing and see if you’re still encountering the error 0xc190011f.
Method 6: Performing a repair / clean install
If you’ve come this far without a viable repair strategy, there’s one last repair strategy that is bound to resolve the issue, regardless of the cause. Several affected users have reported that they managed to resolve the error 0xc190011f by performing a repair install.
This procedure will reset all Windows components while allowing you to keep all your personal data including photos, videos, images, applications or games. You can follow this article (here) for step by step instructions on how to perform a repair install.
A less efficient route will be to perform a clean install. But keep in mind that this will make you lose any personal data. If you decide to go this route, follow this guide (here).


