How to Fix Windows Update Error 0x8024401f?
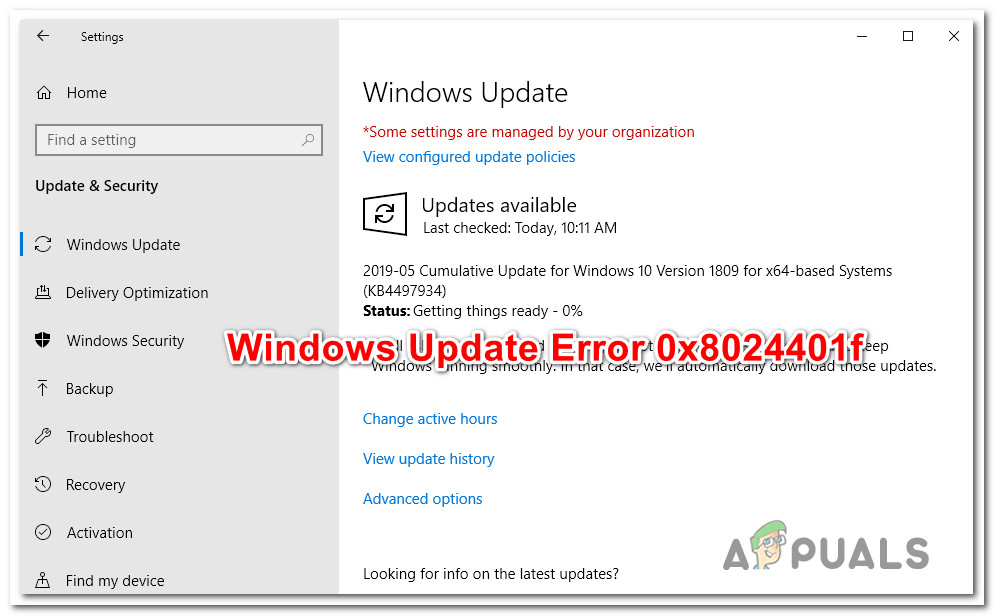
Some Windows users have been reaching us with questions after being unable to update their OS build to the latest version available. Most users are reporting that they see the error message 0x8024401f after they click the Check for Updates button. Other users are encountering this issue while trying to update a UWP app via the Windows Store. As it turns out, the issue is not exclusive to a certain Windows version as it’s confirmed to appear on Windows 7, Windows 8.1 and Windows 10.
What is causing the Windows Update error 0x8024401f?
We investigated this particular by analyzing various user reports and by trying out different fixes that other users in a similar situation have successfully deployed to fix this particular problem. As it turns out, this error code can be caused by a collection of different culprits. Here’s a shortlist of scenario in which the 0x8024401f error code might occur:
- 3rd party security interference – An overprotective suite can also be responsible for this particular error code. Sophos, McAfee and a couple of others are potential suspects that are commonly pointed out as culprits that will trigger this behavior. If this scenario is applicable, you can fix the issue entirely bu disabling the real-time protection while installing the update or by uninstalling the security suite altogether.
- Bad Windows update – There are a couple of bad Windows updates with the potential of introducing this particular error. Fortunately, Microsoft has released a hotfix for this issue several weeks after the problem was first introduced. To take advantage of it, simply run the Windows Update troubleshooter and apply the recommended hotfix.
- Corrupted Windows Store cache – If you’re seeing this particular error code while trying to update a UWP application, chances are you’re dealing with a corrupted Windows Store cache. If this scenario is applicable, you will be able to resolve the issue by resetting the Windows Store cache. You can do this either via the Windows GUI or via a CMD terminal.
- Interfering Proxy or VPN connection – A private connection maintained via a proxy server or a VPN solution might prompt the Windows installation agent to determined that your connection is unsafe and refuse to update through the official channels. In this case, you can eliminate the security roadblocks and allow the installation to take place by disabling/ uninstalling the Proxy server or VPN client.
If you’re currently struggling to resolve the very same 0x8024401f error code, this article will provide you with a couple of different repair strategies that you can use to troubleshoot the issue away. Down below. you’ll find several different methods that have been confirmed to be effective by other affected users.
To remain as efficient as possible, we advise you to follow the potential fixes below in the same order that they are arranged in. To make the whole process as efficient as possible, we arranged the methods based on difficulty and efficiency. Eventually, you should stumble upon a fix that will fix the problem regardless of the culprit responsible for the error.
Method 1: Disabling / Uninstalling 3rd party AV
One of the most probable causes that will trigger the 0x8024401f error code when trying to install a pending Windows update is an overprotective AV suite. Sophos, McAfee, AVAST, Comodo and a couple of other 3rd party security suite we’re singled out by affected users as being responsible for this issue.
If this scenario is applicable, you will be able to resolve the issue by either disabling the real-time protection of the AV or by uninstalling it all together and revert to the default security program (Windows Defender).
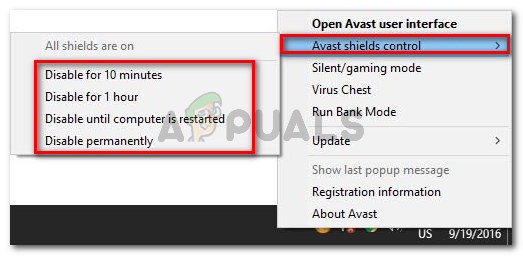
If you’re currently using a 3rd party suite and you’re suspecting that it might be responsible for the apparition of the 0x8024401f error code, you should start by disabling the real-time protection. Of course, the steps of this procedure will be different depending on which AV suite you’re using, but you can typically do it directly from the taskbar context menu.
If disabling the real-time protection didn’t resolve the issue for you, it doesn’t mean that the issue is not being caused by an overprotective AV suite. Certain security solutions (particularly ones that include a Firewall) will maintain some security suites even in those instances where the user disables the real-time protection.
With this in mind, the only way to ensure that the issue is not being caused by a 3rd party suite is to uninstall the program altogether and follow the steps necessary to ensure that you’re not leaving behind any leftover files. If you decide to go the radical route, you can follow this article (here) to completely uninstall your AV suite without leaving behind any leftover files.
Once you remove the 3rd party AV, restart your computer and see if the issue is resolved at the next system startup. If the 0x8024401f error code is still occurring when you try to install a pending update, move down to the next method below.
Method 2: Running the Windows Update troubleshooter
As it turns out, if the issue was introduced by another bad Windows Update, chances are your OS is capable of resolving the issue automatically. On Windows 10, Microsoft has released a hotfix for this particular issue via an automated repair strategy included inside the Windows Update troubleshooter.
Several users that were also struggling to resolve the 0x8024401f error code have reported that the issue was resolved entirely after they ran the Windows Update troubleshooter. For some of them, this procedure ended up fixing the problem automatically.
The Windows Update troubleshooter is a built-in utility that contains a wide selection of repair strategies that will be enforced automatically if a covered problem is identified. Here’s a short guide on running the Windows Update troubleshooter:
- Press Windows key + R to open up a Run dialog box. Next, type “ms-settings:troubleshoot” and press Enter to open up the Troubleshooting tab of the Settings app.
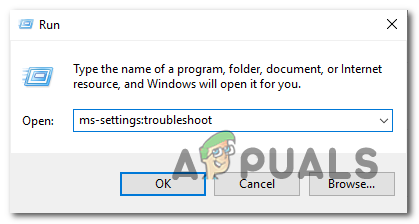
Opening the Troubleshooting tab of the Settings app via a Run box - Once you’re inside the Troubleshooting tab, move your mouse cursor to the right-hand section of the screen and navigate to the Get up and running section. When you get there, click on Windows Update, then click on Run the troubleshooter.
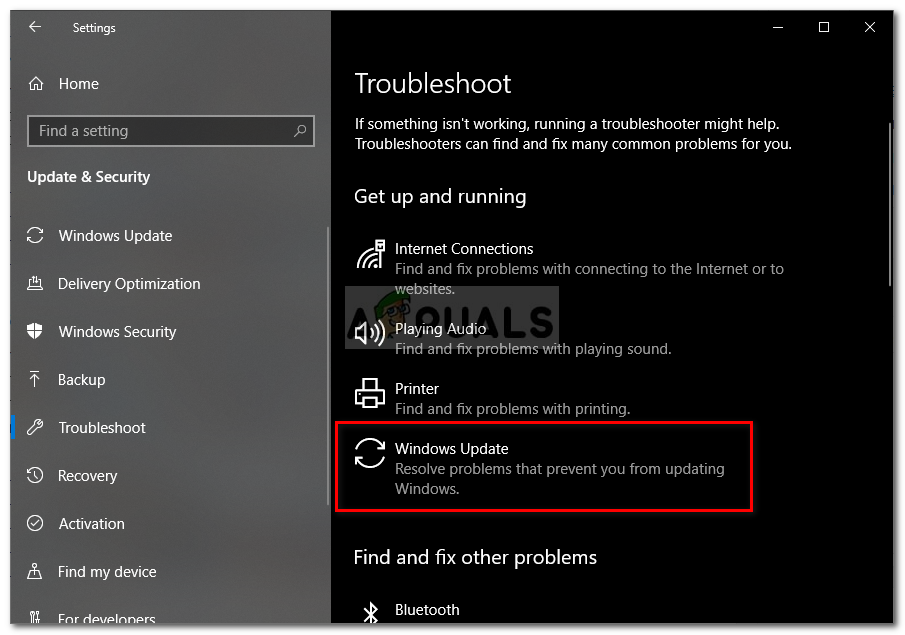
Running Windows Update Troubleshooter - Once the utility is started, wait patiently until the initial scan is complete. This process will determine whether any of the repair strategies included with the utility apply to the problem that you’re dealing with.
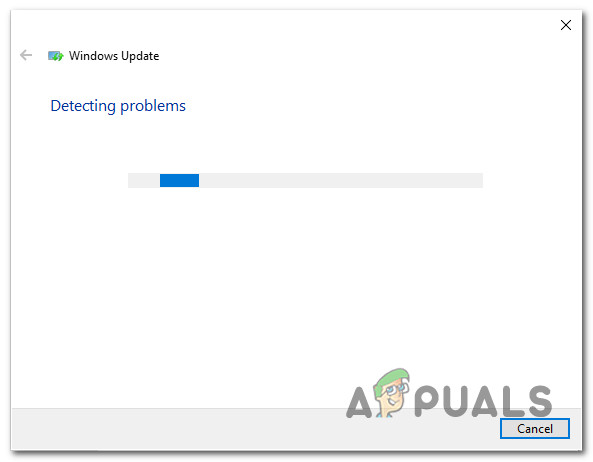
Detecting problem with Windows Update - If a suitable fix is identified, you will be presented with a window in which you can click on Apply this Fix to enforce the repair strategy. Depending on the type of fix, you might need to follow some additional steps to enforce the repair strategy.
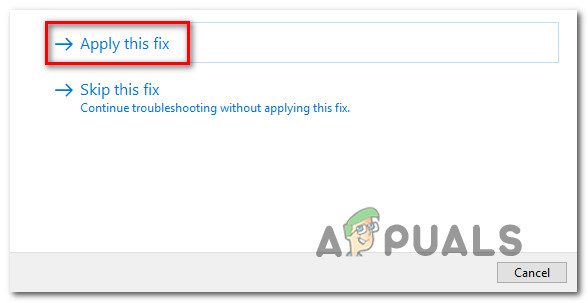
Apply this fix - Once the fix is enforced, restart your computer once again and see if the issue is resolved at the next system startup.
If the same 0x8024401f error code is still occurring, move down to the next method below.
Method 3: Resetting the Windows Store cache
If you’re encountering the 0x8024401f error code while trying to update a UWP (Universal Windows Platform) app via Windows Store, chances are the updating process is being stopped by some degree of corrupted system files.
After looking at various occurrences of this kind, it seems like in most cases, the issue appears after a security scanner ends up quarantining some items essential to the updating process. Another possible scenario is a botched update that ended up botching the installation of the new Microsoft Store version.
Several users that were also encountering this issue have reported that they managed to fix the 0x8024401f error by resetting Windows Store and all associated components.
There are two ways of resetting the Windows Store cache on Windows 10. Even though the first option is quicker, it involves doing things from a CMD terminal. If you’re not confident with the CMD terminal or using commands to get the job done, then the second option might be more appealing since it allows you to perform the whole operation from the Windows GUI.
Feel free to follow whichever method you feel more comfortable with:
Resetting Windows Store cache via CMD
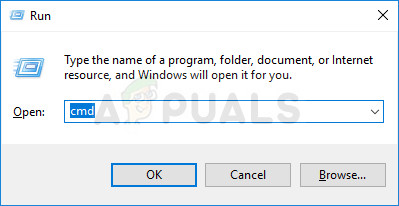
- Press Windows key + R to open up a Run dialog box. Next, type ‘cmd’ inside the text box and press Ctrl + Shift + Enter to open up a Command Prompt with administrative privileges. When prompted by the UAC (User Account Control), click Yes to grant admin access.
Running Command Prompt as an administrator - Once you’re inside the elevated Command Prompt, type the following command and hit Enter to reset Windows Store along with all dependencies:
wsreset.exe
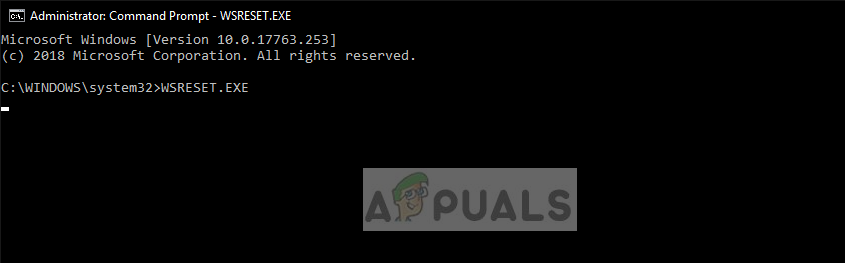
Resetting Windows Store - After the command is processed successfully, restart your computer and see if the issue is being resolved at the next system startup.
Resetting the Windows Store cache via the Settings app
- Open a Run dialog box by pressing Windows key + R. Then, type “‘ms-settings:appsfeatures” and press Enter to open up the Apps & Features menu of the Settings app.
- Once you’re inside the App & Features screen, scroll down through the list of installed UWP applications and locate the Microsoft Store entry.
- After you manage to find the correct application, click on the Advanced options hyperlink associated with it (under Microsoft Corporation).
- Once you’re inside the Advanced options menu of the Microsoft Store, scroll down to the Reset tab and click on the Reset button to initiate the process of clearing the cache.
- Wait until the process is complete, then reboot your machine and see if the issue is resolved at the next system startup.

If you’re still encountering the 0x8024401f error code even after resetting the cache of Windows Store, move down to the next method below.
Method 4: Disabling Proxy server VPN client (if applicable)
If you’ve come this far without a result and you’re using a proxy server or a VPN solution to maintain your surfing anonymity, chances are your proxy/VPN is conflicting with the Windows Update client. You may be encountering the 0x8024401f error code because the Windows installation agent does not trust your private connection, so the update is never allowed to be installed.
If this scenario applies to your current scenario, you will be able to resolve the issue by disabling/ uninstalling the Proxy server or VPN client. After doing this and restarting your computer, the installation agent will have no reason not to trust your connection and will allow the Windows/ app update to be installed.
Depending on if you’re using a Proxy server or a VPN client, follow the guide applicable towards stopping the private connection:
Disabling the Proxy Server
- Press Windows key + R to open up a Run dialog box. Next, type “ms-settings:network-proxy” inside the text box and press Enter to open up the Proxy tab of the Network & Internet settings menu.
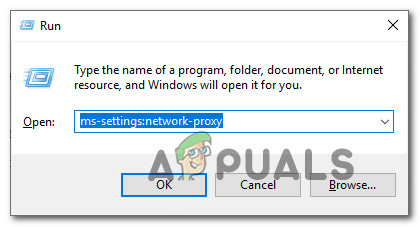
Opening the Proxy menu via a Run command - Once you’re inside the proxy menu, move to the right section of the screen, then scroll down to Manual Proxy Setup.
- When you arrive at the Manual proxy setup section, simply disable the toggle associated with Use a proxy server.
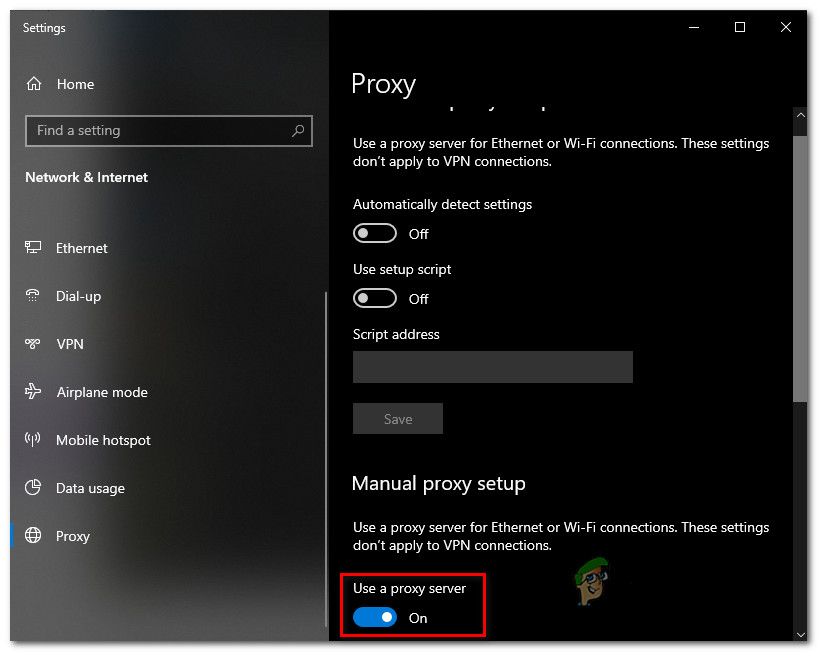
Disabling the use of a proxy server - Restart your computer and see if the error is resolved at the next system startup.
Uninstalling the VPN client
- Open a Run dialog box by pressing Windows key + R. Then, type “appwiz.cpl’ and press Enter to open up the Programs and Features window.

Type appwiz.cpl and Press Enter to Open Installed Programs List - Once you’re inside the Programs and Features screen, scroll down through the list of installed applications and locate the 3rd party VPN client solution that you’re currently using. When you see it, right-click on it and choose Uninstall from the context menu.

Uninstalling a VPN tool - From the uninstallation screen, follow the on-screen prompt to complete the uninstallation, then restart your computer and see if the issue has been resolved at the next system startup.


