Fix: Defender Error ‘This app is turned off by group policy’
No need to install anti-malware applications on Windows 8 or newer versions, as they come with Windows Defender by default. This built-in security suite adequately provides primary PC protection and online safety.
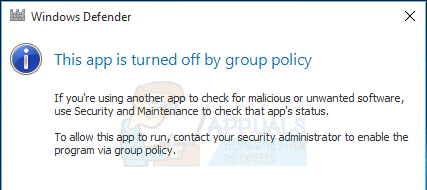
When attempting to activate Windows Defender, you may encounter the error: “This app is turned off by group policy.” The two primary causes of this error are as follows: firstly, if your PC belongs to a domain and the domain controller has implemented policies, Windows Defender may be blocked. Secondly, if you’ve installed a third-party antivirus, it might impede Defender, a block that could persist even after uninstalling the third-party application. Consequently, you’ll receive the aforementioned error when trying to enable Defender.
This error can be resolved by requesting your system administrator to activate Windows Defender through Group Policy. Additionally, you can rectify this either by enabling it via the Local Group Policy Editor or applying a registry tweak.
Method 1: Enable Windows Defender via the Local Group Policy Editor
Please note, the Local Group Policy Editor is only available in Windows Enterprise and Pro Editions.
To correct this issue, follow these steps:
- Press the Windows Key + R, type ‘gpedit.msc‘ in the Run dialog box, and click OK to open the Local Group Policy Editor. If ‘gpedit‘ is not available on your system, follow this guide to install it.

- In the Local Group Policy Editor, go to Computer Configuration > Administrative Templates > Windows Components > Windows Defender.
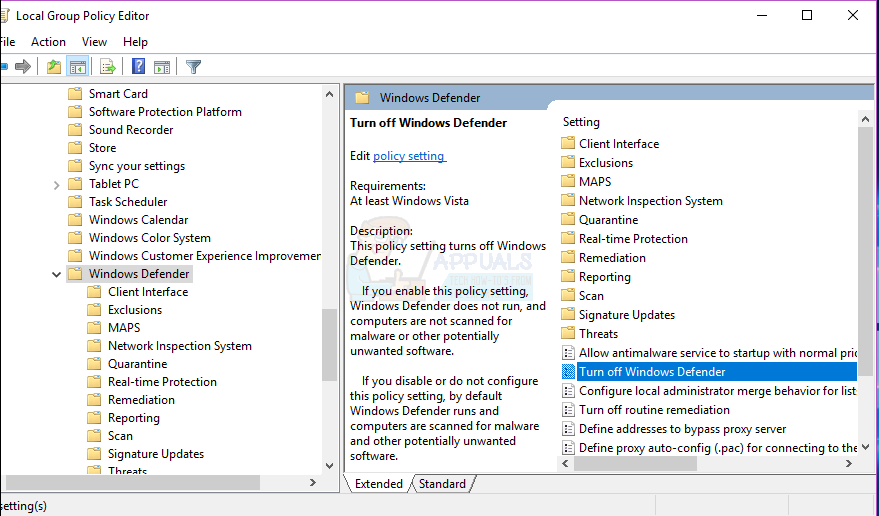
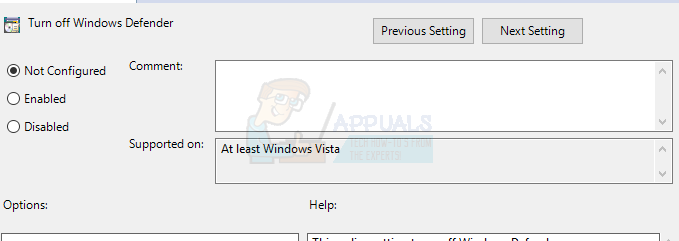
- Navigate to this Group Policy path and double-click the ‘Turn off Windows Defender‘ setting. Select either ‘Not Configured‘ or ‘Disabled‘ to enable Windows Defender, then click ‘Apply‘ and ‘OK‘.
- Close the Local Group Policy Editor and restart the computer. After reboot, attempt to enable Windows Defender; it should function properly.
Method 2: Uninstall Existing Anti-Malware Software
If your PC has another antivirus installed, or one was recently uninstalled, use the appropriate tool to remove all third-party antivirus and antispyware applications.
To resolve this issue, follow these steps:
- Download the removal tool from your antivirus software using the links below in your browser.
- Launch the downloaded utility and follow the prompts to remove the anti-malware application from your system.
- Reboot your PC.
- Enable Windows Defender now.
Method 3: Restart Security Center Service
Restarting the Security Center Service can solve the problem.
To fix this issue follow the steps below:
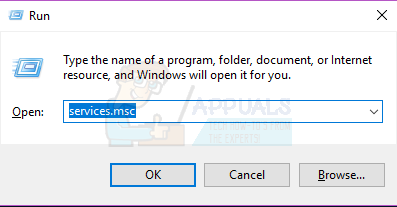
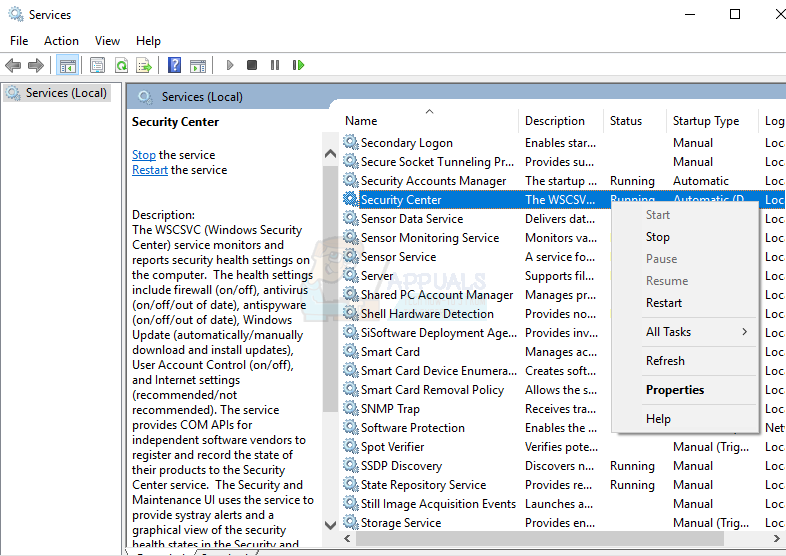
- Press the Windows Key + R, type “services.msc” into the Run dialog box, and click OK to open the Windows Services Console.
- In the Services console, search for ‘Security Center’.
- Right-click on ‘Security Center’ and select ‘Restart‘.
Method 4: Enabling Windows Defender from the Registry
Only proceed with this method after attempting the previous steps. Be aware that editing your registry can lead to unwanted effects. Windows disables Defender if it detects another anti-malware software. You can enable this in the registry, ensuring no software conflicts and that Windows remains infection-free.
Follow the steps below to fix this issue:
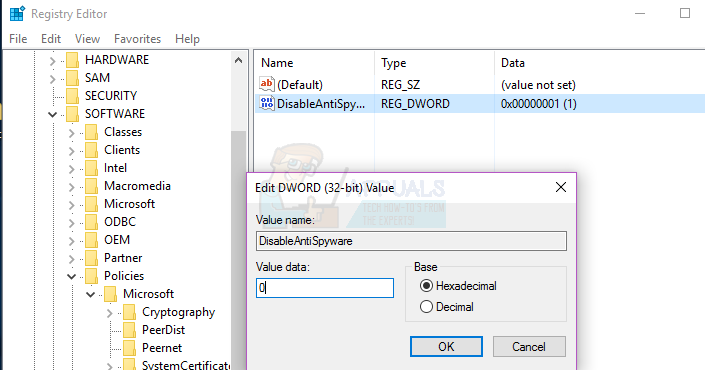
- Press the Windows Key + R, type ‘regedit‘ into the Run dialog box, and click OK to open the Windows Registry.

- In the Registry Editor, go to HKEY_LOCAL_MACHINE\SOFTWARE\Policies\Microsoft\Windows Defender.
- If you find a registry entry called DisableAntiSpyware, double-click to edit it and set its value to 0. If this registry key doesn’t exist, no action is required.
Method 5: Delete Conflicting Registry Entries
Some malware may insert malicious keys into the registry to prevent active antiviruses from running. Follow these steps to locate and remove them from the registry:
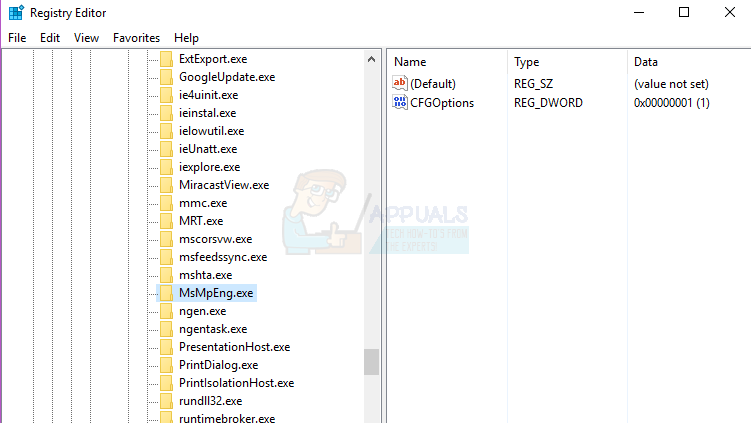
- Press the Windows Key + R, type ‘regedit‘ into the Run dialog box, and click OK to open the Windows Registry.
- In the Registry Editor, navigate to HKEY_LOCAL_MACHINE\Software\Microsoft\Windows NT\CurrentVersion\Image File Execution Options.
- In this key, search for the following entries: MSASCui.exe, MpCmdRun.exe, and MsMpEng.exe. If any of these entries are present, right-click each one and select ‘Delete.’ If you don’t find these registry entries, there’s no action needed.
thank you it is oke!!!!