How to Fix Windows 10 Update Error ‘0x8009000F-0x90002’
Fixing various issues with Windows Update can be quite a lengthy process and a one which sometimes requires certain computer skills which casual Windows users do not possess. This is becoming a great problem since there are almost no official responses by Microsoft on how to fix certain errors. Even if they exist, they are usually based on the same method for each error.
That is why it’s important to know just what to do in case you encounter an error you have never seen before. Take a look at the rest of the article in order to find out just what to do when the 0x8009000F-0x90002 error code appears.
Fix Windows 10 Update Error 0x8009000F-0x90002
This particular error message usually appears when users are trying to run the Media Creation Tool in order to upgrade their PC from an earlier version of Windows to Windows 10. Additionally, the error message can also appear if you are using the Windows Update service in order to install the latest updates.
The error does not allow the user to install new updates or to upgrade their PC to a new version of Windows and, unfortunately, this error message is extremely difficult to find a solution for especially because it’s extremely rare. However, you should try out the solutions below and try to fix your issue.
Solution 1: Install the Latest Version of DirectX
Users have reported that installing the latest version of DirectX was able to fix the issue for various users who were struggling with the same error code. You should also be careful to install the correct version of DirectX, the one suitable for your system.
This scenario often occurs with a new PC where users immediately want to upgrade it to Windows 10 but they haven’t installed DirectX at all. Follow the instructions below to install it.
- Click on the the DirectX End-User Runtime Web Installer Download Page on Microsoft’s official website.
- Click on red Download button and follow the instructions which appear on screen in order to download the Web Installer for DirectX on your computer.

- Note: Microsoft will probably offer a couple of their other products after you click the Download link, but you can uncheck those products if you’d rather not download them. If you choose not to download these programs, the Next button will be renamed to No thanks and continue.
- Perform the DirectX installation by following any instructions from Microsoft’s website or from the DirectX installation program. You will need to read the Terms & Conditions and click on the Next button.
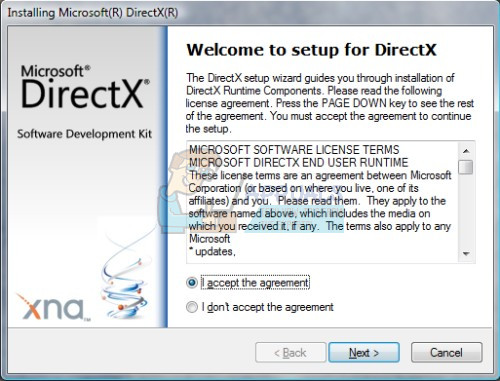
- Note: This DirectX download is able for useon Windows 10, Windows 8, Windows 7, Windows Vista, or Windows XP – so don’t worry that the website says it’s only supported for a different version of Windows! Whatever DirectX files which are missing will be replaced if needed.
- Restart your computer and check to see if DirectX was installed successfully on your computer.
- After you restart your computer, try running the Media Creation Tool or whichever program you were using in order to perform the upgrade.
Solution 2: Restart Your Windows Update Components
Restarting your Windows Update components is usually able to solve quite a few Windows Update-related issues and this error code is no exception. The process is somewhat lengthy and it requires that you follow the instructions carefully but the process is sure to pay off as many users suggested that this method fixed their issue.
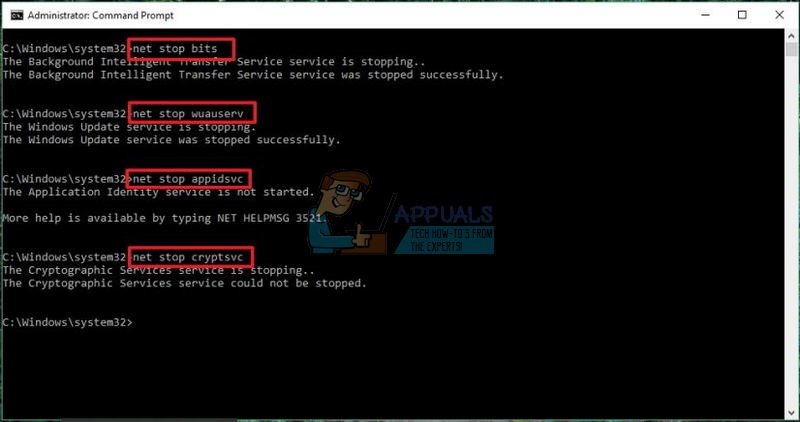
- Let’s proceed with the solution by killing the following services which are the core services related to Windows Update: Background Intelligent Transfer, Windows Update, and Cryptographic Services. Disabling them before we start is crucial if you want the remainder of the steps to perform smoothly.
- Search for “Command Prompt”, right-click on it, and select the “Run as administrator” option. Copy and paste the following commands and make sure you click Enter after each one.
net stop bits
net stop wuauserv
net stop appidsvc
net stop cryptsvc
- After this, you will have to delete some files which should be deleted if you want to continue with resetting the update components. This is also done via Command Prompt with administrative privileges.
Del “%ALLUSERSPROFILE%\Application Data\Microsoft\Network\Downloader\qmgr*.dat”
- The following step can be skipped if this is not last resort. This step is considered to be the aggressive approach but it will definitely reset your updating process from its very core. So we can recommend that you try this out. It has been suggested by a lot of people on online forums.
- Change the name of the SoftwareDistribution and catroot2 folders. In order to do this, at an administrative command prompt, copy and paste the following commands and click Enter after copying each one.
Ren %systemroot%\SoftwareDistribution SoftwareDistribution.bak
Ren %systemroot%\system32\catroot2 catroot2.bak

- The following commands will help us reset the BITS (Background Intelligence Transfer Service) and the wuauserv (Windows Update Service) to their default security descriptors. Make sure you don’t modify the commands below so it’s for the best if you simply copy them.
exe sdset bits D:(A;;CCLCSWRPWPDTLOCRRC;;;SY)(A;;CCDCLCSWRPWPDTLOCRSDRCWDWO;;;BA)(A;;CCLCSWLOCRRC;;;AU)(A;;CCLCSWRPWPDTLOCRRC;;;PU)
exe sdset wuauserv D:(A;;CCLCSWRPWPDTLOCRRC;;;SY)(A;;CCDCLCSWRPWPDTLOCRSDRCWDWO;;;BA)(A;;CCLCSWLOCRRC;;;AU)(A;;CCLCSWRPWPDTLOCRRC;;;PU)
- Let’s navigate back to the System32 folder in order to proceed with the solution at hand.
cd /d %windir%\system32
- Since we have completely reset the BITS service, we will need to reregister all of the files necessary for the service to run and operate smoothly. However, each of the files requires a new command in order to make it reregister itself so the process may end up being lengthier than what you are used to. Copy the commands one by one and make sure you don’t leave out any of them. Here is a list of files which need to be reregistered along with the corresponding commands next to them.
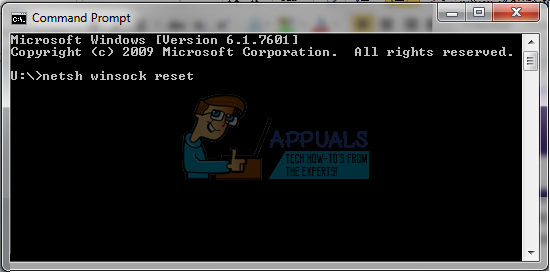
- The next thing we are going to do is reset Winsock by copying and pasting the following command back into the administrative Command Prompt:
netsh winsock reset
- If you are running Windows 7, 8, 8.1, or 10, at a command prompt, copy the following command, and tap the Enter key:
netsh winhttp reset proxy
- If all of the steps above have gone through painlessly, you can now restart the services you killed in the very first step by using the commands below.
net start bits
net start wuauserv
net start appidsvc
net start cryptsvc
- Restart your computer after following through with all of the steps which are listed.
Solution 3: Change This Registry Value
Users often use the Media Creation Tool when they are unable to upgrade their computers through the in-built updating process. Fortunately, this simple registry fix can fix everything wrong with the upgrading process and it’s quite easy to perform it if you follow the steps below.
Note: Before proceeding with this solution, it’s recommended that you close all of your running programs and it’s advisable to create a backup of your registry just in case something goes terribly wrong while you edit it. Backup your registry by following the instructions in our backup registry.
- Open the Registry Editor either by typing “Registry Editor” in the search bar or by opening the Run dialog box and typing “regedit” if you are using an older version of Windows.
- Navigate to the following registry key:
HKEY_LOCAL_MACHINE\SOFTWARE\Microsoft\Windows\CurrentVersion\WindowsUpdate\OSUpgrade
- If the key does not exist, navigate to the WindowsUpdate key from the previous location and create it by right-clicking on the WindowsUpdate key and selecting New >> Key. Make sure you name the key OSUpgrade.
- In the newly created key or if the key already existed, right-click on the right pane and select New >> DWORD (32-bit) Value and name it “AllowOSUpgrade” without the quotation marks.
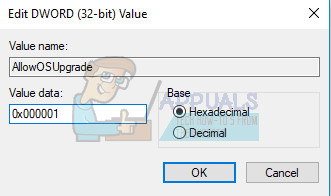
- Set its value to 0x000001
Whenever I try to set the DWORD (32-bit) value to 0x000001, my computer does not allow me to use “x” as part of the value. Any suggestions?