How to Fix Windows 10 Can’t start your camera error 0xA00F4246 (0x887A0004)
Following a fairly major Windows update rolled out in September 2016, many Windows 10 users have started reporting an issue where Windows 10’s stock Camera application fails to access affected computers’ cameras and an error message containing error code 0xA00F4246 (0x887A0004) is displayed. The full error message reads:
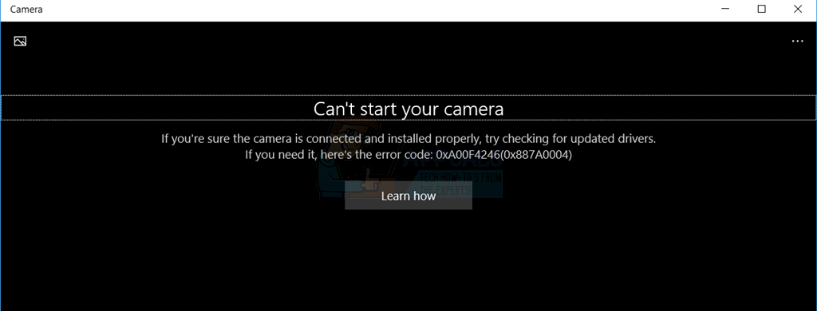
“Can’t start your camera
If you’re sure the camera is connected and installed properly, try checking for updated drivers.
If you need it, here’s the error code: 0xA00F4246 (0x887A0004)”
The issue has been reported by users with both integrated and external cameras on their computers, so the type of camera you use does not bear any significance. What is noteworthy, however, is the fact that other Microsoft applications that come with Windows computers out of the box and can access a computer’s camera (applications such as Skype Preview) are also affected on these problematic computers and are rendered unable to access their cameras.
Even though the error message that affected users see indicates that outdated drivers are the culprit, updating the drivers for the affected computer’s camera does not make any headway towards resolving this problem. Uninstalling and then reinstalling the drivers also does not help. Affected users have not had any luck with resetting the stock Windows 10 Camera app, which is quite predictable given that the actual issue lies within the affected computer’s registry. All that is required to fix this mind-boggling problem is a simple registry tweak. If you are suffering from this problem and want to resolve it, you need to:
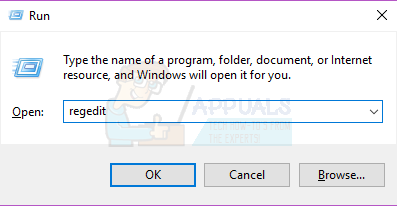
- Press the Windows Logo key + R to open a Run.
- Type regedit into the Run dialog and press Enter to launch the Registry Editor.
- In the left pane of the Registry Editor, navigate to the following directory:
HKEY_LOCAL_MACHINE > SOFTWARE > Microsoft > Windows Media Foundation
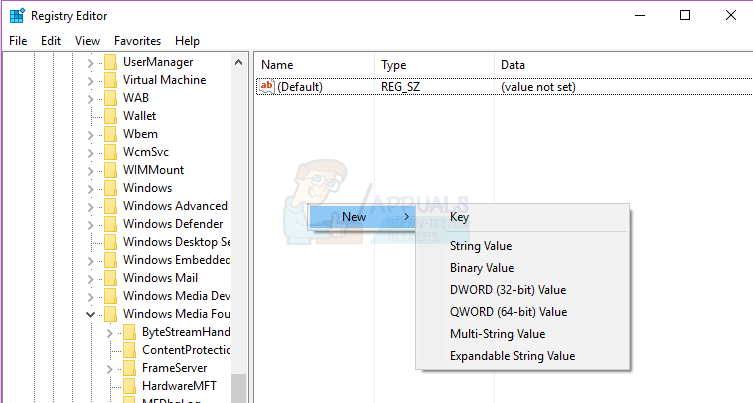
- Click on the registry key titled Platform under Windows Media Foundation sub-key in the left pane to have its contents displayed in the right pane.
- Right-click on an empty space in the right pane of the Registry Editor, hover over New and click on DWORD (32-bit) value.
- Name the new registry value EnableFrameServerMode.
- Double-click on the newly created EnableFrameServerMode registry value to edit it and type 0 into its Value data:
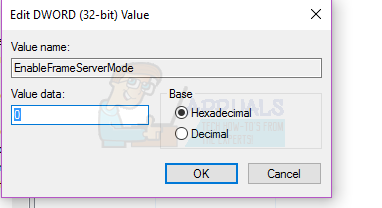
- Click on OK.
- Close the Registry Editor and restart the computer.
As soon as the computer boots up, launch the Camera app. The app should successfully access your computer’s camera and display its viewfinder on your screen. You should also find that any other applications previously unable to access your computer’s camera can now do so without a hitch.
Hi. I nearly threw away my laptop. Your thread helped me. THANK YOU THANK YOU THANK YOU!!!
God Bless you!!!!!!!