[FIX] Empty Space on Top of Screen in Maximized Window
You may get a blank/empty spacebar on the top of a maximized window of the screen in a multi-monitor setup if the user profile is corrupt. Moreover, protected view and hardware acceleration of the Office applications may also cause the error under discussion.
The issue occurs when a user maximizes a window in a multi-monitor setup but a bar (or white space) is shown on the top of the window and the bar is either unclickable or if clickable, it clicks on the desktop of the user, not on the maximized window. The issue is also reported on the server versions of Windows along with desktops/laptops. The issue sometimes occurs in a single or some applications.
Before proceeding with the solutions to get rid of the white bar at the top of your screen, make sure your system is not in tablet mode. Moreover, if the issue is with a particular application (like Discord), then check if opening the application in the compatibility mode resolves the issue. Additionally, check if connecting the monitor to a different port (or using a different cable) sorts out the issue.
Workarounds
Following workarounds are reported to temporary (for some hours to months) solve the issue:
- Keep the laptop lids open during the multi-monitor setup.
- Switching the themes.
- Ending the dwm.exe process through the Task Manager (not recommended in a server environment or during a remote desktop connection).
- Restarting Explorer through the Task Manager or restarting the PC (you can also try to logout/login).
- Changing the screen orientation.
- Swapping the primary and secondary displays.
- Using Windows + P keys and selecting duplicate (or PC Screen Only). Then reverting to extend.
- Select the window and pressing Alt + Spacebar. Then selecting Restore (or right-click on the window and choose Restore). You can also try the Windows + Down-arrow keys while the window is selected. For a browser, you can try the F11 key.
- Moving the affected window to another monitor by using the keyboard shortcut (Windows + Shift + Right/Left) or using Task View.
- Shut-down the affected monitor or unplug/Replug it.
- Pressing Shift + Ctrl + Windows + B keys to restart the video driver after clearing its buffer.
Solution 1: Change Advanced System Settings
Some advanced system settings may trigger the top blank bar behavior. In this context, disabling the relevant settings may solve the problem.
- Hit the Windows key and search for Advanced System Settings.
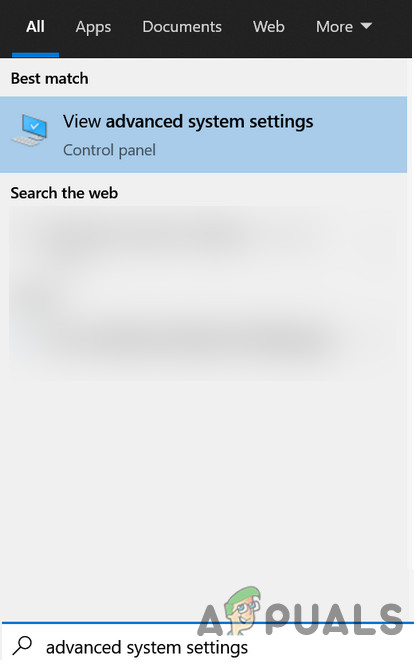
Open Advanced System Settings - Then select View Advanced System Settings and open Settings for Performance.
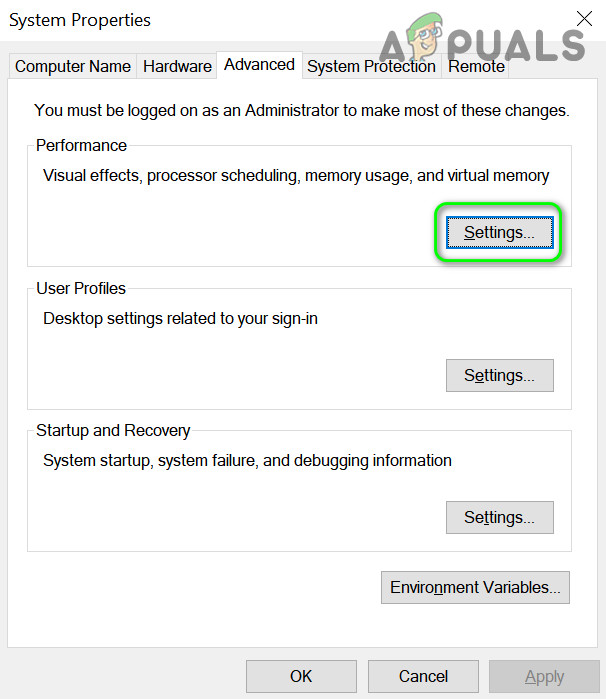
Open Performance Settings in Advanced System Settings - Now uncheck the options of “Animate Windows When Minimizing and Maximizing” and “Show Window Content While Dragging”.
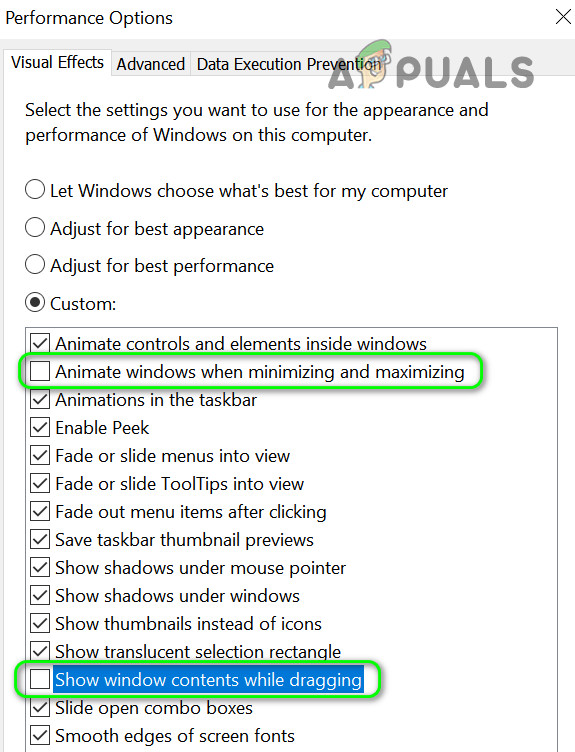
Disable Windows Animation and Showing of Content in the Advanced System Settings - Now click on Apply/OK buttons and reboot your PC to check if the display issue is resolved.
- If not, set the Visual Effects to the best performance in the Advanced System Setting and check if that solves out the problem.
You may also try if disabling the Transparency in Windows 10 Settings (Ease of Access>> Display) sorts out the display issue.
Solution 2: Disable the App Readiness and SoftThinks Agent Services
You may encounter the error at hand if any of the system services are hindering the operation of the system’s display driver. In this case, disabling the problematic services may solve the problem.
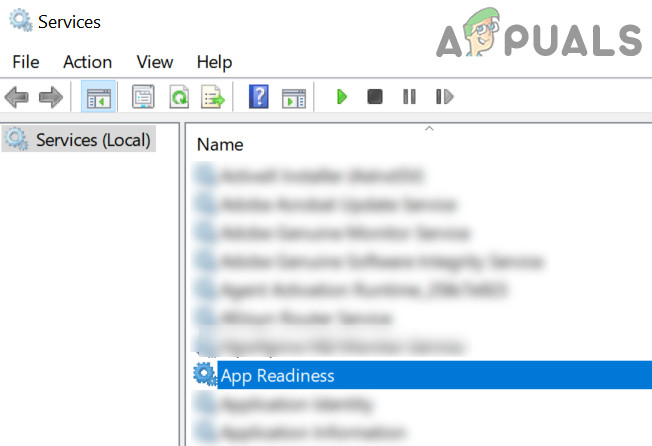
- Hit on the Windows key and in the Windows Search, type Services. Then, right-click on the result of Services and choose Run as Administrator.

Open Services as Administrator - Now double-click on the App Readiness service and expand the dropdown of Startup type.
Open App Readiness Service - Now select Disabled and click on the Apply/OK buttons.
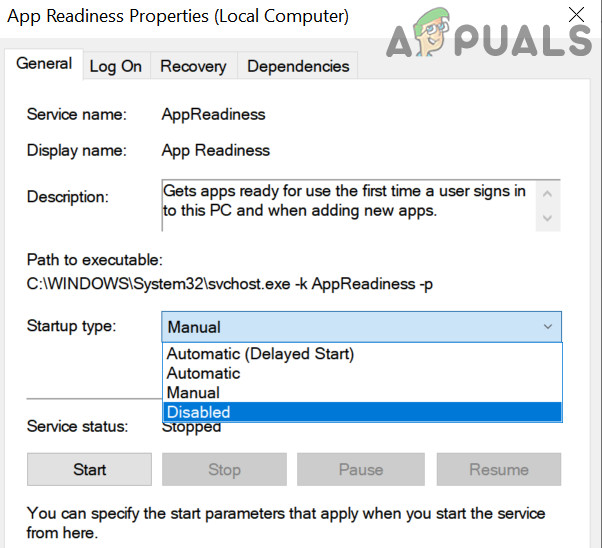
Disable App Readiness Service - Repeat the same for the SoftThinks Agent Service to disable it. This service may only be available on a Dell PC.
- After disabling the services, reboot your PC & check if the top blank bar issue is resolved.
Solution 3: Uninstall the Conflicting Applications
You may encounter the error at hand if any of your installed applications are triggering the issue at hand. In this case, disabling or uninstalling these applications may solve the problem. DisplayFusion is one of the applications reported to create the issue.
- Press the Windows key & open Settings.
Open Settings of Your System - Then open Apps & expand DisplayFusion.
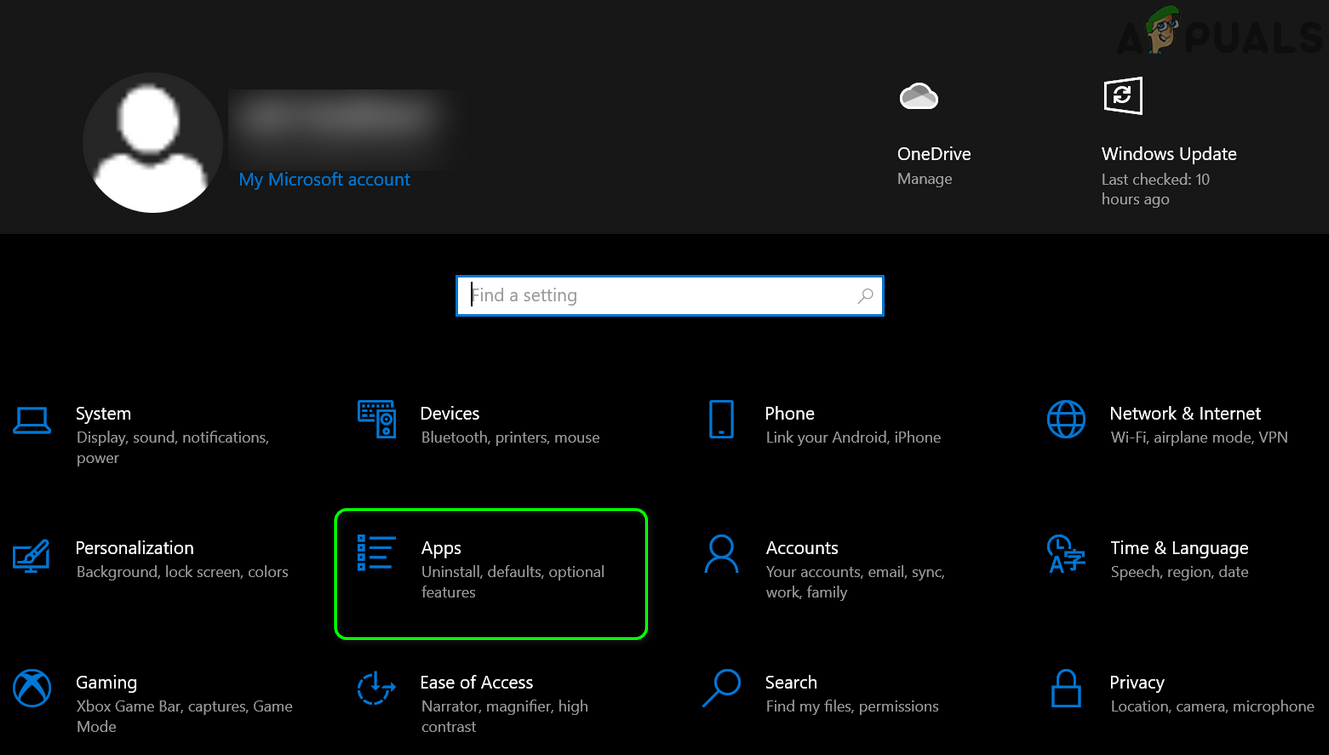
Open Apps in Settings - Now click on Uninstall & then confirm to uninstall DisplayFusion.
- Then repeat the same to remove the conflicting applications and check if the system’s display is working fine.
If you do not have DisplayFusion installed, then clean boot your system & then enable the applications/services one by one till you find the problematic application/service. Then disable or uninstall the application causing the issue.
Solution 4: Update the Device Drivers and Windows of Your PC to the Latest Release
Third-party vendors & Microsoft keep on updating the device drivers/Windows to satiate the ever-evolving technological advancements and patch the reported bugs (such as creating the current blank bar issue). In this scenario, updating the device drivers and Windows of your system to the latest release may solve the display problem.
- Update the device drivers (including the system’s BIOS/firmware) and Windows of your system to the latest release.
- Now check if the display is functioning normally.
- If not, then check if rolling back (or installing) an older graphics driver solves the issue.
Solution 5: Disable Protected View and Other Options in Office
Protected View in the Office is used to limit the functionality of a suspicious document to safeguard the user’s system and data. But this feature is reported by users to trigger the top bar behavior which then expands to the other applications/system. In this case, disabling the protected view in the Office may solve the problem but you may still encounter the issue if opening a document received via email. If your system supports it, you can use GPO to more effectively manage these settings.
Warning: Proceed at our own risk and with extreme caution as disabling the protected view in office applications may expose your system/data to threats (e.g., malware macros).
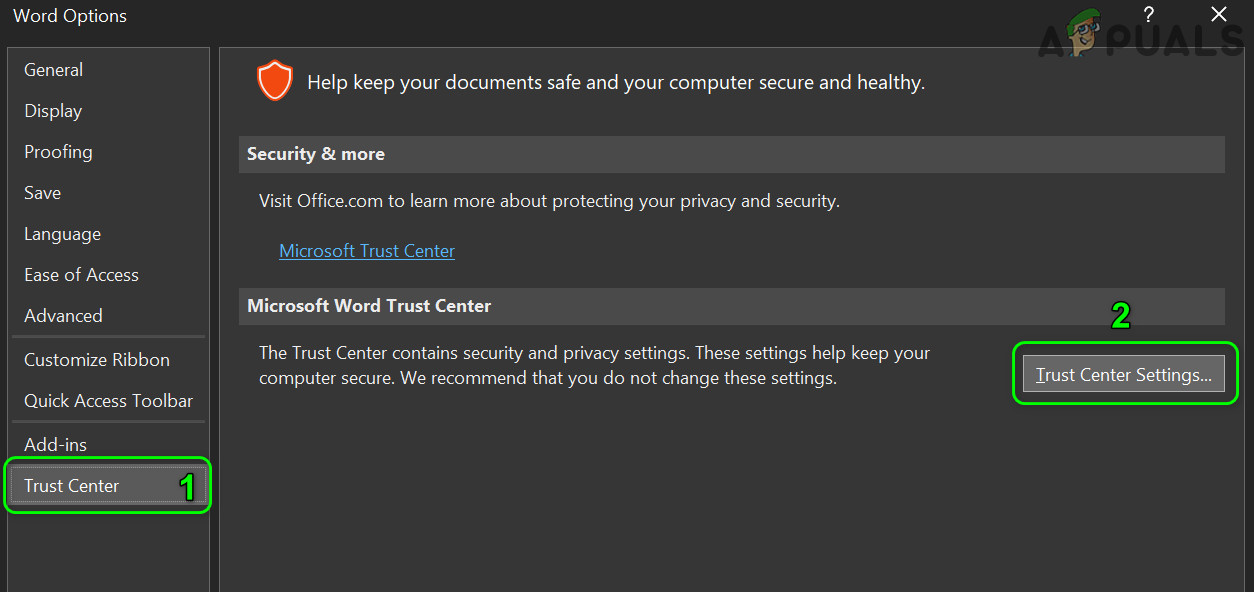
- Launch an office application (e.g., MS Word) and open its Options (you may have to navigate to the File tab and expand More).
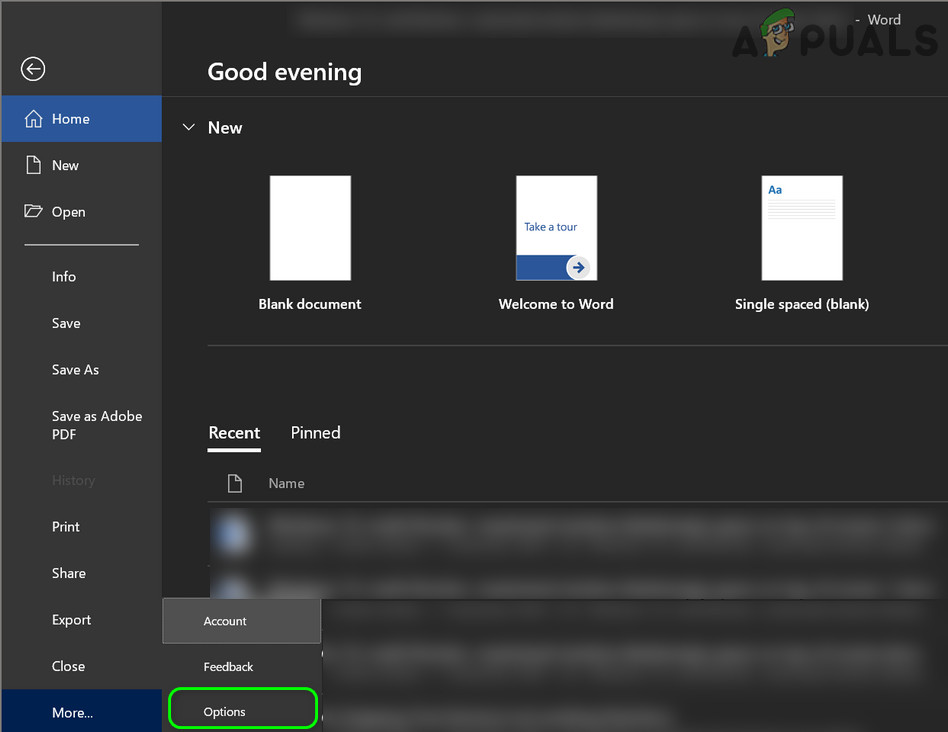
Open MS Word Options - Now open Trust Center and then the Trust Center Settings.
Open Trust Center Settings - Then steer to the Protected View tab and uncheck all the options there.
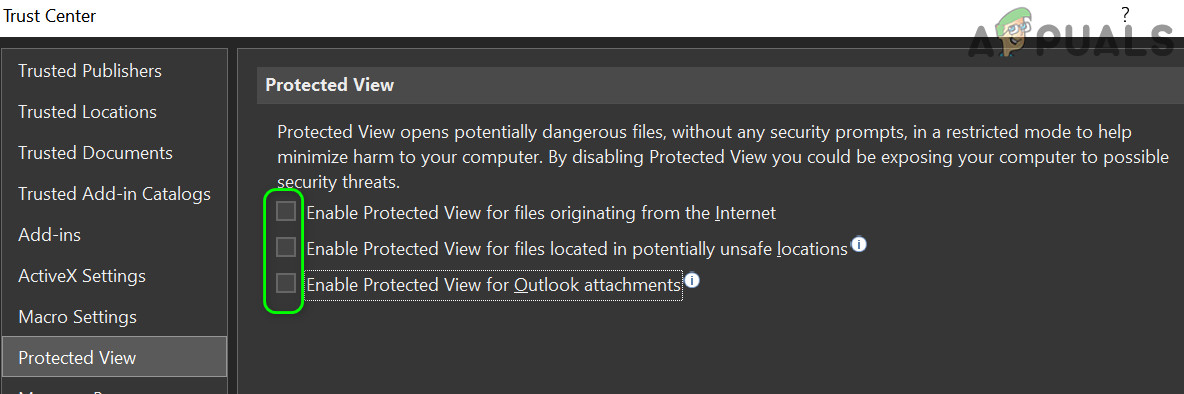
Disable Protected View for MS Word - Now click on OK and then navigate to the General tab in Options.
- Then, in the section of User Interface Options, select Optimize for Compatibility (for the “When Using Multiple Displays” option).
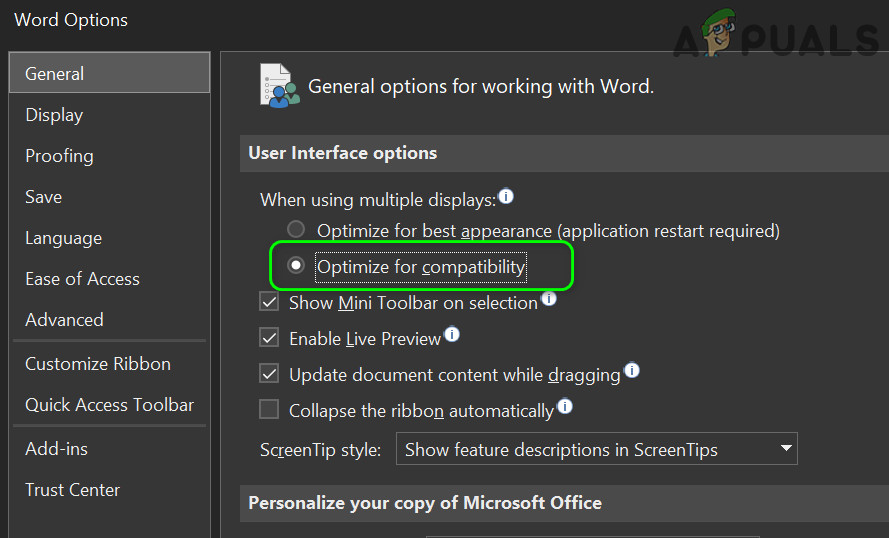
Optimize MS Word for Compatibility - Now navigate to the Advanced tab and then in the Display section, check the option of Disable Hardware Graphics Acceleration.

Disable Hardware Graphics Acceleration of MS Word - Now click on OK and close the MS Word.
- Then repeat the same for all the Office applications.
- Now disable the Hardware Acceleration for the Edge browser (Edge Settings>>System) and reboot your PC to check if the display issue is resolved.
Solution 6: Change the Display Settings
Different display settings may trigger the display issue at hand. In this case, optimizing these settings for your display may solve the problem. The steps may vary depending on your system and graphics card.
Change the Refresh Rate of the Displays
- Right-click on the desktop and choose Display Settings.
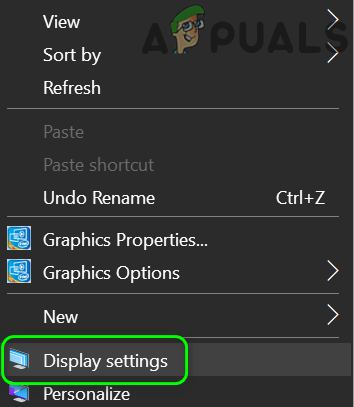
Open Display Settings - Now select Advanced Display Settings (in the Display tab) of the affected display and change the refresh rate (either to 59 or 60).
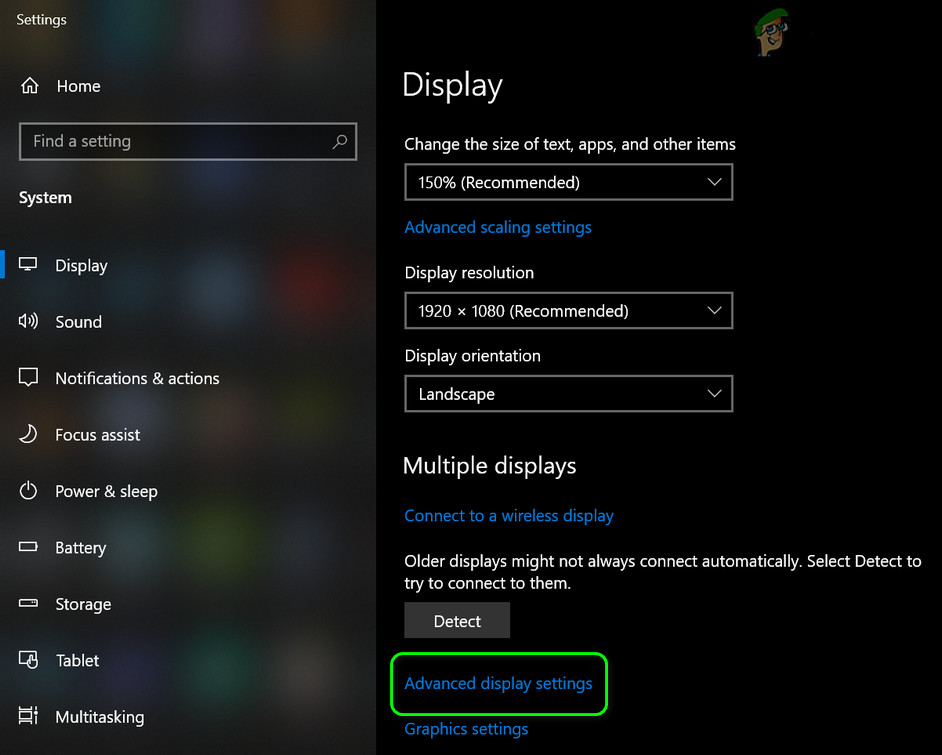
Open Advanced Display Settings - Then check if the display is working fine.
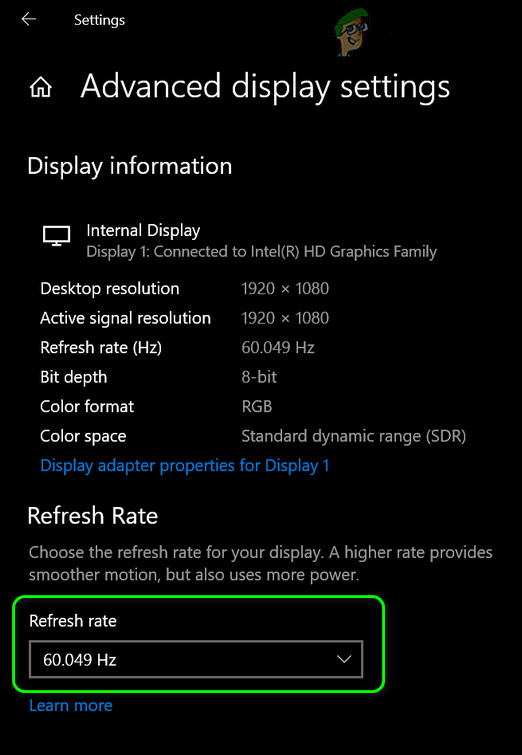
Change Refresh Rate - If not, then check using the same refresh rate for all the monitors resolves the issue.
Change the Display Resolution
- Right-click on your desktop and choose Display Settings.
- Now change the screen resolution of the affected display and then check if the display issue is resolved. If so, then check if reverting to the previous resolution does not cause the issue again.
- If the issue reoccurs, then make sure that screen resolution and the “Size of Text, Apps, and Other Items” (under Scale and Layout in the Display Settings) option is the same for all the monitors.
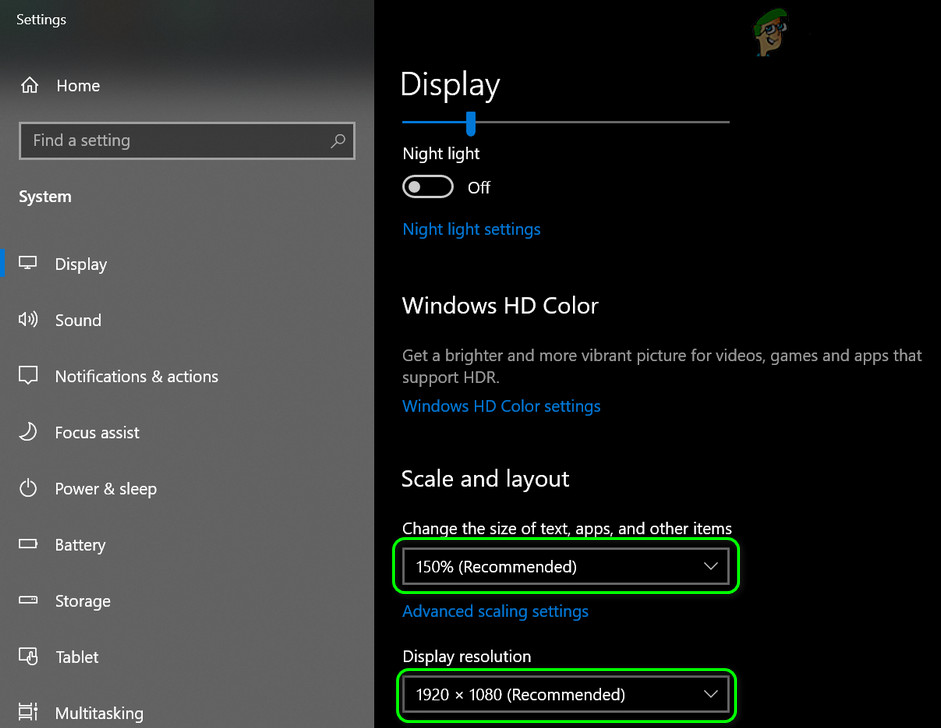
Change the Display Resolution - Now reboot your machine and check if the top blank bar issue is resolved.
- If not, then check if changing the affected (or built-in) display to Digital Display resolves the issue.
- If the issue is still there, then check if changing the resolution through the Graphics Control Panel (Nvidia, Intel, or AMD) resolves the issue. You can also try the Zoom to Fit option to solve the issue.
Change Scaling Options
- Right-click on your desktop and choose Graphics Properties. Then select Display.
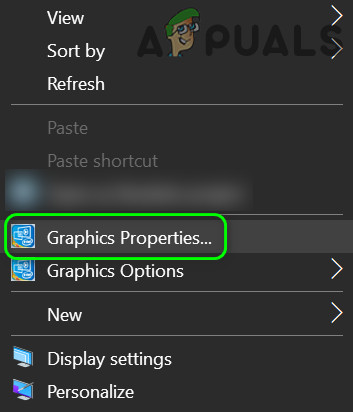
Open Graphics Properties - Now click on Scale Full Screen (make sure the affected display is selected in the Select Display dropdown) and then enable the option of Override Application Settings. The Nvidia users may enable Override the Scaling Mode Set by Games and Programs. If you are using an AMD GPU, then enable (if it is disabled) GPU Scaling for 1 or all displays (AMD software>> Settings >> Display).

Scale Full Screen and Override Application Settings - Then click on Apply and check if the display is clear of the top blank bar.
- If not, then right-click on your desktop and open Display Settings.
- Now set the Size of Text, Apps, and Other Items (under Scale and Layout) to 100% for the affected display (make sure to disable any custom scaling in Advanced Scaling Settings) and check if the issue is resolved.
- You can also check if toggling between Maintain Display Scaling or Maintain Aspect Ratio (for every display) solves the issue.
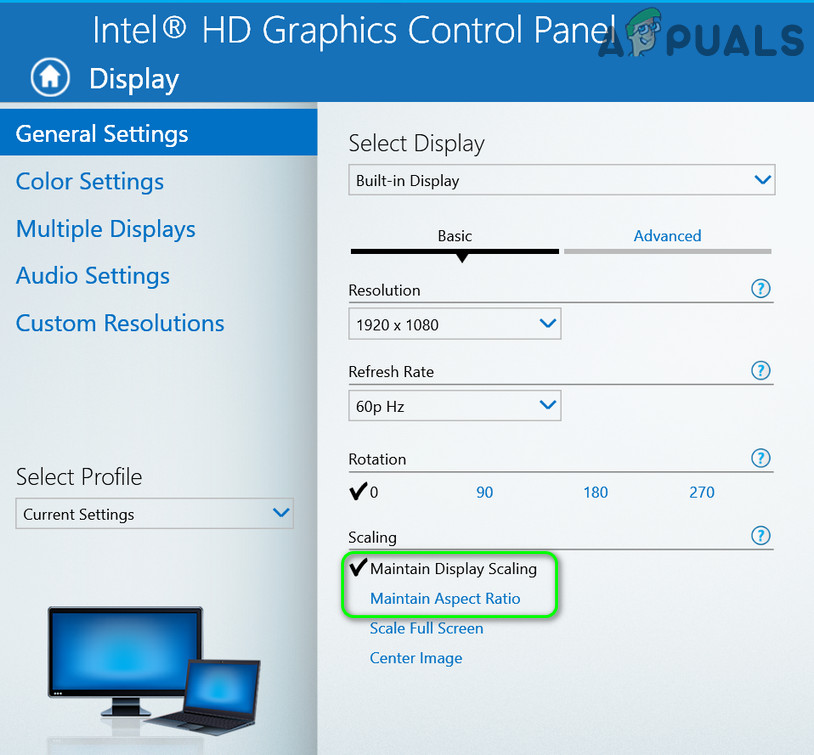
Toggle Between Maintain Display Scaling or Maintain Aspect Ratio - If everything fails, then check if using the Ctrl+Alt+F11 keyboard combination (that resets scaling options to defaults) solves the issue.
Restore the Graphics Settings to Defaults
- Right-click on the desktop and in the menu shown, choose Nvidia Control Panel.
- Now navigate to the Adjust Image Setting with Preview and choose Let the 3D Application Decide.
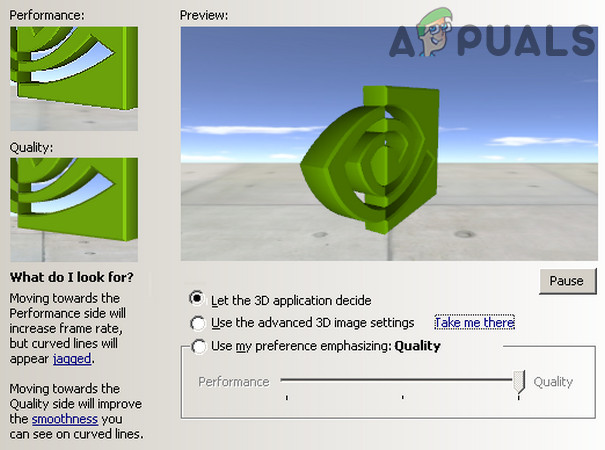
Let the 3D Application Decide the Image Settings - Then steer to Manage 3D Setting and click on Restore.

Restore the Graphics Settings - Now reboot your PC and check if the issue is resolved.
Solution 7: Recreate the User Profile
You may encounter the blank bar on the top of the display if the user profile is corrupt. In this case, recreating the user profile (a tedious task for many users) may solve the problem.
- Create another user profile and log out of the current user.
- Then log in using the newly created account and check if the blank bar issue is resolved.
Solution 8: Use the Registry Editor
If the issue is still there, then disabling the DPI Scaling and Hardware Acceleration (that may slow down the system’s performance) through the Registry Editor may solve the problem.
Warning: Be very careful and proceed at your own risk as fiddling with the system’s registry may expose your system/data to threats.
- Launch the Registry Editor with administrator privileges.
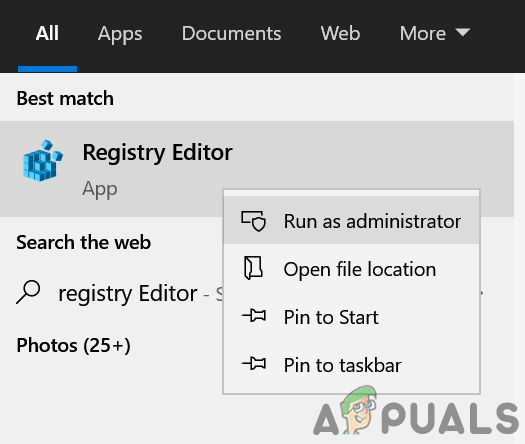
Open Registry Editor as Administrator - Then navigate to the following path:
Computer\HKEY_CURRENT_USER\Control Panel\Desktop
- Now, in the right-pane, double click on Win8DpiScaling and change its value to 1.
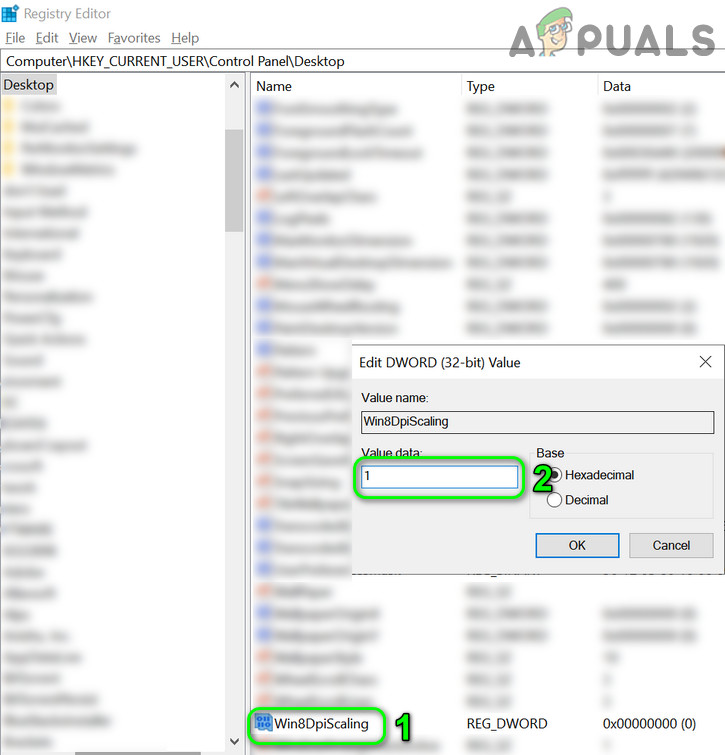
Change Win8DpiScaling Value to 1 - Then check if the issue is resolved.
- If not, then repeat step 1 to launch the Registry Editor and navigate to the following path:
Computer\HKEY_CURRENT_USER\SOFTWARE\Microsoft\Avalon.Graphics
- Then create a Dword (32-bit) value and name it DisableHWAcceleration.
- Now double-click and set its value to 1.
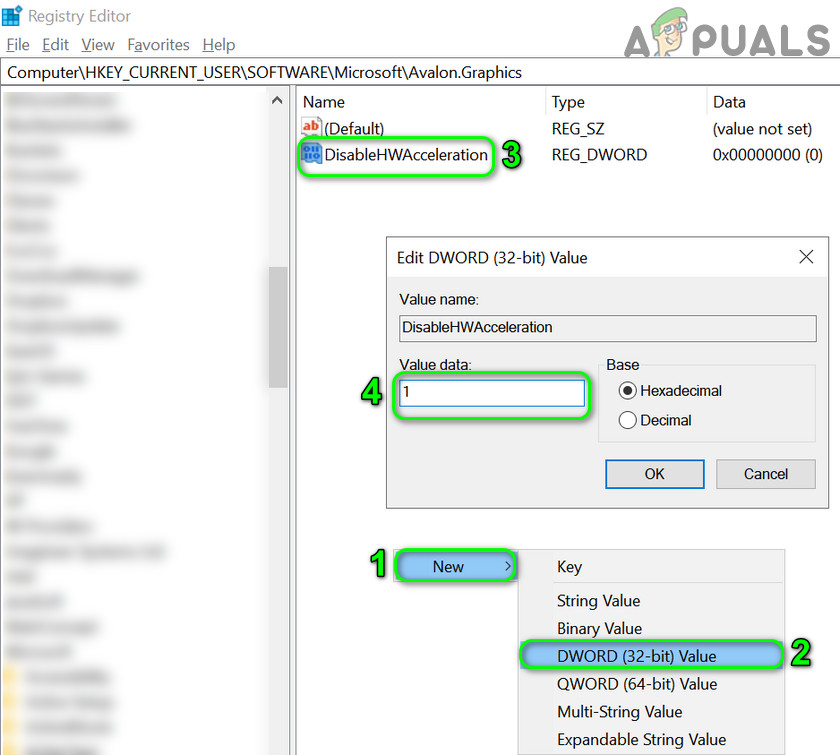
Create a DisableHWAcceleration and Set its Value to 1 - Then reboot your PC and check if the display issue is resolved.
If the issue is still there, then you can try the workarounds at the start of the article (till the problem is permanently solved). You may try a 3rd party utility to manage the display (like Aqua Snap, MultiMonitorTool, etc.) or a cleaning utility to clear out the registry and other settings. And if that fails, then either try to use an external card with your system or perform a clean installation of Windows.


Thank you so much. Not sure what caused it but Shift+Windows+Ctrl+B worked out for me.