How to Fix “Error Code: VAN 68” on Valorant?
The error code VAN 68 is a common problem that occurs in Valorant. This issue can originate from factors on your end or from your Internet Service Provider. It usually happens when your Valorant client struggles to connect to the game’s official servers or when Vanguard, the game’s security system, isn’t functioning properly.

In this article, we aim to offer solutions that will help you solve your issue if the problem is on the client’s side.
1. Reset Your Network Configuration
Let’s start with resetting your network configuration. This step can resolve the VAN 68 error by clearing any corrupt settings or data conflicts that may be restricting your computer’s connection to Valorant servers. It restores network settings to their default state, eliminating potential errors or custom changes causing the problem.
- Hold the Windows Key and Press X. Select Command Prompt (Admin) or PowerShell (Admin).
- Type the following commands one at a time to reset your network settings:
netsh winsock reset
netsh int ip reset
ipconfig /release
ipconfig /renew
ipconfig /flushdns
- Restart your computer and see if the issue continues.
2. Change Your DNS Server
By changing your DNS server to a public DNS like Google DNS or Cloudflare DNS, you can potentially resolve connectivity issues and improve communication between your client and Valorant’s servers. This can help resolve error code VAN 68 by directing your internet traffic through a different set of servers known for providing faster and more stable connections.
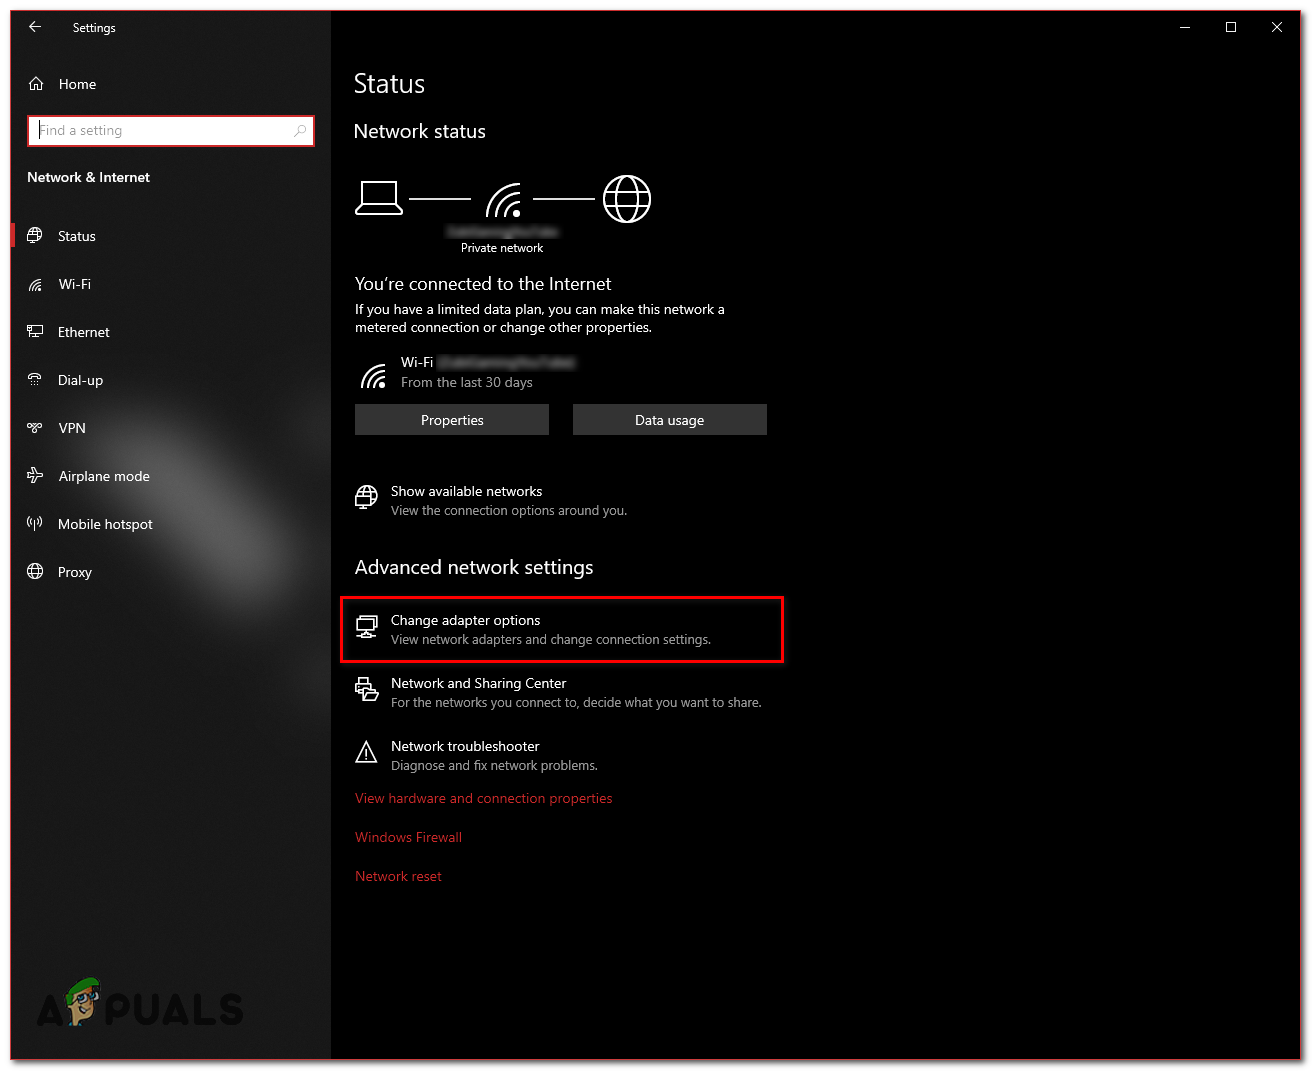
- Press and hold the Windows Key and Press I to open the Windows Settings app.
- Go to the Network & Internet section.
- Click on the Change Adapter Settings option.
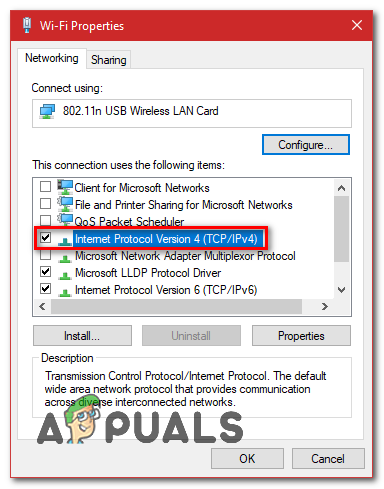
- Right-click on your Network Adapter and choose Properties.
- Double-click on Internet Protocol Version 4 (TCP/IPv4).
- Select the Use the following DNS server addresses option.
- Enter “8.8.8.8” in the Preferred DNS server and “8.8.4.4” in the Alternate DNS server fields.

- Return to the Command Prompt (Admin) or PowerShell (Admin) window.
- Type the command to refresh DNS servers:
ipconfig /flushdns
- See if the problem continues.
3. Disable IPv6 Protocol
When you disable the IPv6 protocol, you revert to using the more commonly supported and stable IPv4. This can potentially resolve connection conflicts that causes to error code VAN 68 in Valorant.
- Press and hold the Windows Key and Press I to open the Windows Settings app.
- Go to the Network & Internet section.
- Click on the Change adapter options link.
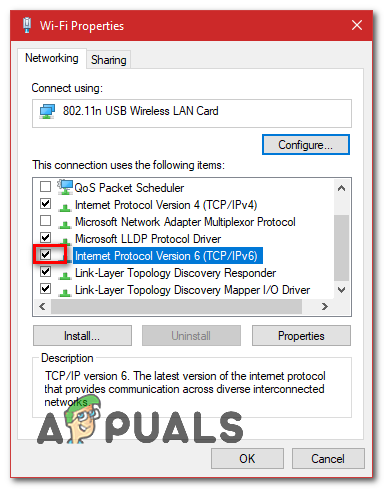
- Right-click on your Network Adapter and choose Properties.
- Uncheck the box next to Internet Protocol Version 6 (TCP/IPv6).
Restart your computer and see if the problem persists.
4. Try Using Mobile Data (If applicable)
Consider using mobile data as an alternative network connection to troubleshoot potential issues with your Wi-Fi settings, router, or ISP. If Valorant runs smoothly on mobile data, it indicates the problem might be related to your Wi-Fi configuration. In that case, try contacting your ISP to get this issue resolved.
- Turn on mobile data on your phone.
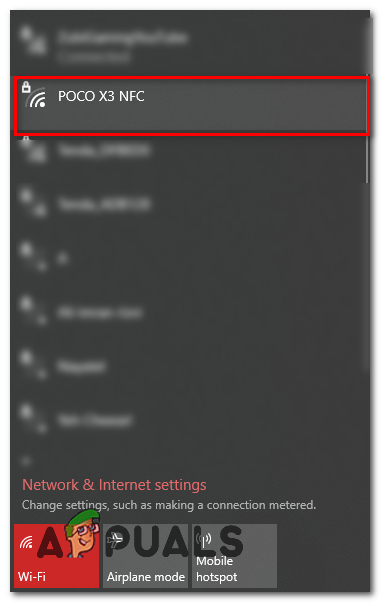
- Switch on your phone’s Wi-Fi hotspot feature.

Enabling Hotspot - Link your computer to your phone’s Wi-Fi hotspot.
- Try to see if the error persists.
If the problem continues, try other methods mentioned below. But, if it’s solved when connected to mobile data, the issue probably comes from your ISP.
In this case, talk to your Internet Service Provider, explain the situation, and they should help you solve the issue.
5. Allow Valorant Through Your Firewall
Allowing Valorant through your firewall can resolve error code VAN 68 by ensuring that the game is not blocked from establishing a secure connection to its servers.
Firewalls are designed to block unauthorized access to your system, and by setting the firewall to recognize Valorant as a trusted application, you allow the game to connect with its servers, potentially fixing the connection issue.
- Press and hold the Windows key and press the R key to open the Run dialog box.
- Type “control” and press Enter to open the Control Panel.
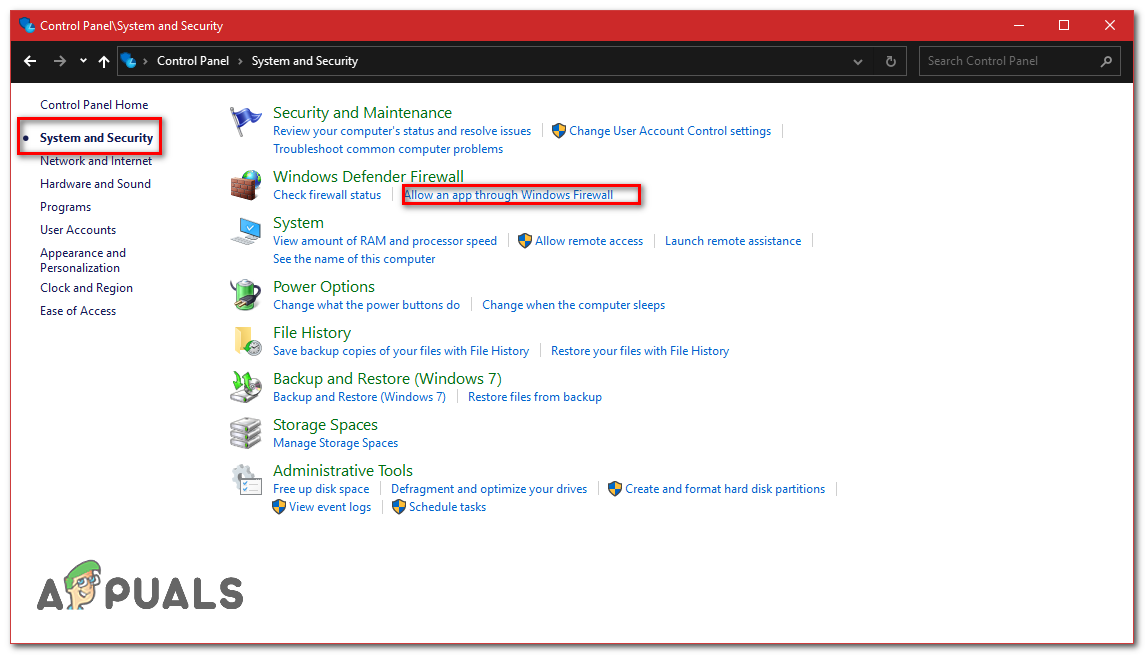
- Go to the System and Security category.
- Select Allow an app through Windows Firewall under the Windows Defender Firewall section.
- Click Allow another app… If that option is not clickable, click Change settings first.
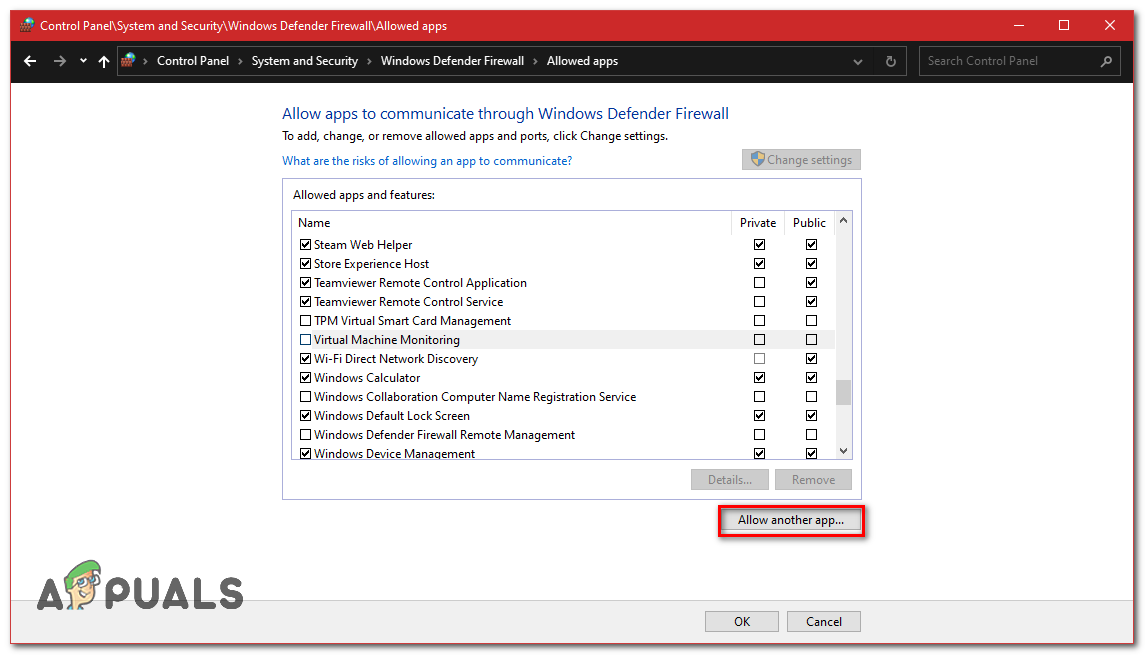
- Find the location where Valorant is installed or just select the game file’s shortcut and click “Add.”
- Make sure that both the Private and Public check boxes are selected for Valorant.
- Restart your computer.
Additionally, turn off any third-party firewalls you may have or set them to allow Valorant through as well.
6. Check if Vanguard is Functioning Properly
Making sure that Vanguard is working properly is important because it is Valorant’s anti-cheat software. If it isn’t operating as it should, it may block the game from establishing a secure connection to the servers, leading to error code VAN 68. By checking and possibly fixing Vanguard, we can address any security software-related issues that may be causing the connectivity trouble.
- Press Windows key + R key together to open the Run dialog box.
- Type services.msc and press Enter.
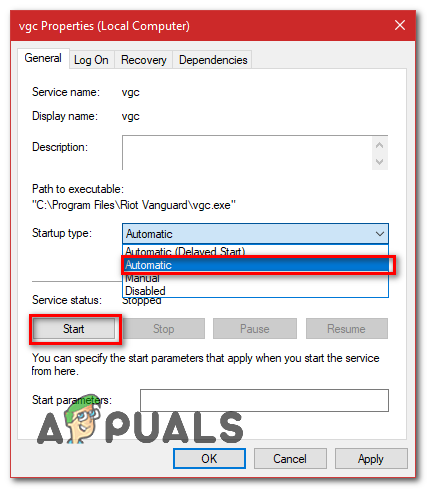
- Look for a service named VGC.
- Right-click on VGC and choose Properties.
- Make sure that the Startup Type is set to Automatic and the service is active.
- Restart your computer and verify that Vanguard is running correctly.
To do this, follow these steps:
- Open Command Prompt (Admin) or PowerShell (Admin) again.
- Type the following command:
sc query vgc
If you get an error that states the service is not available, you need to uninstall both Valorant and Vanguard, then reinstall them. If the service vgc shows up but Vanguard is not running, use this command to start it:
net start vgc
Try again to see if the problem is fixed.
7. Set Proxy Settings to Automatic
Instead of manually setting proxy settings, allowing Windows to automatically detect and configure network proxy settings can resolve connectivity issues in Valorant. This can correct any incorrect proxy settings that may be blocking the game client from connecting to the servers, ultimately resolving error code VAN 68.
- Press Windows key + R key at the same time to open the Run dialog box.
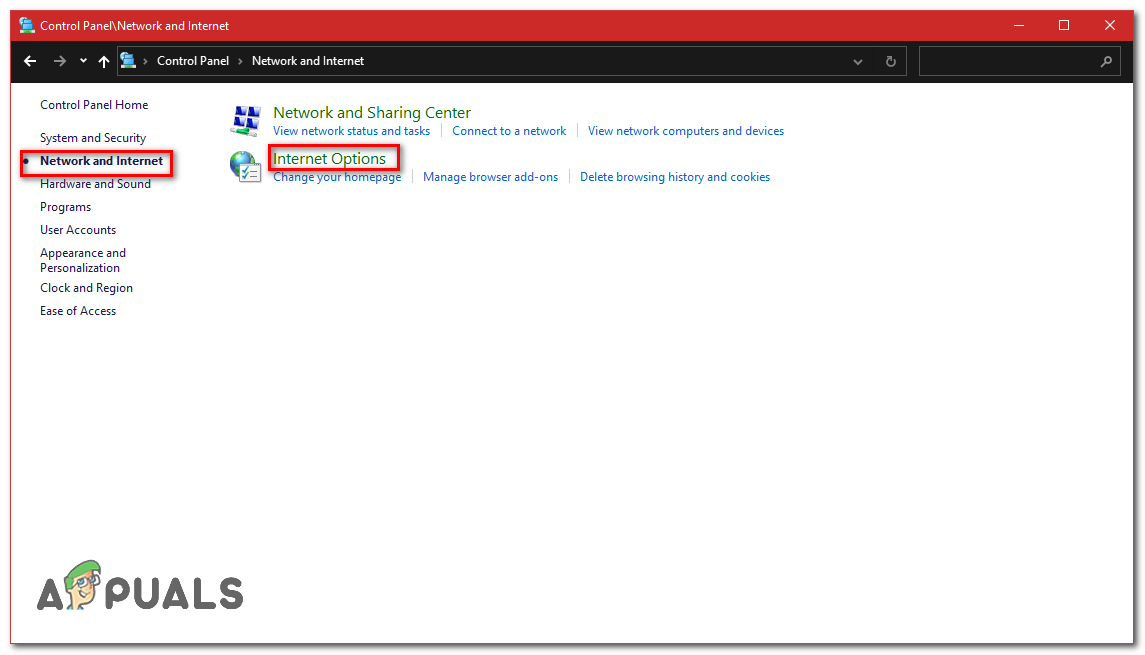
- Type control and press Enter to open the Control Panel.
- Click on Network and Internet and select Internet Options.
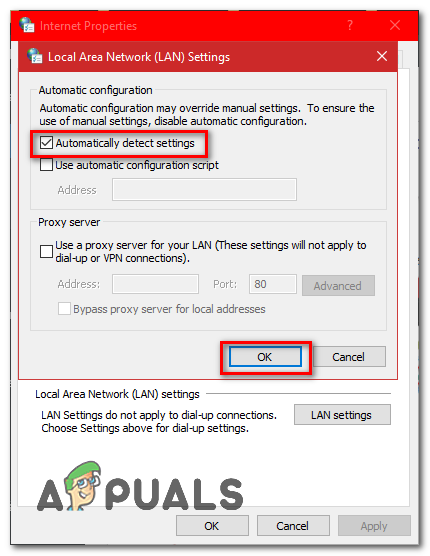
- In the Internet Options window, switch to the “Connections” tab and click on “LAN Settings.”
- Check “Automatically detect settings” and click OK.
- Restart your computer and see if the game works now.
8. Repair VALORANT
Repairing VALORANT can fix issues by checking the game’s files for any corrupted or missing data and replacing them with the correct versions. This process ensures that the game’s files are whole and up-to-date, potentially fixing any errors or glitches that could be causing error code VAN 68.
- Visit the Valorant Download page and download the installer.
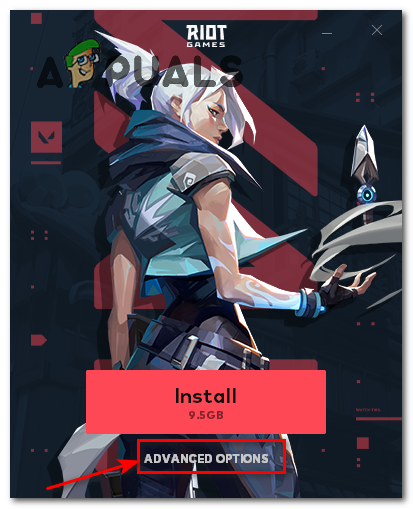
- Run the installer.
- Click Advanced options and choose the location where Valorant is installed. Pick the Riot Games folder; otherwise, the installer won’t fix the game.
- Let the process finish, which might take a while.
- Restart your computer and check if the game is now functioning.
If none of the methods work, think about using a VPN to bypass any potential network issues. If you’d rather not use a VPN, you should talk to your Internet Service Provider for help.
However, if your ISP says there is no issue on their side, then contact Valorant support directly by submitting a ticket through this link.
Valorant support will guide you through additional steps and check your logs to help fix the issue.


