How to Fix the Sea of Thieves Crashing on Windows?
Sea of Thieves is an action-adventure video game where you can live the pirate life as you always imagined it: sailing on a ship, hunting for treasure, and fighting with other pirates. However, many players have failed to enjoy the game properly because of constant crashing which sometimes appears on startup and sometimes at random points during gameplay.

Luckily, users were able to come up with their own methods which can be used to resolve the problem and you should definitely check them out below. Make sure you follow the instructions carefully in order to resolve the problem!
What Causes Sea of Thieves to Crash on Windows?
The list of possible causes which make Sea of Thieves crash on Windows is too long and we decided to create a shortlist of the cause to look out for. Check it out below in order to possibly determine your own scenario:
- Old or faulty drivers – The problem may be with your graphics card driver as it was the case for countless players. You can try rolling it back or updating it but the one currently installed needs to go.
- Vertical sync – This option is used to stabilize your framerate but it often causes issues with various games and we recommend you disable it on your computer.
- Internet Protocol version 6 – Connecting to the Internet using the IPv6 protocol is known to crash the game and we highly recommend you disable this protocol for the Internet connection you are actively using.
- Audio issues – It’s possible that some apps have taken over your sound devices which caused game instability and crashes. Disabling the exclusive mode for your sound device should resolve the problem.
- Antivirus is blocking the game – Certain free antivirus tools have blocked some of the game’s features which caused instant crashes. Make sure you add an exception for the game or uninstall the antivirus in order to resolve the problem.
- Windows Store cache – If the faulty state of Windows Store’s cache is causing the crashes, it can be reset using a simple command.
- Overclocking – Overclocking puts your GPU under a lot of pressure in order to perform better than usual and it’s often known to crash the graphics driver. Stop overclocking and check to see if the game still crashes.
- Playing without a Microsoft account – If you are trying to play the game without being logged into your Windows 10 PC with a Microsoft account, you should do so as soon as possible!
Solution 1: Update or Rollback the Drivers
If the crashes started to happen after you have updated your video card driver one way or another; rolling back to a previous version might be good enough until a new, more secure driver is released. You should also update the current graphics driver you are using to play the game if a new driver is available as new releases often aim to fix crashing issues!
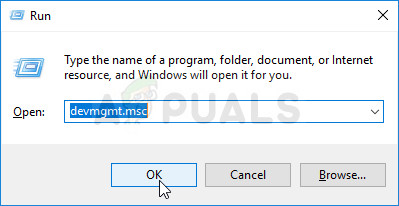
- Type “Device Manager” n the search bar next to the Start menu to open the Device Manager window. You can also use the Windows Key + R key combination in order to open the Run utility box. Type devmgmt.msc in the box and click OK or Enter key.
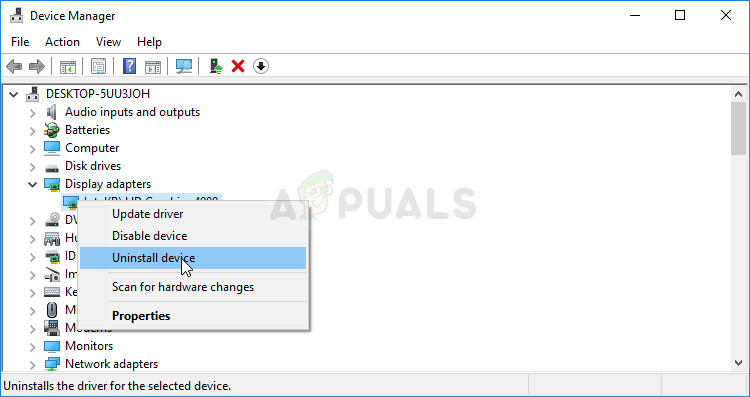
- Expand the “Display Adapters” section. This will display all display drivers that the computer has installed at the moment.
Update the Driver:
- Right-click the display adapter you want to update and select “Uninstall device“. This will remove the adapter from the list and uninstall the graphics device.
- Click “OK” when prompted to uninstall the driver.
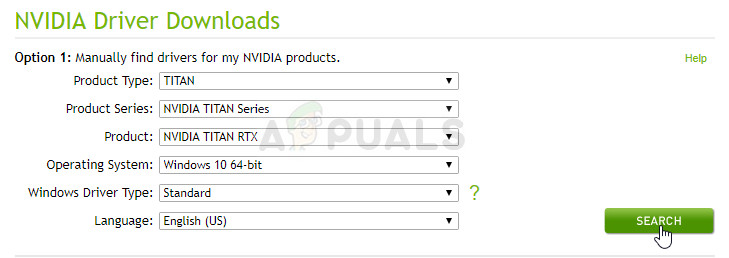
- Navigate to your graphics card manufacturer’s page in order to see the list of available driver. Input information regarding your system and click on Search or Submit. Choose the latest one, download it, and run it from the Downloads
- Follow the instructions on-screen in order to install the driver. Restart the computer and check to see if the problem has disappeared.
Rolling Back the Driver:
- Right-click the graphics driver you want to uninstall and select Properties. After the Properties window opens, navigate to the Driver tab and locate the Roll Back Driver.
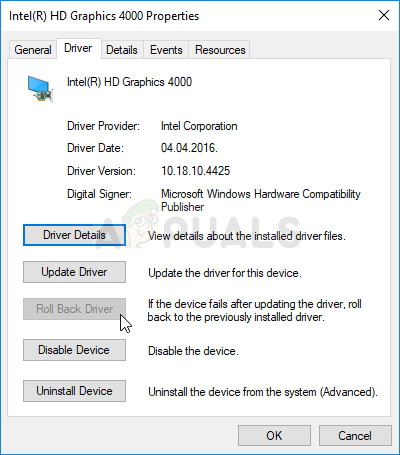
- If the option is grayed out, it means that the device probably wasn’t updated recently as it has no backup files remembering the old driver.
- If the option is available to click on, do so and follow the instructions on-screen to proceed with rolling back the driver. Restart the computer and check to see if the crashing still occurs while playing Sea of Thieves!
Solution 2: Disable V-Sync
V-Sync is an option which will force your framerate to sync with the refresh rate of your monitor, if possible. Even though the option seems useful because higher framerate won’t be registered by your screen, disabling it managed to get rid of the crashing and resolve the problem for many users. Check it out below!
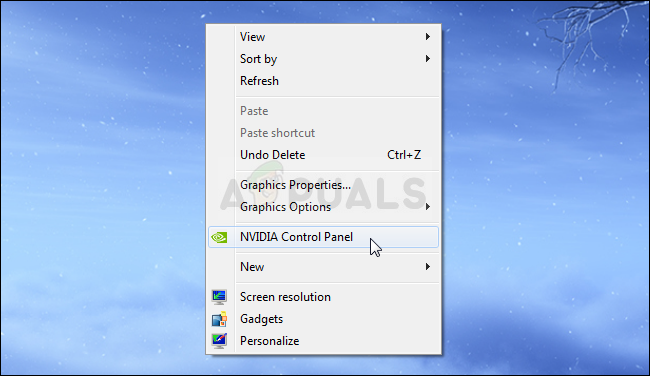
- Right-click your desktop at the blank side without icons and select the NVIDIA Control Panel entry from the context menu which will appear. You can also double-click the NVIDIA icon in the system tray if you see it. NVIDIA Control Panel can also be located in the Control Panel by switching to the Large icons view and locating it.
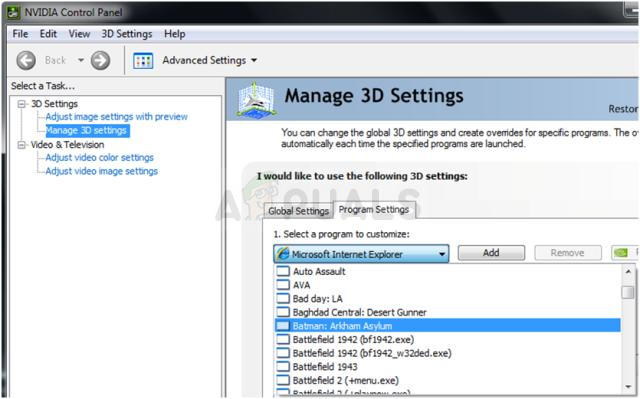
- Under the 3D settings section at the left navigation pane, click on Manage 3D settings at the left navigation side and navigate to the Program Settings
- Click on Add and make sure you browse your PC for the executable which is used to launch Sea of Thieves (SoTGame.exe). It’s located in the following folder:
C:\WindowsApps\Microsoft.SeaofThieves_2.75.5471.2_x64__8wekyb3d8bbwe\Athena\Binaries\UWP64
- Under the Specify the settings for this program section, scroll down until you see the Vertical Sync Click under the Settings column and switch it to Off.
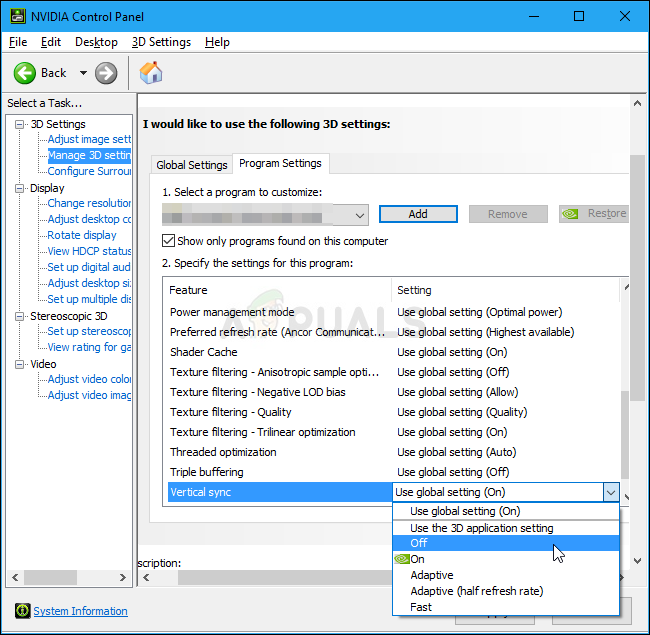
- Apply the changes you have made and reopen Sea of Thieves to see whether the white crashing problem persists!
Solution 3: Disable IPv6
The IPv6 or Internet Protocol version 6 is often incompatible with some games and you should try to disable it for your default Internet connection (the one you use the most often). If you are switching between Ethernet and Wi-Fi, for example, repeat the same process for both of these connections!
- Use the Windows + R key combination which should immediately bring up the Run dialog box where you should write ‘appwiz.cpl’ in the bar and tap OK in order to open the Internet Connection settings item in Control Panel.
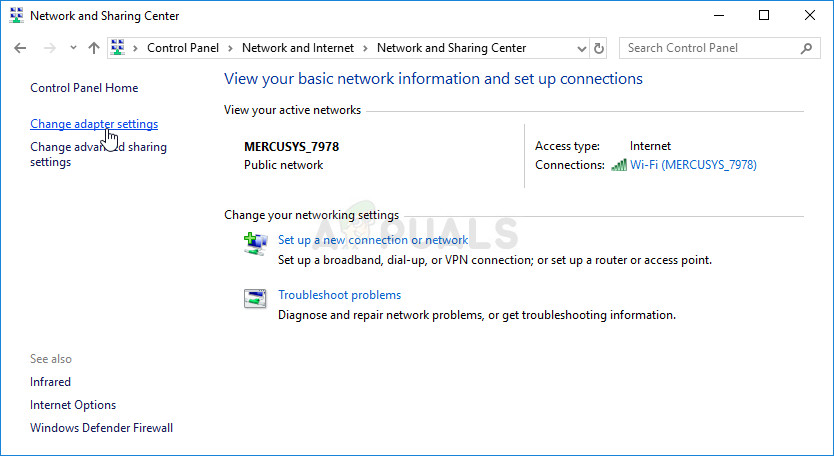
- The same process can also be performed by manually opening Control Panel. Switch the View by setting at the top right section of the window to Category and click Network and Internet at the top. Click the Network and Sharing Center button in order to start it. Try to locate the Change adapter settings button at the left menu and click on it.
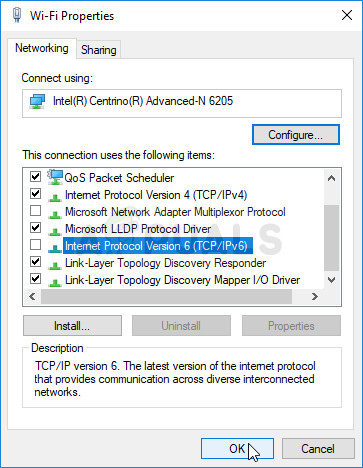
- When the Internet Connection window opens by either of these methods, double-click on your active network adapter.
- Then click Properties and locate the Internet Protocol Version 6 entry on the list. Disable the checkbox next to this entry and click OK. Restart your computer in order to confirm the changes and check to see if the problem occurs while in-game.
Solution 4: Disable Exclusive Mode for Your Sound Device
If some apps have exclusive priority over your sound devices, you might experience system and app instability; including Sea of Thieves crashes. Apps which may not even be active at the moment might be in control of your speakers, causing audio to crash your game. Check out the steps below in order to resolve this problem.
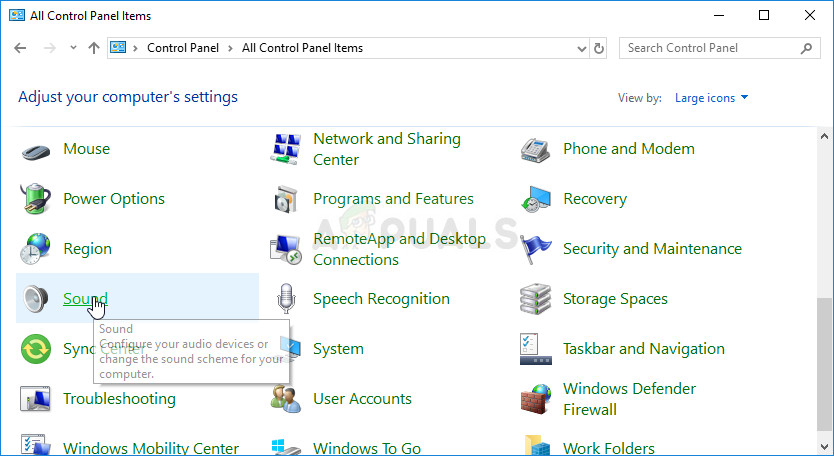
- Right-click on the volume icon located at your taskbar and choose the Sounds If this icon is not located at your taskbar, you can locate Sound settings by opening Control Panel, switching the view to Category and selecting Hardware and Sound >> Sound.
- Check to see if your speakers are enabled under the Playback Switch to this tab by clicking at the top of the window and locate the device you are using. It should be located at the top and selected.
- Click on it once and click the Properties button at the lower right part of the window. In the Properties window which opens, check under Device usage and set the option to Use this device (enable) if it wasn’t already and apply the changes.
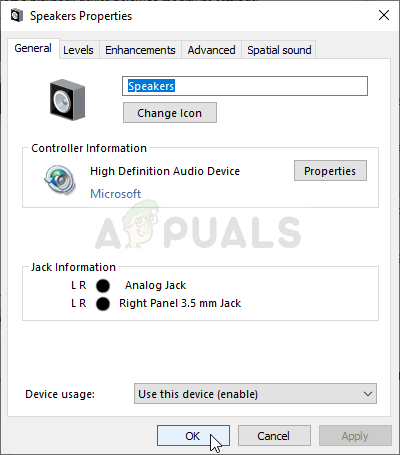
- Navigate to the Advanced tab in the same properties window and check under Exclusive mode.
- Uncheck the boxes next to the “Give exclusive mode applications priority” option. Apply these changes as well by clicking OK and check to see if audio and video are now in sync when you open a video in your browser or on your computer.
Solution 5: Add your Game to the Antivirus’ Exception List
Sometimes antivirus tools fail to recognize the game’s efforts to connect to the Internet as harmless and the game’s features are often blocked by it. In order to prove to the antivirus that the game is harmless, you will have to add it to its Exceptions/Exclusions list!
- Open the antivirus user interface by double-clicking on its icon at the system tray (right part of the taskbar at the bottom of the window) or by searching for it in the Start menu.
- The Exceptions or Exclusions setting is located in different spots with respect to different antivirus tools. It can often be found simply without much hassle but here are some quick guides on how to find it in the most popular antivirus tools:
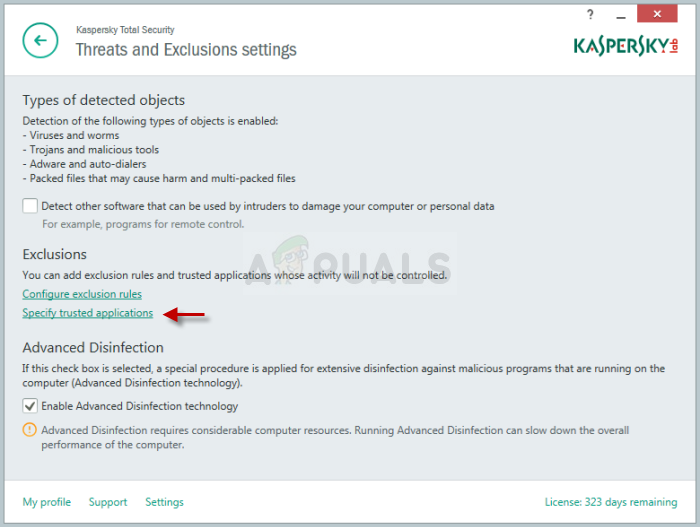
Kaspersky Internet Security: Home >> Settings >> Additional >> Threats and Exclusions >> Exclusions >> Specify Trusted Applications >> Add.
AVG: Home >> Settings >> Components >> Web Shield >> Exceptions.

Avast: Home >> Settings >> General >> Exclusions.
- You will need to add the game’s main executable in the box which will appear prompting you to navigate to the folder. It should be in the same directory for all users:
C:\WindowsApps\Microsoft.SeaofThieves_2.75.5471.2_x64__8wekyb3d8bbwe\Athena\Binaries\UWP64
- Check to see if you are now able to play the game without experiencing constant crashes. If it still won’t work, try restarting your computer and try again. The last step would be to uninstall the antivirus and try a different one if the problem persists.
Solution 6: Run the Useful ‘wsreset’ Command
If the Windows Store cache has grown larger than normal or if it got corrupted, make sure you reset it with this simple command. Resetting the cache usually solves different issues because they are caused when the Store is used excessively and its cache becomes larger than usual. This may cause issues with any of the Windows apps, including the Sea of Thieves game.
- Click the Start menu button and type the “wsreset” command. As soon as you type this in, the first result at the top should be “wsreset – Run command”.
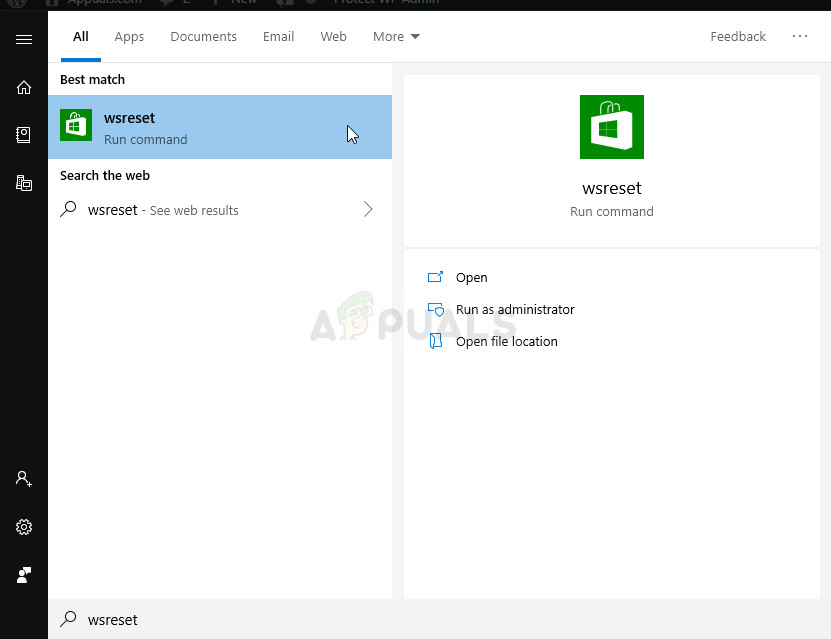
- Click on this in order to reset the Store’s cache. Restart your computer in order to apply these changes and try reopening the game to see if the crashing problem persists!
Solution 7: Stop Overclocking your GPU
The error often appears when users overclock their GPUs. Overclocking is a thing where users alter the maximum frequency of the graphics of the central processor to a value which is above the recommended one set by your GPU’s manufacturer. This can give your PC a significant performance and speed advantage when playing video games and improve it in all ways.
Returning your processor’s frequency to its original state depends on which software you used to overclock it in the first place. Stop overlocking your GPU and check to see if the issue persists.
Solution 8: Add Permissions to the WindowsApps Folder
If the WindowsApps folder doesn’t have the proper permissions, all apps and games are under a risk of crashing, including Sea of Thieves. Make sure you follow the steps below in order to retrieve all necessary permissions!
- Open your Libraries entry on your PC or open any folder on your computer and click on This PC option from the left side menu. Navigate to the folder below. Click View >> Hidden items in order to reveal it.
C:\Program Files\WindowsApps
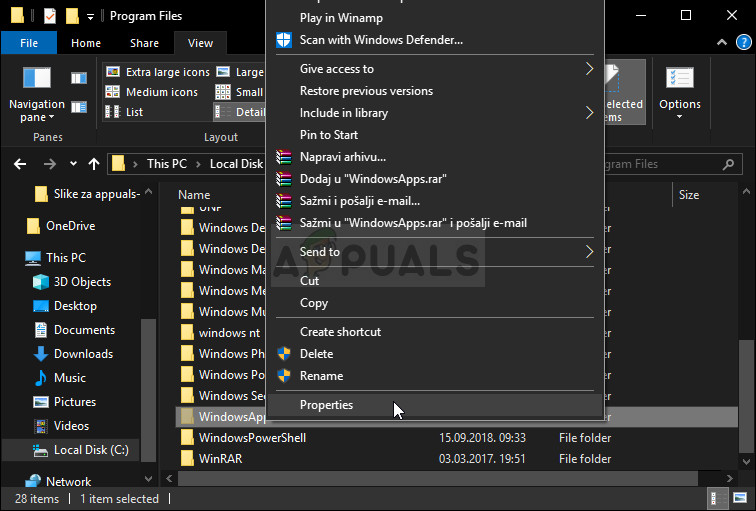
- Right-click the folder, click Properties, and then navigate to the Security Click the Advanced button. The “Advanced Security Settings” window will appear. Here you need to stay in the Permissions tab and click the Add button at the bottom.
- Click the Select a principal button at the top of the screen. Click the Advanced button at the bottom and click Find Now in order to display all users.
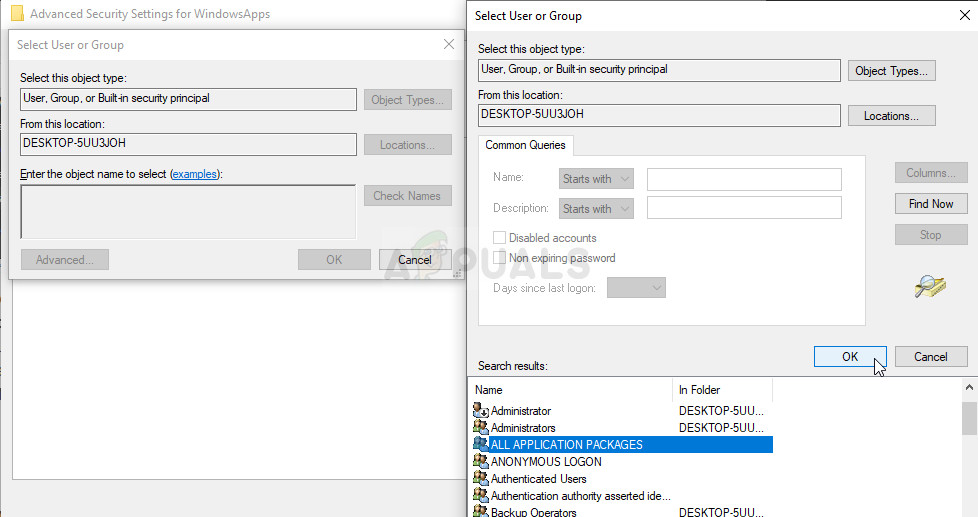
- Under Search results, choose the ALL APPLICATION PACKAGES option before clicking the OK
- In the Permission Entry window, choose Full control under Basic permissions and click the OK Check to see if the crashing problem still occurs when playing Sea of Thieves!
Solution 9: Sign in with a Microsoft Account
This weird problem is related to your Microsoft account. It appears that the crashes or failure to launch are caused because of the fact that you are trying to launch the game without having a Microsoft account set up on your computer. Make sure you follow the steps below in order to log in with a Microsoft account!
- Use the Windows Key + I key combination in order to open Settings on your Windows PC. Alternatively, you can search for “Settings” by using the search bar located at the taskbar or you can click the cog icon.
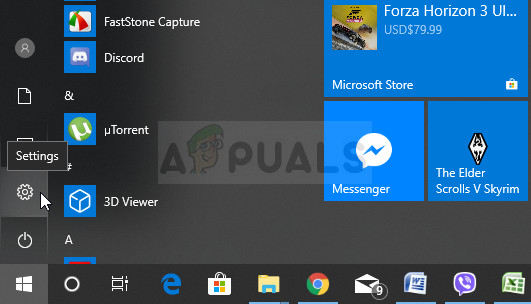
- Locate and open the “Account” section in the Settings Stay in the Your Info tab and click the Sign in with a Microsoft account instead button under the Your Info tab in order to prepare the setup.

- Enter your Microsoft credentials in the screen which will appear and click Next. You may need to confirm your identity via email or your phone number. Finally, click the Switch button in order to set up your Microsoft Account. Check to see if Sea of Thieves keeps crashing!


