How to Fix PIA (Private Internet Access) not Connecting Error on Windows?
PIA (Private Internet Access) is a VPN provider that is quite popular for its wide variety of powerful features. It has over 3,300 servers in 32 countries and it’s available for platforms including Windows Mac, Android, iOS, and Linux, along with extensions for most popular browsers.
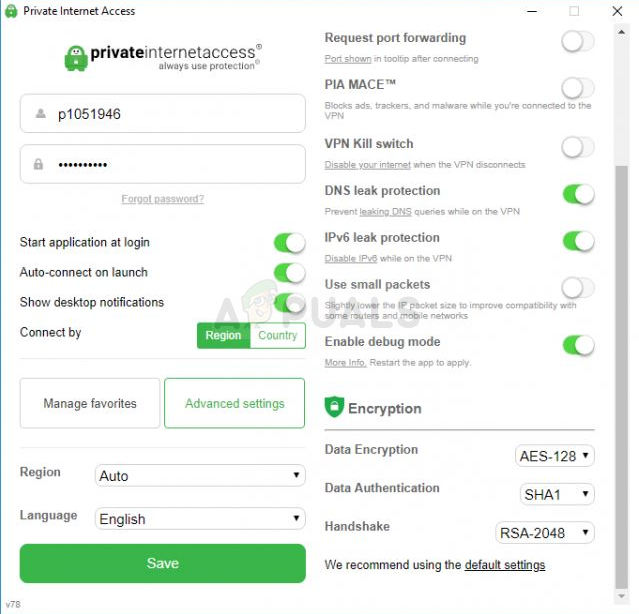
However, many users have reported that the software simply fails to connect on their computers no matter how many times they try. Other PIA users have come up with methods that have helped them deal with the problem so we decided to gather them and present them in an article. Check it out below!
What Causes PIA Not to Connect on Windows?
PIA connectivity problems can be caused by your Internet connection and that is an issue you should rule out in the beginning by checking whether you are connected to the Internet properly and if other VPN tools work. If that is not the case, we have prepared a list of possible causes that should help pinpoint the issue faster and more correctly.
- IPv6 Connection Leaks – Packet leaks often occur if your Internet connection has IPv6 installed and that is something that PIA developers have overlooked for certain versions. Make sure you disable IPv6 to resolve the problem.
- TAP Adapter drivers – PIA developers have reported that newer versions of the TAP adapter driver cause problematic or slow VPN connections and you should try installing the older, more stable versions.
Solution 1: Disable IPv6 Connectivity
Some users have reported that that certain packet leaks occur when the computer where PIA is installed has IPv6 enabled on the connection it uses. This is a clear sign that a possible method that can be used to resolve this problem can be to simply disable IPv6 for the connection. It won’t make any drastic changes to your connection and it can resolve this problem easily!
- Use the Windows + R key combo which should immediately open the Run dialog box where you should type ‘ncpa.cpl’ in the bar and click OK to open the Internet Connection settings item in Control Panel.
- The same process can also be done by manually opening the Control Panel. Switch the View by setting at the top right section of the window to Category and click on Network and Internet at the top. Click the Network and Sharing center button to open it. Try to locate the Change adapter settings button at the left menu and click on it.
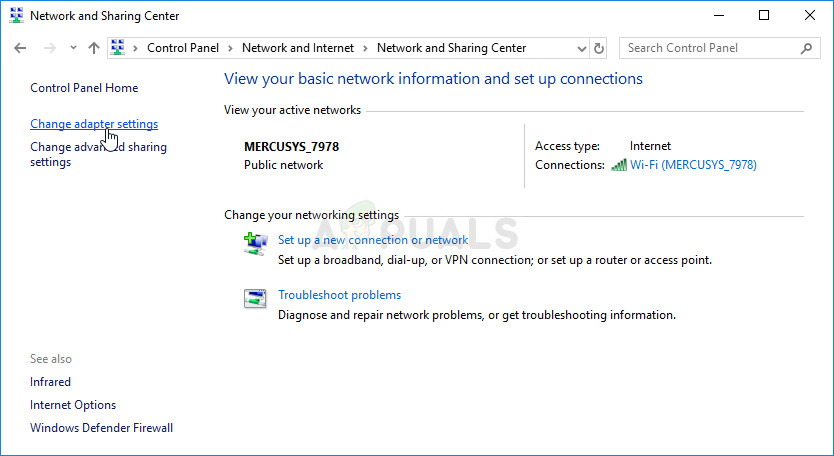
- When the Internet Connection window opens, double-click on your active Network Adapter.
- Then click Properties and locate the Internet Protocol Version 6 entry on the list. Disable the checkbox next to this entry and click OK. Restart your computer to confirm the changes and check to see if the problem persists.
Solution 2: Reinstall the Application
It appears that the problem is related to the version of PIA installed on your computer. Performing the steps below will ensure you have the latest version installed and the problem should cease to appear when trying to open PIA to use its VPN services!
- Click the Start menu button and open Control Panel by typing its name with the Start menu open. On the other hand, you can click on the gear icon to open Settings if you are using Windows 10.
- In Control Panel, select to View as – Category at the top right corner and click on Uninstall a Program under the Programs section.
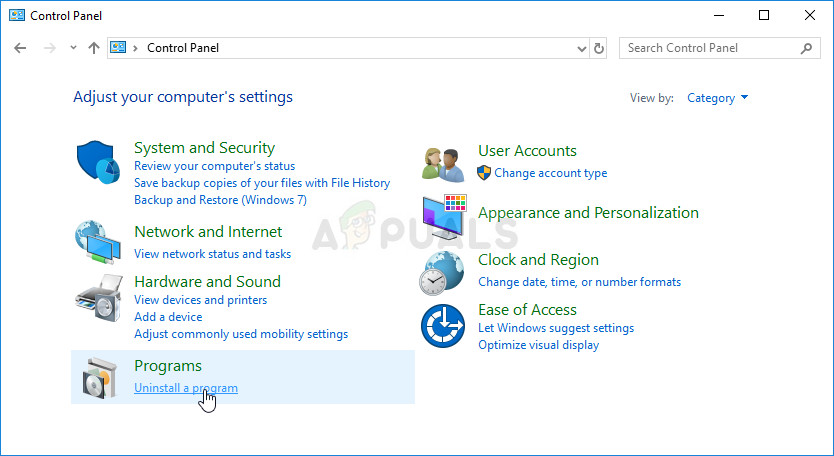
- If you are using the Settings app, clicking on Apps should immediately open a list of all installed programs on your PC.
- Locate PIA in Control Panel or Settings and click on Uninstall.
- Its uninstall wizard should open so follow the instructions to uninstall it.
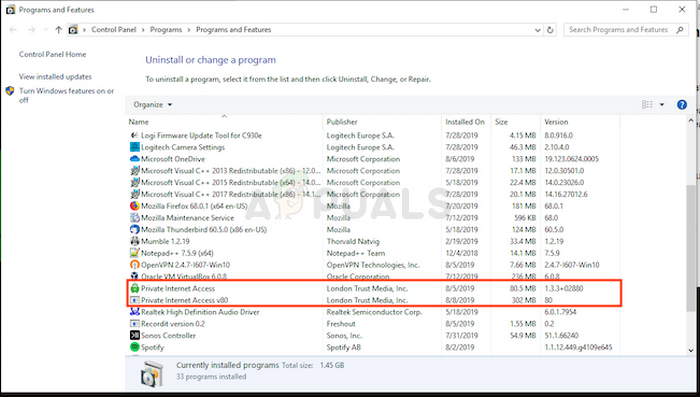
- Click Finish when the uninstaller completes the process and restart your computer to see whether login issues will still appear. Make sure you download the latest version from this link. Run the executable and follow the instructions on-screen to install it.
Solution 3: Install an Older TAP Driver
In some cases, new versions of the TAP driver can cause connectivity issues or very slow download speeds for Windows users and it’s necessary to install an older version to resolve the problem. These drivers can also cause issues with other connectivity settings and installing an older version can also prevent such issues from happening!
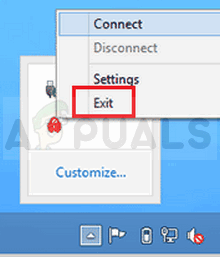
- Before performing any other steps, you need to make sure the PIA software is not running. Right-click the PIA icon in the system tray (the list of icons on the bottom right of your screen on the left of the Windows clock. You may need to click on the little arrow to show more icons before the PIA icon appears)
- Click Exit from the context menu which will appear.
- First of all, you will need to uninstall the driver you currently have installed on your machine.
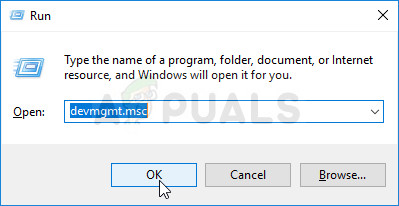
- Type “Device Manager” into the search field next to the Start menu button to open the device manager window. You can also use the Windows Key + R key combination to open the Run dialog box. Type devmgmt.msc in the box and click OK or Enter key.
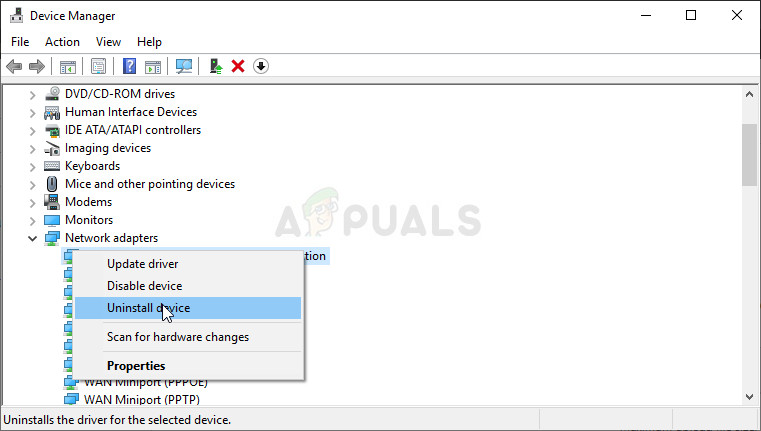
- Expand the “Network Adapters” section. This will display all network adapters that the machine has installed at the moment.
- Right-click on the TAP Adapter you want to uninstall and select “Uninstall device“. This will remove the adapter from the list and uninstall the networking device. Click “OK” when prompted to uninstall the device.
- Navigate to this link to download the driver which shouldn’t cause any problems confirmed by PIA professionals. You can also find one yourself. Choose the best one, download it, and run it from the Downloads folder.
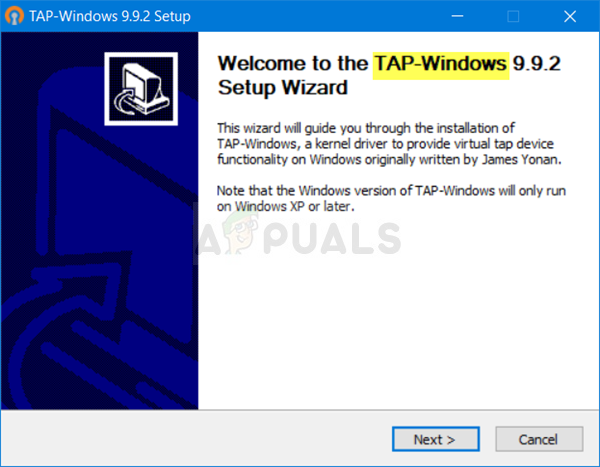
- Follow the instructions on-screen to install the driver. Simply click Next and you shouldn’t have to make any changes. Restart the computer and check to see if the problem has disappeared with PIA connectivity.
Solution 4: Use UDP with these Ports
Using the UDP connection with several ports including 1194, 8080, and 9201 managed to resolve the problem for some users and it doesn’t involve anything except in-app troubleshooting, which is great. If this doesn’t work out, you should check if there are issues with your ISP or your Internet connection in general!
- Before performing any other steps, you need to make sure the PIA software is not connected to a VPN. Right-click the PIA icon in the system tray (the list of icons on the bottom right of your screen on the left of the Windows clock. You may need to click on the little arrow to show more icons before the PIA icon appears)
- Click Disconnect from the context menu which will appear.
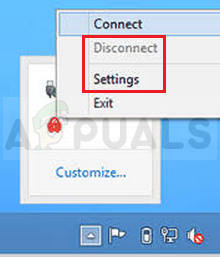
- Right-click on it again and choose the Settings option from the context menu. Click the Advanced button at the bottom of the window and make sure you change the Connection type from its previous setting to UDP.
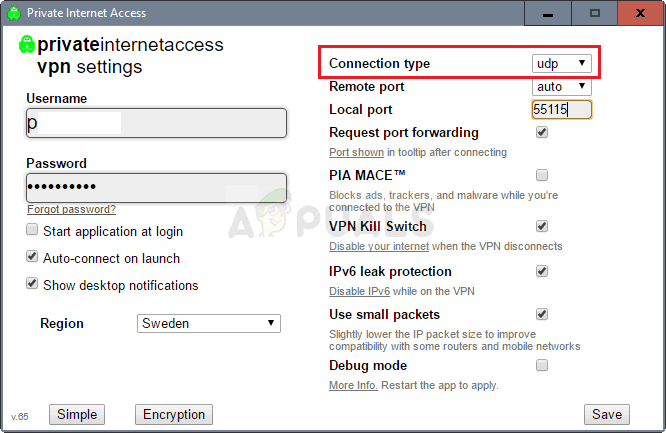
- Under the Remote port option, set 1194 as the chosen pot, click the Save button and try to reconnect to see if the issue persists. If it still won’t connect, try following the same steps but only this time try ports 8080 and 9201!
Note: In some cases, your Antivirus software may be the culprit behind this error. Therefore, it is recommended that you temporarily disable all Antivirus applications and make sure that no firewall/antivirus is running in the background.
Solution 5: Installing the PIA in Safe Mode
- Open the Run by pressing the “Windows + R” keys together. Once Run is opened type “Control” and press Enter.
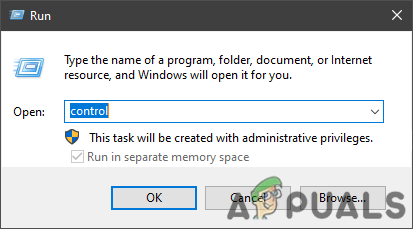
How your run should look like - Now click the option named “Uninstall a program“. Find PIA (Private Internet Access) in this list then press right-click and uninstall.
- Once the PIA is uninstalled completely we have to boot into safe mode. Press the “Windows + I” key and head over to “Update & Security > Recovery“. Then press the Restart button under the section named “Advanced startup“.
- Wait for your PC to restart. Once it’s restarted, you have to go to “Troubleshoot > Advanced Options > Startup Settings” and then press restart. Once your PC is restarted select “Safe mode with networking“.
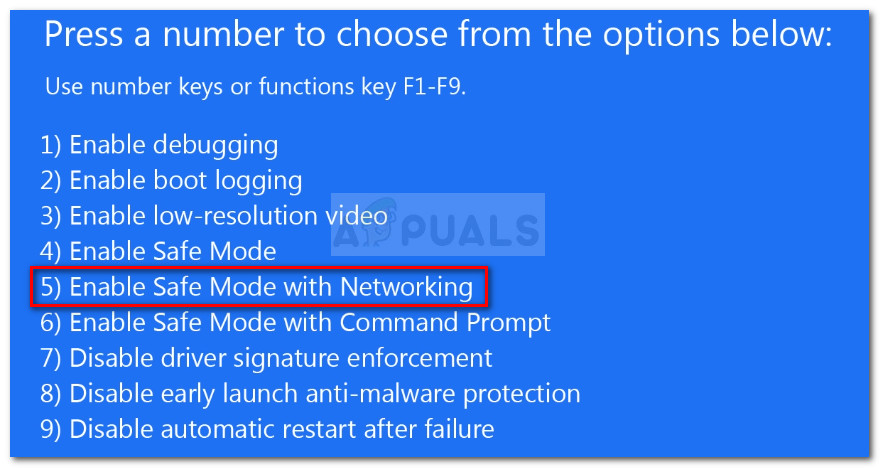
Boot computer in Safe Mode with networking - Once you are in safe mode, download the Latest version of PIA from their official website then install it. After you are done, simply restart your computer to exit out of the safe mode.


