How to Fix the NVIDIA High Definition Audio no Sound Problem on Windows?
The no sound problem occurs to users with NVIDIA High Definition Audio drivers installed and it often reflects itself when using HDMI to stream audio and video to other screens. Sometimes the problem appears when installing the latest drivers and sometimes the cause is more mysterious.
Either way, many users faced the same problem and they were able to come up with their own methods of resolving the problems. We have decided to include these methods and put them together in an article. Make sure you follow the solutions below carefully in order to resolve this issue!
What Causes the NVIDIA High Definition Audio No Sound Problem on Windows?
This problem is caused by many different things which are often graphics-related and the troubleshooting steps often focus on graphics devices and drivers instead of audio ones. We have come up with a list you can visit to find out your own scenario and possibly resolve the problem. Check it out below!
- The default audio output device is changed – Some changes you make to your computers such as installing new Windows or driver updates can change the default audio output device and you will need to change it back.
- Faulty drivers – It’s possible that driver issues cause the problem when streaming video and sound over HDMI. The problem can be caused by both new or old drivers and you should resolve your problem accordingly.
- Onboard sound disabled in BIOS – Users have reported that installing new drivers disabled the onboard sound device in BIOS and you will have to turn it back on.
Solution 1: Change Your Audio Output Device
It’s quite possible that a recent change such as a new Windows update or new driver installed caused certain things to change. New updates can sometimes change the default audio output device to HDMI when it should be set to your speakers or headphones. Vice versa is also possible. Follow the steps below in order to change your default audio output device.
- Right-click on the Volume icon located at the bottom right part of your screen and choose the Playback devices An alternative way would be to open the Control Panel on your PC and set the View by option to Large icons. After that, locate and click on the Sounds option in order to open the same window.
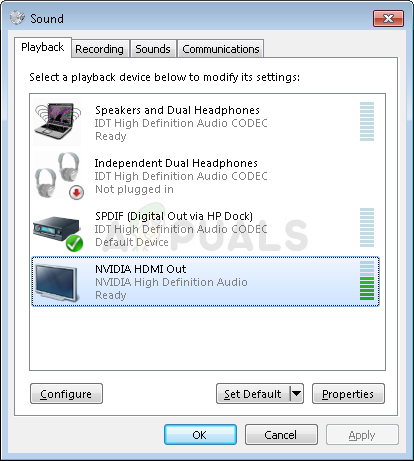
- Stay in the Playback tab of the Sound window which just opened up.
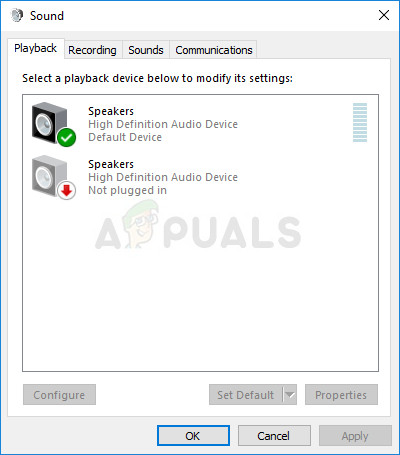
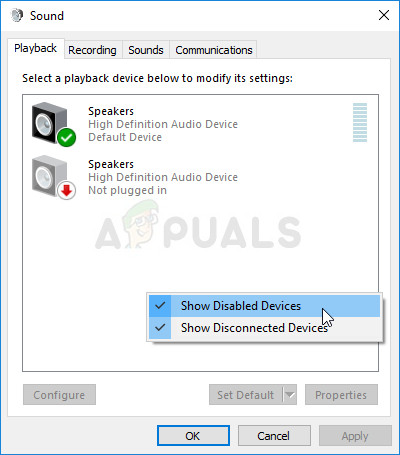
- You should now be able to see the playback device you want to set as default. If that is not the case, right-click anywhere in the middle of the window and check the boxes next to the Show Disabled Devices and Show Disconnected Devices Your device should now appear.
- Left-click on the newly appeared device and click the Set Default button below which should switch the sound to them as soon as it’s connected.
Solution 2: Update or Rollback Graphics Drivers
This problem can be caused both by outdated drivers which can’t work well with your device or by the newest drivers, as reported by some users. Even though some users are skeptical about updating graphics drivers in order to resolve audio issues, you should definitely check out this method as is has helped plenty of users resolve their problems.
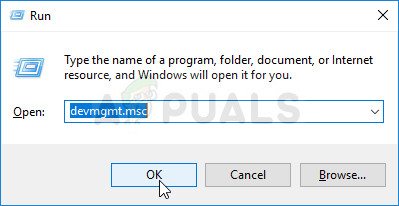
- Click the Start menu button, type in “Device Manager” afterward, and select it from the list of available results by simply clicking the first one. You can also tap the Windows Key + R key combo in order to bring up the Run dialog box. Type in “devmgmt.msc” in the dialog box and click OK in order to run it.
- Since it’s the video card driver you want to update on your computer, expand the Display adapters section, right-click on your graphics card and choose the Uninstall Device.

- Confirm any dialogues or prompts which may ask you to confirm the uninstallation of the current graphics device driver and wait for the process to complete.
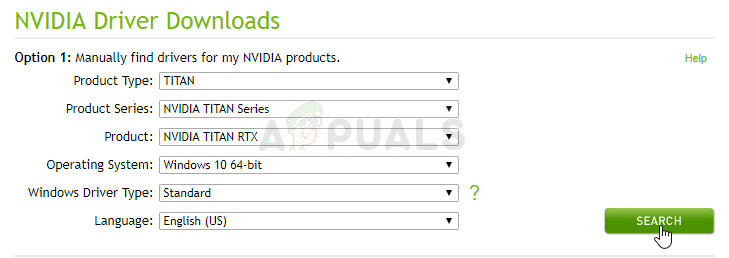
- Look for your graphics card driver on NVIDIA’s website. Input the required information about the card and your operating system and click on Search.
- A list of all available drivers should appear. Make sure you scroll down until you reach the required entry, click on its name and the Download button afterward. Save it to your computer, open it, and follow the instructions on-screen.
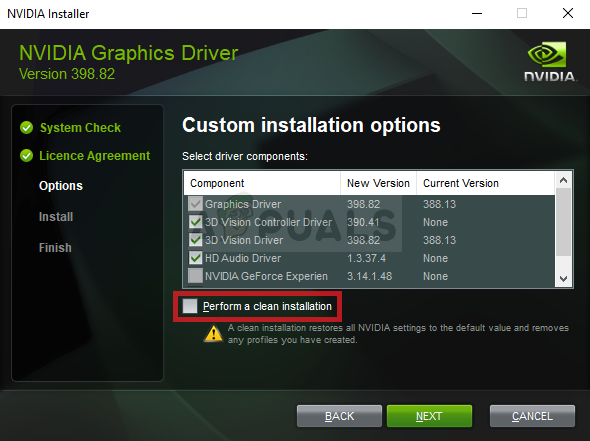
- When you reach the Installation Options screen, choose the Custom (Advanced) option before clicking Next. You will be presented with a list of components that will be installed. Check the box next to the Perform a clean installation box and click Next and install the driver.
- Check to see if the problem has been resolved and if NVIDIA Control Panel still displays the Access Denied message!
Alternative: Rollback the Driver
For the users for which the problem started to appear after they have installed the latest drivers for their graphics card, there is a different method they can use. It involves rolling back the graphics card driver.
This process will look for backup files of the driver which was installed before the most recent updates and that driver will be installed instead.
- First of all, you will need to uninstall the driver you currently have installed on your machine.
- Type “Device Manager” into the search field next to the Start menu button to open the device manager window. You can also use the Windows Key + R key combination in order to open the Run dialog box. Type devmgmt.msc in the box and click OK or Enter key.
- Expand the “Display Adapters” section. This will display all network adapters that the machine has installed at the moment.
- Right-click on the display adapter you want to rollback and select Properties. After the Properties window opens, navigate to the Driver tab and locate the Roll Back Driver
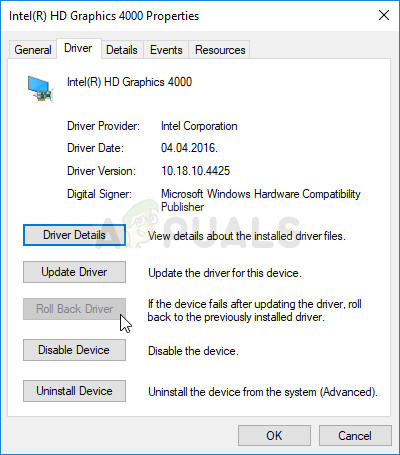
- If the option is grayed out, it means that the device wasn’t updated recently or it has no backup files remembering the old driver.
- If the option is available to click on, do so and follow the instructions on-screen to proceed with the process.
Solution 3: Enable Onboard Sound in BIOS
Sometimes the onboard sound device is automatically disabled when external sound devices are connected or when a new graphics card driver is installed. It’s a weird problem but enabling the sound device in BIOS is quite easy if you follow the steps below carefully.
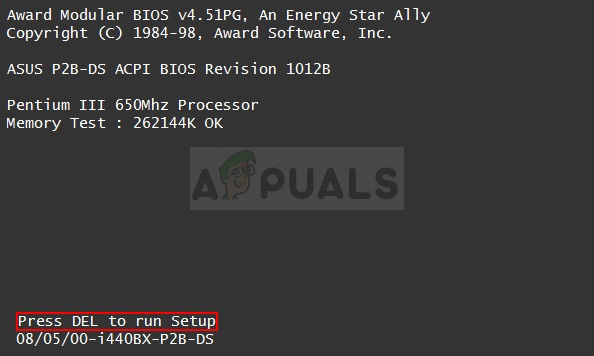
- Turn your PC on and try to enter BIOS settings by pressing the BIOS key as the system is about to start. The BIOS key is typically displayed on the boot screen, saying “Press ___ to enter Setup.” or something similar. There are other keys as well. The usual BIOS keys are F1, F2, Del, etc.
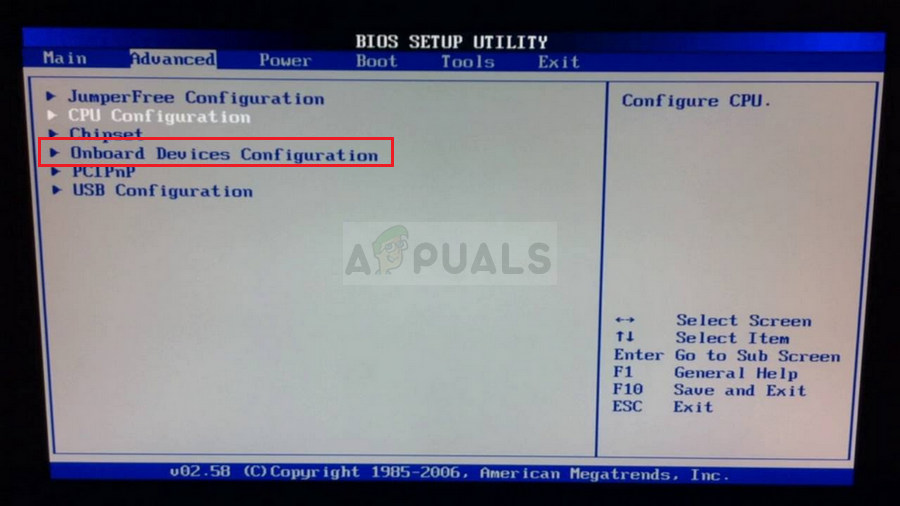
- Now it’s time to enable the onboard sound. The option which you will need to change is located under different tabs on BIOS firmware tools made by different manufacturers and there is no unique way to find it. It’s usually located under the Advanced tab but there are many names for the same option.
- Use the arrow keys to navigate to the Advanced tab or a similar sounding tab inside BIOS. Inside, select an option named Onboard, Device Configuration, Integrated Peripherals or something similar inside.
- After selecting the option, you will be able to locate sound settings under Audio Controller or something similar and you can enable it by tapping the Enter
- Navigate to the Exit section and choose to Exit Saving Changes. This will proceed with the computer’s boot. Check to see if the problem persists.
Solution 4: Using High Definition Audio Driver
For some users, the Nvidia High Definition Audio Driver doesn’t work so in this step, we will be changing the installation of this driver to just “High Definition Audio Driver”. It sounds weird but this fixes this issue for some people so it is good to give it a go. In order to do so:
- Press “Windows” + “R” to open the device manager.
- Type in “Devmgmt.msc” and press “Enter”.
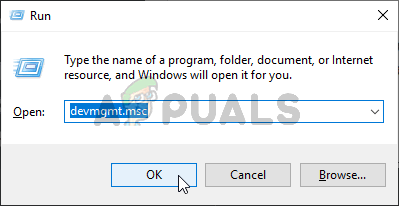
Running the Device Manager - Expand the “Sound, video and game controllers” section and right-click on the “Nvidia High Definition Audio Device” option.
- Select the “Properties” button and then click on the “Driver” tab.
- Select the “Update Driver” option and select the “Browser my Computer for Driver Software” button.
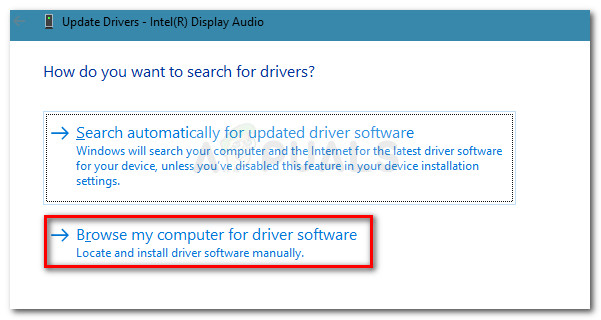
Browser for the driver manually - After that, click on the “Let me pick from a list of Available Software” option.
- Select the “High Definition Audio Device” and click on “Next”.
- Follow the prompts to install this driver and check to see if the issue persists.
Solution 5: Disabling Other Drivers
In some cases, there might be certain drivers installed in the device manager that is preventing you from being able to use Nvidia Hight Definition driver. Therefore, it is recommended that you disable these drivers and then check if the issue is fixed. In order to do so:
- Press “Windows” + “R” to open the run prompt.
- Type in “devmgmt.msc” and press “Enter”.
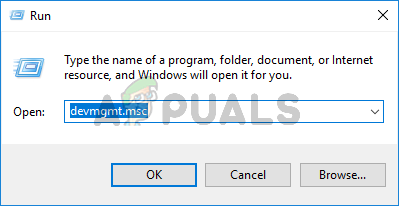
Type devmgmt.msc and Press Enter to Open Device Manager - Expand the “System Devices” option and look for a driver that has “SST” in it (Particularly something like Intel Smart Sound Technology).
- Right-click on this driver and select “Update Driver”.
- Select the “Browser my Computer for Driver Software” button and click on the “Let me pick from a list of Available Software” option.
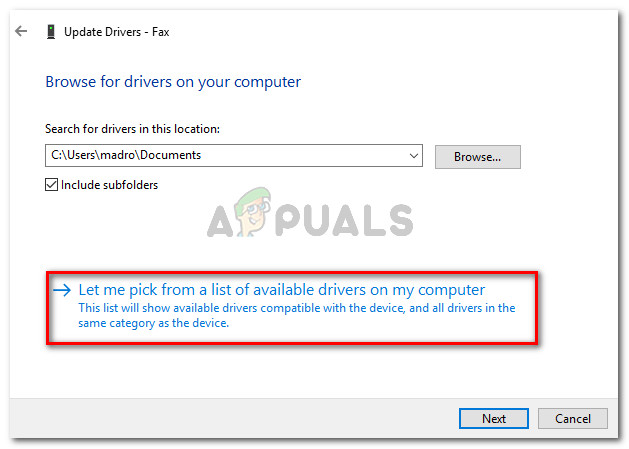
Click on Let me pick from a list of available drivers on my computer - Select the “High Definition Audio Device” and click on “Next”.
- Follow the prompts to install this driver and check to see if the issue persists.


I try many Solution, but your last
Solution 5: Disabling Other Drivers works! Great Work!