How to Fix “A Network-Related or Instance-Specific Error” in SQL Server
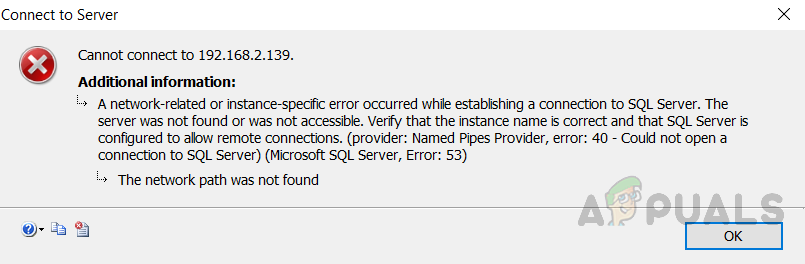
The “A network-related or instance-specific error occurred while establishing a connection to SQL Server” message appears when your app or client cannot reach the SQL Server instance you entered. In most cases, this happens because the SQL Server service is stopped, the server or instance name is wrong, TCP/IP is disabled, the required port is blocked by Windows Firewall, or remote connections are not configured correctly.
Before changing settings, first confirm how you are connecting.
- If you are connecting to the same computer, the problem is often the server name, instance name, or the SQL Server service.
- If you are connecting from another computer, also check TCP/IP, SQL Server Browser, and Windows Firewall.
Connection format matters here:
- Default instance:
SERVERNAME - Named instance:
SERVERNAME\INSTANCENAME - Direct IP and port:
192.168.1.10,1433
For example, MSSQLSERVER is the default instance, while SQLEXPRESS is a common named instance. If you enter the wrong server or instance name, SQL Server will not be found even if the service is running normally.
1. Verify the Server Name and Instance Name
This is the quickest check and is often the real cause when the error appears on a local connection. Make sure the name you entered exactly matches the installed SQL Server instance.
- Open SQL Server Configuration Manager or Services by pressing Windows + R, typing services.msc, and pressing Enter.
- Look for your SQL Server service name:
- MSSQLSERVER = default instance
- MSSQL$SQLEXPRESS or similar = named instance
- Use that exact name in your connection:
- Default instance:
SERVERNAME - Named instance:
SERVERNAME\SQLEXPRESS
- Default instance:
If you are using the wrong server name, SQL Server will reject the connection because the target instance does not exist under that name.

If you are using SQL Server Express, your server name often needs \SQLEXPRESS at the end.

2. Make Sure the SQL Server Service Is Running
SQL Server must be actively running before it can listen for incoming connections. If the service is stopped, every connection attempt will fail no matter what server name or port you use.
- Press Windows + R, type services.msc, and press Enter.

Open Services from the Run dialog to check whether the SQL Server service is running. - Find the SQL Server service for your instance:
- MSSQLSERVER for the default instance
- MSSQL$InstanceName for a named instance
- Check whether its status is Running.
- If it is stopped, right-click it and select Start.
- If it is already running but connections still fail, right-click it and select Restart.
3. Enable TCP/IP for SQL Server
SQL Server can be installed with shared memory or local-only access, which works on the same computer but fails from another device. Enabling TCP/IP allows SQL Server to listen for normal network traffic.
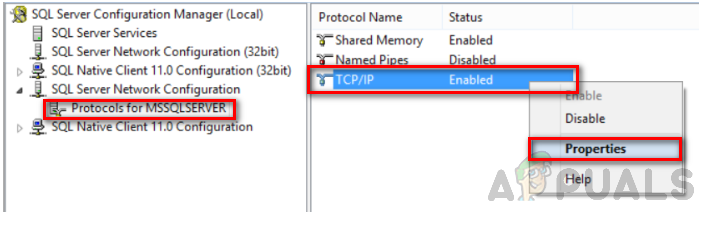
- Open SQL Server Configuration Manager.
- Expand SQL Server Network Configuration.
- Select Protocols for MSSQLSERVER or the relevant instance.
- In the right pane, right-click TCP/IP and choose Enable.
- If prompted, restart the SQL Server service.
4. Confirm the SQL Server Port
SQL Server commonly uses TCP port 1433, but named instances may use a different or dynamic port. If your app expects port 1433 but the instance is listening on another port, the connection will fail even though SQL Server itself is running.
- Open SQL Server Management Studio (SSMS) and connect locally if possible.
- In Object Explorer, expand Management and then SQL Server Logs.
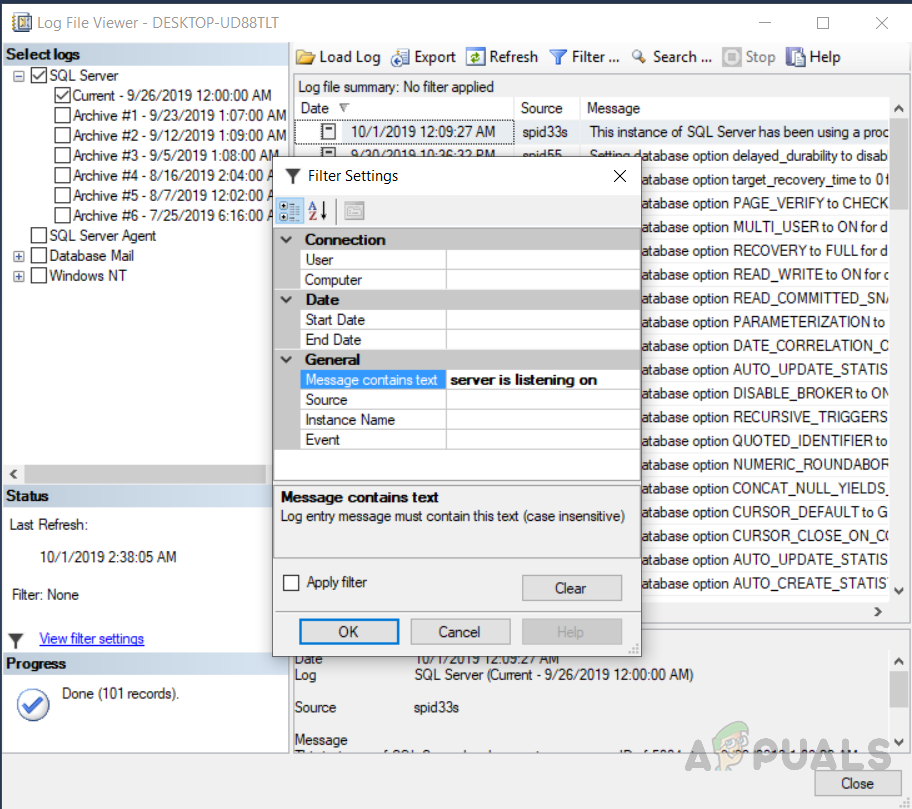
Filter the SQL Server log with server is listening on to find the active listening port. - Open the current log and filter it using server is listening on.

The SQL Server log shows which IP address and TCP port the instance is currently using. - Note the port shown in the log entry.
You can also check it in SQL Server Configuration Manager:
- Open Protocols for your instance.
- Double-click TCP/IP.
- Open the IP Addresses tab.
- Under IPAll, check the configured TCP Port.
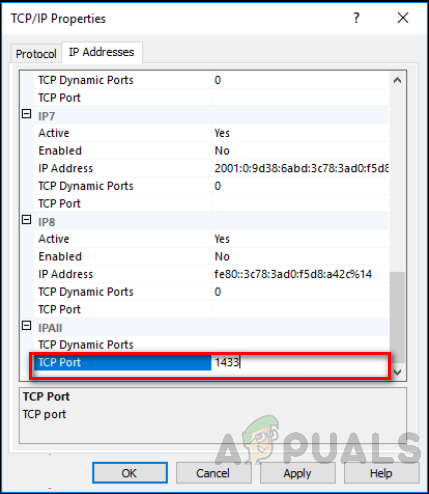
Check the port number in the IP Addresses tab under IPAll.
5. Start SQL Server Browser for Named Instances
If you connect using a named instance such as SERVERNAME\SQLEXPRESS, the SQL Server Browser service may be needed so clients can discover the correct port automatically.
- Open Services or SQL Server Configuration Manager.
- Locate SQL Server Browser.

Start SQL Server Browser if you are using a named instance and clients cannot locate it. - Check whether its status is Running.
- If it is stopped, right-click it and select Start.
6. Allow SQL Server Through Windows Firewall
If SQL Server is running and correctly configured, Windows Firewall may still block inbound connections. This is especially common when connecting from another computer.
- Press Windows + R, type firewall.cpl, and press Enter.
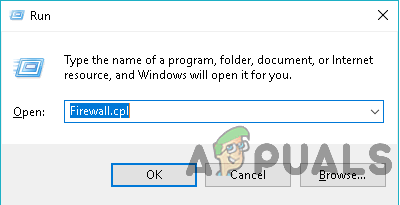
Open Windows Firewall by running firewall.cpl. - Click Advanced settings.

Open Advanced settings to create inbound rules for SQL Server. - Select Inbound Rules, then click New Rule.
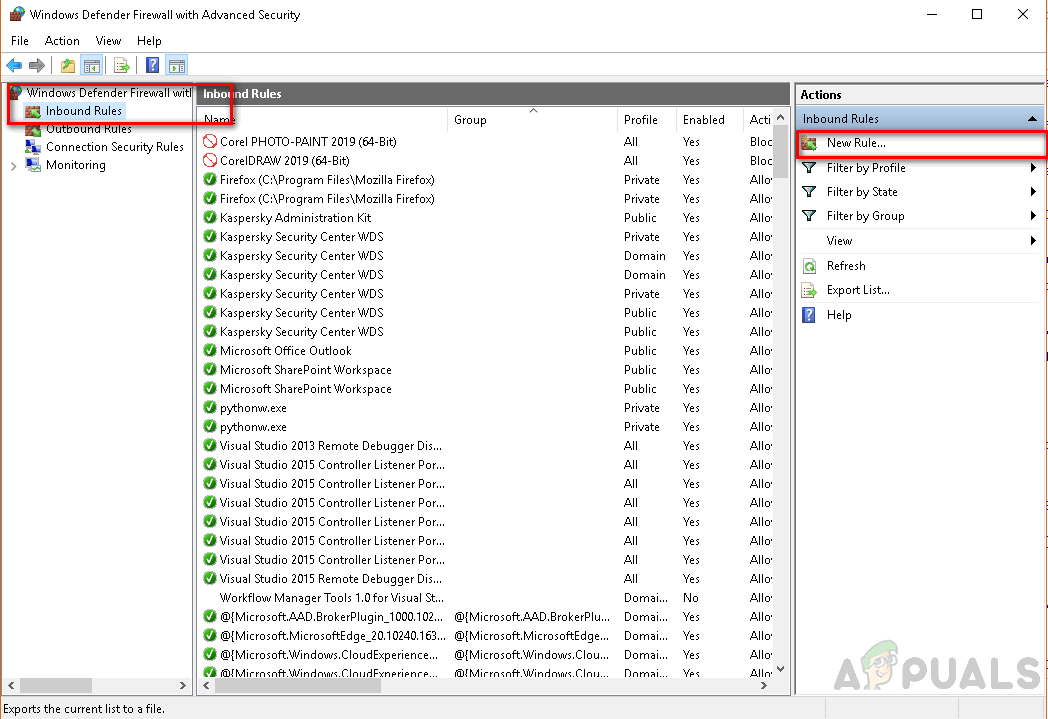
Create a new inbound rule to allow SQL Server traffic. - Select Port and click Next.
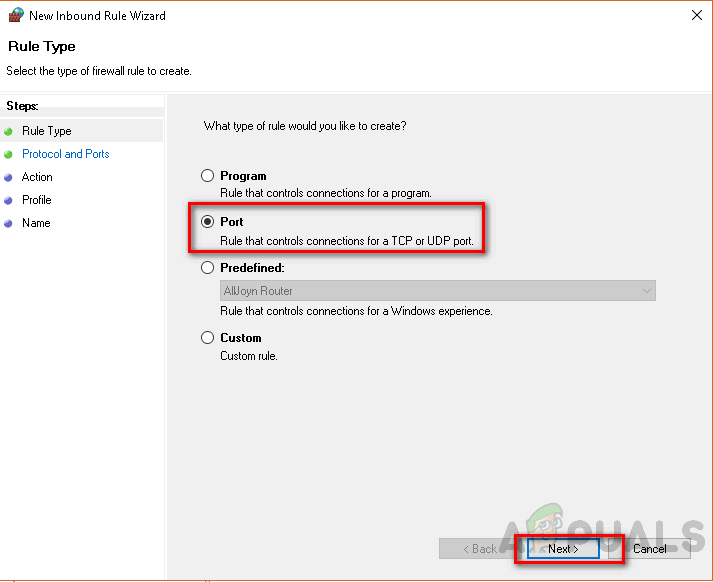
Choose Port when creating the new firewall rule. - Select TCP and enter the SQL Server port, usually 1433.
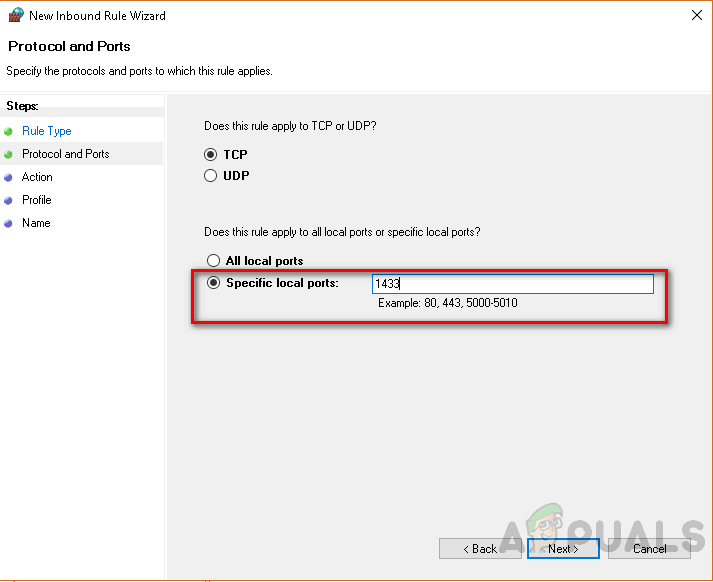
Enter the SQL Server port, usually 1433, in the firewall rule. - Select Allow the connection.

Select Allow the connection to let SQL Server traffic through. - Choose the required profiles and finish the rule.
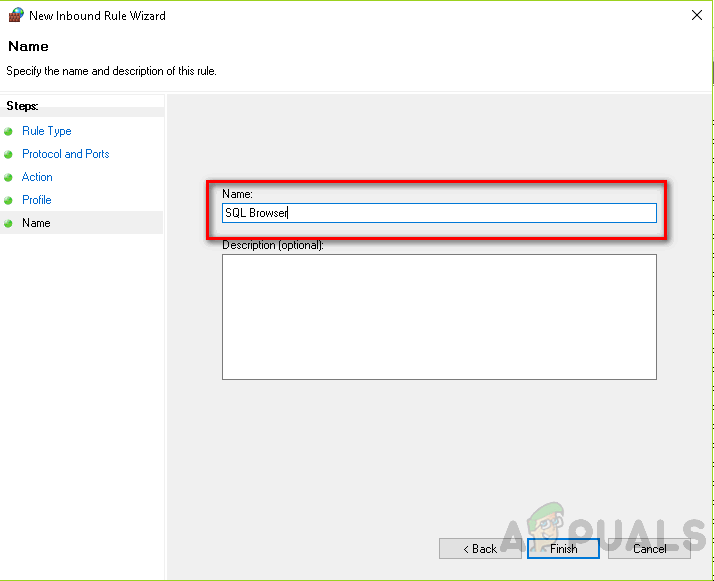
Give the firewall rule a clear name so it is easy to manage later.
You can also allow the SQL Server executable directly if needed:
sqlservr.exe is commonly located in a path similar to C:\Program Files\Microsoft SQL Server\MSSQLxx.InstanceName\MSSQL\Binn\sqlservr.exe.
7. Confirm the Server IP Address for Remote Connections
If you are connecting from another computer by IP address, make sure you are using the correct one.
- On the SQL Server host computer, press Windows + R, type cmd, and press Enter.
- Run ipconfig.
- Note the correct IPv4 address.
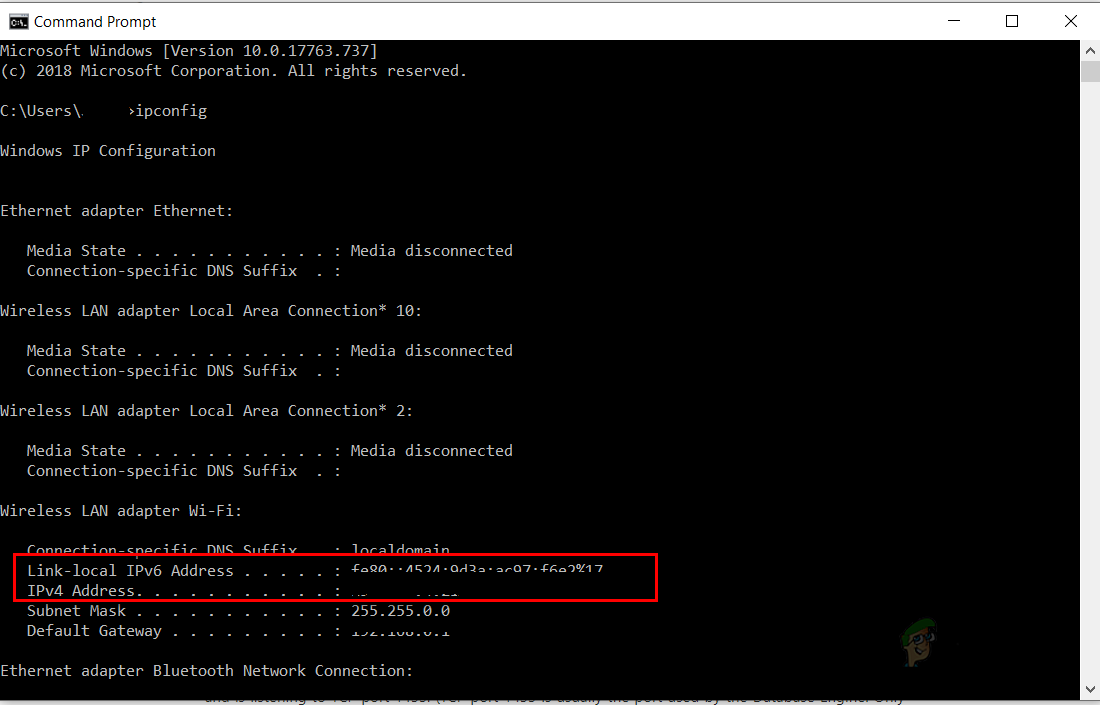
Use ipconfig to identify the correct IPv4 address of the SQL Server host. - Use that IP in your connection string, optionally with the port, for example 192.168.1.10,1433.
8. Check the Connection String in Your App or Client
If SQL Server works in SSMS but your application still fails, the connection string is likely incorrect.
Common examples:
- Default local instance:
localhostor. - Named local instance:
.\SQLEXPRESS - Remote default instance:
SERVERNAMEor192.168.1.10,1433 - Remote named instance:
SERVERNAME\INSTANCENAME
Double-check the following:
- The server name is spelled correctly
- The instance name is correct
- The port matches the actual SQL Server port
- Your authentication mode and credentials are correct
Many connection failures are not caused by SQL Server itself, but by clients pointing to the wrong instance, wrong port, or wrong machine.


Super helpful