How to Fix “The Computer Did Not Resync Because No Time Data Was Available”
The error message “The computer did not resync because no time data was available” means that there was a problem syncing your computer’s clock with an external time server. This typically happens when the Windows Time service (W32Time) can’t get time data from the Network Time Protocol (NTP) server.
Common reasons for this include incorrect NTP server settings, network issues, firewall settings blocking NTP traffic, or Group Policy settings affecting time sync. In addition, syncing issues can result from outdated system software or corrupted registry entries.
In this article, we will discuss different ways to solve this error.
1. Change Group Policies
Adjusting Group Policies ensures that your system follows the right rules for time synchronization, preventing problems or restrictions caused by incorrect settings. By changing these policies, you enable the Windows Time service to connect to the specified NTP server, fixing the issue of unavailable time data.
1.1 For a Domain Object:
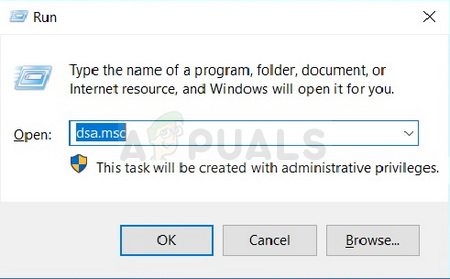
- Press Windows Key + R to open the Run dialog box. Type ‘dsa.msc‘ and click OK to open the Active Directory Users and Computers Microsoft Management Console.
- Inside the console, right-click the container that contains the Group Policy object you want to modify and select Properties from the context menu.
- In the “Container Name” Properties window, navigate to the Group Policy tab. Click the object you want to modify and select Edit.
1.2 For a Local Computer:
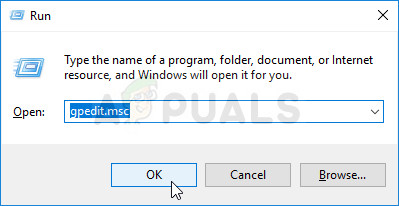
- Press Windows Key + R to open the Run dialog box. Type ‘gpedit.msc‘ and click OK to open the Local Group Policy Editor.
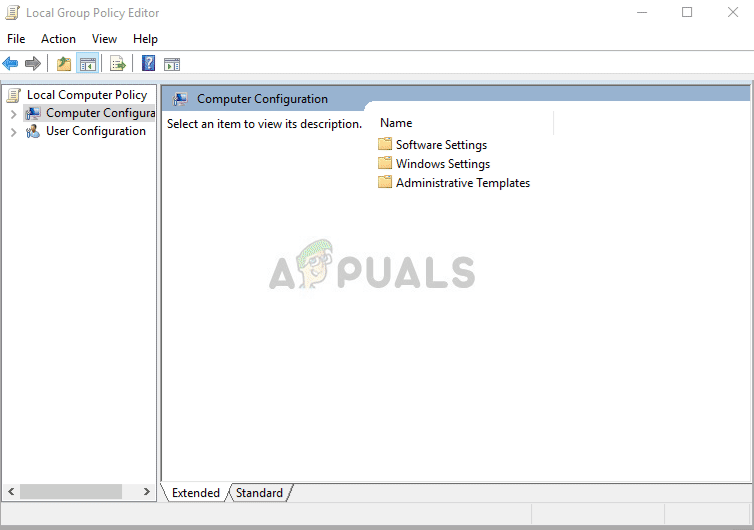
- In the left pane of the Local Group Policy Editor, under Computer Configuration, double-click on Administrative Templates and navigate to System > Windows Time Service.
- Select the Windows Time Service folder and check its right-side section.
- Double-click the “Global Configuration Settings” policy and select the “Not Configured” option.
- Next, expand the Windows Time Service folder and click the Time Providers key. Inside, you will find three keys: Configure Windows NTP Client, Enable Windows NTP Client, and Enable Windows NTP Server.
- Double-click each entry and set the option to Not Configured.
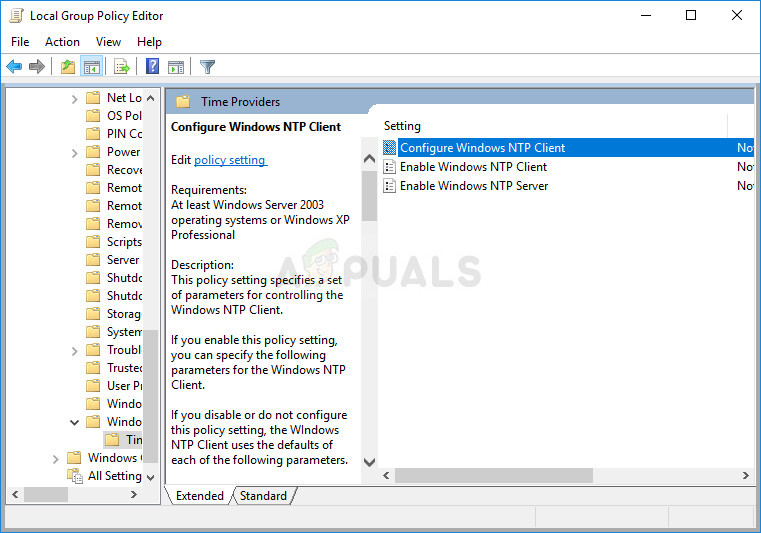
- Apply the changes before exiting. Note that the changes won’t take effect until you restart.
- Finally, reboot the computer to save the changes and check if the error still persists.
2. Tweak Registry Keys
Sometimes, the Windows Time service settings in the registry are incorrectly set or damaged, which prevents proper synchronization. By adjusting specific registry keys, you can fix the settings for the service, allowing it to connect to NTP servers and get accurate time data.
- Since you will be deleting a registry key, we recommend checking out this article for safely backing up your registry to prevent any issues. Nothing should go wrong if you follow the steps carefully.
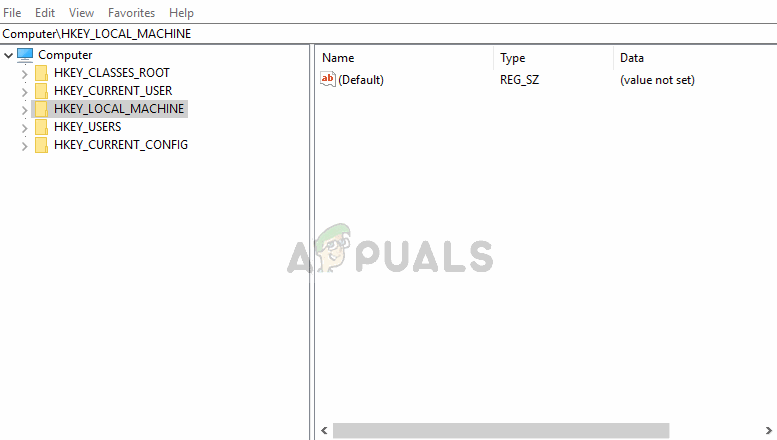
- Open the Registry Editor by typing ‘regedit’ in the search bar, the Start menu, or the Run dialog box, accessible with Windows Key + R. Navigate to the following registry key:
HKEY_LOCAL_MACHINE\SYSTEM\CurrentControlSet\Services\W32Time\Parameters
- Click on this key and locate the entry named Type. If it’s not there, create a new String Value entry named ‘Type‘ by right-clicking on the right side of the window and selecting New > String Value. Then, right-click it and select Modify.
- In the Edit window, under the Value data section, change the value to ‘NT5DS‘ and apply the changes. Confirm any security dialogs that appear.
- Restart your computer manually by clicking Start menu > Power button > Restart and check if the problem is resolved. This should fix the issue.
3. Run Windows Time Service Command
Restarting the Windows Time service with specific commands ensures it operates correctly and fixes glitches that may stop time sync. By re-registering and resyncing the service, this step clears any misconfigurations or temporary issues, allowing your system to connect to the NTP server for accurate time updates.
- Search for ‘Command Prompt‘ in the Start menu or by tapping the search button next to it. Right-click the first result and select ‘Run as administrator‘.
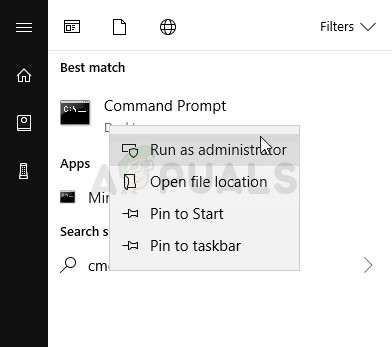 Running Command Prompt as an Administrator
 - For older versions of Windows, press Windows Logo Key + R to open the Run dialog box. Type ‘cmd’ and press Ctrl + Shift + Enter to run Command Prompt as an administrator.
- Copy and paste the following command and press Enter:
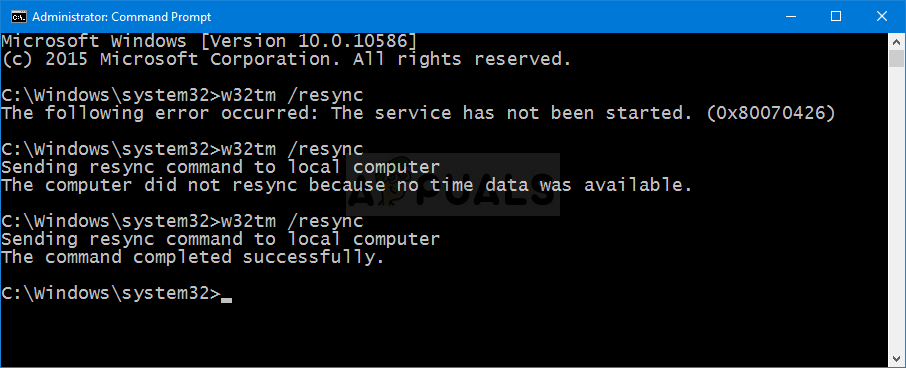
w32tm /config /manualpeerlist:time.windows.com,0x1 /syncfromflags:manual /reliable:yes /update
- Check if the error “The computer did not resync because no time data was available” still appears when running the ‘w32tm /resync’ command!
4. Restart the Windows Time Service
Restarting the service will restart the whole process as well, but it should resolve the problem, especially if a bug was causing it to misbehave. Check it out below.
- Press Windows Key + R to open the Run box. Type ‘services.msc‘ and hit OK to open the Services tool.
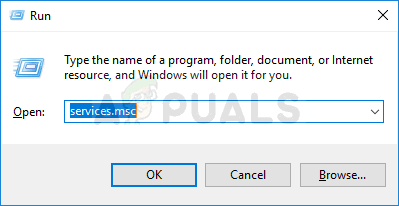 Running Services
 - Find Windows Time Service in the list, right-click it, and select Properties.
- If the service is running (check the Service status), click Stop, then click Start to restart it.
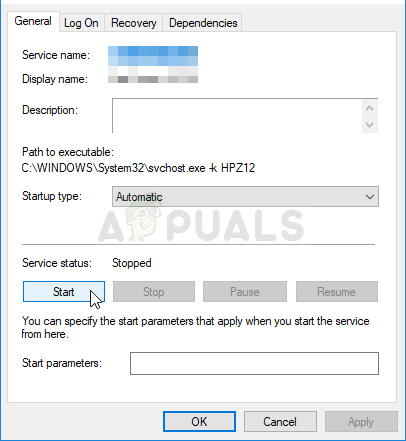 Starting the Windows Time Service
 - Ensure the Startup type is set to Automatic. Confirm any dialogue boxes that appear.
You may see this error message when you click Start:
“Windows could not start the service on Local Computer. Error 1079: The account specified for this service differs from the account specified for other services running in the same process.”
If you encounter this, follow these steps:
- Repeat steps 1-3 to access the service’s properties. Go to the Log On tab and click on Browse.
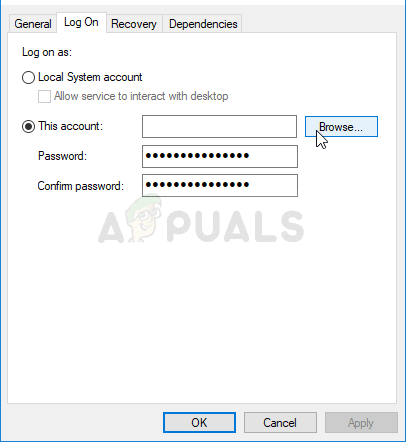
- In the “Enter the object name to select” box, type your account’s name, click Check Names, and wait for verification.
- Click OK, and if prompted, enter your password. The service should start without issues!


Group Policy changes worked. Thank you!