How to Fix ‘sudo apt-get command not found’ on macOS
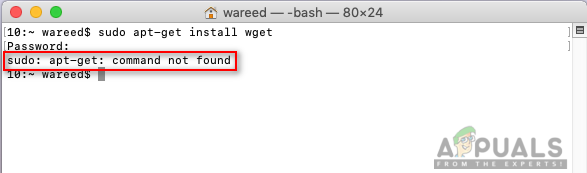
The “sudo apt-get command not found” error on macOS occurs because apt-get is a Linux package manager not available on macOS. This error indicates that macOS doesn’t recognize the apt-get command, as it uses different package managers like Homebrew or MacPorts. The error is often due to the mistaken belief that macOS uses apt-get by default.
Additionally, misconfigured or missing $PATH environment variables can cause terminal commands to malfunction.
In this article, we will discuss different ways to solve this problem.
1. Install Homebrew on macOS
To potentially resolve the ‘sudo apt-get command not found’ error on macOS, you can try using Homebrew. This macOS package manager lets you install and manage software easily, like apt-get on Linux, by organizing packages in their own directory and symlinking files into /usr/local.
- Press Command + Space to open Spotlight, type Terminal, and press Enter.
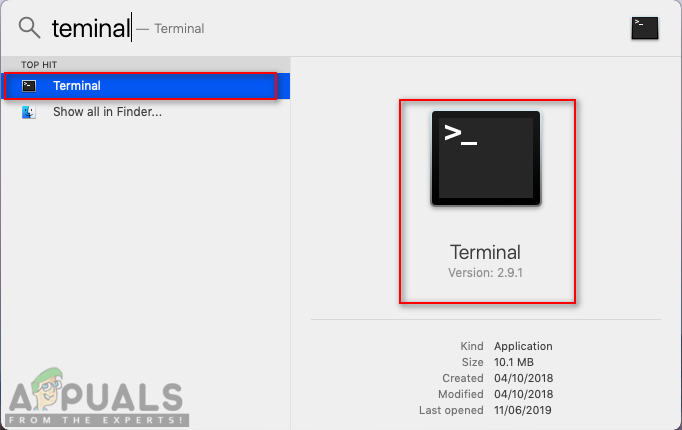
Opening Terminal - Install the Xcode command-line tool with:
xcode-select --install
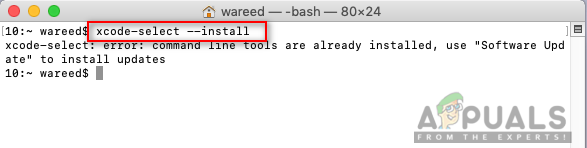
Installing the Xcode command-line tool - To install Homebrew, run:
/bin/bash -c "$(curl -fsSL https://raw.githubusercontent.com/Homebrew/install/HEAD/install.sh)"
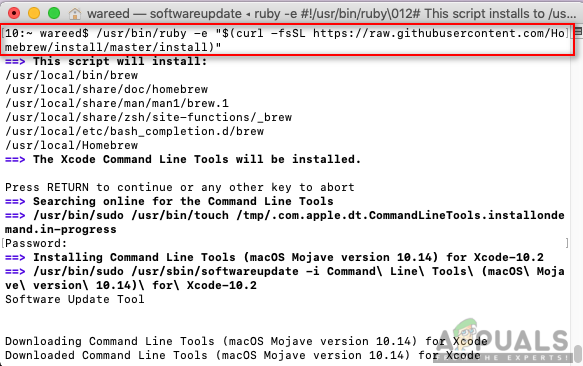
Installing Homebrew - During installation, press Return and enter your password for confirmation.
- You’ll receive a confirmation message upon successful installation:
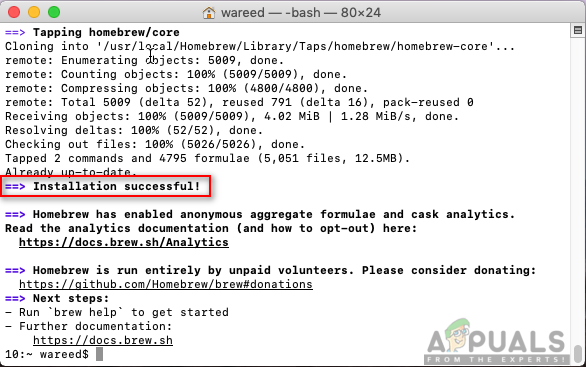
Successfully installed message - Use Homebrew to install packages with:
brew install name
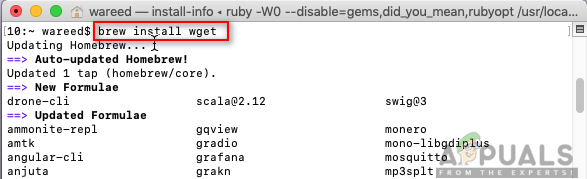
Installing the package using Homebrew command Note: Replace “name” with the package you want to install.
- The Brew command completes the package installation successfully.
2. Install MacPorts on MacOS
MacPorts is used for compiling, installing, and managing open-source software. It automatically installs any required dependencies for the software you’re trying to install. With MacPorts, you can easily install, download, or compile applications and libraries using a single command. It also provides options to upgrade and uninstall installed software.
- Open the App Store, search for Xcode, and click Get to install it. You will need to enter your username and password.
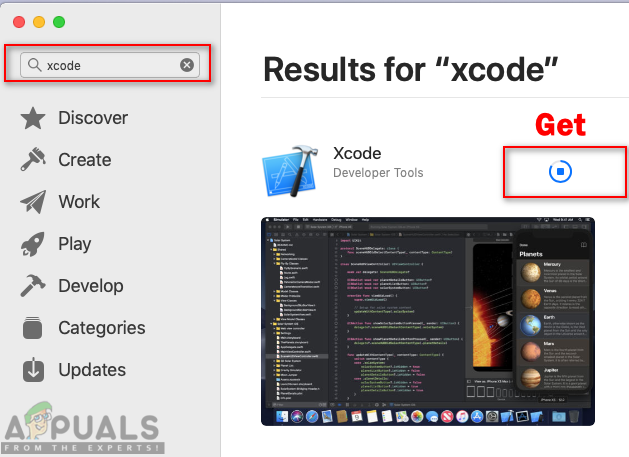
Installing Xcode from the App Store - Open Xcode and click Agree to the license agreement, or use the command in Terminal:
sudo xcodebuild -license
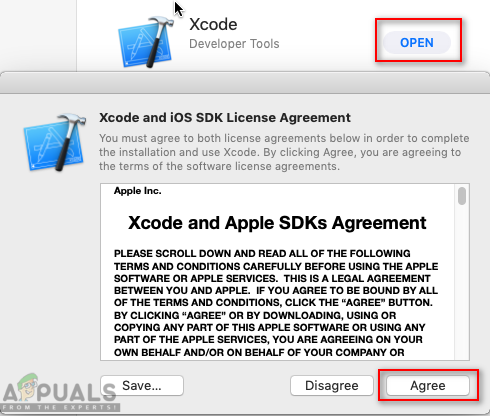
Agree button for the agreement - Open Terminal by pressing Command + Space, typing Terminal, and pressing Enter.
Opening Terminal - Install the Xcode command-line tool with:
xcode-select --install
Installing the Xcode command-line tool - Download MacPorts from this link.
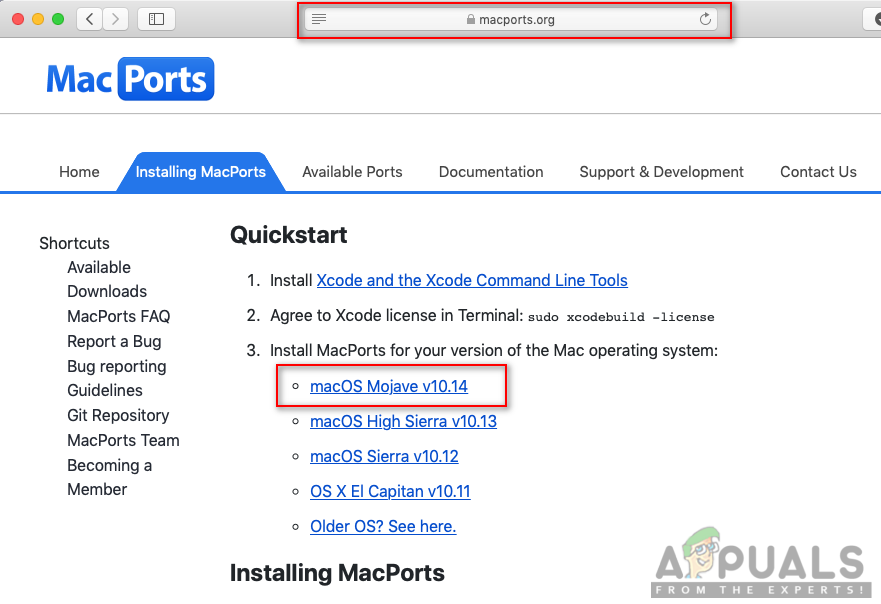
Downloading MacPorts from the site - Open the downloaded file and follow installation prompts, entering your password if needed.
- After installation, restart Terminal and update MacPorts with:
sudo port selfupdate
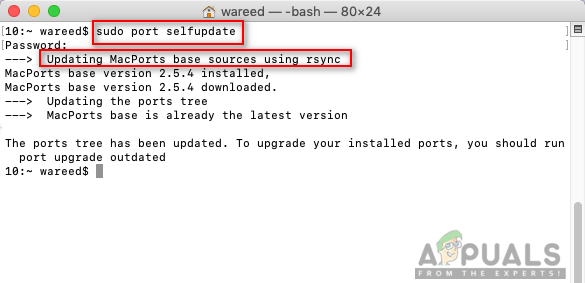
Updating and checking MacPorts in Terminal Note: Successful installation shows ‘Updating MacPorts base sources using rsync‘. Reinstall if not seen.
- To install a package, use:
sudo port install name
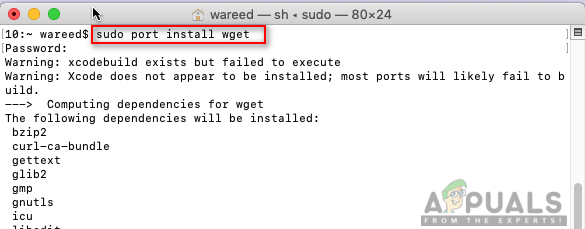
Installing through MacPorts Note: Replace “name” with the package name you wish to install.


Forgive my ignorance as I am a newbee at at Terminal at the virtual machine “stuff”. I am using a 27″ iMac (2020) that came with Catalina (64 bit) pre-installed. I am trying trying to get Mojave (32 bit) installed on it somehow with either a virtual machine (VM) or as an extra partition. I have 32 bit software that I need to use and I already tried Parallels Desktop for Mac but it keeps on crashing the software. I also tried Virtual Box but the script hangs and does not get to the installation interface for macOS. I also tried installing Ubuntu but for some reason I was unsuccessful. I don’t know much about Terminal but I can obviously follow instructions on what command lines to paste. I searched the Web for watched many YouTUbe clips but nothing solves my quest yet. Within Terminal, it says the Bre is installed but what do I do next? Any feedback would be much appreciated.