How to Fix ‘RVC is already Running’ at Every Startup
Several users have been reaching us with questions after being annoyed by the fact that they get the ‘RVC is already running’ error at every system startup. Others affected users have it even worse and report that whenever this error occurs their screen turns white and the computer crashes after a minute or so. The issue doesn’t seem to be specific to a certain Windows version since it’s confirmed to occur on Windows 7, Windows 8.1 and Windows 10.
Is RVC a Security Threat?
Before you try any other repair strategies, it’s important to start your troubleshooting guide by ensuring that you’re not actually dealing with a security threat. There is certain malware that is programmed to take the name of genuine utilities in order to hide from security scanners.
To ensure that’s not the case with you, press Ctrl + Shift + Esc to open up the Task Manager utility. Once you get there, go to the processes tab and look for the parent executable of the RVC service called RTFTrack.exe. When you see it, check it’s location and see if it’s different from *OS Drive*\Windows\RTFTrack.exe.
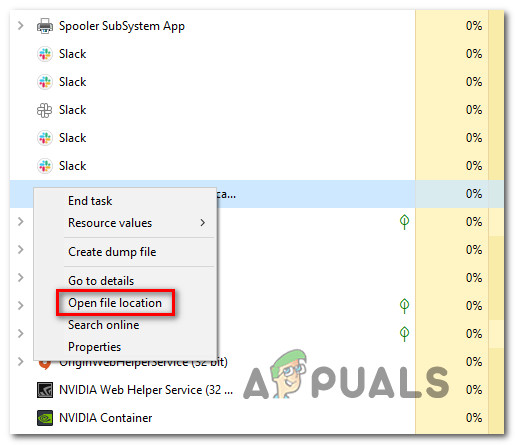
If the location is different, this is a clear indicator that you might be dealing with a security threat. To investigate further, right-click on the RTFTrack.exe process and choose Open File Location.
Next, access the VirusTotal database (here), select the File tab and click on Choose File. Then, navigate to the location of the RTFTrack executable, select it and click on Open to upload it to VirusTotal for investigation. Once the file is uploaded, click on Confirm upload.

Wait until the analysis is complete, then see if the scan reveals any evidence of virus infection. If you have reason to believe that the file is malicious, follow this article (here) to run a deep scan with Malwarebytes to get rid of the infection.
What is RVC?
The genuine RVC service is a software component part of Lenovo Easy Camera by Realtek. In most cases, the service is started by the main executable of this camera driver (RTFTrack.exe). This service is responsible for enabling the webcam functionality on most Lenovo webcams.
RTFTrack.exe’s main process uses face-tracking algorithms and facial recognition software. As far as Windows is concerned, the RVC service is non-essential to the OS and can be disabled or deleted without creating any problems – other than making you lose the webcam functionality on a Lenovo computer
What is causing the ‘RVC is already running’ error?
We investigated this particular issue by looking at various user reports and the repair strategies that are commonly being used to fix the ‘RVC is already running’ error. As it turns out, there are several different potential culprits that might be responsible for this particular behavior:
- Bad Windows 10 update – There’s one particular Windows 10 update released on 12.11.2017 that ended up triggering the ‘RVC is already running’ error for a lot of users right after the startup sequence is complete. The majority of affected users have managed to resolve this issue by updating their Windows 10 build to the latest version. This seems to suggest that Microsoft has since released a hotfix for the issue.
- Outdated / Corrupted Camera driver – It’s also possible that the issue is occurring due to a bad Camera driver. In most cases, this scenario is applicable for users that have upgraded to Windows 10 from an older Windows version. In this case, you should be able to resolve the issue by uninstalling your current driver and installing the latest version from the official Lenovo support page.\
- Adware application is conflicting with the camera driver – There’s one common adware (Amazon Browser App) that is known to conflict with the camera driver on Lenovo laptops & ultrabooks. If this scenario is applicable, you should be able to resolve the issue by uninstalling the application completely.
- System file corruption – As it turns out, this particular error message can also occur due to some type of system file corruption. Several affected users have managed to resolve this issue by replacing corrupted files with healthy equivalents by using DISM or SFC scans.
If you’re currently struggling to resolve the very same error at every system startup, this article will provide you with several different troubleshooting steps. Down below you’ll find a collection of methods that other users in a similar scenario have successfully used to resolve the ‘RVC is already running’ error.
For the best results, we advise you to follow the potential fixes below in the order that they are presented since they are ordered by efficiency and difficulty. One of them is bound to resolve the issue regardless of the culprit that ends up causing it.
Method 1: Updating Windows 10 to the latest version (if applicable)
If the issue is being caused by a bad Windows 10 update, then chances are you will be able to resolve the issue by installing every pending update that might be triggering this issue. Several affected users have reported that they no longer encountered the ‘RVC is already running’ error during the startup sequence after they did this.
Note: If you’re not using Windows 10, skip directly to the next method below.
This seems to suggest that Microsoft has since repaired the bad update with a hotfix. Here’s a quick guide on how to install every pending update on Windows 10:
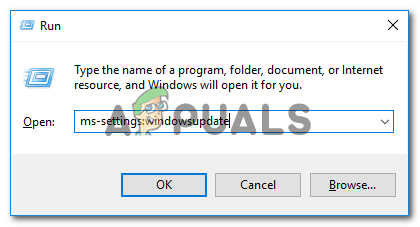
- Press Windows key + R to open up a Run dialog box. Then, type ” ms-settings:windowsupdate” inside the text box and press Enter to open the Windows Update tab of the Settings tab.
Opening the Windows Update screen - Once you’re inside the Windows update screen, click on Check for update and follow the on-screen prompts to install every pending Windows Update until your Windows build is up to date.
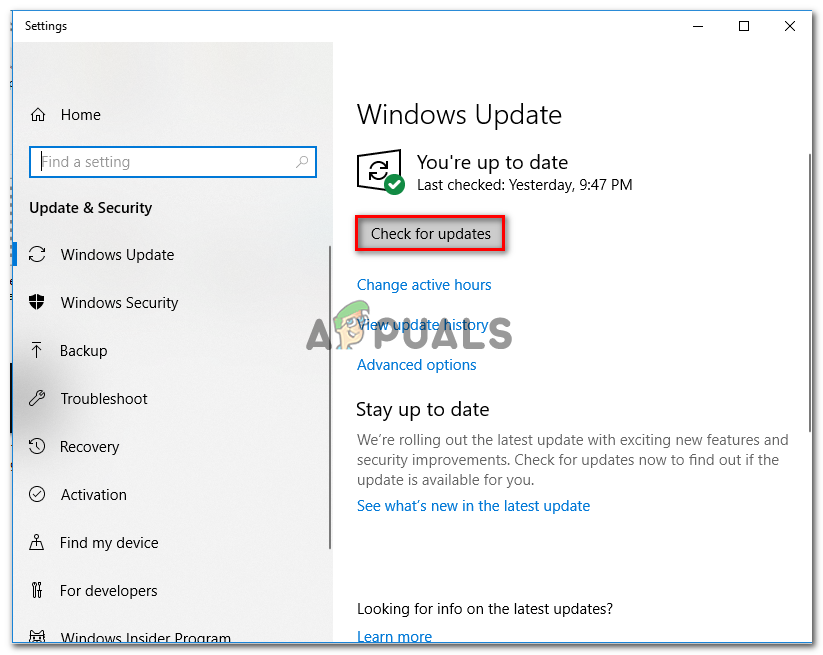
Installing every pending Windows update Note: If you’re prompted to restart before every update is installed, do so and then make sure to return to the same screen in order to finish the installation of your pending updates.
- Once the next startup sequence is complete, see if you’re still seeing the ‘RVC is already running’ error during startup.
If the same issue is still occurring, move down to the next method below.
Method 2: Uninstalling & Reinstalling Lenovo Camera driver
Several affected users have reported that they managed to resolve the issue by uninstalling their current Lenovo Camera driver and then installing the latest driver version – either automatically via Windows Update or by manually downloading the latest version from Lenovo’s Support page.
This procedure is typically reported to be effective with users encountering the issue on Windows 10. Here’s a quick guide on how to uninstall & then reinstall the Lenovo Camera driver in order to resolve the ‘RVC is already running’ error:
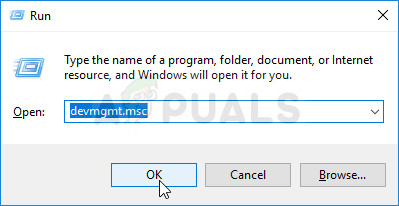
- Press Windows key + R to open up a Run dialog box. Then, type “devmgmt.msc” inside the text box and press Enter to open up Device Manager.
Running Device Manager - Once you’re inside Device Manager, scroll through the list of applications and expand the drop-down menu associated with Cameras. Then, right-click on the camera driver that you’re currently using and choose Uninstall device from the list of actions available in the context menu.
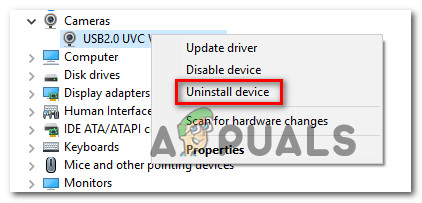
Uninstalling the Lenovo Camera driver - Click Uninstall once again at the confirmation prompt to complete the uninstallation process of your camera driver. Once the procedure is complete, close Device Manager and restart your computer.
- During the next startup sequence, Windows will automatically try to install the best driver to replace the one that we uninstalled at step 2.
- Wait until the startup sequence is complete and see if you’re still getting the ‘RVC is already running’ error.
- If the issue is still occurring, visit Lenovo’s official Support page (here), click on Get Downloads (Under Driver & Software) and search for drivers according to your laptop/ultrabook model.
- Then, from the list of drivers, expand the section associated with Camera and Card reader and download the Camera Driver according to your Windows version.
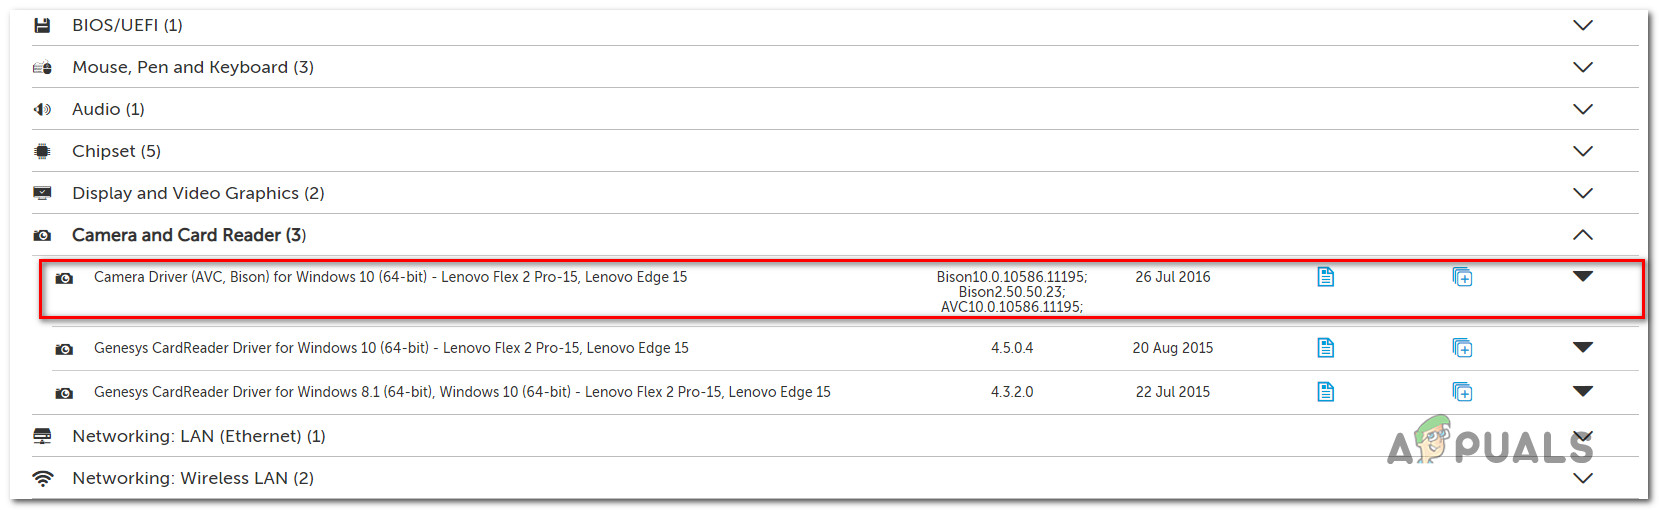
Downloading the latest camera driver from Lenovo’s support page - Once the installation executable is downloaded, double-click on it and follow the on-screen instructions to install the missing driver. This will end up overriding the driver that was installed automatically by WU (Windows Update) at step 4.
- Perform a final system restart and see if the issue is resolved once the next startup sequence is complete.
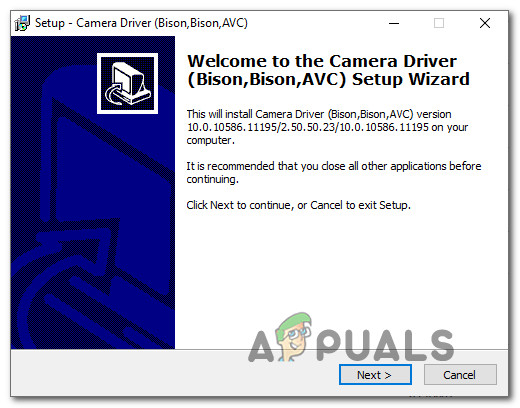
Installing the latest version of the Camera Driver
If the issue is still occurring, move down to the next method below.
Methos 3: Uninstalling Amazon Browser App (if applicable)
The ‘RVC is already running’ error can also occur due to an adware type of application that tends to conflict with the Lenovo webcam driver that is installed by default on most of this manufacturer’s models. Several affected users have reported that they managed to resolve this particular issue by uninstalling the Amazon Browser App via Add or Remove Programs utility.
Here’s a quick guide on how to do this:
- Press Windows key + R to open up a Run dialog box. Then, type “appwiz.cpl” inside the text box and press Enter to open up the Programs & Features windows.

Type appwiz.cpl and Press Enter to Open Installed Programs List - Once you’re inside the Programs and Features window, scroll through the list of applications and locate the Amazon Browser app. Once you see it, right-click on it and choose Uninstall from the context menu.
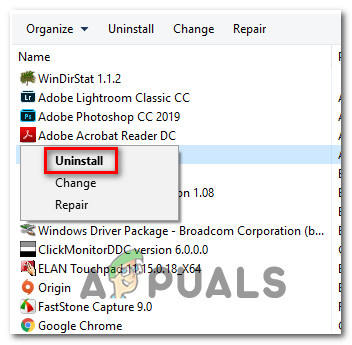
Uninstalling the Amazon Browser app - Follow the on-screen instructions to complete the uninstallation of the Amazon Browser app. When the process is complete, restart your computer and see if the issue is resolved at the next startup.
- Once the next startup is complete, see if you’re still encountering the
- ‘RVC is already running’ error.
If you still see the same issue at the next startup sequence, move down to the next method below.
Method 4: Performing SFC & DISM scans
As reported by several different affected users, this particular issue can also occur due to system file corruption. Some have confirmed that the issue was no longer occurring after they performed an SDC or DISM scan, which suggests that the issue can also be caused by Component store corruption or system file corruption.
Both tools are built into Windows and Will repair system files, but they do it a bit differently. SFC (System File Checker), scans and replaces system files that are corrupted from a locally stored archive. DISM (Deployment Image Servicing and Management) relies on Windows Update to replace corrupted occurrences (that’s why a stable Internet Connection is required).
You should be able to follow the steps below regardless of the operating system that you’re encountering the issue on. Here’s a quick guide on performing SFC and DISM scans:
- Press Windows key + R to open up a Run dialog box. Then, type “cmd” and press Ctrl + Shift + Enter to open up an elevated Command Prompt. When prompted by the UAC (User Account Control), click Yes to grant admin access to the CMD window.
- Once you’re inside the elevated Command Prompt, type the following command and press Enter to initiate an SFC scan:
sfc /scannow
- Wait until the process is complete without closing the window or restarting/closing your computer. Once the scan is over, restart your computer if you’re not automatically prompted to do so.
- At the next startup sequence, see if the same issue is still occurring. If it is, repeat step 1 to open another elevated command prompt. But this time, run the following command instead to initiate a DISM command:
DISM /Online /Cleanup-Image /RestoreHealth
Note: Ensure that you’re connected to a stable network before running the command above. DISM relies on Windows Update to download clean files to replace corrupted ones.
- Once the procedure is complete, restart your computer once again and see if the issue has been resolved at the next startup sequence.


