How to Fix Rocket League Crashes and Freezes on Windows 7, 8 and 10
Rocket League is one of the new big deals on the gaming market and it’s one of the most popular games across all platforms, being available for purchase on Steam. However, users who paid great money for the game were disappointed to see that their game has started to crash often, either on startup or during a match.
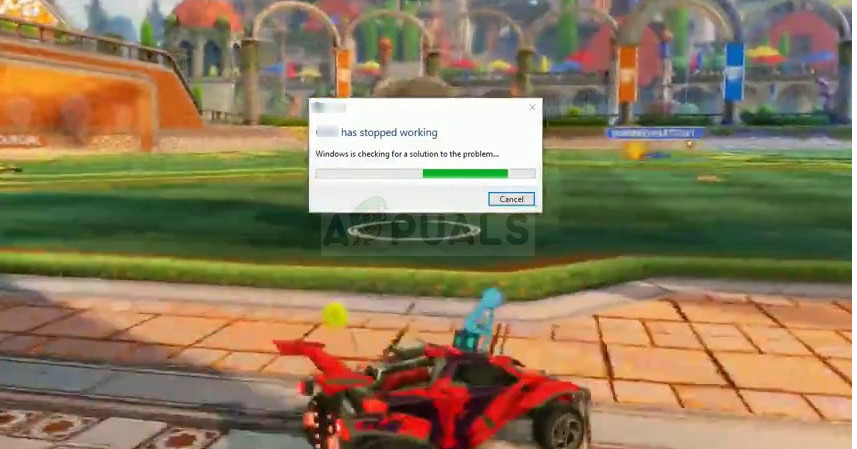
Rocket League Players have also reported the game to be crashing upon starting it up and during game. This guide is intended to address crashes on startup and during the game.
There are various things and settings which can cause Rocket League to crash meaning that there will be plenty of solutions to try out. Make sure you try everything to get the game working again and good luck!
Solution 1: Set the Game to Have High Priority
Changing priority settings in Task Manager can mean a lot for the game, especially if you are running a lower-end PC which can only support the game’s minimum system requirements. Either way, changing the game’s priority to high will allocate more resources for the game’s process, causing fewer crashes and less stutters.
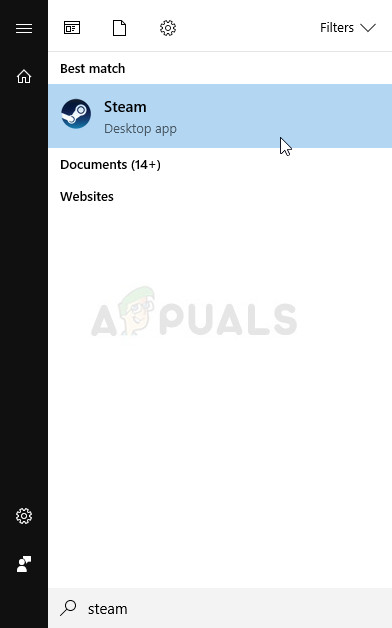
- Open up your Steam client by double-clicking the Steam icon from the Desktop or by searching for “Steam” in the Start menu or the search bar to the right of it.
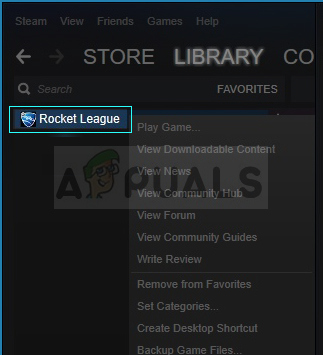
- Navigate to the Library tab in the Steam window, and locate Rocket League in the list of the games you own in your library.
- Right-click on the Rocket League entry and choose the Play Game option. After the game opens, use the Alt + Tab key combination to switch back to desktop. This was used just have the game’s process available in Task Manager.
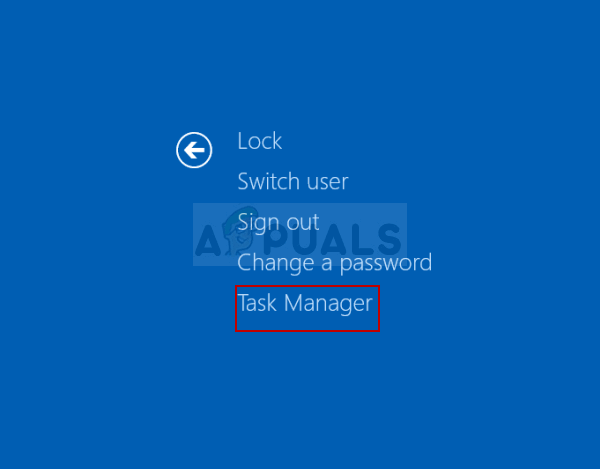
- Use the Ctrl + Shift + Esc key combination in order to bring up the Task Manager. Alternatively, you can use the Ctrl + Alt + Del key combo and select Task Manager from the blue full screen which opens. You can also search for it in the Start menu.
- Click on More details in order to expand Task Manager and search for the Rocket League process. Right-click on this entry and choose the Go to details option from the context menu which will appear
- Select the game’s process in the Details menu as it should be selected automatically, right-click on it again, and select the Set priority option. Make sure you choose High from the list which appears and click on it once to choose it.
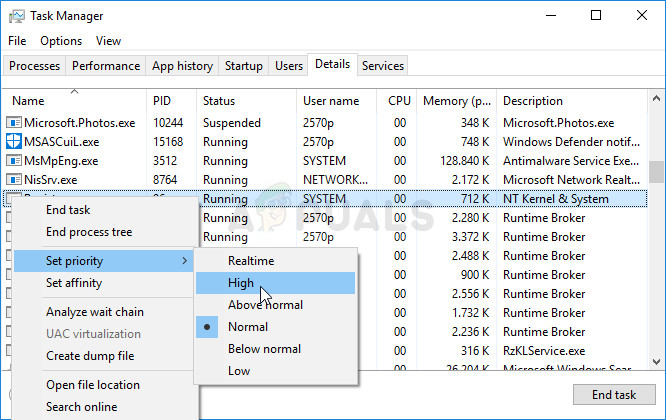
- Exit the game now and reopen it from Steam to check whether crashes still occur while playing the game.
Solution 2: Disable AlphaConsole
AlphaConsole is a downloadable app that allows the user to replace their in-game Rocket League items with other items, but only the user can see the items he replaced. Even though the app may sound cool and all, users have reported that the game started crashing after they installed it for their Rocket League experience and the crashes stopped after deleting it.
- Locate the AlphaConsole executable on your computer. If you haven’t moved it after the download, it should still be in the Downloads folder.
- If you did, try to locate that folder or open Start menu by clicking its button at the bottom left part of the screen, search for “AlphaConsole”, right-click the executable in the results and choose Open file location.
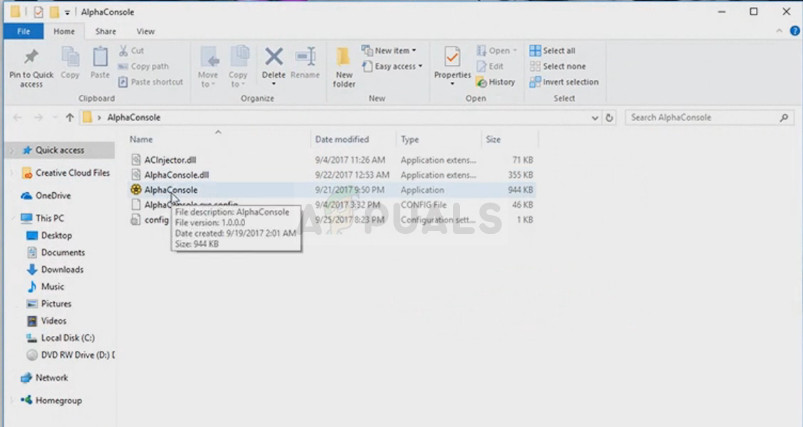
- First of all, double-click the executable and wait for its window to open. Locate the Disable all button in the window and click it. Check to see if the game still crashes.
- If it does, close the window and try deleting the executable file from your computer and running Rocket League from Steam. If the crashes don’t reoccur, the app was to blame.
Solution 3: Verify Integrity of Game Files on Steam
This method is a highly successful one and it can always help when a game or operating system update messes up some of the most important game files. Even third party plugins for the game may have done some damage and you can sometimes avoid having to reinstall the game simply by verifying its game files via Steam.
- Open up your Steam PC client by double-clicking the Steam icon from the Desktop or by searching for “Steam” in the Start menu. Input your credentials (username and password) and be patient for the client to start.

- Navigate to the Library tab in the Steam window, and locate Rocket League in the list of the games you own in your library.
- Right-click on the Rocket League entry and choose the Properties option. Navigate to the Local Files tab and locate the button with the text saying “Verify Integrity of Game Files”.
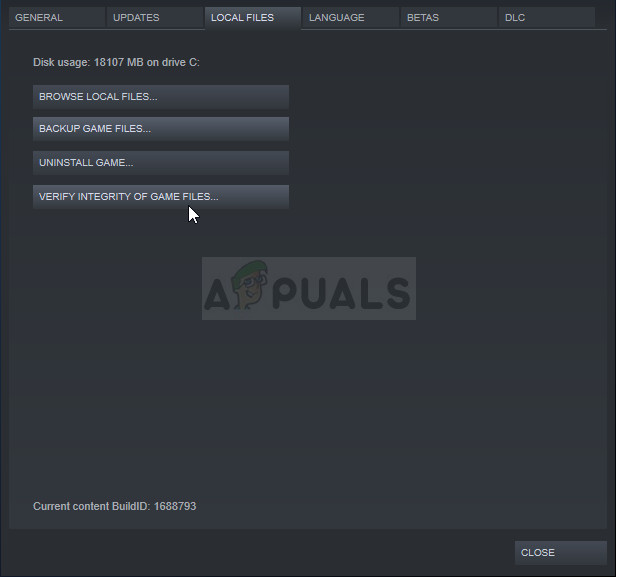
- Click this button and the verification process will start immediately. Check to see if any files were added or replaced and check to see if the game will now crash as often.
Solution 4: Reinstall the Game
Reinstalling the game can do wonders for the game as any corrupt and missing files will be replaced and you should be able to keep your progress as it’s tied to your Steam account if you are playing on a PC. Still, the process might take a while depending on your Internet speed as the game files need to be redownloaded.
Uninstalling the game:
- First of all, check to see if you are logged in with an administrator account as you won’t be able to uninstall using any other account.
- Backup the replays you have saved if you want as uninstalling the game will delete them. If you have setup Steam Cloud Synchronization, you won’t need to do that as it will be backed over cloud. Still, the location should be “C >> Users >> 2570p >> Documents >> My Games >> Rocket League >> TAGame >> Demos”.
- Click on the Start menu and open Control Panel by searching for it. Alternatively, you can click on the gear icon in order to open settings if you are using Windows 10.
- In Control Panel, select to View as: Category at the top right corner and click on Uninstall a Program under the Programs section.
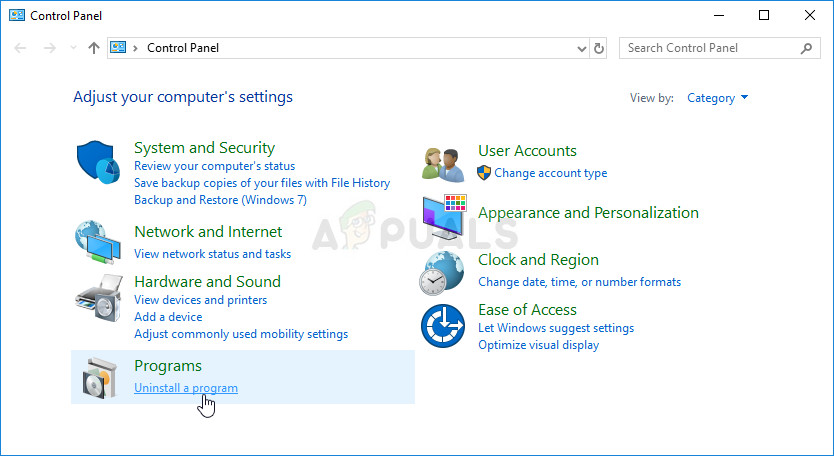
- If you are using the Settings app, clicking on Apps should immediately open a list of all installed things on your PC.
- Locate Rocket League in the list either in Settings or Control Panel, click on it once and click the Uninstall button located there. Confirm any dialog choices to uninstall the game, and follow the instructions which will appear on screen.
Alternative:
- Open up your Steam client by double-clicking the Steam icon from the Desktop or by searching for “Steam” in the Start menu or the search bar to the right of it.

- Navigate to the Library tab in the Steam window, and locate Rocket League in the list of the games you own in your library.
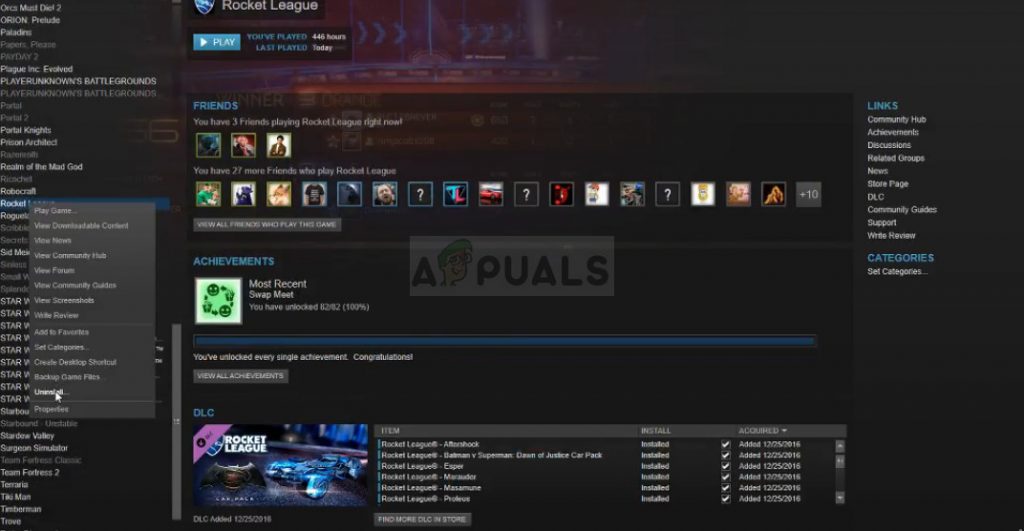
- Right-click on the Rocket League entry and choose the Uninstall option from the context menu. Follow the instructions which will appear on screen and wait for the process to finish patiently.
In order to reinstall Rocket League, you will either need to insert the disc you bought it on and follow the instructions which appear on screen or you will need to download it again from Steam. The game will still be located in your library so just right click on it and choose the Install option. Check to see if the game still crashes.


