How to Fix Random BSODs Caused by Netwsw02.sys?
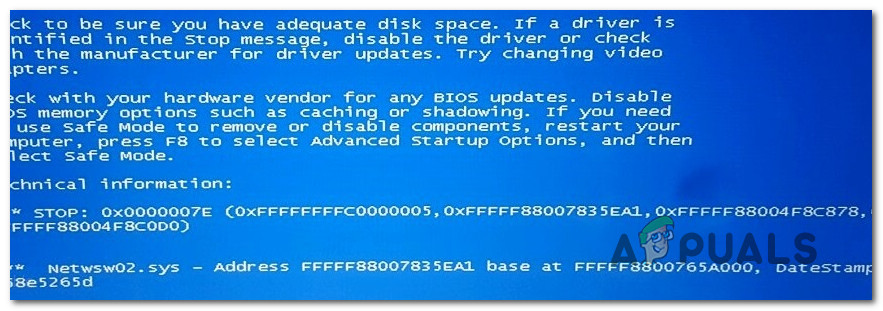
Some Windows users have been reaching us with questions after experiencing constant BSOD (Blue Screen of Death) critical crashes that are pointing towards the netwsw02.sys file. The vast majority of users are reporting that the crashes seem to be random for them, with no apparent trigger that might cause the system to crash. In most cases, users suspect the netwsw02.sys for being responsible after seeing it mentioned multiple times inside the minidump of the crash. As it turns out, the issue is not exclusive to a certain Windows version since it’s confirmed to occur on Windows 7, Windows 8.1 and Windows 10.
What’s causing the BSODs pointing towards the Netwsw02.sys file?
We investigated this particular critical error by looking at various user reports and by testing out the different repair strategies that are being recommended by affected users that have managed to resolve the issue. As it turns out, several different scenarios might end up triggering this error. Here’s a list of potential culprits:
- Corrupted / Incomplete Intel Wireless driver – As it turns out, the most probable cause that will spawn a critical crash of this nature is an improper Wireless WiFi Link Driver or a newer equivalent. If this particular scenario is applicable, you should be able to resolve the issue by removing or the current driver and using the generic equivalent or installing the latest Intel version.
- 3rd party AV interference – Some users have reported that in their case, the issue was caused by an overprotective 3rd party security suite that ended up quarantining a process that was essential to the stability of the OS. After removing the security suite and getting rid of the false positive, some affected users have reported that the BSOD crashes have stopped occurring.
- System File Corruption – In more severe cases, this behavior can be triggered by some type of corruption that is affecting your Windows system files. If this scenario is applicable, you should be able to resolve the issue either by using the suite of built-in utilities capable of resolving system file corruption (DISM and SFC) or by refreshing every OS component using a clean install/repair install.
Method 1: Removing / Reinstalling the Intel Wireless WiFi Link Driver
As it turns out, this problem is most likely caused by a system component of Wireless WiFi Link Driver signed by Intel Corporation. If you use Intel software for your wireless adapter, chances are that’s exactly what’s causing the system instability on your computer.
Several Windows users that were also finding themselves in a similar situation have reported that they managed to resolve the issue either by removing the Intel Wireless WiFi Link Driver completely (and using the generic drivers) or by uninstalling the current version of Intel Wireless WiFi Link Driver and then reinstalling the latest from the manufacturer website.
If your particular scenario is similar to the issue described above, follow the instructions below to either remove or reinstall the Intel Wireless WiFi Link Driver to stop the BSOD crashes pointing towards the netwsw02.sys file from occurring.
Here’s what you need to do:
- Press Windows key + R to open up a Run dialog box. Then, type ‘devmgmt.msc’ and press Enter to open up Device Manager. In case you’re prompted by the UAC (User Account Control), click Yes to grant administrative privileges.
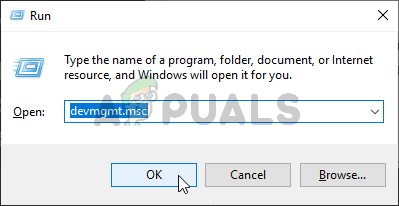
Running Device Manager - Once you’re inside Device Manager, scroll through the list of installed applications and expand the drop-down menu associated with Network Adapters.
- After you arrive at the correct menu, right-click on the Intel Wireless WiFi Link Driver and choose Uninstall from the newly appeared context menu. When asked to confirm, click on Uninstall once again to start the procedure.
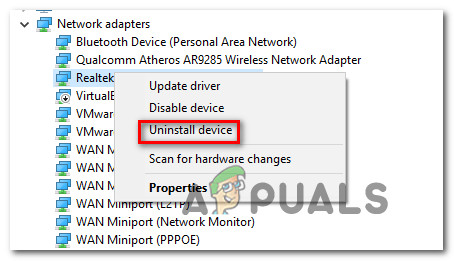
Uninstalling the network driver - As soon as the procedure is complete, restart your computer to allow the procedure to complete. Once the next startup sequence is complete, you have two ways forward – If you leave things as they are now, your OS will install a generic driver to be used as an internet adapter.
Note: If you insist on using the Wireless WiFi Link driver, you can download the latest version from this link (here). After you download the executable, open it and follow the on-screen instructions to complete the installation. - Once the new driver is installed, use your computer normally and see if the issue is now resolved.
If you’re still encountering the Netwsw02.sys BSODs, move down to the next method below.
Method 2: Uninstalling 3rd party AV suite (if applicable)
In case you’re using a 3rd party antivirus or firewall suite to protect yourself from malware and adware, you may be using an overprotective security scanner that’s triggering these BSOD crashes.
As some affected users have reported, there are several 3rd party suite (including AVG, Avast, and McAffee) that might facilitate the apparition of a BSOD of this nature in scenarios where the scanner quarantines a network item belonging to the wireless driver, which ultimately ends up crashing the system.
If you think this scenario might be applicable, you can resolve the issue by uninstalling the 3rd party suite and migrating towards a more permissive suite that will not trigger the same false positive.
But before you go ahead an uninstall the suite, it’s recommended that you verify that the security suite is causing the critical crash by disabling the real-time protection. If the netwsw02.sys BSOD no longer occurs while the real-time protection is disabled, you’ve safely identified your culprit and you can remove it.
However, the process of disabling real-time protection will be different depending on which security suite you’re using. But, in most cases, you can do this directly from the taskbar menu.

If you’re still experiencing the same crashes even after you’ve disabled the real-time protection, move directly to the next method below.
But if the random BSODs have stopped, you can safely remove the 3rd party security suite and migrating towards a different solution (built-in Windows Defender) doesn’t cause the same problems. In case you want to uninstall the security suite without fear of leaving behind any leftover files that might still trigger this behavior, follow the instructions on this article here.
If the BSOD (netwsw02.sys) crashes are still occurring at random intervals, move down to the next method below.
Method 3: Running DISM and SFC scans
Another potential scenario in which this error will occur is a situation in which system file corruption is, in fact, responsible for the critical crash. If this scenario is applicable, chances are a corrupted/improper OS file is tainted by corruption and is causing general system instability.
In situations like this one, the most efficient way of resolving the issue is to run a couple of utilities capable of fixing both logical errors and system file corruption. You can deploy 3rd party software if you’re more comfortable with them, but we encourage you to use the two built-in utilities offered by Microsoft – SFC (System File Checker) and DISM (Deployment Image Servicing and Management)
The two utilities operate a little differently – SFC uses a locally cached archive to replace corrupted items with healthy copies while DISM relies on the WU (Windows Update) component to swap corrupted files. SFC is better at resolving logical errors while DISM is better at fixing corrupted Windows services.
Our recommendation is to run both to maximize the chances of fixing the issue at hand. Here’s what you need to do:
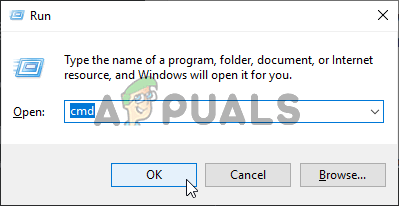
- Open up a Run dialog box by pressing Windows key + R. Next, type ‘cmd’ inside the newly appeared text box and press Ctrl + Shift + Enter to open up an elevated CMD prompt. When you’re prompted by the UAC (User Account Control), click Yes to grant administrative privileges.
Running Command Prompt - Once you’re inside the elevated CMD prompt, type the following commands and hit Enter after each command to initiate a scan for inconsistencies and repair them with the DISM utility:
Dism.exe /online /cleanup-image /scanhealth
Dism.exe /online /cleanup-image /restorehealth
Note: Keep in mind that DISM will require a reliable Internet connection to replace the corrupted instances with healthy copies. With this in mind, ensure that your Internet connection is stable before launching this procedure. The first command will replace the inconsistencies while the second will initiate the repairing process.
- Once the DISM command is complete, restart your computer. After the next startup sequence is complete, follow step 1 once again to open up another elevated CMD prompt. Next, type the following command and press Enter to initiate an SFC scan:
sfc /scannow
Note: Once you start this procedure, do not interrupt it by closing the CMD window or by restarting your computer. This will leave your system exposed to other logical errors that might create additional problems.
- After the DISM scan is finished, restart your computer and see if the BSOD crashes stop occurring.
In case you’re still encountering critical crashes pointing towards the netwsw02.sys file, move down to the final method below.
Method 4: Performing a Repair Install
If none of the instructions above have helped you to resolve the random BSOD crashes pointing towards the netwsw02.sys file, it’s likely that you’re dealing with some type of system file corruption that cannot be resolved conventionally.
If you find yourself in this particular scenario, the only fix you have available is to follow a procedure that will reset every OS component. If this operation doesn’t stop the random critical crashes from occurring, you can conclude that the issue is being caused by a hardware component.
When it comes to resetting every OS component, you have two ways forward – you either perform a clean install or you go for the more tedious repair install.
A clean install is a more straightforward procedure that will not require any preparations, but it will also delete some personal files if you don’t back them up in advance.
But if you don’t mind taking some extra steps, we advise you to go for a repair install (in place repair). This procedure will allow you to keep all your files including personal media, games, applications and even some user preferences.


