How to Fix Outlook Error 0x8004210B on Windows?
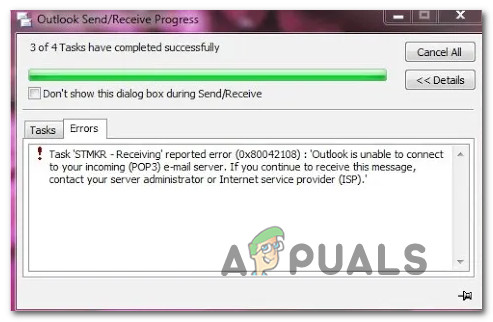
Several Windows users have been reaching us with questions after being unable to send emails. After several re-trying attempts, the operation times out and the following error appears: “(0x8004210B) The operation timed out waiting for a response from the sending (SMTP/POP3) server”. Upon investigating the issue, affected users are reporting that the email remains stuck in the Outbox. Some users are reporting that if they click Send once again, the email gets send without issues. The issue is not exclusive to a certain Windows version since it’s confirmed to occur on Windows 7, Windows 8.1 and Windows 10.
What’s causing the (0x8004210B) Outlook Error Code?
We investigated this particular error code by looking into various user reports and trying out different repair strategies that are recommended by affected users. As it turns out, there are several different scenarios that might trigger this error message. Here’s a shortlist with potential culprits:
- Corrupted Outlook profile – It’s possible that you’re seeing this error message due to a corrupted Outlook email account. If files from your Outlook profile become corrupted, Outlook will not be able to establish contact with the server. In this case, you should be able to resolve the issue by re-adding the email account via the Mail window, forcing the application to create a new profile.
- The email is stuck in sending mode – Another scenario in which this error code will occur is when the operation times out due to a corrupted or large attachment that cannot be processed properly. If this scenario is applicable, the only viable fix is to set the application in Work offline mode and delete the email that is stuck in Outbox.
- Stuck read receipt – On older Outlook versions, this behavior can also ve caused b a stuck Read Receipt. Since receipts are invisible in Outlook, there is no way to delete them conventionally. In this case, you can fix the problem by using a low-tier developer tool like MFCMAPI to access your Outlook data store and delete the stuck read receipt manually.
- Third-party AV interference – As it turns out, this issue can also be caused by an overprotective AV suite that is blocking Outlook from communicating with the email server due to suspected security reasons. To prevent this from happening, you should uninstall the 3rd party suite completely and go for a less intrusive AV suite.
If you’re currently struggling to resolve this Outlook error code (0x8004210B), then this article will provide you with several different troubleshooting strategies that should resolve the issue in most cases. Down below, you’ll find a collection of methods that other affected users have successfully used to resolve the error along with the error message “The operation timed out waiting for a response from the sending (SMTP/POP3) server”.
If you want to remain efficient and minimize the intrusion, we advise you to follow the methods below in the same order that we arranged them in. Since they are ordered by efficiency and severity, you should eventually stumble upon a fix that resolves the issue regardless of the culprit that’s causing the problem.
Let’s begin!
Method 1: Re-adding email account
As it turns out, one of the most common scenarios that will trigger the (0x8004210B) is a corrupted Outlook email account. Some files belonging to the email account might become corrupted, so Outlook is no longer able to use it properly.
If this scenario is applicable, you should be able to resolve the issue by recreating the email account once again from the Mail option of Control panel. Several users that were also encountering this issue have reported that the issue was entirely resolved after they followed the instructions of re-adding the email account.
Here’s what you need to do:
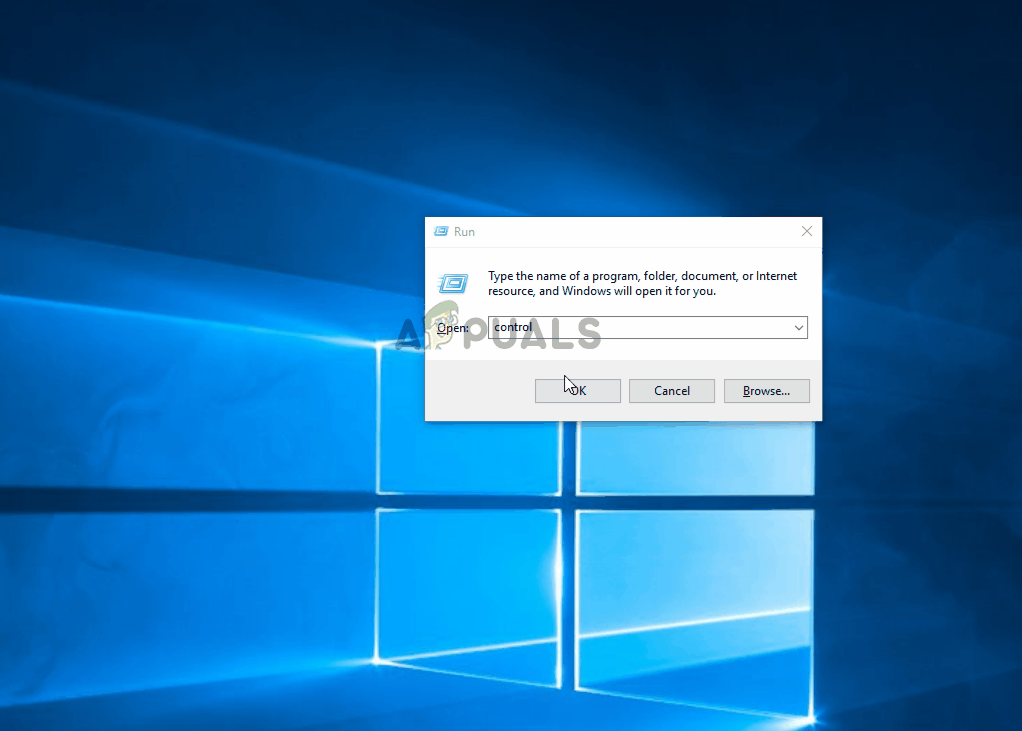
- Press Windows key + R to open up a Run dialog box. Then, type “control” and press Enter to open up the classic Control Panel interface.
- Once you’re inside the classic Control Panel interface, use the search function in the top-right corner of the screen to search for “mail”.
- After you do so, click on Mail (Microsoft Outlook) for the list of results.
- In the Accounts Settings window, select the Email tab and click on New…
- Inside the Add account window, insert the name, the email address, and the password, then click Next to add the account.
- Wait until the operation is complete. Depending on your email client, you might be prompted to set up the account manually.
- Once the new email account has been configured, return to Account Settings > Email and delete the old account (the one that is corrupted) by selecting it and clicking on Remove.
- Next, select the newly created email and then click on Set as Default.
If the same (0x8004210B) error code is still occurring even after the new email account is configured, move down to the next method below.
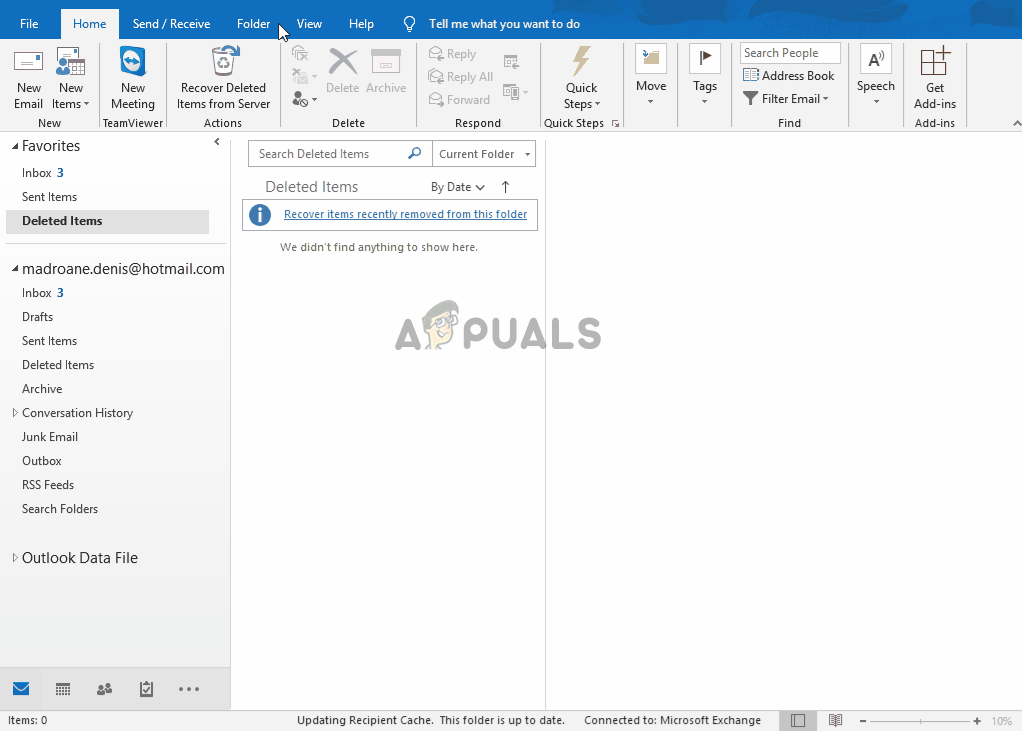
Method 2: Deleting the stuck email
On newer Outlook versions, the most common cause that will trigger the “(0x8004210B) The operation timed out waiting for a response from the sending (SMTP/POP3) server” error is a situation where the email contains an attachment that contains unsupported files or it’s simply too large in size.
If this scenario is applicable, you should be able to resolve the issue by switching the Outlook mode to “Work Offline” and removing the email that is stuck in Sending mode. After doing so and dealing with the attachment that had trouble sending, affected users have reported that the issue was resolved entirely.
Here’s a quick guide on deleting a stuck email in Outlook:
- Open your Outlook version and select the Send / Receive tab from the ribbon bar at the top of the screen.
- Next, navigate below to the sub-options and click on Work Offline once to disconnect your Outlook application from the Internet.
- Once the Internet is cut off from Outlook, navigate to the message that was previously triggering the error message, right-click on it and choose Delete from the context menu to remove it from your email client.
- Deal with the attachment, then restart the application and disable Work Mode.
- Try sending the email again and see if the issue is now resolved.
If you’re still encountering the “The operation timed out waiting for a response from the sending (SMTP/POP3) server error, move down to the next method below.
Method 3: Deleting the stuck Read Receipt
Another scenario that will cause the “(0x8004210B) The operation timed out waiting for a response from the sending (SMTP/POP3) server” error is a stuck read receipt. But the thing with receipts in Outlook is that they are completely invisible in the Outbox, so it’s tricky to delete them.
Several Windows users that were also encountering this issue have reported that they managed to delete the stuck receipt by using one a Microsoft support tool called MFCMAPI. Although this is a tool that was originally aimed at providing ‘low-level’ support for developers so that they can access Outlook data stores, it’s also a handy tool for regular users looking to do some advanced troubleshooting.
Here’s a quick guide on using MFCMAPI to deleting the stuck read receipt that is causing the error message:
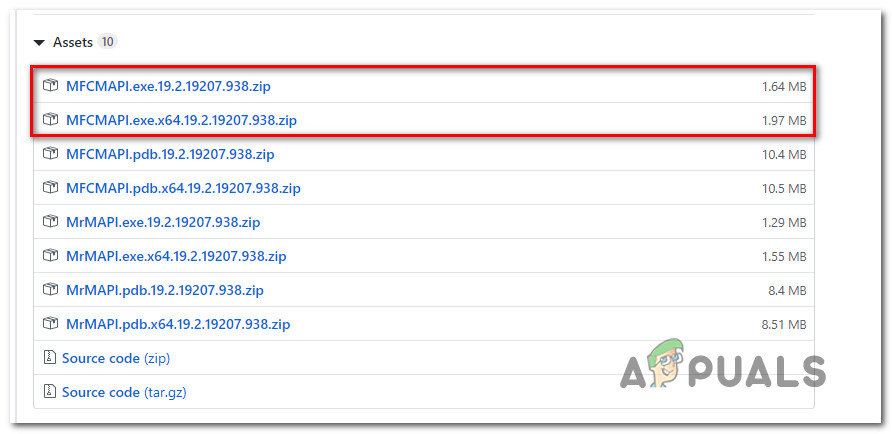
- Visit this GritHub link (here) and download the latest version of MFCMAPI executable. Get the first version if you’re on 32-bit or get the second one if you’re using a 64-bit Windows version.
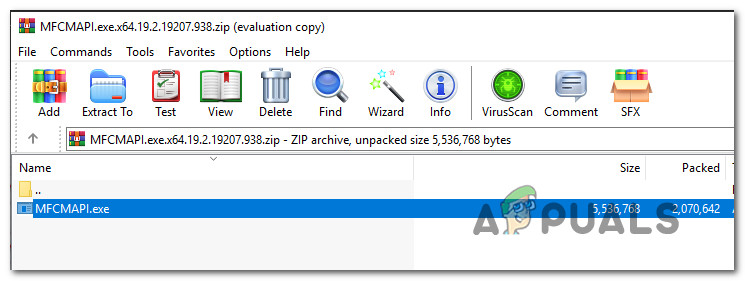
Downloading the MFCMAPI utility - Once the download is complete, use an extraction utility like WinZip or WinRar to extract the executable that needs to be run.
Extracting the utility - Double-click on the executable that you’ve just extracted.
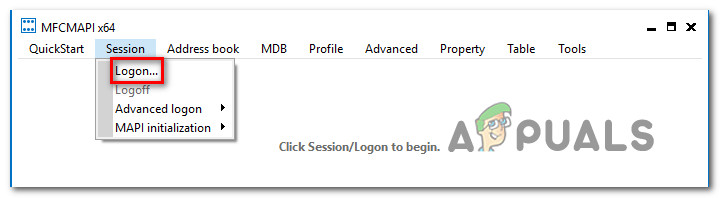
- Once you’re inside the MFCMAPI application, go to Session > Logon from the ribbon bar at the top.
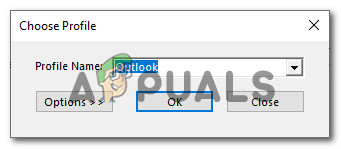
Accessing the Logon menu of the MFCMAPI utility - In the next screen, select the Outlook profile that you want to edit and click Ok.
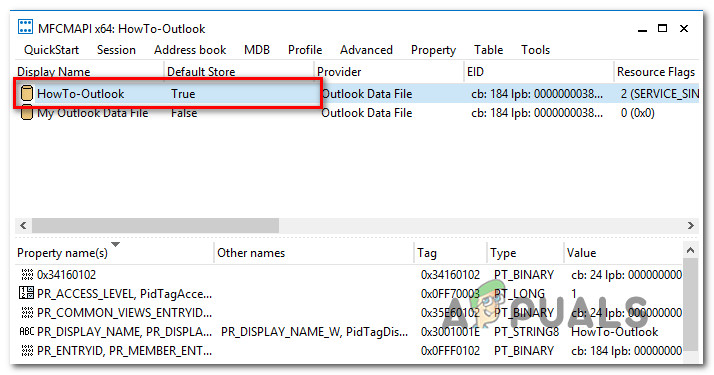
Selecting the Outlook profile that you want to Edit - Double-click on the database that has the Default Store set to True.
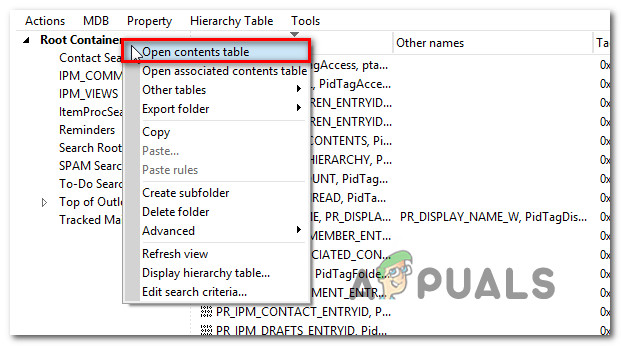
Accessing the correct database - Once you’re inside the Root- Mailbox, right-click on the top-level folder and choose Open contents table from the newly appeared context menu.
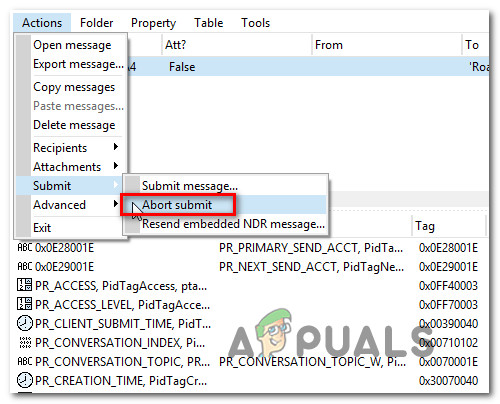
Opening the Contents table - Inside the Read instance, you should see an item with a subject prefixed with “Read:“. Select the Read instance, then click on the Actions tab from the ribbon bar at the top and select Submit > Abort submit.
Aborting the submitting procedure Note: If you don’t see this, it means that the issue is not being caused by a stuck read receipt. In this case, move down directly to the next method below.
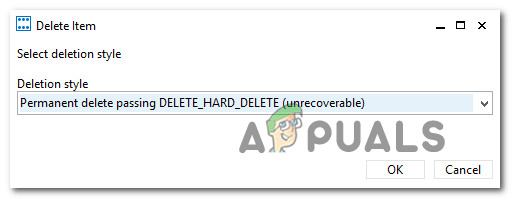
- After you do this, make sure that the same entry is selected, then go to Actions > Delete message. Next, select the option saying Permanent delete passing DELETE_HARD_DELETE and choose Ok to save the changes.
Deleting the stuck Receipt permanently - Close all windows that you previously navigated through belonging to MFCMAPI, then restart your computer and Open Outlook to see if the issue has been resolved at the next system startup.
Once this procedure has been performed, replicate the behavior that was previously triggering the “The operation timed out waiting for a response from the sending (SMTP/POP3) server error and see if the issue is now resolved.
If you’re still encountering the same issue, move down to the next method below.
Method 4: Uninstalling 3rd party interference (if applicable)
Based on various user reports, this issue can also occur due to an overprotective 3rd party AV suite that is blocking Outlook from communicating with the email server. As it turns out, there are several 3rd party suites that are known to cause this problem on Windows 10 (including McAfee and Kaspersky).
If this scenario is applicable, you should be able to resolve the “The operation timed out waiting for a response from the sending (SMTP/POP3) server error by uninstalling the 3rd party security and ensuring that all remnant files are removed.
Here’s a quick guide on uninstalling the security suite without leaving behind any leftover files that can continue to produce this error:
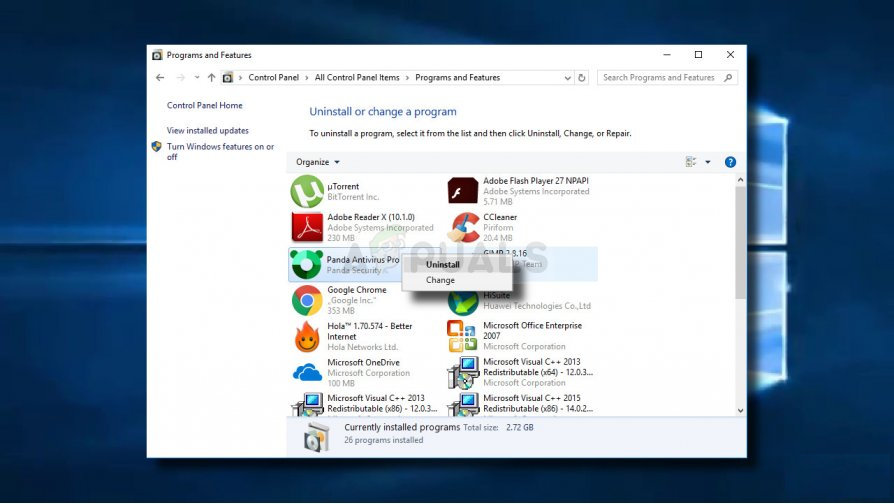
- Open a Run dialog box by pressing Windows key + R. Once you’re inside the Run box, type “appwiz.cpl” and press Enter to open up the Programs and Features menu.

Type appwiz.cpl and Press Enter to Open Installed Programs List - Inside the Programs and Features screen, scroll down through the list of applications and find the 3rd party AV suite that you want to uninstall. Once you manage to locate it, right-click on it and choose Uninstall from the newly appeared context menu.
Uninstalling 3rd party antivirus - Once the uninstallation is complete, follow this article (here) to ensure that you are not leaving behind any leftover file that can trigger the same error in the future.