How to Fix the “NVIDIA Installer Cannot Continue” Error on Windows
The “NVIDIA Installer Cannot Continue” error stops the driver installation because it can’t find the required hardware. This usually happens if the drivers don’t match your system, often due to incorrect driver selection or an outdated Windows version. The main reason is often hardware incompatibility or disabled NVIDIA graphics in Device Manager.

Other causes can include missing Windows updates or interference from antivirus programs.
In this article, we will talk about different solutions to solve this error.
1. Install the Drivers Provided by Your Manufacturer
This issue can happen if you use drivers not made for your hardware. Installing drivers from your system’s manufacturer means they’re made for your device, offering better hardware compatibility. These drivers are adjusted to work well with your system’s parts, providing smoother performance and fewer conflicts than general drivers. By using these manufacturer-provided drivers, you ensure more reliable installation and better system stability.
- Find your laptop’s model number.
- Press the Windows key + R together.
- Type “dxdiag” into the Run window.
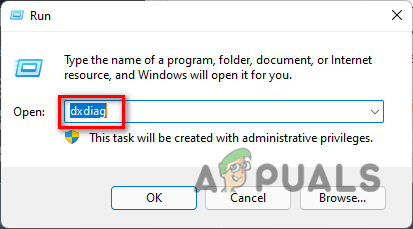
Opening DxDiag Windows - Wait for the program to open.
- Note the “System Model” under the General tab.
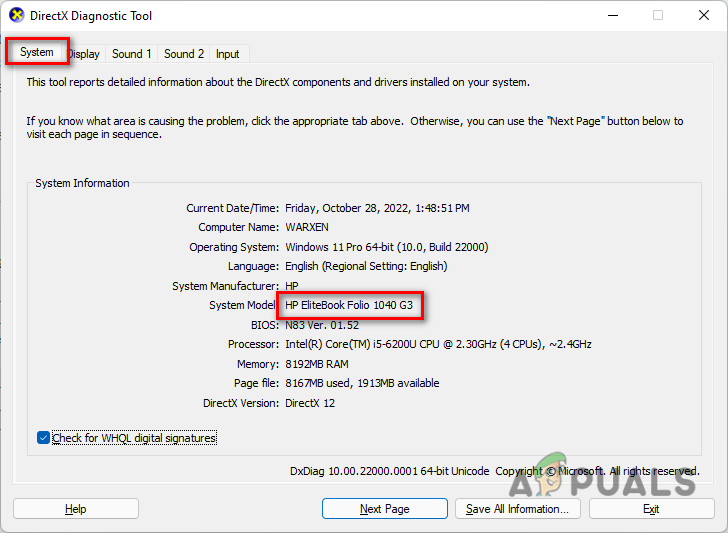
Checking Laptop’s System Model - Search this model number online and include ‘Drivers’ in the search.
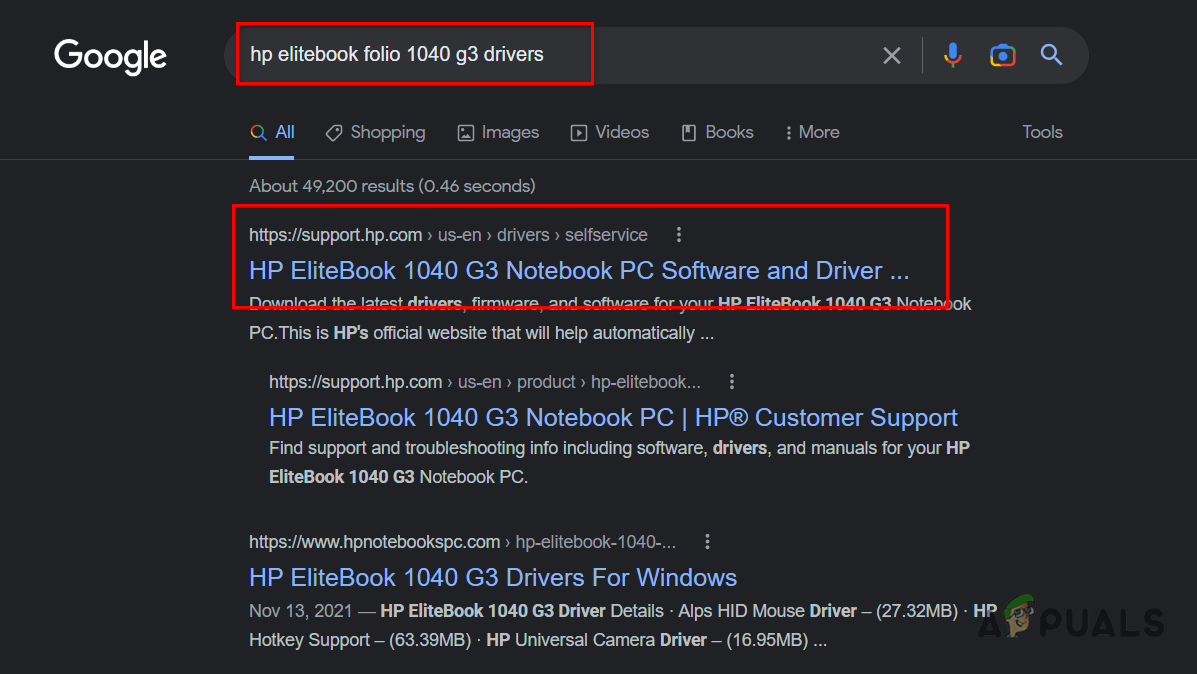
Opening Official Support Page of Laptop Make sure to visit the official website and avoid untrustworthy sites.
Note: This process varies by manufacturer. The aim is to find the drivers from your manufacturer’s support page. If you have trouble, post your model number in the comments, and a technician will help you.
- Find the “Drivers” section on the support page.
- If needed, select your operating system and download the official graphics driver.
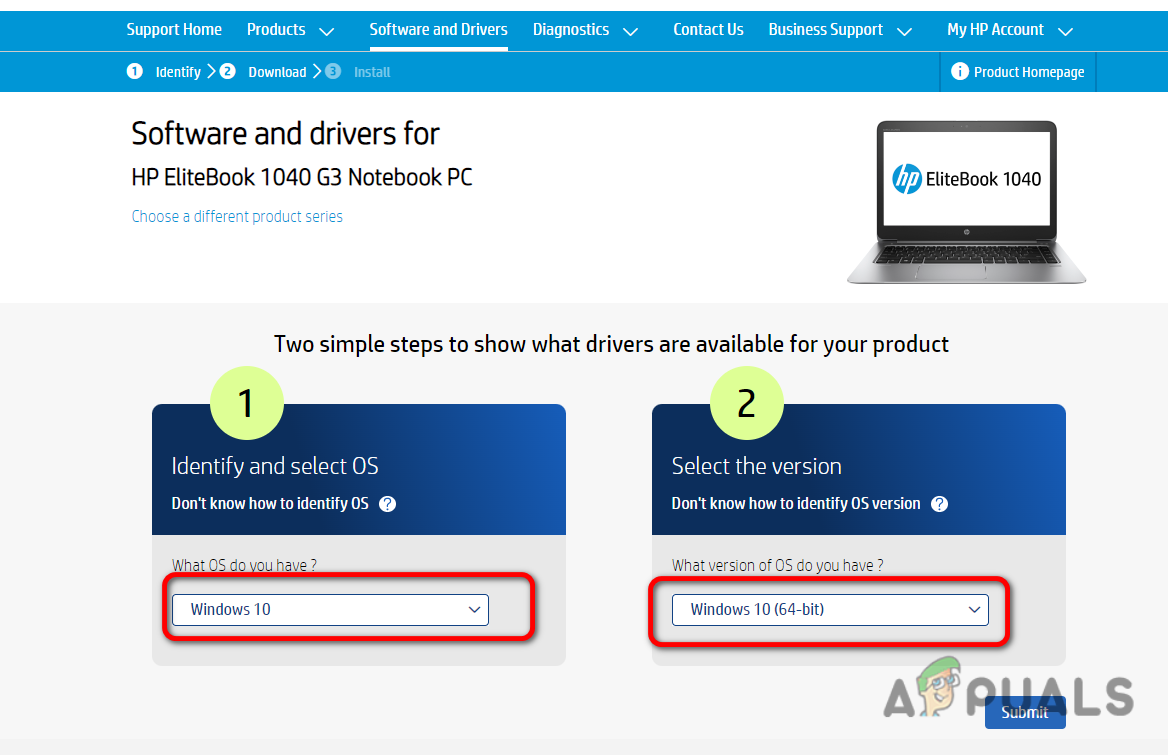
Selecting Operating System - Install the downloaded driver and restart your computer.
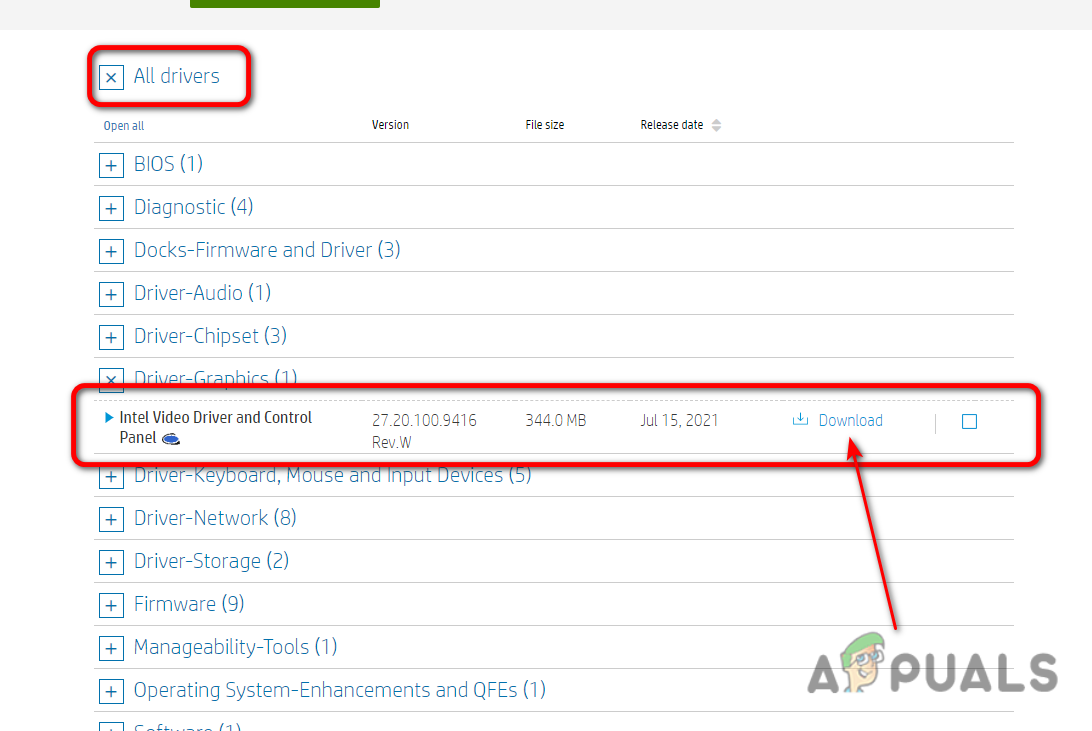
Downloading Graphics Driver from Product Page
2. Update the Driver Through Device Manager
Updating the driver through Device Manager lets Windows install the right driver for your NVIDIA graphics card, ensuring compatibility and resolving issues when automatic installs fail or the driver is disabled.
- Go to the Nvidia website, select your graphics card, and download the driver.
- Wait for the download to finish.
- Right-click the setup file and choose Extract to “<Path>\<Driver Name>”.
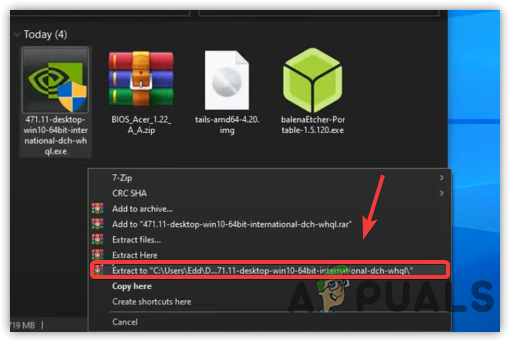
Extracting Nvidia Driver - Right-click the Start Menu.
- Select Device Manager.
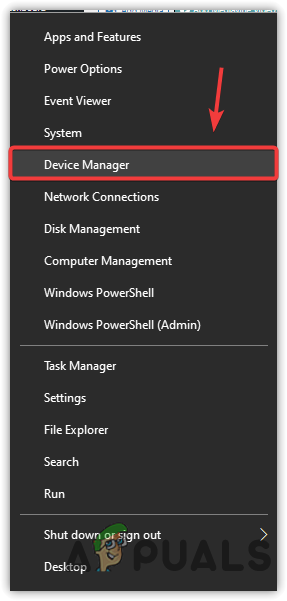
Opening Device Manager From Start Menu - Expand Display Adapters.
- Right-click on the Microsoft Display Adapter and choose Update Driver.
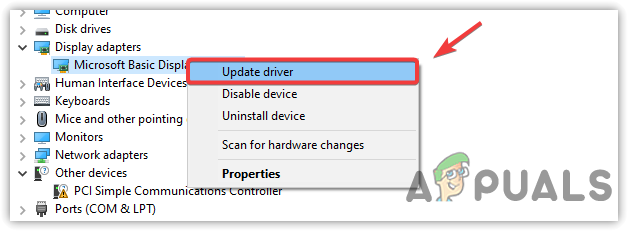
Updating Driver Via Device Manager - Choose Browse My Computer For Drivers.
- Click Browse.
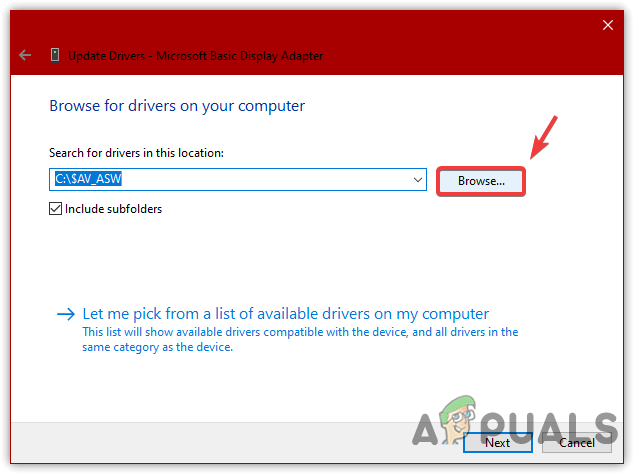
Browsing For Driver - Go to the folder where the driver was extracted.
- Choose the extracted driver folder and click Next to start the installation.
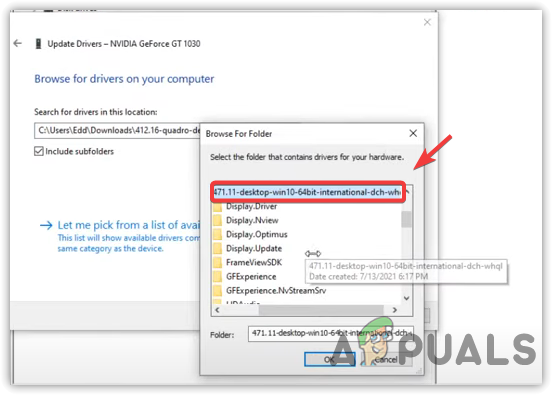
Selecting Extracted Driver Folder
3. Replace Device IDs in the INF File
Updating Device IDs in the INF file ensures the system recognizes your hardware during installation. If your graphics card’s ID is missing or incorrect, the installer won’t detect your GPU. Correcting this makes sure the NVIDIA installer can complete the installation.
- Download the driver from the official Nvidia website.
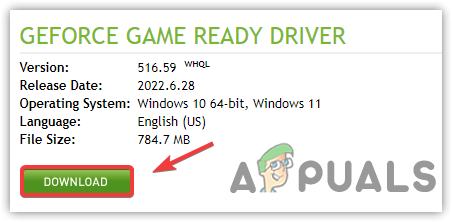
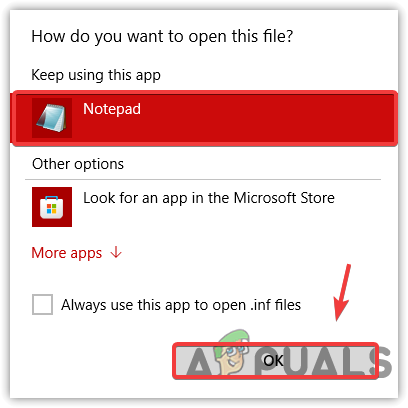
Downloading Driver For Windows - Double-click the installer setup and press OK to extract the driver.
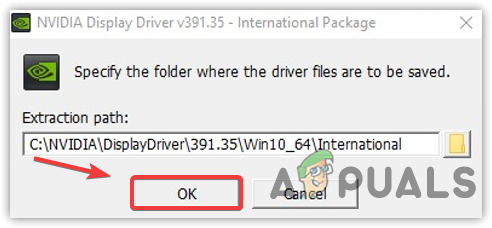
Installing Graphics Driver - Navigate to the installation directory or use the default:
C:\NVIDIA\DisplayDriver\****\Win10_64\International\Display.Driver
Note: Adjust the path for your driver and Windows version.
- Find the INF file matching your manufacturer:
INF Files According to Manufacturers:
Acer = nvaci.inf
Asus = nvami.inf
Apple = nvaoi.inf
Compal = nvcti.inf
Clevo = nvcvi.inf
Dell = nvdmi.inf
Fujitsu = nvfmi.inf
HP = nvbli.inf or nvhmi.inf
LG = nvloi.inf
Lenovo = nvlti.inf
MSI = nvmii.inf
NEC = nvmii.inf
Sony = nvszci.inf
Toshiba Qosmio = nvtdi.inf
Toshiba = nvtsi.inf
- Right-click the INF file and choose Open With…
- Select Notepad and press Open.
Opening INF File With Notepad - Scroll to the NVIDIA_Devices section, e.g., [NVIDIA_Devices.NTamd64.10.0…14310].
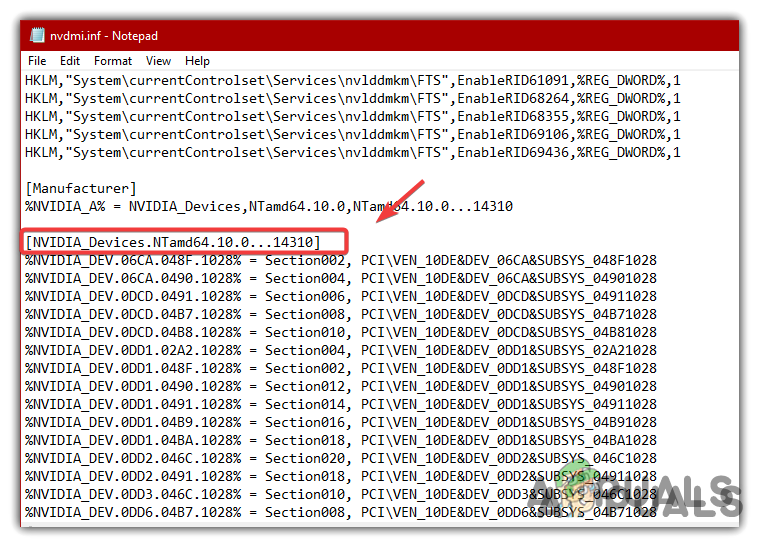
Finding Nvidia Devices Section - Add a new line at the end of the second row of the first line and press Enter.
- Copy the first line’s content and paste it into the new line.
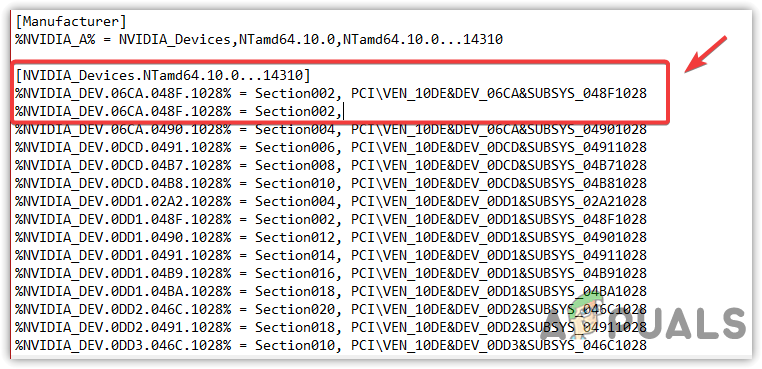
Creating A New Line For the Nvidia GPU Code In The INF File - Open Device Manager from the Start Menu.
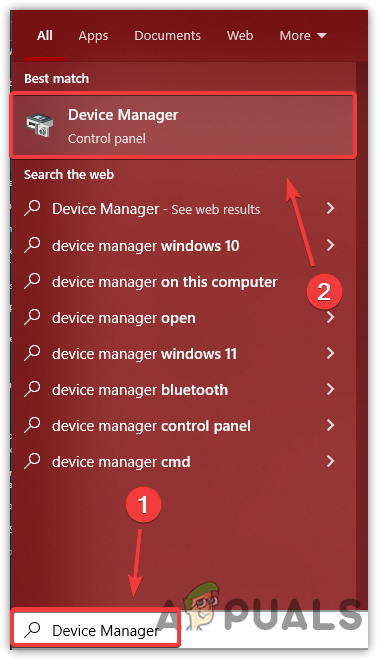
Opening Device Manager - Expand Display Adapters.
- Right-click on Microsoft Display Adapter and select Properties.
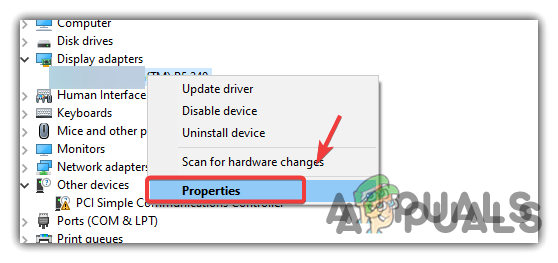
Opening Driver Properties - Go to the Details tab.
- Select Hardware Ids in the Property drop-down menu.
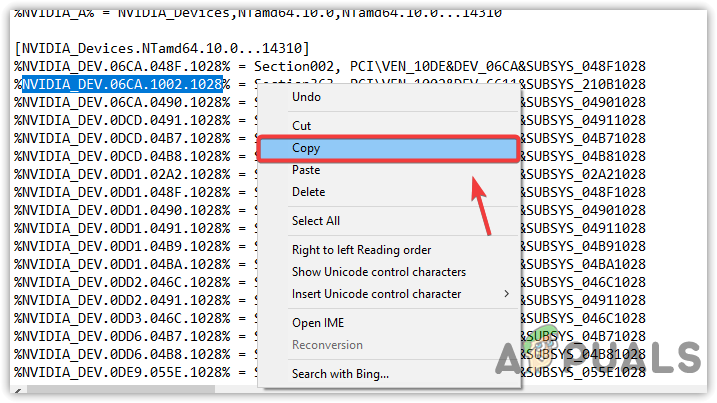
- Copy the second hardware ID by right-clicking on it.
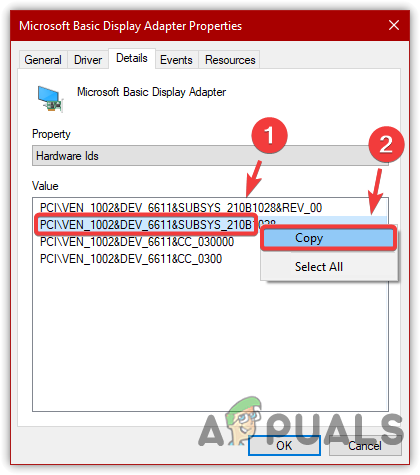
Copying Hardware Ids For Microsoft Display Adapter - Paste the copied ID into the second row of the new line in Notepad.

Pasting Copied Hardware Id In The INF File - Replace the placeholder code with the GPU ID number.
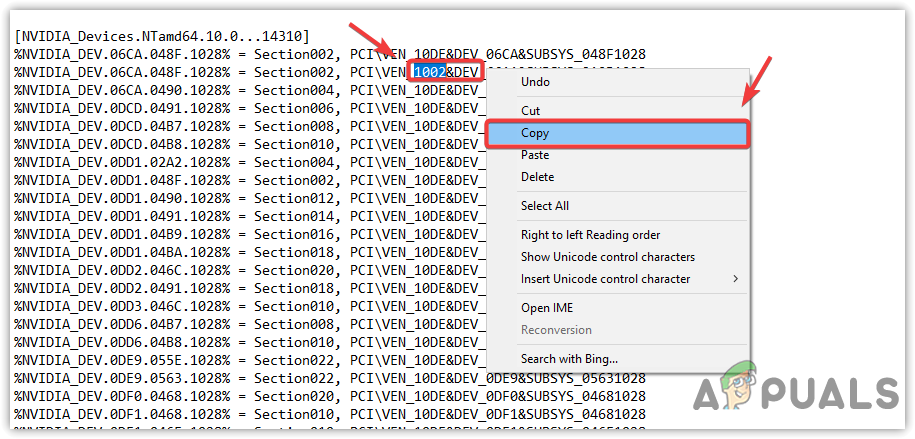
Copying GPU ID Number - Update the new line’s section number to 363.
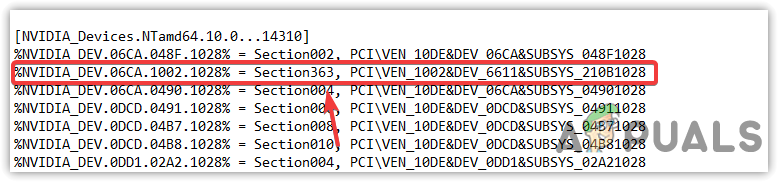
Changing Section Number - Scroll to the [Strings] section.
Copying Modified GPU Id - Create a new line at the end of [Strings] and paste the modified GPU code.
- Enter your GPU’s name as seen in previous entries.
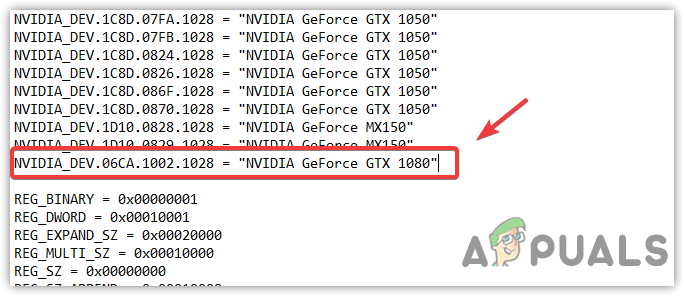
Pasting GPU Id With The Graphics Card Name - Press Ctrl + S to save or select File and then Save.
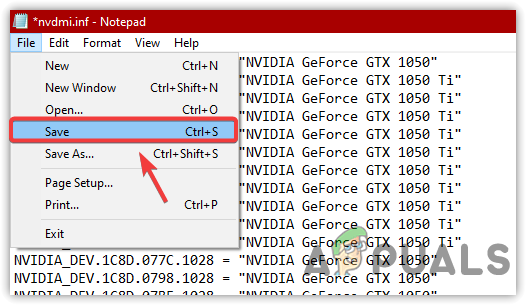
Saving Changes In INF File - Run the setup file in the INF directory to install the driver.

Running Driver Setup
4. Rename NVIDIA Graphics Folder
Renaming the NVIDIA folder forces the installer to make a new directory during the next installation. Old, incomplete files in the NVIDIA folder can cause issues, so changing the name stops the installer from using these faulty files, helping to fix errors.
- Open File Explorer and go to the system drive.
- Navigate to Program Files, right-click NVIDIA Corporation, and choose Rename.
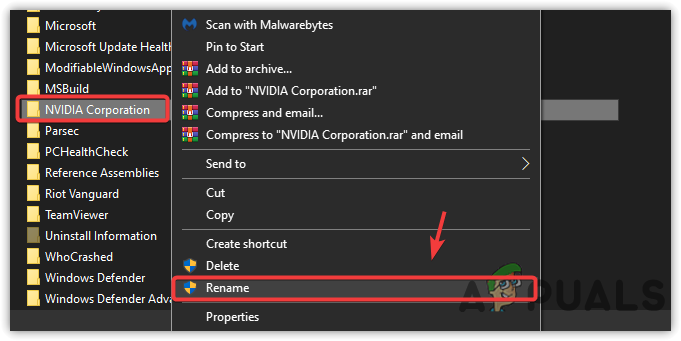
Renaming Nvidia Folder - Rename the folder to something easily associated with Nvidia.
- Run the driver setup again to check if the error is resolved.
5. Perform a Complete Reinstall of Nvidia Software and Driver
If none of the solutions work, fully reinstalling NVIDIA software and drivers can help. This clears any corrupted files, allowing a fresh installation with correct drivers, reducing conflicts.
- Download the Display Driver Uninstaller.
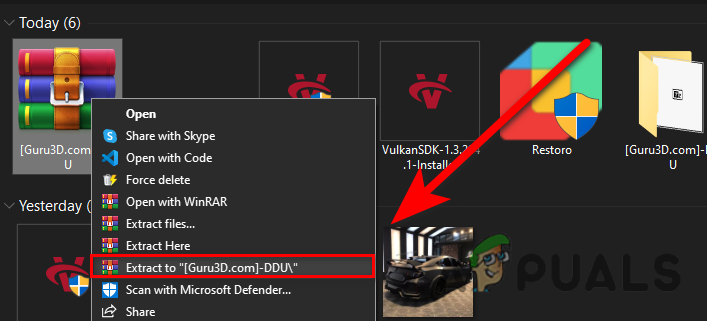
Click to Extract DDU Folder - Right-click the ZIP file, choose Extract Here, and follow the DDU instructions for best results.
- Open the extracted folder and run Display Driver Uninstaller.exe.
- If prompted, click Extract.
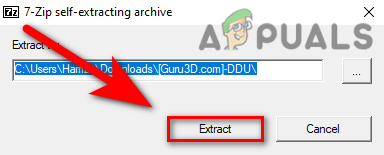
Extracting DDU Application - Run DDU and follow its optional Safe Mode recommendation for cleaner removal.
- Select your Device Type (GPU) and Device (your graphics card) in DDU.
- Choose Clean & Restart or Clean and Do Not Restart.
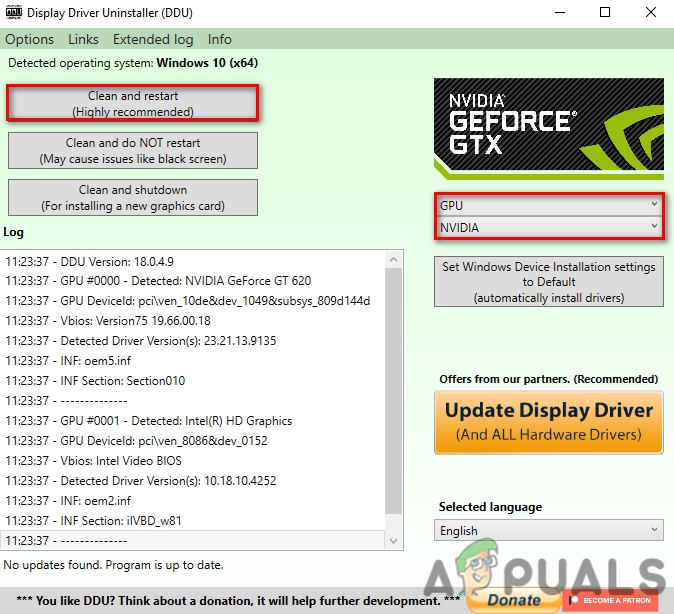
Clean Uninstallation Of Graphics Driver - Visit your graphics card manufacturer’s website and download the latest driver.

Downloading Latest Graphics Driver For Windows Note: Laptop users should download their drivers from the laptop manufacturer’s website to ensure compatibility.
If all the methods outlined above still do not resolve the error, consider performing a system restore to revert your computer to a prior working state, or reset your Windows while retaining your personal data. Afterwards, download and install the driver from the Nvidia official website again.
I do not have the driver when I open up device manager