Fix: No Sound issues with Conexant Audio/Smartaudio on Windows
If your computer has a Conexant audio device and you upgrade it to Windows 10, there is a slight possibility that the computer may no longer be able to play audio following the upgrade. This issue has been known to plague a good percentage of all the users with Conexant audio devices who upgrade their computers to Windows 10. The cause of this problem, in almost all cases, is that the Conexant audio drivers on the affected computer are incompatible with Windows 10, and Windows was unable to upgrade the drivers during the Windows 10 upgrade.
This issue can be fixed by simply updating the Conexant audio drivers on the affected computer, but since that didn’t automatically happen during the Windows 10 upgrade, you are going to have to do it manually. In order to do so, you are going to have to first download a driver package for your computer’s Conexant audio device that is not only newer than the one already installed but is also guaranteed to be compatible with Windows 10. Since Conexant does not release drivers for its audio devices on its own website, you are going to have to download the new driver package from the official Support website of the affected computer’s manufacturer (Acer or HP – for example).
Method 1: Update Driver Manually
Once you have downloaded and the new driver package for the affected computer’s Conexant audio device, you need to install it. In order to install the new driver package, yo
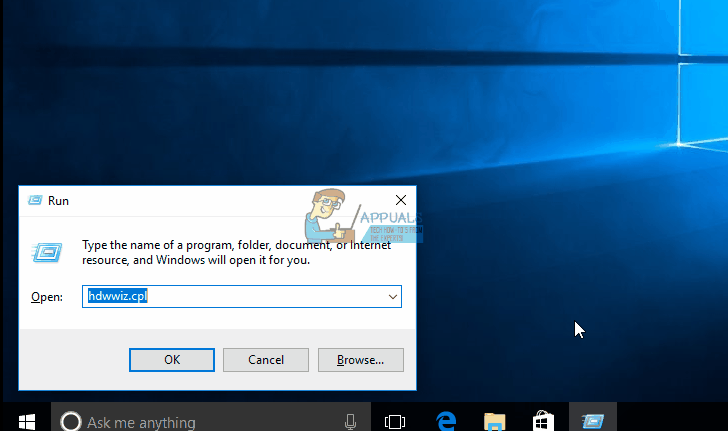
- Press Windows Logo key + R to open a Run
- Type devmgmt.msc into the Run dialog and press Enter to launch the Device Manager.
- In the Device Manager, double click on the Sound, video and game controllers section to expand it.
- Right-click on the Conexant audio device and click on Update Driver Software… in the context menu.
- Click on Browse my computer for driver software.
- Click on Browse….
- Navigate to the folder in which the new driver package is located and click on the folder to select it.
- Click on OK.
- Click on Next, and then wait for the wizard to locate the new driver package and install it.
Once the new driver package for the affected computer’s Conexant audio device has been installed, restart it and, if all went well, the sound will have been restored.
Method 2: Disable Audio Enhancements
In some cases, if you have enabled certain sound enhancements, the issue might be triggered. Therefore, in this step, we will be disabling all Audio enhancements. For that:
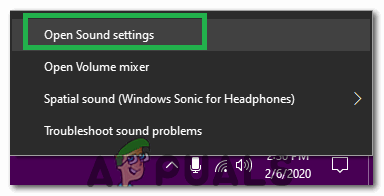
- Right-click on the “Speaker” icon in the bottom left side of the screen and select the “Open Sound Settings” option.
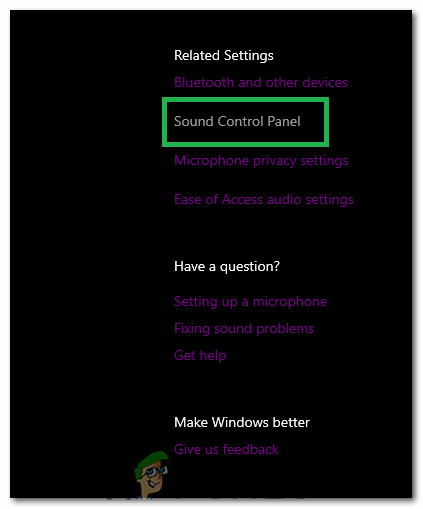
Clicking on the “Open Sound Settings” option - In the top right side, select the “Open Sound Control Panel” option and right-click on your “Speakers.
Selecting the “Open Sound Control” Panel option - Select “Properties” from the list and click on “Enhancements” in the next tab.
- Check the “Disable All Enhancements” option and click on “Apply”.
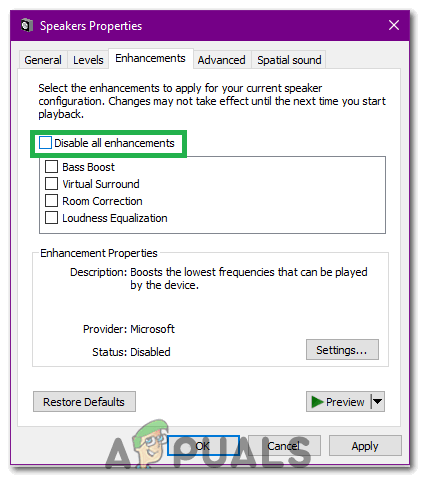
Checking the “Disable All Enhancements” option - Select “OK” to close the window and check to see if the issue persists.
Note: You can also try to boot your computer in a clean boot and check if that helps with the issue.
Method 3: Rolling Back Driver
In certain cases, the driver might not be properly installed and compatible with the hardware that is being used by the computer due to which this issue is being triggered. Therefore, in this step, we will be rolling back the driver and then check if the issue still persists. For that:
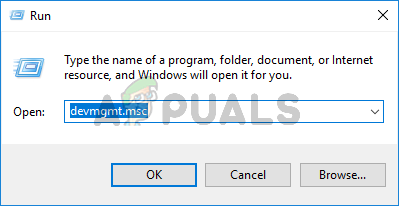
- Press “Windows” + “R” to open the Run prompt.
- Type in “Devmgmt.msc” and press “Enter”.
Type devmgmt.msc and Press Enter to Open Device Manager - Expand the “Sound, Video and Game Controllers” tab and right-click on the sound driver.
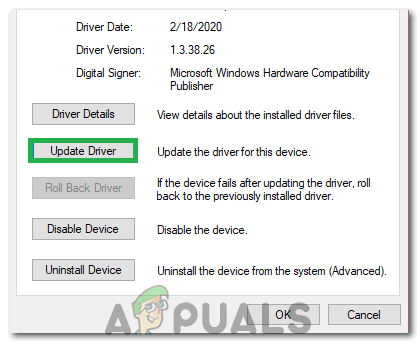
- Select “Properties” from the list and click on the “Driver” tab.
- Click on the “Rollback Driver” option and follow the on-screen prompts to roll the driver back to its previous version.

Selecting “Rollback Driver” option - After rolling back the driver, check to see if the issue persists.
Method 4: Using High Definition Audio
Third-party drivers are very glitchy on Windows 10 and that can be seen by observing the plethora of user complains on the Microsoft website about driver issues. That might be the thing that is wrong with your computer and you might be using glitchy drivers. Therefore, in this step, we will be using the Default HD High Definition Audio Drivers for your computer. In order to use these:
- Press “Windows” + “R” to open the Run prompt.
- Type in “Devmgmt.msc” and press “Enter”.
Type devmgmt.msc and Press Enter to Open Device Manager - Expand the “Sound, Video and Game Controllers” tab and right-click on the sound driver.
- Select “Properties” from the list and click on the “Driver” tab.
- Click on the “Update Driver” option and then select “Browse my computer for Driver Software“.
Clicking on the “Update Driver” option - After that, on the next screen, click on the “Let me pick from a list” option and select the “High Definition Audio Device” in the next screen.
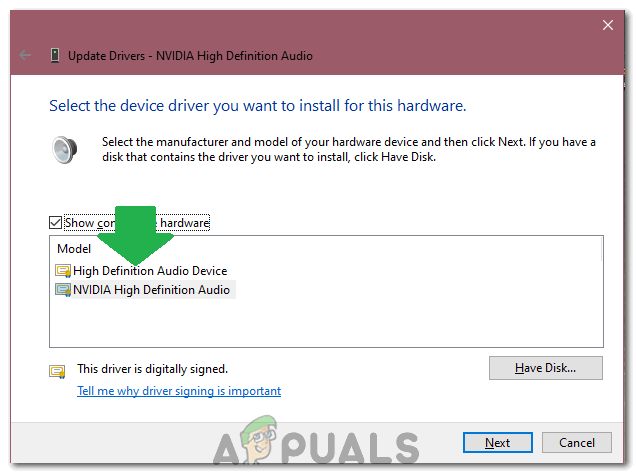
Selecting “High Definition Audio” from the list - Click on “Next” and follow the on-screen prompts to install the driver instead of the third-party one.
- Check to see if the sound works after doing this.
Note: If this doesn’t work, choose the Nvidia High Definition Audio in the 6th step and check again.
Method 5: Changing Memory Settings
In certain cases, your memory settings might be affecting the driver by preventing it from being able to utilize enough RAM to keep the Audio working. Therefore, in this step, we will be changing the memory settings and set it to a specific amount. For that:
- Press “Windows” + “R to open the Run prompt.
- Type in “msconfig” and press “Enter”.

Opening System configuration through Run - Click on the “Boot” tab and then select the “Advanced” button.
- In the advanced options, check the “Maximum Memory” option and type in “3072”.
- Click on “OK” and then close the window.
- Check to see if the issue still persists.
it says the driver is up to date already