How to Fix Monitor Randomly Going Black
A monitor randomly going black can interrupt work or gaming, with the screen turning off while the system keeps running. This usually means there’s a signal issue between the monitor and the computer, often due to loose cables, faulty ports, or power issues.
Outdated or faulty GPU drivers are the most common cause, leading to a temporary loss of signal. Other possible reasons include the graphics card overheating, a failing power supply, or a damaged monitor.
In this article, we will discuss different solutions to solve this issue.
1. Checking HDMI/VGA Cable
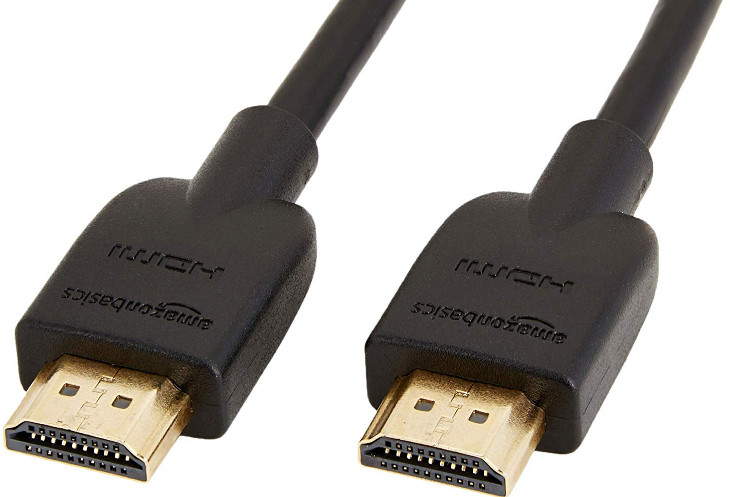
A loose or damaged HDMI or VGA cable can cause your monitor to go black. Ensure the cable is securely connected and not damaged to maintain a stable connection. Over time, cables can loosen or wear out, causing signal loss. Replacing a faulty cable or switching to a different port often restores stable video output and prevents disruption. This step helps identify connection issues before trying more complex fixes.
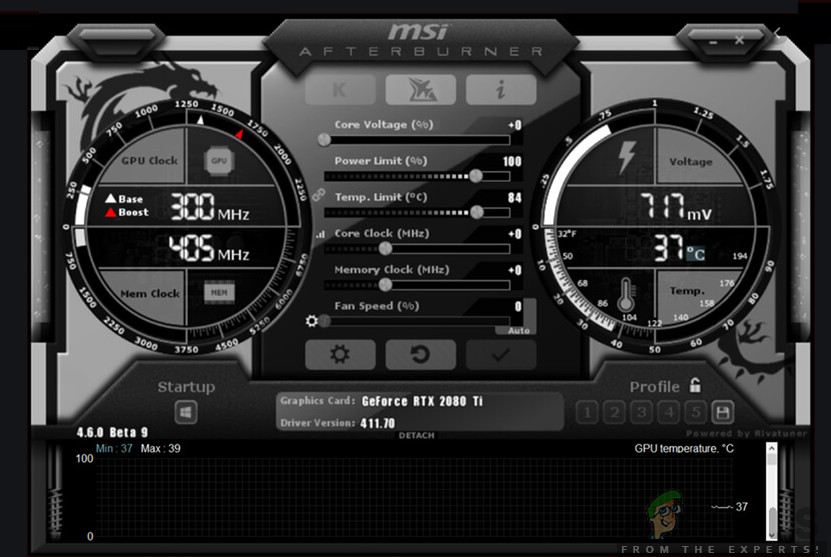
2. Disable Overclocking
Overclocking pushes hardware beyond limits, leading to instability. Disabling it reduces stress on the GPU or CPU, preventing overheating and driver crashes that cause the monitor to go black. Reverting to factory settings ensures safe operation and can resolve display issues.
You can check our article on detailed guide on Overclocking.
We recommend that you disable all types of overclocking and run your CPU at factory settings. Additionally, ensure that no computer enhancement programs are running, as they might conflict with the OS and graphics.
3. Update Windows
Updating your Windows OS can fix display issues like blackouts by improving hardware compatibility, GPU driver integration, and system stability. The latest build provides optimizations and patches to resolve problems from outdated software and maintain compatibility with new hardware and drivers.
- Press Windows + S, type “update” in the search box, and open the application.
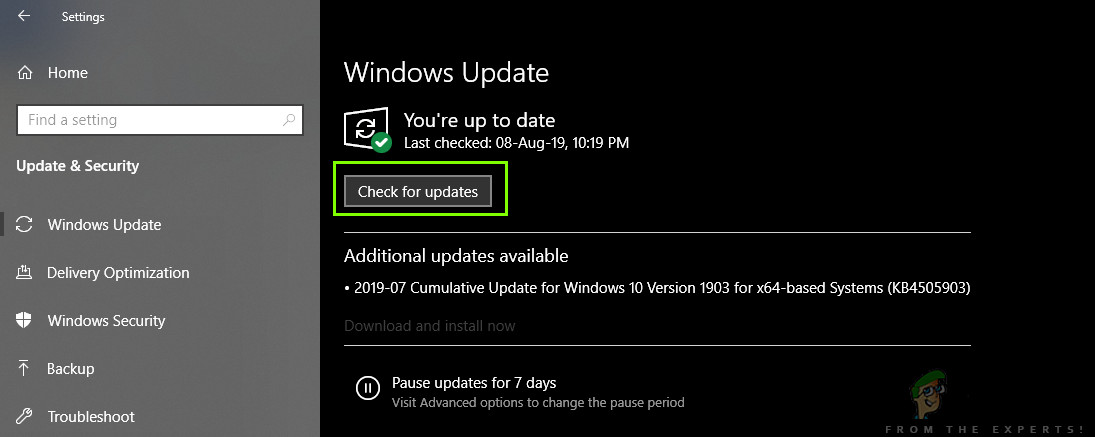
- In the Settings window, click Check for updates to search for and install any available updates.
4. Update Graphics Drivers
Outdated or corrupted graphics drivers can cause random black screens by disrupting GPU communications with the monitor. Updating drivers ensures the GPU uses the latest software, with bug fixes and improved compatibility. This resolves conflicts between the GPU and the operating system, restores stable display output, and prevents driver crashes.
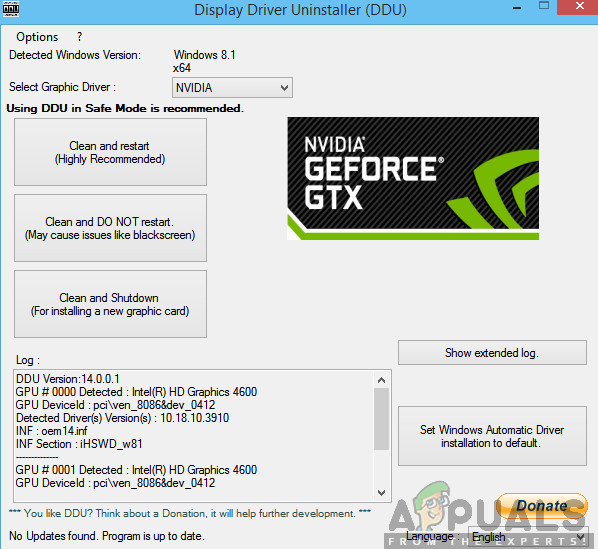
- Download and install DDU (Display Driver Uninstaller) from its official website.
- After installing Display Driver Uninstaller (DDU), launch your computer in safe mode. Refer to our article on how to boot your computer into safe mode.
- After launching DDU, select “Clean and restart”. This will completely uninstall the current drivers from your computer.
- After uninstallation, boot your computer normally without safe mode. Press Windows + R, type “devmgmt.msc” in the dialogue box, and press Enter.

- Right-click any space and select “Search for hardware changes”. The default drivers will install automatically. Try launching the game to see if the problem is solved.
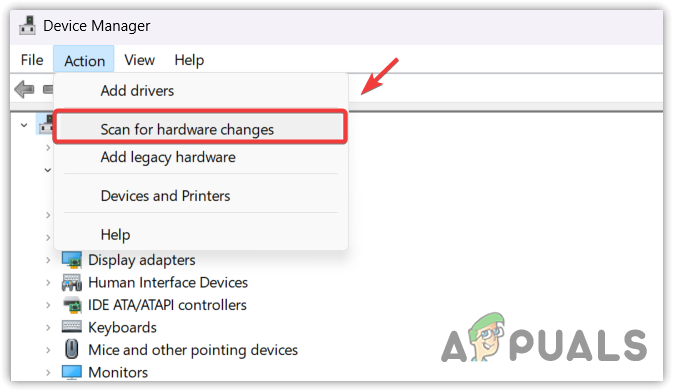
Scanning for hardware changes - If the default drivers do not work, install the latest drivers through Windows Update or download them from your manufacturer’s website.
- After installing the drivers, restart your computer and check if the problem is resolved.
5. Check your PSU (Power Supply Unit)
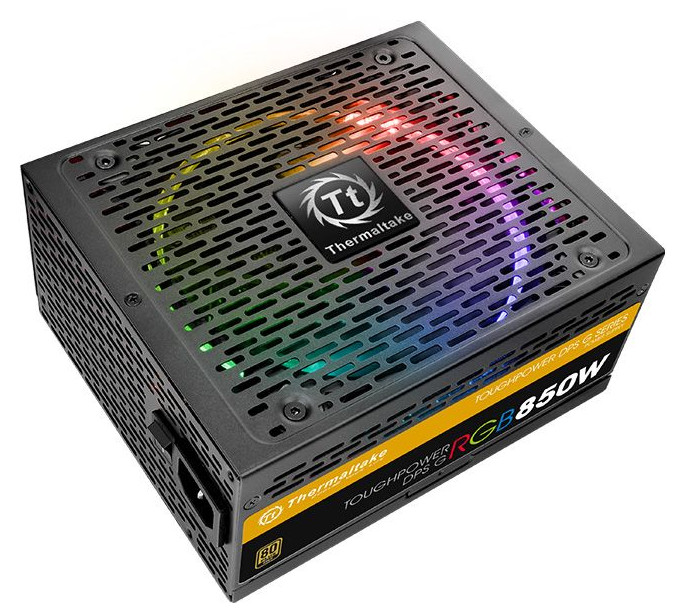
A faulty or insufficient PSU can cause the monitor to go black. If the PSU fails to provide stable power to the GPU or components, it can lead to sudden power losses and display cutouts. Ensure your PSU delivers enough wattage to meet your system’s demands, especially with high-performance components, to prevent blackouts.
6. Uninstall Third-party Programs
Sometimes, third-party software causes the monitor to go black by interfering with system operations. Uninstalling or disabling programs like GPU overclocking tools can resolve conflicts with GPU drivers or display settings and help determine if the issue is software-related.
- Press Windows + R, type “appwiz.cpl”, and press Enter.
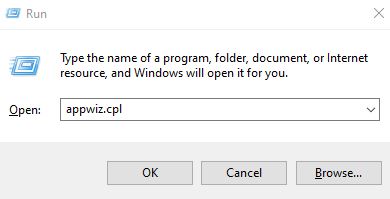
- Find the unnecessary applications, right-click, and choose Uninstall.
- Check if the issue is resolved.
7. Change Power Settings
Power settings affect energy distribution. Adjusting them prevents the monitor from entering low-power states that cause black screens. Use “High Performance” settings to ensure consistent power to the monitor and GPU, reducing blackouts.
- Press Windows + R, type “control panel”, and press Enter.
- Set View by to small icons, then click on Power Options.
- If set to Power saver, change it to High performance or Balanced.
- If needed, click Change plan settings and select Restore default settings for this plan.
- Save changes, restart your computer, and check if the issue is resolved.
8. Check your GPU
To address random black screen issues, checking the GPU is crucial. A faulty GPU can interrupt the monitor signal due to a bad driver, overheating, or unstable power. Ensure the GPU is seated, not overheating, and drivers are updated. Run stress tests or try the GPU in another system to confirm if it’s the issue.
- Press Ctrl + Shift + Esc to open Task Manager, then click “Device Manager” under the “File” menu.
- Locate Display adapters, right-click your graphics card, and choose Disable device.
- Restart your computer and see if the issue persists.
9. Check for Power Interference/Issues
Power fluctuations can cause a monitor to go black suddenly. Electrical interference or inconsistent power to the monitor or GPU may lead to brief signal loss. To check for power issues, ensure power cables are secure, the power supply provides enough wattage, and test the system on a different outlet or surge protector. This helps rule out power issues and ensures the hardware gets steady power, reducing screen blackouts.


It appears that the problem might not be with the computer and its related connections. About a week ago my wife reported that her monitor was going black for a few seconds, today my ,monitor decided to join hers in this activity. I just talked with my neighbor and is started doing the same thing several days ago, I called my nephew who live 200 miles away and his started do the same thing three weeks ago. He went out a purchased a new monitor and four days later it started doing the same thing.
It is too much to think that this situation is not some how connected to either electrical powerlines (that even sounds far fetched for me to consider), Flying Saucers ( another out there idea), or more like something with ? SUNSPOTS? Who knows, computers are like our kids, they do the damnest things at times, especially when we don’t have a camera handy.
I build computers, and this is a new one on me, usually a new video card, cable, monitor, or computer will solve the issue, if not a double barrel shotgun blast will (and before you ask, Yes, to three computers in the last thirty years.) BUT NONE of these have worked (except the shotgun blast – not attempted yet.)
The one and only solution we have found here it to turn the damn computer off and go watch TV. But if the computer is turned back on, here we go again.
THIS IS ONE FRIGGING SITUATION THAT PROVES WE HAVE ENTERED INTO A NEW AGE, THE COMPUTERS ARE NOW PLAYING WITH US, AS WE ONCE DID WITH THEM. AI HAS EVOLVED, MY FRIENDS.