How to Fix Mac Microphone not Working
Mac (also known as Macintosh or MacBooks) is a series of personal computers which are manufactured and designed by Apple. Macs are known to be premium and top-notch comprising of excellent hardware-software integration. They are direct competitors of Windows operated computers and are in a constant battle for more than a decade.
Despite the premium features and excellent hardware, there are still some issues which worry the users. One of these issues includes the Microphone not working in Mac computers. The microphone either doesn’t work at all, works only for some applications or works sparingly without any concrete guarantee.
What causes Mac’s Microphone not to Work?
After taking into account numerous user cases and surveys and combining the results with our own personal investigation, we came up with a list of causes as to why the microphone might not be working as expected. All of these causes might not be applicable to you but the fixes are.
- Low input volume: If the input volume of your Mac’s internal microphone is low, the sound might not get transmitted properly. Even if it does, if the setting is low, others will not be able to get your voice. Changing the microphone settings might fix the problem.
- Incomplete drivers: Drivers are the main components in connecting your microphone hardware with your operating system. If your drivers are outdated or they are corrupt in any way, you will not be able to use the microphone to its full capacity or properly. There are several workarounds which we will use to ensure correct drivers are installed.
- Corrupt settings: There is also a possibility that temporary settings stored inside your Mac device are either corrupt or incomplete. Here, we can try resetting all the settings to default so when you power up your device again, all the default settings are initialized.
- User account glitch: There is also a possibility that your user account is in an error state or has a glitch. This usually doesn’t happen but when it does, several modules might stop working including your Microphone.
- Application permissions: Mac has privacy settings where you can control which applications have access to the microphone. If the settings for microphones are revoked, you will not be able to use it.
- Application microphone level: Each third-party application usually has a setting for a microphone where you can set the level of input it processes. If the input level is low, sound may either be distorted or it may ‘feel’ it is not transmitting at all.
- Corrupt application: If you are experiencing the microphone not working for a specific application persistently even though the correct permissions are set, it is possible that the application’s installation is corrupt. Reinstalling the application works here.
- Third-party peripherals: There are numerous instances where you have other peripherals connected to your Mac computers. Sometimes, this conflict with your microphone and speakers and may not work properly. Disconnecting and then trying again works here.
- Interference from other third-party software: You might also be experiencing interference from other third-party software which might be conflicting with your microphone module. Here we can boot your computer in safe mode and see where it leads us.
- Microphone obstructed: This case is very rare but we found some cases where the microphone was obscured by tapes or stickers. If this is the case, the voice will not get transmitted properly.
- Noise reduction: Mac computers have a feature of ‘noise reduction’ which reduces the background noise in the sound input. This module might sometimes work incorrectly and cause your voice to be cut off as well.
- Multiple inputs: If you have multiple microphone inputs connected, it is possible that they are not selected correctly or either one of them is muted.
- Physically damaged: If the microphone is physically damaged, you will not be able to get input from it. Here your best bet is taking it to an Apple technician to get it looked into.
In this article, we will cover all the reasons as to why this issue might occur, what the possible causes are and what you can do to fix it. Make sure that you follow the solutions starting with the first one and work your way down accordingly. They are listed according to the level of difficulty and usefulness. Also, make sure that you save your work before proceeding as we will be turning off the computer again and again and might even reset some configurations.
Solution 1: Checking Application Permissions
If you are using an application and noticing that your voice isn’t getting transmitted properly or isn’t transmitting at all, there is a chance that the specific application isn’t granted enough permissions in your Mac computer. macOS has a permissions page in settings where it lets users control which applications have access to the computer’s microphone and camera. In this solution, we will navigate to your settings and make sure that the application has proper permissions to get all its modules to work as expected.
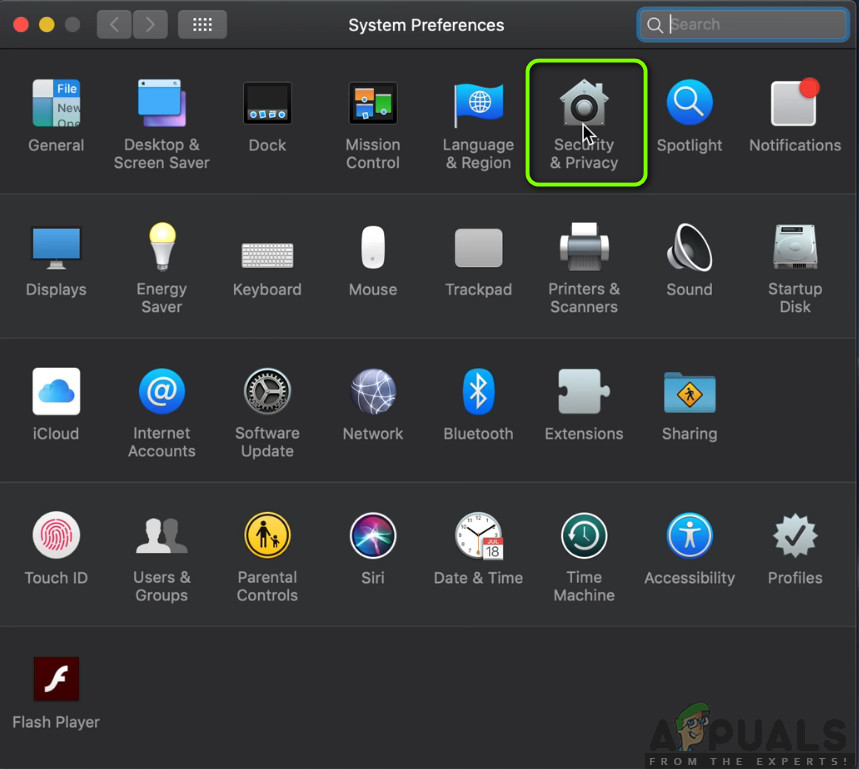
- Navigate to System Preferences by clicking the Apple logo present at the top-left side of the screen.
- Once in system preferences, select the option of Security and Privacy.
- Once in Privacy settings, click on Microphone from the left navigation pane. Now on your right side, you will see all the applications which can be granted access to your microphone.
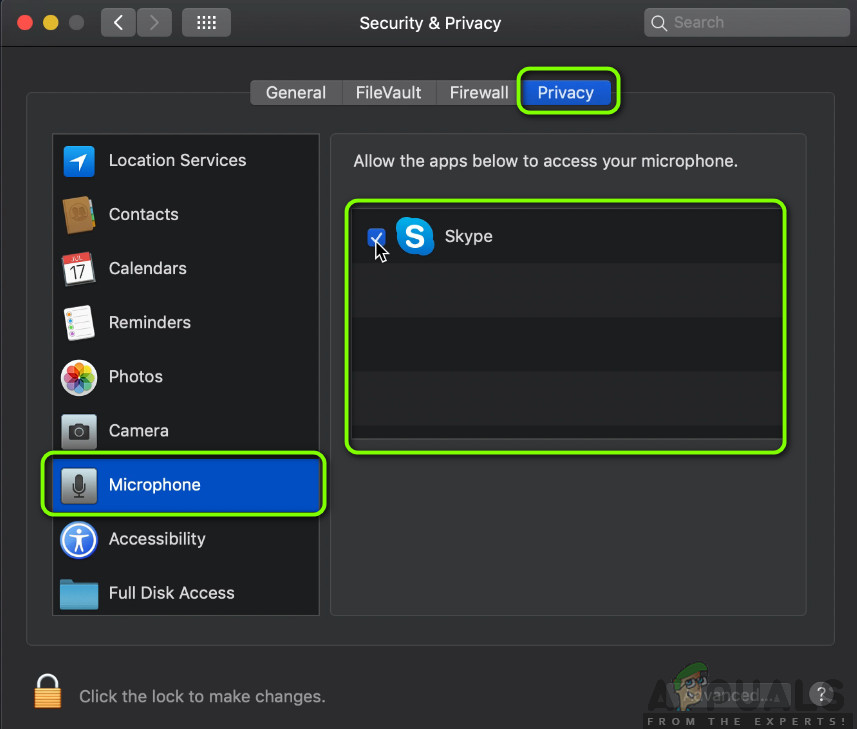
- Here you can check or uncheck which application you want to grant permission to. Locate the problematic application and make sure it is checked. Save changes and exit.
- Now restart the application and test the microphone. See if the issue is resolved.
Note: If you cannot make changes, you need to click the lock button at the bottom of the small window and enter your credentials to change the settings.
Solution 2: Checking Application Input Level
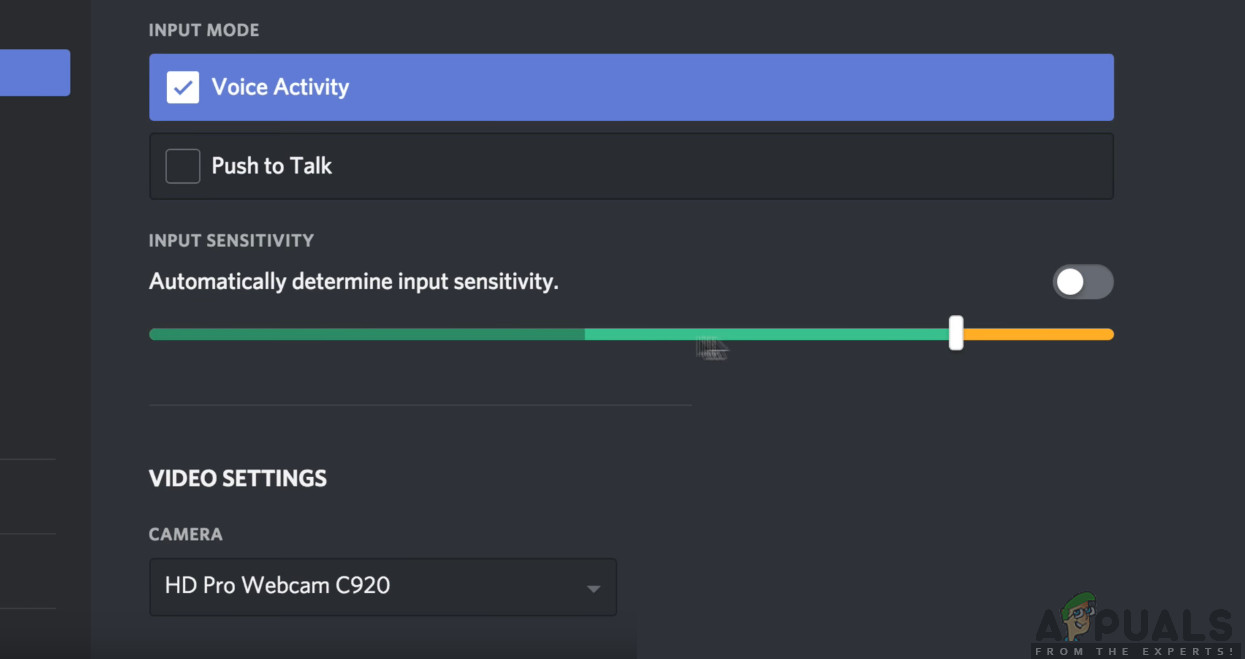
Before we move on in testing the microphone, you should make sure that your application’s microphone settings are set in the correct configuration. Each application has its own sound and microphone settings which allows users to change the input level as well as the speaker level. There are also settings present such as Push to talk or Voice Activity. Our point is that each application has its own settings and you need to explore yourself and make sure the microphone is set properly.
Once you are absolutely sure that there no issue from the application side and all the settings are set correctly, you can move on.
Solution 3: Adjusting Input Volume
First things first, you should check whether the input volume of your microphone in your Mac computer is set to acceptable levels. The input level signifies the level at which the computer will ‘read’ and transmit the voice levels. For example, if you have a low input level set, your voice might be very faint or distorted. If you set very high input levels, your voice might be very loud and will disturb the listeners. Finding the right balance is the key in a good microphone volume. In this solution, we will navigate to your Mac settings and adjust the input volume so the optimal sound is transmitted.
- Open up System Preferences as we did in the earlier solution and then navigate to the Sound
- Now select Input from the top bar and then select Internal Microphone.
- Now slide the input volume towards the right side to increase. Now when you speak, you will see the Input Level Save changes and exit.
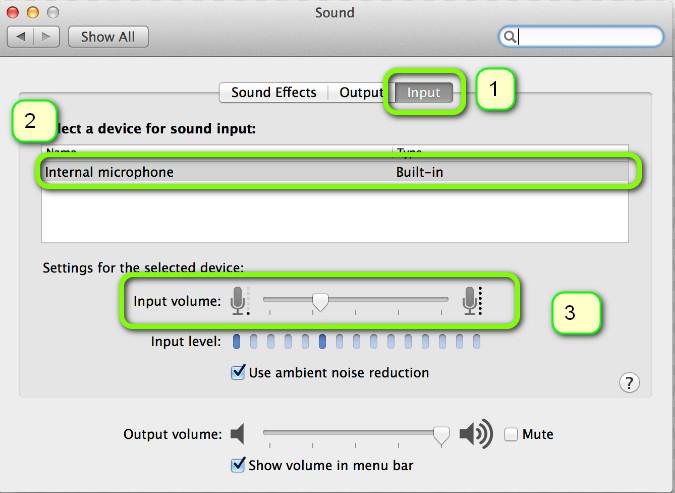
- Now test whether the issue is resolved or not. You can gradually increase the slider to let more voice into your computer.
Note: If you have any additional microphones connected to your computer and are having issues in getting a sound through them, you can select them and then adjust their input levels as well.
Solution 4: Disabling Ambient Noise Reduction
Mac computers have an option which reduces unwanted ambient sounds and active noise. Even though active noise might not be up to the standard of professional headphones, it still makes a difference. Usually, the option of ambient noise reduction is enabled by default in Mac computers. This feature might seem useful but we got several user reports which stated that it was conflicting with their microphone’s normal noise input where it was either too dim or sometimes the voice refused to be transmitted at all. Here in this solution, we will navigate to Sound settings and disable the option.
- Open up System Preferences as we did in the earlier solution and then navigate to the Sound
- Now select Input from the top bar and then select Internal Microphone.
- Now uncheck the option of Use ambient noise reduction. You can also select other microphones connected and disable the noise reduction from there as well.

- Save changes and exit. Now check whether your microphone is working as expected.
Solution 5: Turning on Dictation
Mac computers have a nifty feature of dictation where your spoken words get converted into text whenever you need them to be. This is very useful for writers and is used a lot in corporate environments. Even though this feature is not related to the microphone not working, we found out that enabling Dictation caused Mac computers to download specific audio drivers. These audio drivers seem to fix the microphone not working condition. When you enable dictation, the drivers are automatically queued, downloaded, and installed.
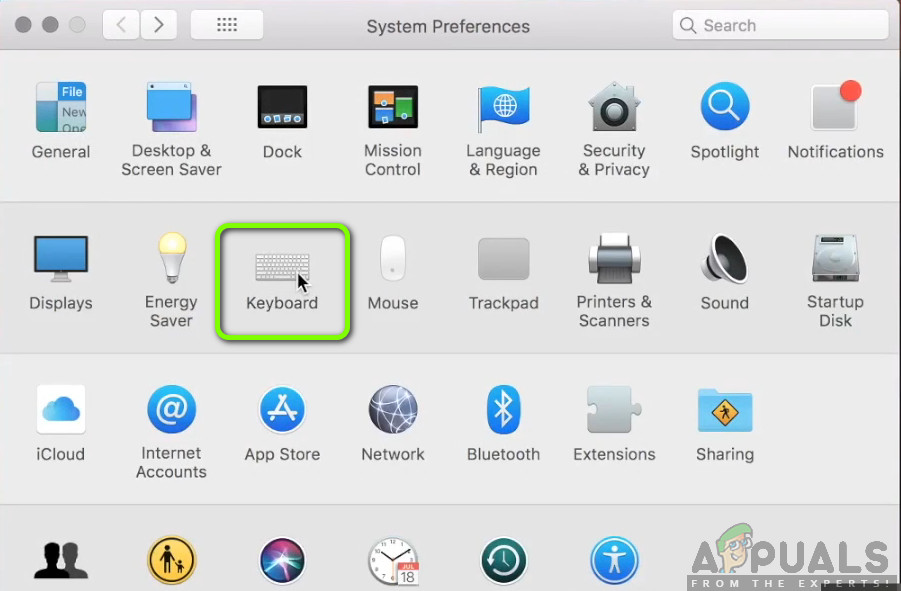
- Open System Preferences like we did in the earlier solutions and click the category of Keyboard.
- Once Keyboard settings are opened up, click on the Dictation option present at the top. Now turn the feature to On and check the option Use Enhanced Dictation.
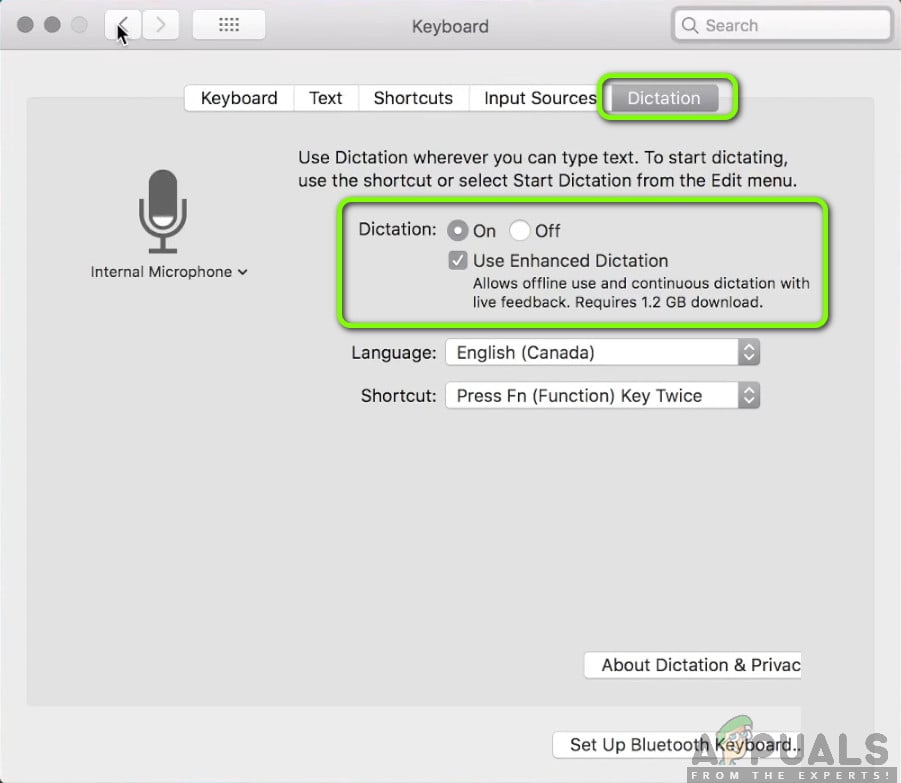
- Save changes. Now, your Mac will automatically start installing the related drivers. You will see the progress present at the bottom-left side of the screen. After the drivers are downloaded and installed, save changes and exit.
- Now restart your machine and see if the issue is resolved.
Solution 6: Disconnecting third-party peripherals
If all the above methods don’t work, we will troubleshoot whether the issue is because of third-party peripherals connected to your computer. This might seem odd but we found that third-party peripherals can cause conflicts with the Mac operating system. Many users reported that disconnecting all peripherals and restarting their system solved the problem instantly.
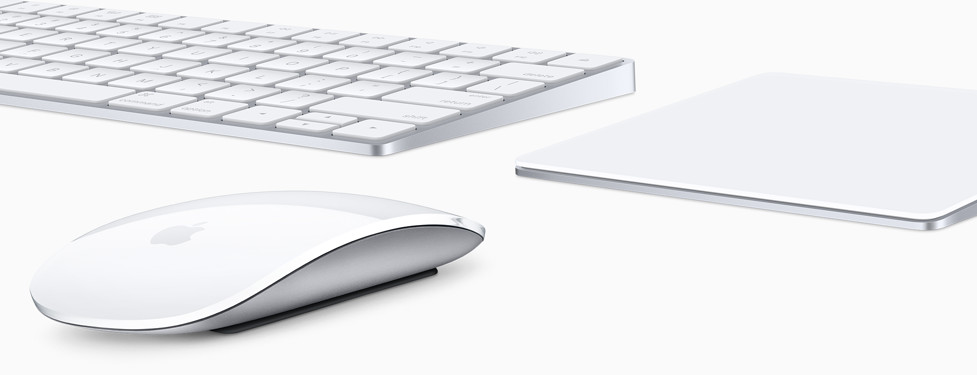
Here, peripherals also include any additional microphone or headphones connected to your computer. This also includes mice and keyboard. Disconnect each and every peripheral and then check whether the microphone is registered on not.
Solution 7: Resetting PRAM or NVRAM
NVRAM (also known as Non-Volatile Random-Access Memory) is a small block of memory which is used by your Mac computer to store specific settings so it can access them later on. PRAM (Parameter RAM) is basically the same thing and both memories can be reset using the same method. All your configurations are stored here and if there is any issue in them (they are corrupt or incomplete), we can try resetting so all everything is set to default.
Note: In some cases, some temporary or customizable configurations will be lost so make sure you know how to revert them. Save all your work before proceeding.
- Shut down your Mac computer. Now when you turn it back on, you need to press the following keys at once together:
option (alt) + command + P + R

- Wait for around 20-30 seconds before releasing all the keys. During this time, your Mac will appear to start. Now there are two scenarios where you have to release the keys:
In some Mac computers, you will hear a startup sound the second time (the first time will come when you just opened your Mac before pressing the keys). When you hear the second startup sound, release the keys.
In other Mac computers where there is Apple T2 Security Chip, you can release the keys after the Apple Logo appears and disappears the second time.
- After the computer starts up, you can navigate to your settings and see if it was of any good.
Solution 8: Creating a new User Account
If all the above methods don’t seem to solve the problem, you should consider creating a new user account. Normally, user accounts in Mac computers don’t get corrupt or have issues. However, there are exceptions where this happens and creating a new account will help diagnose the problem. Here, we will first create a new account and check. If the microphone is working properly, this means that there is no physical problem and the issue can most likely be solved using the methods below. If it doesn’t, you can consider moving your data to this account.
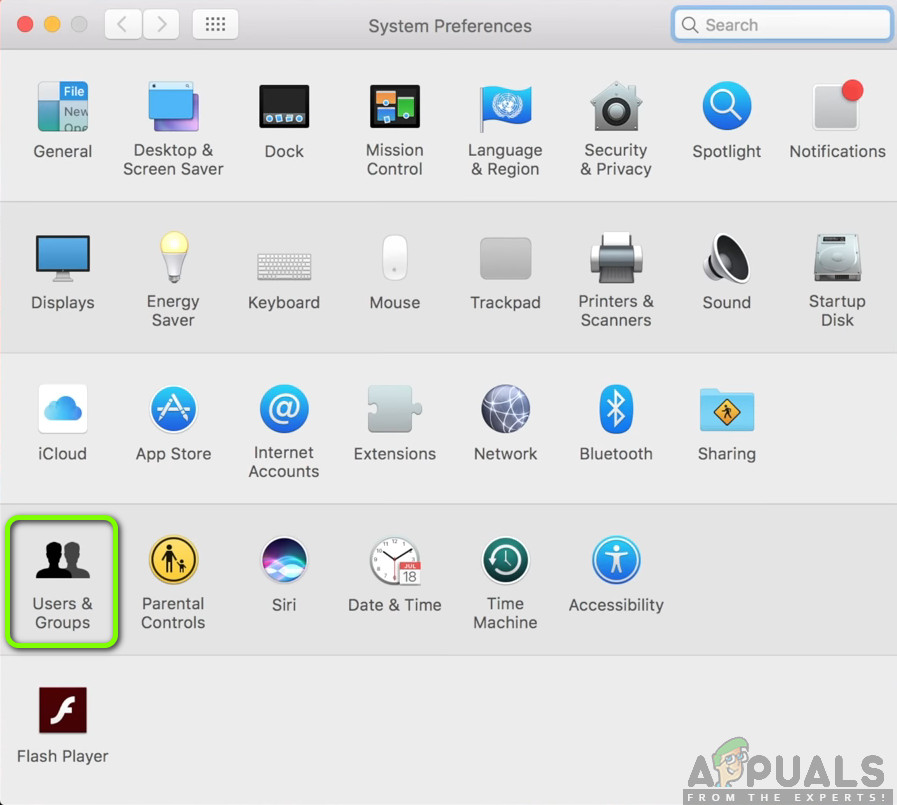
- Navigate to System Preferences and then navigate to Users & Groups.
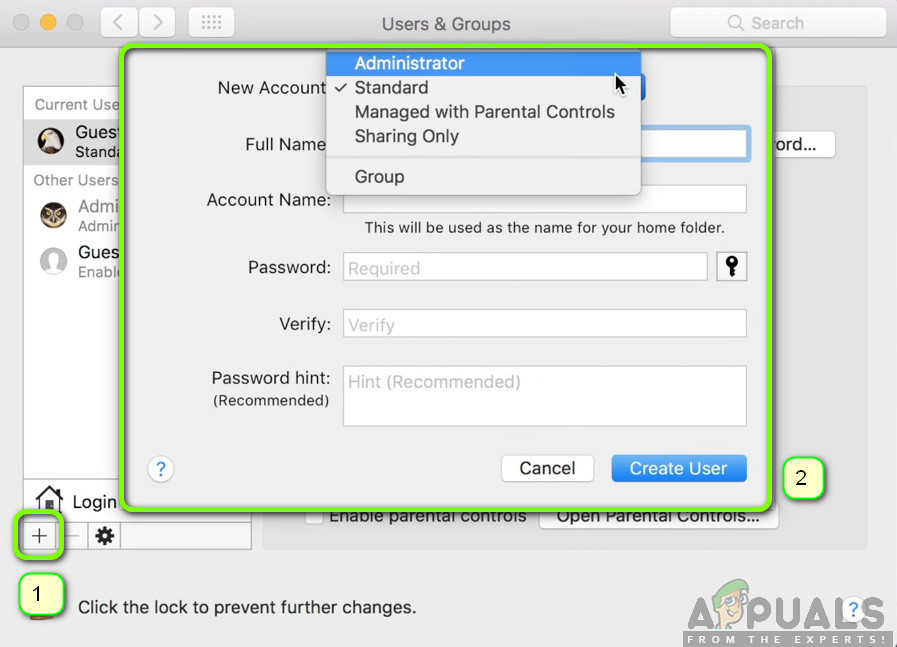
- Once in Users & Groups, click on the + button present at the bottom-left side of the screen. A new window will pop up. Add the details necessary including the account type and click on Create User.
- Now Log off your computer. This is very important. After logging off, restart your machine and log into the new account. Check if the issue persists there.
Solution 9: Resetting the SMC (for Intel-based machines)
The SMC in your Mac machine is responsible for several functions including battery management, thermal management, keyboard backlighting, etc. According to the official Apple website, you might need to reset the SMC if you experience any bizarre behavior or issues in your Mac machine which includes the microphone not working properly. Now there are several variations through which you need to reset the SMC. These variations include the computer having a battery or not or it has the new T2 security chip. In this method, we will go over how to reset the SMC for normal Mac computers. You can navigate to Apple’s official website to get methods on how to reset the T2 security chip.
Resetting SMC on Mac Notebook (non-removable battery)
This solution is targeted towards newer machines in which you cannot remove the battery.
- Shut down your machine by Apple menu > Shut down.
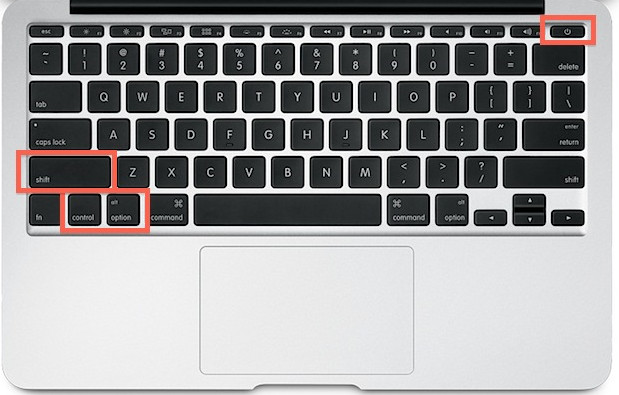
- After your Mac shuts down, press Shift – Control – Option on the left side on the built-in keyboard. Then press the power button at the same time. You have to press all these keys (including the power button) for 10 seconds.
- Release all the keys after 10 seconds and then press the power button again to turn on your computer again.
Note: If you have a Touch ID, the Touch ID is also the power button.
Resetting SMC on Mac Notebooks (removable battery)
Earlier models of Mac machines had the option to remove the battery while the newer models do not. This is targeted towards older machines. Here, we will simply power cycling the machine.
- Shut down your machine and remove the battery.
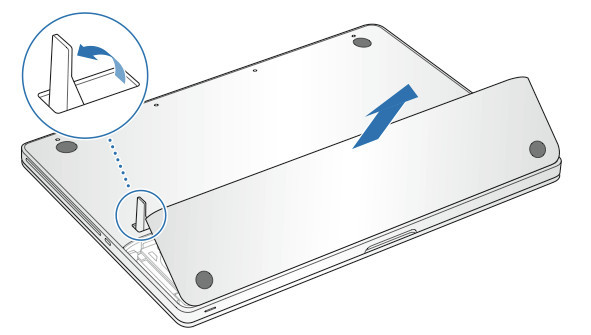
Removing battery – macOS - Once the computer is disconnected from power, press and hold the power button for about 10 seconds.
- Now reinstall the battery and power on your computer. Check if the issue is resolved.
Solution 10: Checking for Physical Damage/Obstruction
If all the above methods don’t work out, there are chances that your microphone is physically damaged. Microphones usually get physically damaged if some object (including pins) are inserted to clean the area. The microphone might also not work if it is physically obscured. We came across several use cases where the microphone was obscured by tapes and other objects which caused the machine not to pick the sound.
Here, you should get your computer checked by a verified technician. If you have a warranty, consider going to an Apple store. They will analyze your computer and guide you accordingly. Before making the trip, you can launch the Apple support website and talk to the support group.


