How to Fix a Non-Responsive Finder on Your Mac
A non-responsive Finder on your Mac typically manifests as the inability to open Finder windows, disappearing desktop icons, or frozen file operations. This usually means Finder is stuck, and restarting it doesn’t help. It’s often because the Finder settings file is corrupted, especially after macOS updates like Ventura or Sonoma.
Other reasons might be your system doing too much, issues with external drives, or problems with iCloud syncing.
In this article, we will discuss several ways to solve this error.
1. Restart the Finder
Restarting Finder can often fix issues by resetting its processes without a full system reboot. This simple step can resolve small glitches and memory problems, restoring function without affecting the rest of your computer. It’s a quick and easy first step before trying more complex solutions.
- Open Finder. It should be the active application on your Mac.
- Hold the Shift key, click on the Apple icon, and select Force Quit Finder.
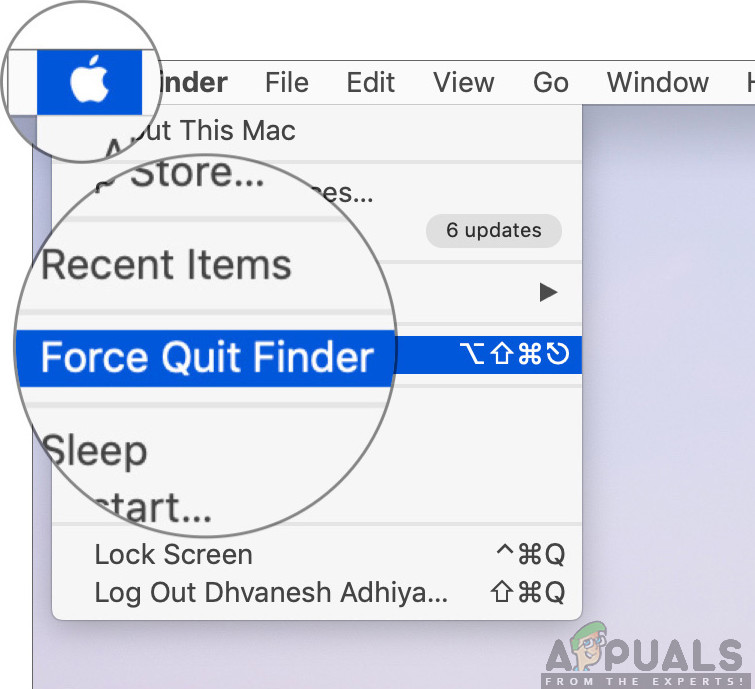
Force Quitting Mac Finder - If Finder doesn’t restart automatically, manually open it to check its functionality.
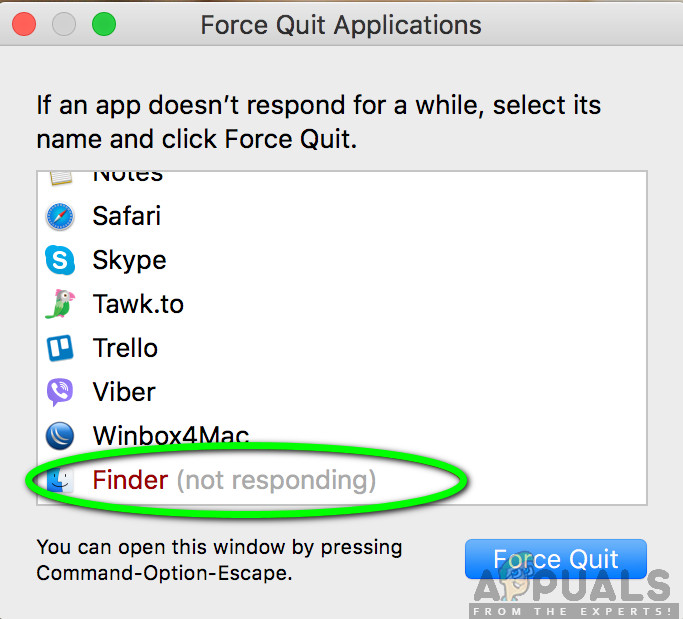
If the above method fails, try using the Force Quit Applications window:
- Press CMD + Option + Esc on your keyboard.
- In the list of running applications, find Finder and click Relaunch.
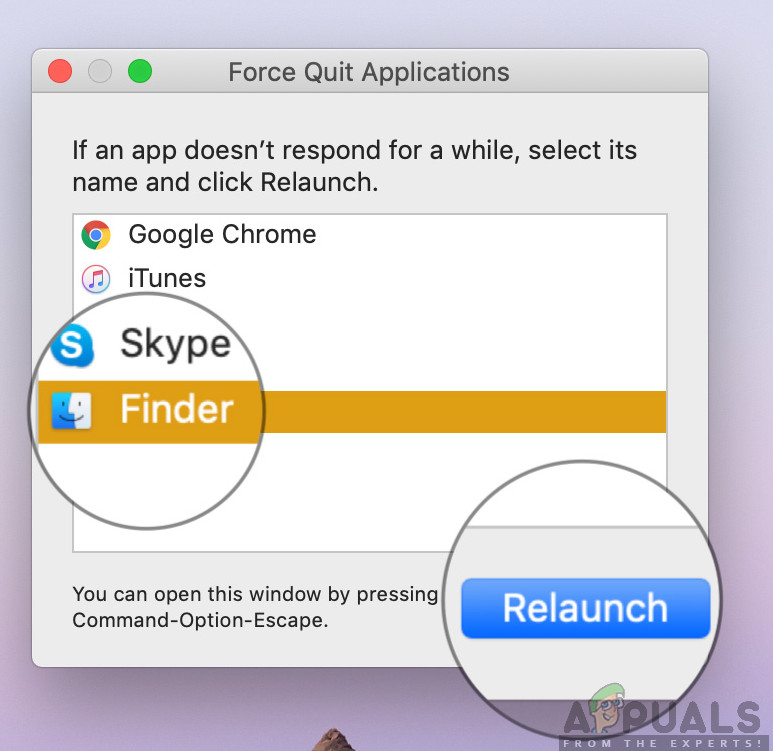
Relaunching the Finder – macOS - Check if Finder is now functioning correctly.
Alternatively, you can relaunch Finder from the Dock:
- While holding the Option key, right-click on Finder in the Dock.
- Select Relaunch. Finder should automatically relaunch and hopefully operate normally.
2. End the Process from Activity Monitor
By using Activity Monitor to stop Finder, you force it to close if it’s stuck. This doesn’t just shut down Finder; it also restarts it fresh, clearing any errors. This is useful when you can’t restart Finder by normal means and helps fix problems like memory leaks or unresponsive behavior. It’s a fast way to fix issues without restarting your computer.
- Open the Finder and go to the following path:
/Applications/Utilities/
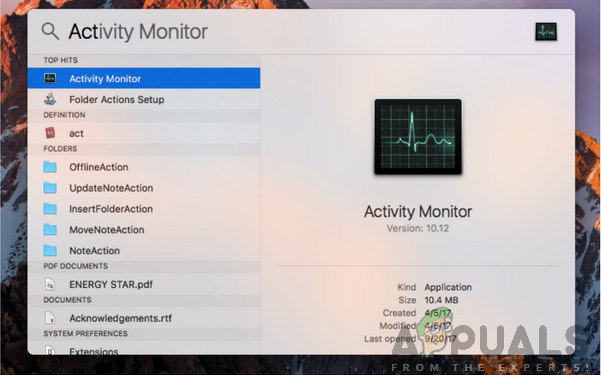
Alternatively, use Spotlight by pressing Command + Spacebar and search for “Activity Monitor.”
- Locate Activity Monitor, open it, and end the task or restart the process.
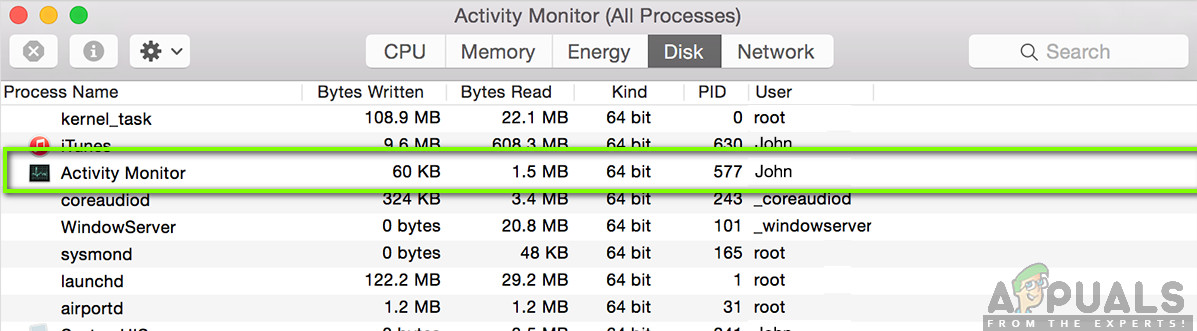
Ending Activity Monitor Task - Relaunch Finder afterward and verify if the issue persists.
3. Delete the Preferences Files
Clearing Finder’s preference files is like giving it a fresh start by removing bad settings that might cause problems. These files store Finder’s setup, and if they get corrupted, Finder might not work right. Deleting them makes macOS create new default settings, which can fix freezing or other issues. This doesn’t affect your files; it just resets Finder to its default state.
Important: Save all work before proceeding, as a restart will be required.
- Open the Terminal application from Applications > Utilities, or by performing a Spotlight search for Terminal.
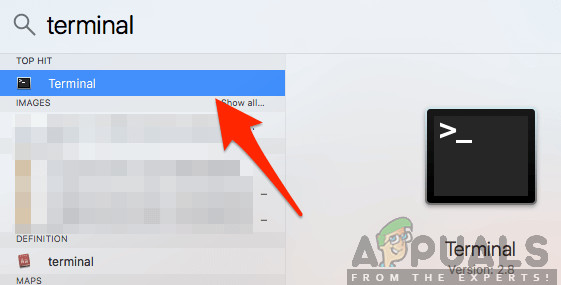
Launching Terminal – macOS - Execute the following command in Terminal to delete Finder’s preferences, ensuring you have administrative privileges:
sudo rm ~/Library/Preferences/com.apple.finder.plist
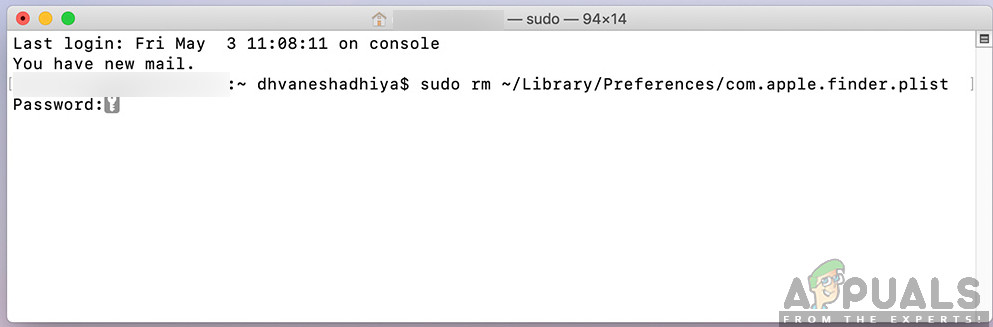
Deleting Finder Preferences
- Restart your computer and try opening Finder again to see if the issue is resolved.
4. Power Cycling Your Mac
Restarting your Mac with a power cycle fixes temporary issues causing Finder to freeze. By completely shutting down and cutting power, all processes, including stuck ones like Finder, reset. When you restart, macOS reloads, often fixing unresponsive software problems.
- Log out of your profile and shut down your Mac.
- Disconnect the power cable and all peripherals, and wait for 4-5 minutes.
- Press and hold the power button to turn on the computer, log in, and attempt to launch Finder to check if the problem has been resolved.
5. Clear Storage
Clearing storage is crucial for your Mac’s smooth performance, especially with Finder issues. A full hard drive limits space for temporary files, slowing down Finder and causing unresponsiveness. Freeing up space reduces strain, helping macOS manage resources better and fix Finder problems.
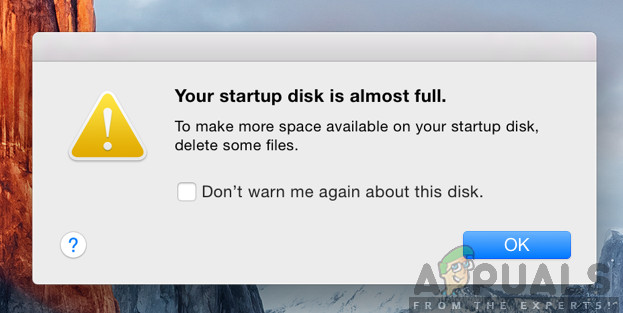
Remove unnecessary files, such as large media files, and empty the Recycle Bin. If needed, use disk cleaning utilities to free up more space. After securing at least 5-6 GB of free storage, restart your computer and try using Finder again.
6. Check Third-Party Plugins
Third-party plugins can interfere with macOS features like Finder. By disabling them, you remove conflicts that might cause Finder to crash or freeze. Some plugins may not work well with recent macOS updates. Removing or updating them can help Finder run smoothly again and pinpoint if they’re causing the issue.
- Go to the Applications folder, switch the view to List, and review all installed applications.
- Select and uninstall any application you suspect may be causing the issue.
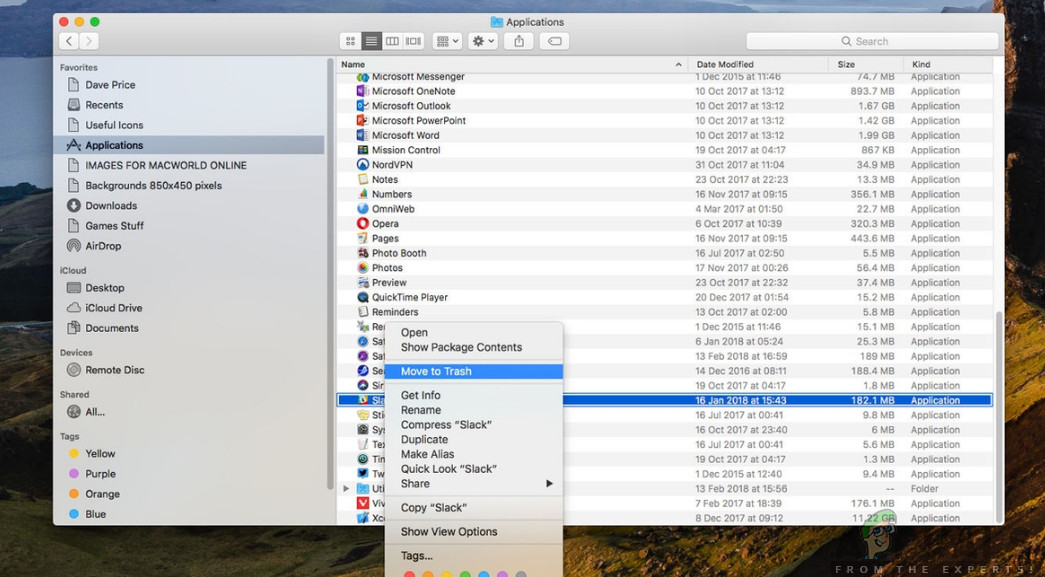
Uninstalling Mac Application - Afterwards, restart your Mac and open Finder to test if the problem has been fixed.
7. Reset Mac to Factory Settings
If nothing else works, resetting your Mac to factory settings can be a last option. This erases all apps, settings, and data, clearing any software issues causing Finder problems. It returns the system to its original state, removing hidden issues. Remember to back up your important files first, as everything on the device will be erased.
- To enter Recovery Mode, restart your Mac and hold the command + R keys.
- Select Disk Utility, choose your startup disk, and click Erase. Set the format to Mac OS Extended (Journaled) as prompted.
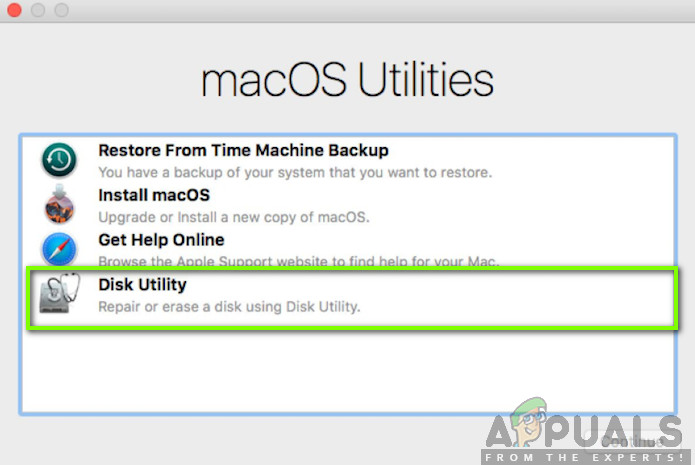
Resetting Mac to Factory Settings - Exit Disk Utility and select Reinstall macOS from the recovery menu to start the reinstallation process. By the end of the process, Finder should be working correctly.


Thanks for sharing, helped so much!