How to Fix iusb3xhc.sys BSOD
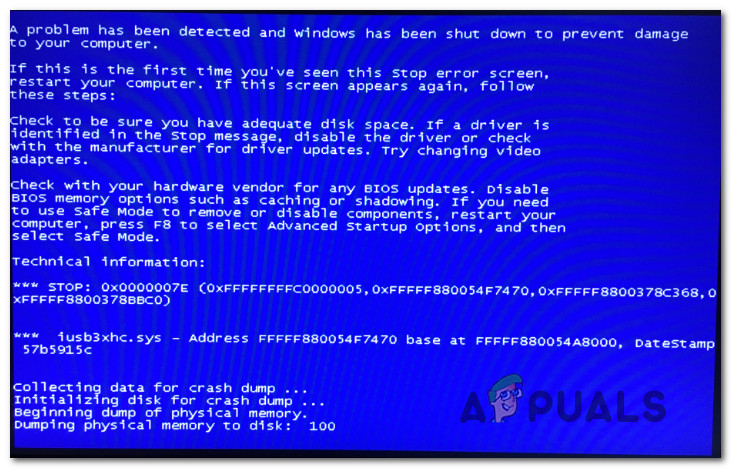
Several users have been reaching us with questions after getting constant BSOD (Blue Screen of Death) crashes that point towards iusb3xhc.sys as the culprit responsible for the critical system shutdown. Most affected users come to this conclusion after seeing iusb3xhc.sys mentioned in the crash screen or after viewing the crash log using Event Viewer. The issue is not specific to a certain Windows version as it’s commonly reported on Windows 7, Windows 8.1 and Windows 10.
What is causing the iusb3xhc.sys BSOD crashes?
We investigated this particular issue by looking at various user reports and the repair strategies that are commonly being used to fix this particular error message. As it turns out, there are multiple causes that could lead to a BSOD of this kind. Here’s a shortlist of potential culprits that can cause constant iusb3xhc.sys blue screens:
- Corrupted / Incompatible USB Host Controller drivers – As it turns out, this particular issue can also occur due to a corrupted or incompatible Host USB Controller driver. If this scenario is applicable, you should be able to resolve the issue by uninstalling the Host USB controller drivers via Device Manager and reinstalling them at the next system startup.
- Intel Chipset drivers are not installed – Missing Intel Chipsets can also be a potential cause for this issue – especially if you’re using a motherboard that is designed to work with these drivers. In this case, you should be able to resolve the issue by using the Intel Support Assistant utility to install the missing firmware.
- System file corruption – System file corruption is another possible cause that might lead to unexpected BSOD crashes related to the iusb3xhc.sys file. If this scenario is applicable to your particular case, you can resolve the issue by fixing the corrupted system file with a utility like DISM or SFC.
- Overprotective security suite – Judging from various user reports, this particular issue can also be caused by an AV or firewall that is interfering with the host controller driver. In most cases, Karsperksly is singled out as a culprit capable of quarantining a dependency of the Host controller driver. In this case, you can resolve the issue by uninstalling the 3rd party security suite and removing any remnant files.
- Cached memory issue – Another possibility is that you’re dealing with badly cached data regarding the usage of your memory. If this scenario is applicable, you will be able to resolve the issue simply by opening the case of your unit and taking out the CMOS battery.
Method 1: Reinstalling the USB Host Controller Drivers
In most cases, this particular issue is caused by an improper or corrupted Host USB Controller driver. Several users that we’re also encountering this issue have reported that the issue was resolved after they reinstalled all USB Host controller drivers.
It’s possible that one or more USB controllers have become tainted by file corruption. In this case, you should be able to resolve the issue by using Device Manager to remove or reinstall the USB Host controller responsible for the critical crash.
Here’s a quick guide on uninstalling & reinstalling the USB controllers using Device Manager:
- Open a Run dialog box by pressing Windows key + R. Then, inside the run box, type “devmgmt.msc” and press Enter to open up Device Manager. If you’re prompted by the User Account Control (UAC), click Yes to grant administrative privileges.
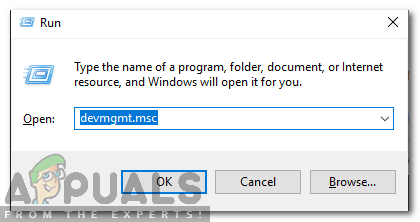
Typing “devmgmt.msc” in the run prompt. - Once you’ve made your way inside Device Manager, scroll down through the list of installed devices and open the drop-down menu associated with Universal Serial Bus controllers.
- Next, right-click on every Host controller under Serial Bus controllers and choose Uninstall Device from the context menu. Then, click Yes at the confirmation prompt to uninstall the host controller.
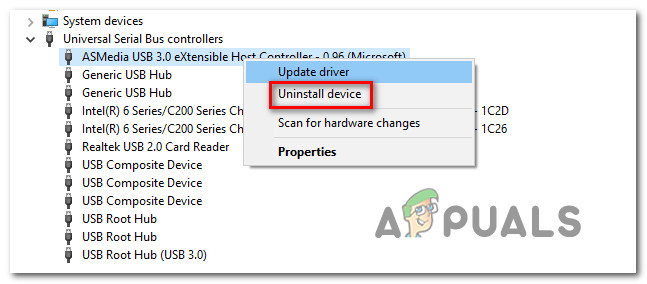
Uninstalling every available host controller - Repeat step 3 with every USB host controller until every driver is uninstalled. Then, close Device Manager and restart your computer.
- At the next startup sequence, Windows will automatically install fresh drivers to replace the ones you uninstalled earlier.
Note: If you have Windows 7 or older, WU might not install those drivers automatically. In this case, you’ll need to navigate to your manufacturer’s website and download the drivers. Additionally, you can reinstall the drivers from the installation media that you received with your motherboard. Or, you can use Intel’s generic eXtensible Host Controller drive – Download (here) - Once every driver has been reinstalled, use your computer normally and see if the same BSOD is still occurring.
If the same issue is still occurring, move down to the next method below.
Method 2: Installing the Intel Chipset drivers (if applicable)
As it turns out, this particular issue can also occur in instances where you’re using a motherboard that is designed to work with Intel chipset driver. If you’re using Windows 10, you’re OS should automatically install the required chipset drivers. But on older Windows versions (or if your Windows copy is not activated), chances are you’ll need to do it manually in order to resolve the iusb3xhc.sys related BSODs.
Here’s a quick guide on installing the required Intel Chipset drivers automatically using the Intel Driver & Support Assistant (Intel DSA):
- Visit this link (here) and click the Download Now button to download the Inter Driver Support assistant.
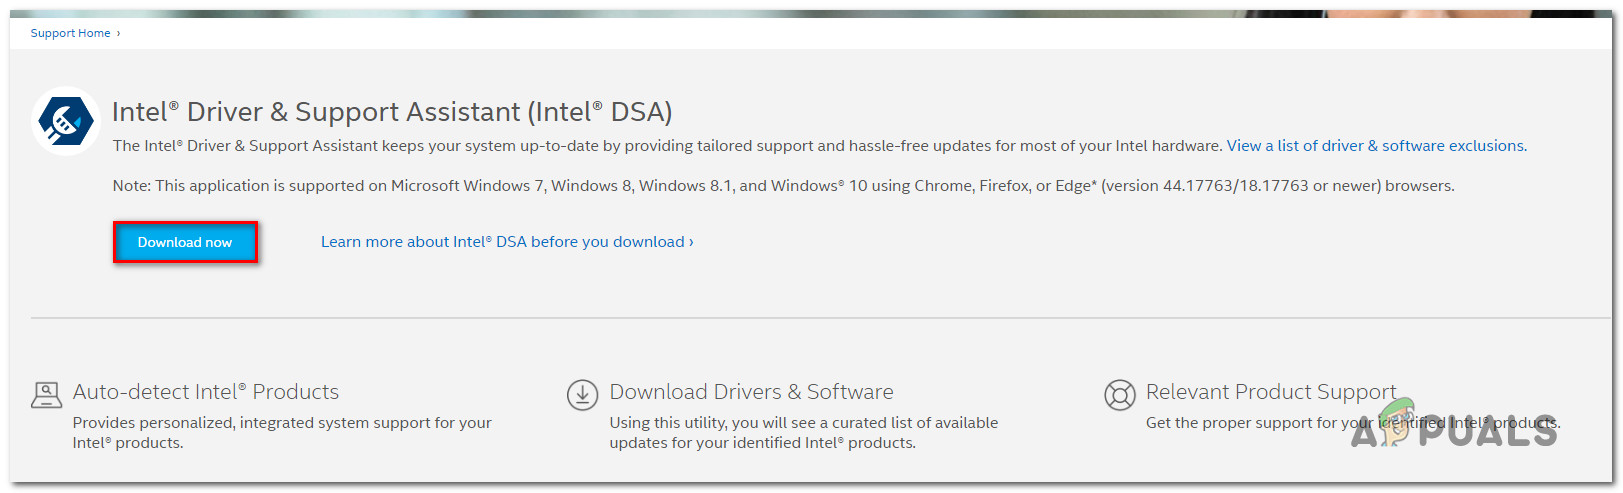
Downloading the Intel Support Assistant utility - Wait until the installation executable is downloaded, then double-click on it and follow the on-screen prompts to install the Intel Support Assistant on your computer. Start by checking the box associated with I agree to the license terms and conditions, then click on Install and hit Yes at the UAC Prompt.
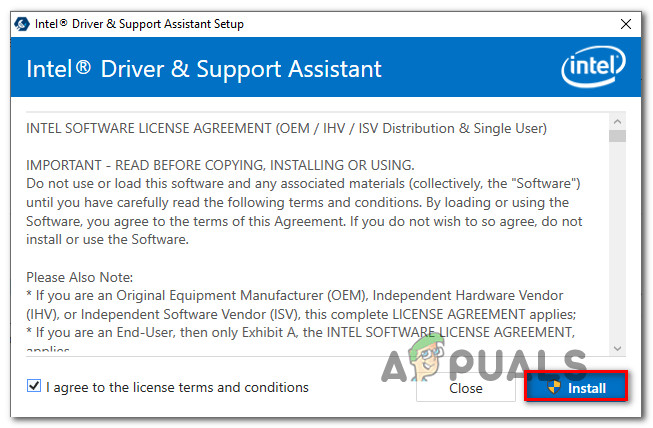
Installing the Intel Support Assistant utility - Wait until the installation is complete, then open Intel Support Assistant and follow the on-screen prompts to install every pending Intel Driver.
- Once all pending drivers have been installed, close the utility and restart your computer. At the next startup, see if the issue has been resolved.
If you’re still encountering BSOD crashes related to the iusb3xhc.sys file, move down to the next method below.
Method 3: Running SFC and DISM checks
As it turns out, unexpected BSODs related to iusb3xhc.sys can also occur due to an underlying system file corruption instance. It’s possible that a driver or other element that works in relation with iusb3xhc.sys has become corrupted and is crashing the operating system whenever this scenario repeats.
Several users that were also affected by this issue have reported that they managed to resolve the issue by using a couple of built-in utilities. After doing so successfully, a large portion of them reported that the critical crashes have stopped occurring.
SFC (System File Checker) and DISM (Deployment Image Servicing and Management) are two built-in Windows utilities capable of fixing system file corruption. The only difference is they do it in different ways.
Since DISM is mostly used in instances where SFC is not capable of resolving the issue by itself, we highly encourage you to perform both scans in order to resolve any possible system file corruption that might end up causing the issue.
Here’s a step by step guide on running SFC and DISM scans from an elevated Command prompt:
- Press Windows key + R to pop open a Run dialog box. Next, type or paste ‘cmd’ and press Ctrl + Shift + Enter to open up a Command Prompt with administrative privileges.
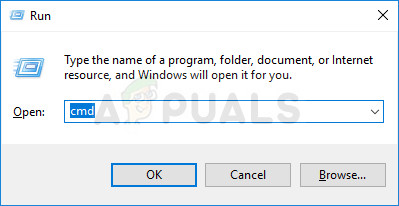
Running Command Prompt as an administrator Note: When you see the UAC (User Account Control) window, click Yes to grant administrative privileges.
- Once you manage to get inside the elevated Command Prompt, type or paste the following command and hit Enter to initiate an SFC scan:
sfc /scannow
Note: DO NOT close the CMD window while the scan is in progress. Doing so runs the risk of producing further system file corruption. With this in mind, wait until the process is complete without closing the CMD window or restarting your computer.
- When the operation is complete, restart your computer and wait for the next startup sequence to complete.
- At the next startup, follow step 1 again to open another elevated CMD, then type/paste the following command to initiate a DISM scan:
DISM /Online /Cleanup-Image /RestoreHealth
Note: DISM used the WU (Windows Update) component to download fresh copies in order to replace the corrupted system files that it manages to identify. With this in mind, make sure your computer is connected to a network with a stable Internet connection.
- Once the procedure is complete, restart your computer once again and see if the issue is resolved at the next system startup.
If you’re still encountering BSOD crashes related to iusb3xhc.sys, move down to the next method below.
Method 4: Uninstalling 3rd party security suite (if applicable)
As several users have reported, crashes of this kind can also be triggered by a 3rd party security suite or firewall. Kaspersky is commonly linked with BSOD crashes related to the iusb3xhc.sys. If this scenario is applicable and you’re indeed using a 3rd party AV suite, chances are you’ll be able to stop the crashes by uninstalling the 3rd party security suite and ensuring that you leave no remnant files behind.
Several affected users struggling with the same issue have reported that the BSOD crashes have suddenly stopped after they uninstalled their 3rd party AV suite and moved over to the built-in solution (Windows Defender).
Here’s a quick guide on installing the 3rd party security suite:
- Open a Run dialog box by pressing Windows key + R. Next, type “appwiz.cpl” and press Enter to open up Programs and Features. When you’re prompted by the User Account Control (UAC), click Yes.

Typing in “appwiz.cpl” in the Run prompt - Inside the Programs and Features screen, make you’re way through the list of applications that are currently installed and locate the 3rd party suite that you want to install. Once you see it, right-click on it and choose Uninstall.
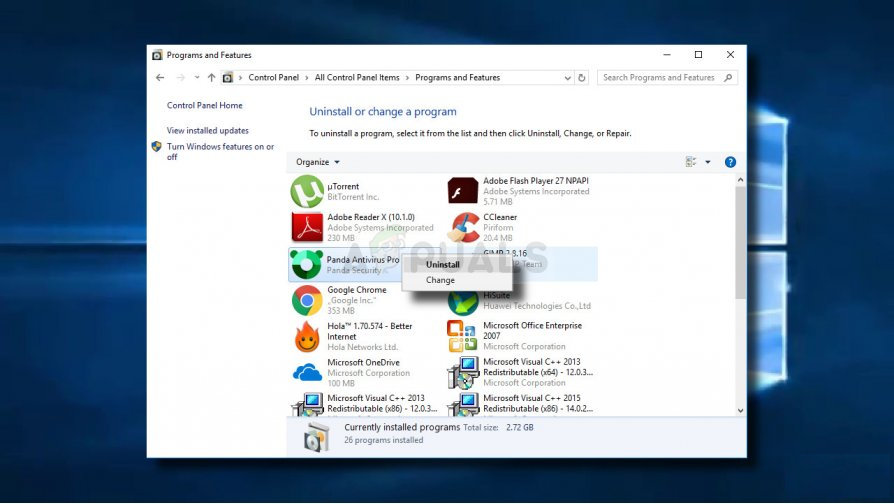
Uninstalling your 3rd party antivirus - From the uninstallation screen, follow the on-screen prompts to complete the uninstallation of the 3rd party software.
- Once the process is complete, restart your computer and wait for the next startup is complete.
- In order to remove any remnant file from your AV suite, follow this guide (here) to ensure that you don’t leave behind any leftover files.
- Restart your computer once again and see if the issue is resolved at the next system startup.
If the same issue is still occurring, move down to the next method below.
Method 5: Clearing the CMOS
If the problem is caused by a memory issue, resetting the CMOS (Complementary metal-oxide-semiconductor) might allow you to resolve the iusb3xhc.sys related crashes. But keep in mind that this procedure might reset some custom BIOS settings to the default values. So if you have previously overclocked the frequencies of your controller, the changes will be lost after you take out the CMOS battery.
Here’s a quick guide on clearing the CMOS battery:
Note: The instructions below are only applicable if you’re encountering the issue on a desktop computer.
- Turn off your computer completely and make sure it’s unplugged from the power source.
- Remove the case of your unit and equip a static wrist band (if you have one) to avoid damaging any components.
Note: A static wristband grounds you to the frame of the computer and events out the electrical energy. - Analyze your motherboard and identify your CMOS battery. When you see it, use your fingernail (or a non-conductive screwdriver to remove it from it’s slow.
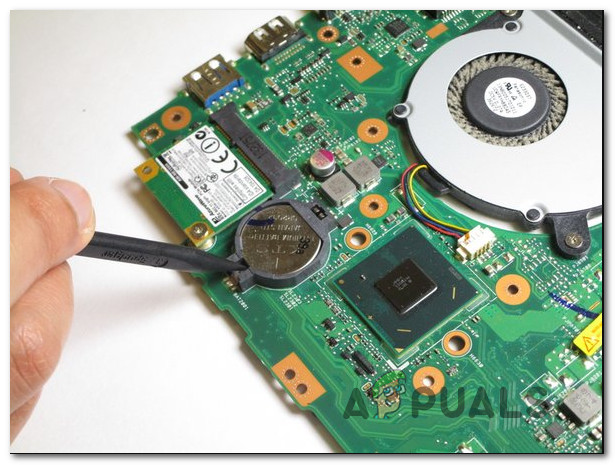
Removing the CMOS battery - Wait 10 seconds or more before putting it back into place.
- Once the CMOS battery is back into its slot, plug your computer into a power source and power it on.
- Wait until the startup sequence is complete, then use your computer normally and see if the issue is still occurring.


Thank you so much for this guide! I couldn’t find any solutions anywhere else online when searching for the specifics of USB blue screen crashes!