How to Fix Error 1067: ‘The process terminated unexpectedly’
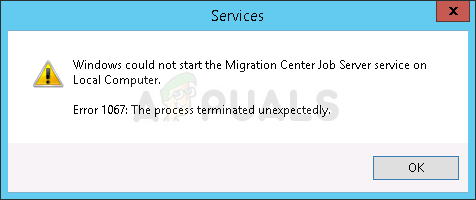
When you see Error 1067: “The process terminated unexpectedly,” it means a service on your computer failed to start, which could affect programs that rely on it. This error usually happens because a service tried to start but couldn’t finish due to corruption or misconfiguration in the system or the service itself.
The most common reasons for Error 1067 are corrupted service settings or broken system services, often involving SQL, MySQL, or similar processes. Other causes can include bad registry entries, wrong system settings, or lack of permissions.
In this article, we will talk about different solutions to fix this error.
Solution 1: Take Control of the Service
When a service won’t start because of permissions, taking control can make a big difference. This method lets your user profile bypass permission issues, giving you full access to start or manage the service. It fixes the problem where Windows blocks a user or system from running services due to lack of rights.
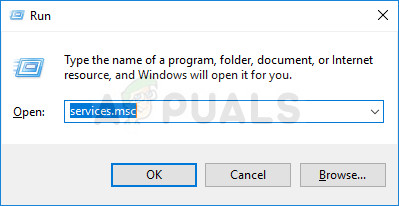
- Press Windows Key + R, type “services.msc,” and click OK to open the Services tool.
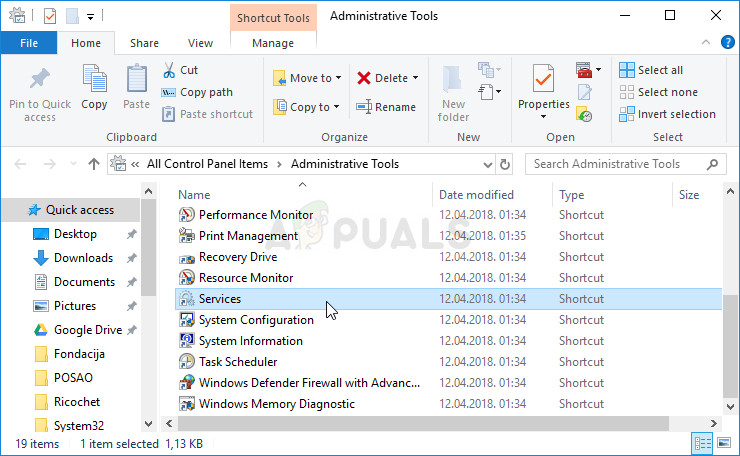
- Alternatively, open Control Panel from the Start menu, change “View by” to “Large Icons,” scroll down, and click Administrative Tools, then Services.
- Find the service with the error, right-click it, and select Properties.
- If the service is running (check the Service status), click Stop. Go to the Log On tab and click Browse…
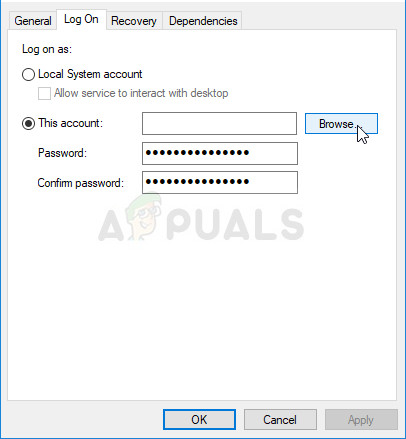
- Type your account name in the “Enter the object name to select” box, click Check Names, and wait for confirmation.
- After confirmation, click OK, and enter your password if prompted. The service should start without issues!
Solution 2: Reinstall the Problematic Service
Reinstalling the problematic service resets its settings and components. This process can replace faulty registry entries and damaged files, addressing issues like file corruption or missing dependencies that may prevent the service from running properly.
- Before deleting a registry key, backup your registry using this guide to prevent issues. Follow the steps carefully for a smooth process.
- Open the Registry Editor by typing “regedit” in the search bar or the Run dialog (Windows Key + R). Navigate to:
HKEY_LOCAL_MACHINE\SYSTEM\CurrentControlSet\Services
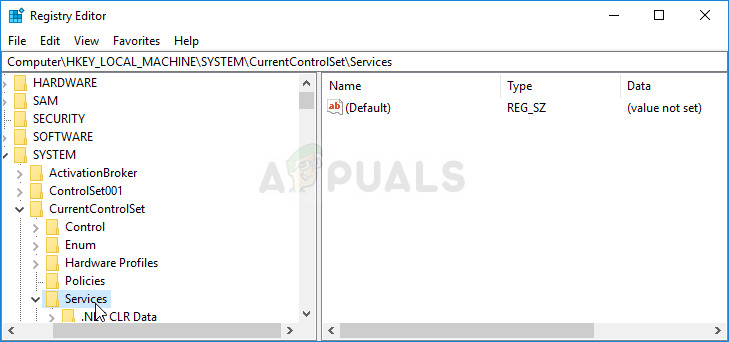
- Find the problematic service key, right-click it, and choose Delete. Confirm any prompts and restart your computer.
Note: If you can’t delete the key, extra access might be needed.
- Right-click the service key and select Permissions from the context menu.
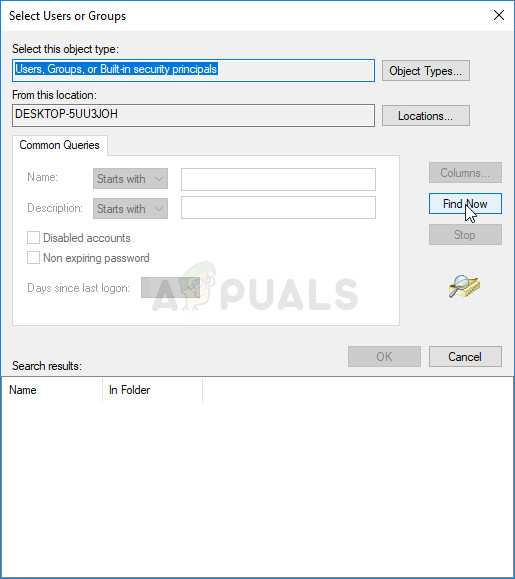
- Under Group or user names, find your computer’s username. If it’s not listed, click Add >> Advanced >> Find Now. Select your user account from the results, click OK twice to return to the Permissions window.
- Select your account and check the Full Control checkbox under Permissions. Apply the changes.
- Try deleting the key again. Restart your computer afterward.
- Run an SFC scan following this article’s instructions to restore the service and check if the problem is resolved.
Solution 3: Delete Certain Files
To address Error 1067, deleting certain files related to the problematic service, like SQL or MySQL, can clear corrupted settings. These files can accumulate errors that prevent the service from starting. Removing them allows the system to create new files on the next startup, eliminating conflicts and enabling the service to work properly.
- Open Control Panel from the Start menu or search for it. Change “View by” to “Large Icons.” Scroll down and click on Administrative Tools, then click on the Services shortcut.
- In the services list, find the MySQL service, right-click it, and select Properties. Click Stop in the window, then click OK.
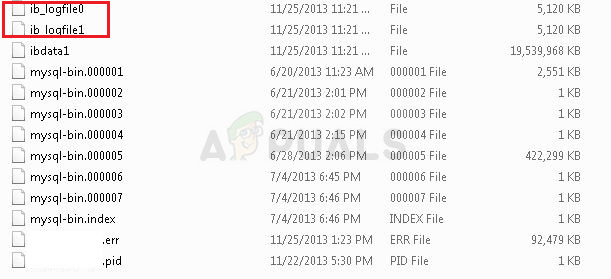
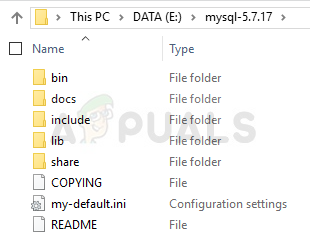
- Go to the MySQL installation folder, usually in C >> Program Files or C >> Program Files (x86), and open the “data” folder.
- Find the files named ib_logfile0 and ib_logfile1, right-click on them, and choose Delete.
- Go back to the Services window, open the MySQL service Properties, and click Start. Check if the issue is resolved.
Solution 4: Tweak MySQL Configuration Files
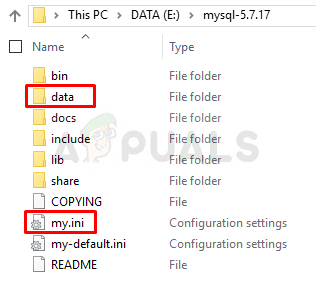
The MySQL configuration file, “my.ini,” might cause this problem. It is usually in the MySQL installation directory and can be opened with Notepad. Check for the `innodb_flush_method` option; you can delete it or set it to `normal`. Save the file and restart the MySQL service.
- Go to the MySQL installation root folder, usually in C >> Program Files or C >> Program Files (x86), and find the “my.ini” file.
- Right-click the file and select Open with… Notepad if Notepad isn’t the default program.
- Use Ctrl + F or select Find under Edit in the menu, then type “innodb_flush_method.” If found, set it to:
innodb_flush_method=normal
- If the command isn’t there, add it at the bottom of “my.ini.” Save changes with Ctrl + S and restart your computer. Check if the issue is resolved.
If the issue persists, also edit the “my-default.ini” file:
- In the same root folder, find and open “my-default.ini.”
- Right-click it and select Open with… Notepad if Notepad isn’t the default program.
- Below the “[mysqld]” line, ensure the options match the following and adjust as needed:
basedir="Full path to the install location of MySql"
datadir="Same path but with the data folder; e.g., C:\MySql\data"
port=3306
server-id=1
bind-address=127.0.0.1
- Save changes with Ctrl + S and restart your computer. Check if the problem is resolved.
Solution 5: Reinstall SQL Server
This method is ideal for SQL Server users, another tool that manages databases. It’s time to perform a clean install of the program, as this should solve the problem immediately. A clean install is necessary if you want to remove all files since even temporary files can cause this issue.
- Log in with an admin account, as it’s necessary for uninstalling SQL Server.
- Backup your databases to preserve them during the uninstallation process.
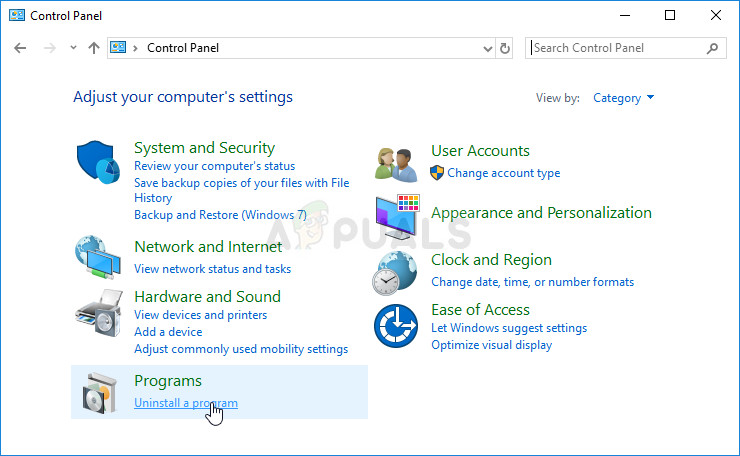
- Open Control Panel from the Start menu or Settings by clicking the gear icon in Windows 10. In Control Panel, choose View as: Category and click Uninstall a Program.
- In the Settings app, go to Apps to see all installed programs.
- Find SQL Server, click on it, and select Uninstall. Follow the prompts to remove SQL Server, then restart your computer.
Next, remove leftover SQL Server registry data:
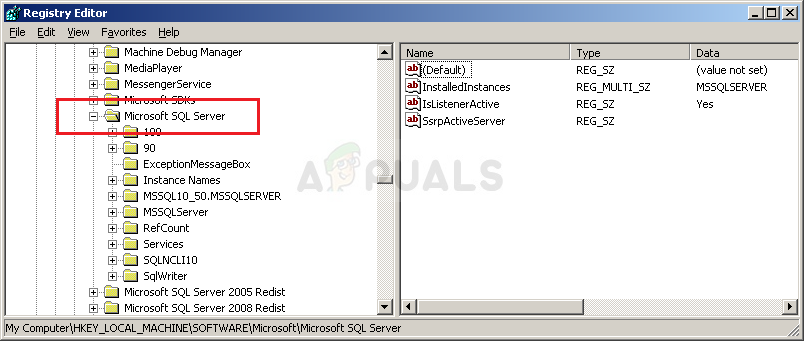
- Press Windows Key + R, type “regedit,” and hit Enter to open the Registry Editor. Delete the following keys:
HKEY_LOCAL_MACHINE\SOFTWARE\Microsoft\Microsoft SQL Server
HKEY_LOCAL_MACHINE\SOFTWARE\Microsoft\MSSQLServer
- Go to these registry locations and delete all SQL Server references:
HKEY_LOCAL_MACHINE\SOFTWARE\Microsoft\Windows\CurrentVersion\Uninstall
HKEY_LOCAL_MACHINE\SYSTEM\CurrentControlSet\Services
- Search your computer for SQL folders and rename them. Restart your computer.
- Download the SQL tool from this link, run the installer, and follow the instructions. Check if the issue is resolved.
Solution 6: Method for EAServer Windows Service
When the EAServer Windows Service fails, it’s often due to corrupted settings or system issues. This method addresses Error 1067 by resetting registry entries and adjusting permissions, removing conflicts that prevent the service from starting.
- Press Windows Key + R, type “regedit,” and press Enter to open the Registry Editor. Navigate to:
HKEY_LOCAL_MACHINE\SYSTEM\CurrentControlSet\Services
- Find the EAServer entry and open it.
- Right-click the SERVERNAME key, select Modify, change the value to EAServer, and apply the change. Check if the issue is resolved.


I’m having issues with my Windows Audio service (Audiosrv), despite the fact that I’ve deleted it and installed a ✨fresh✨ new one, it still won’t work. Could someone please help?