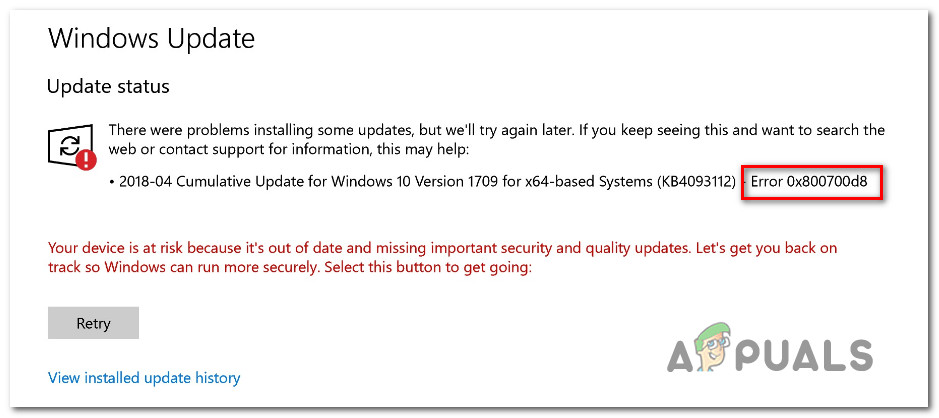
How to Fix Error 0x800700d8 on Windows?
Several Windows users have been reaching us with questions after seeing the 0x800700d8 error code after being unable to install an update or upgrade to Windows 10 from an older Windows version. Most affected users are reporting that this issue occurs regardless of the type of Internet network they are connected to (Private or Public) As it turns out, this issue seems to be exclusive to Windows 10.
What’s causing the 0x800700d8 error on Windows 10?
We investigated this particular issue by looking at various user reports and the repair strategies that are commonly being used by affected users in a similar situation. As it turns out, there are several different scenarios in which this error code will be thrown:
- 3rd party AV interference – As it turns out, several different overprotective AV suites are known to cause this issue by effectively stopping WU from communicating with the updating servers. If this scenario is applicable, you will be able to resolve the issue by disabling the real-time protection or uninstalling the 3rd party suite.
- Generic glitch – You may be encountering the issue due to a generic glitch that is already covered by a repair strategy included with Windows 10. In this case, you will be able to resolve the issue by using the Windows Update troubleshooter to address the glitch automatically.
- WU can’t handle the update – Certain updates run into some roadblocks when the user tries to install them on a fresh build after an update from an older Windows version. In this case, you will be able to avoid the error code by relying on Update Assistant to bring your Windows 10 build to the latest.
- The machine is configured to ‘Defer upgrades’ – There are certain Windows versions on which include the ability to delay certain updates (other than security updates). As it turns out, you might encounter this error code if Defer upgrades are allowed on your computer. In this case, you can resolve the issue by disabling Defer upgrades.
- Glitch WU components – In some cases, the 0x800700d8error code can persist due to some inconsistencies with how Windows Update communicates with the rest of the components used during the updating procedure. In this case, you can fix the problem by resetting all components and dependencies involved in the updating process.
Method 1: Uninstall 3rd party Antivirus (if applicable)
As it turns out, one of the most common causes that will trigger the 0x800700d8 error code when trying to install a pending update is an overprotective AV suite. There are a few security suites that keep getting reported by affected users after they block the process of installing an update: Sophos, McAffee, AVAST, Comodo and a few others.
If you’re using a 3rd party antivirus and you’re suspecting that it might be responsible for your failed updates, you will be able to resolve the issue either by disabling the real-time protection while the update is installed or by removing the AV suite altogether and switching to the default security option (Windows Defender).
So, let’s start by disabling the real-time protection of the 3rd party AV that you currently have active. As you might expect, this procedure will be different depending on the security suite that you’re using, but with most suites, you will be able to do it directly from the taskbar context menu.
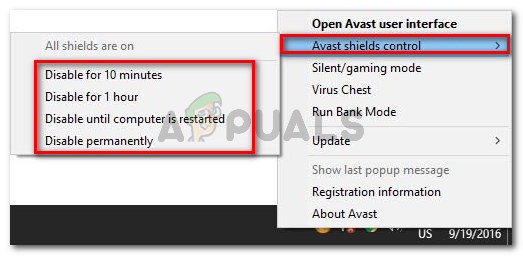
As soon as you disable the real-time protection, try to install the update that was previously failing once again and see if the process is complete.
If you’re still encountering the 0x800700d8 error code, let’s exclude the possibility of it being caused by your 3rd party antivirus by uninstalling the program altogether and following the steps necessary to ensure that you’re not leaving behind any leftover files.
In case you decide to go this route, we encourage you to follow this article (here) – it will walk you through the steps of installing your security program without leaving behind any leftover files that might still trigger the same problem.
Method 2: Running the Windows Update troubleshooter
If you’re certain that a 3rd party suite is not the one causing the issues, let’s take the appropriate steps to ensure that your operating system is not capable of resolving the issue automatically. On Windows 10, Microsoft heavily improved the troubleshooter module, and Windows Update troubleshooter is one of the most robust utilities of this kind.
Several affected users have reported that they managed to fix the 0x800700d8 error code and install the Windows update without issues after fixing the WU component automatically using the Windows Update troubleshooter.
This built-in utility includes a wide array of repair strategies capable of being applied automatically if a problem is identified. Here’s a short guide on running the Windows Update troubleshooter:
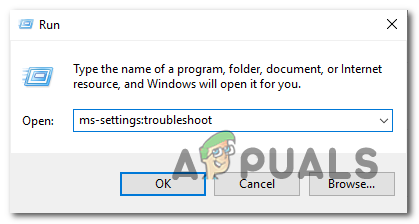
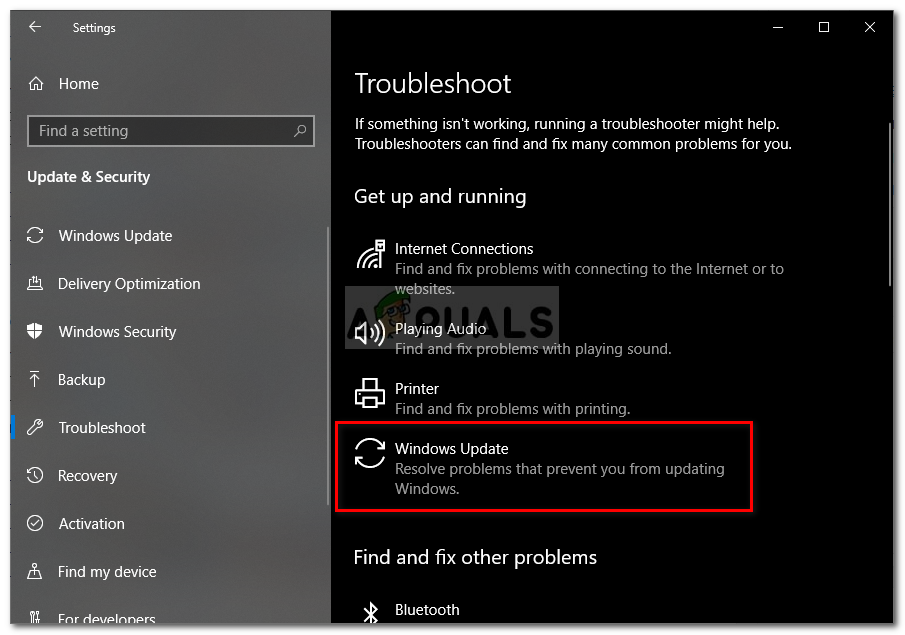
- Press Windows key + R to open up a Run dialog box. Next, type “ms-settings:troubleshoot” and press Enter to open up the Troubleshooting tab of the Settings tab.
Opening the Troubleshooting tab of the Settings app via a Run box - Once you’re inside the main Troubleshooting tab, move over to the right-hand section of the screen and navigate to the Get up and running section. Once you get there, click on Windows Update, then click on Run the troubleshooter.
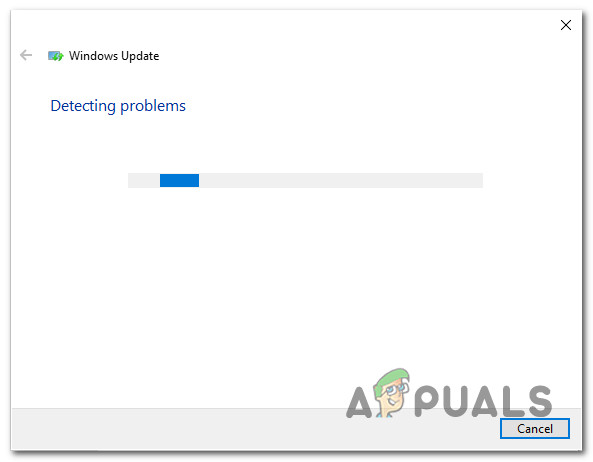
Running Windows Update Troubleshooter - After you start the utility, wait until the initial scan is complete and the repair strategy is recommended. This procedure is key since it will determine whether any of the repair strategies included with the utility applicable in this scenario.
Detecting problem with Windows Update - If a suitable fix is identified, click on Apply this fix to apply the recommended repair strategy.
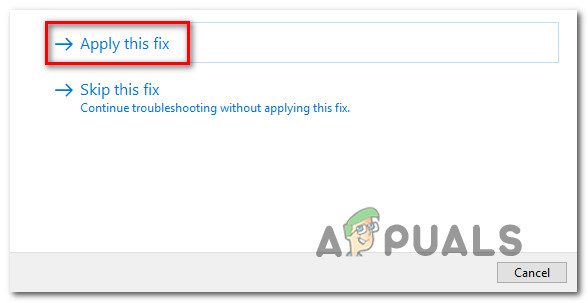
Apply this fix Note: Depending on the type of fix that gets recommended, you might need to follow several steps to enforce it.
- Once the fix is successfully applied, restart your computer and see if the issue is resolved once the next startup is complete.
If the same 0x800700d8 error code is still occurring, move down to the next potential repair strategy below.
Method 3: Update with the latest version manually
Some users that we’re encountering the 0x800700d8 error code every time they tried to install a pending update using the built-in WU component have reported that they successfully managed to circumvent the problem by installing the update manually.
This procedure is easier than it sounds – All you need to do is download and install the latest Windows build manually. Chances are that going this route will avoid the error code since manual updates are handled by the Upgrade Assistant rather than Windows Update.
Here’s a quick guide on installing the latest Windows 10 update manually using Upgrade assistant:
- Visit this link (here) from your default browser and click on Update Now to use the Update Assistant.
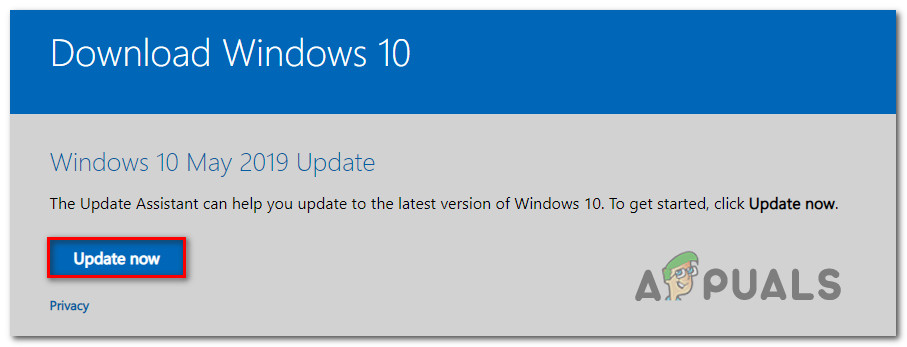
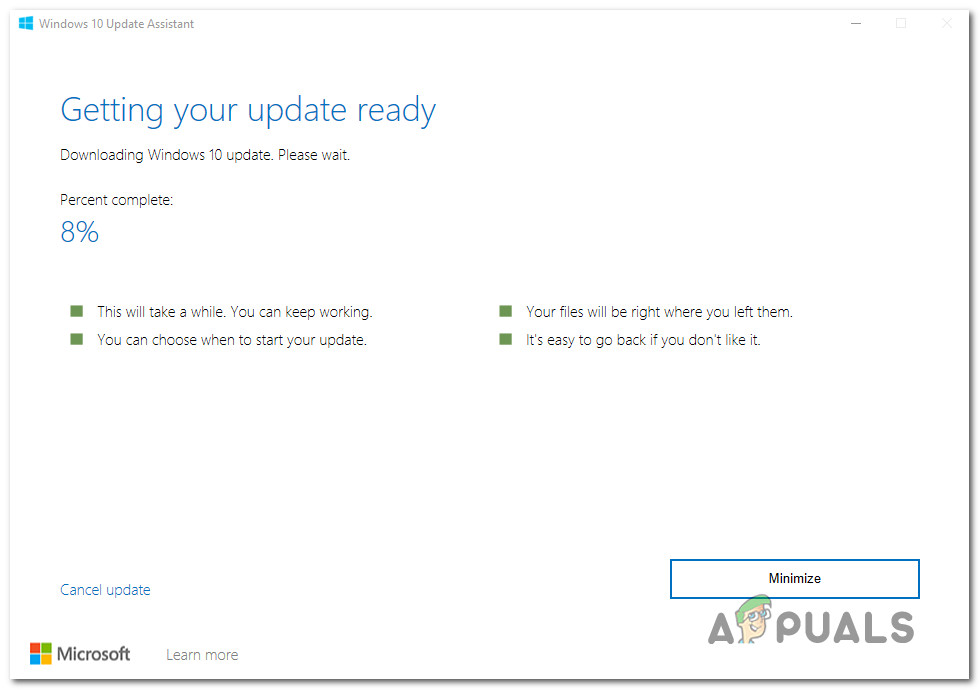
Initiating a manual update via Windows Update Assistant - Open the Windows10Upgrade.exe installation executable that you just downloaded and click on Update Now to initiate the updating process.
- A scan will commence, determining if your PC is ready to handle the update. If all is good, click on Update to make the Update assistant download the update.
- Wait until the process is complete (don’t close the window until the process is complete).
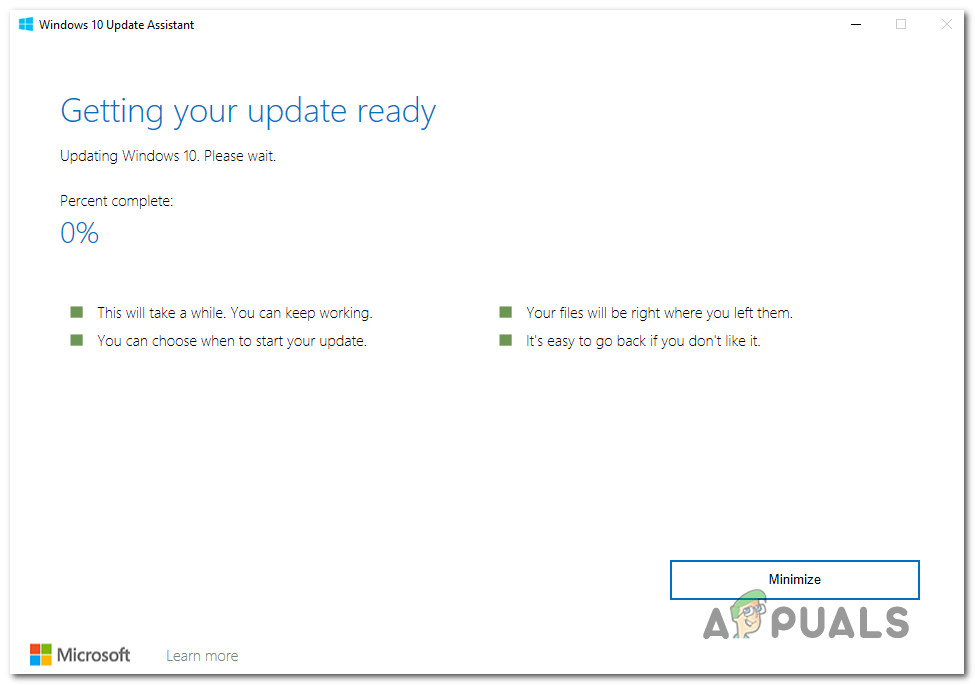
Updating Windows to the latest version using Update Assistant - Once the download is complete, the Update Assistant will automatically begin to install the file that it previously downloaded. Wait patiently until your WIndows build is updated to the latest version, then restart your computer.
Installing the latest Windows 10 build manually using Update Assistant - At the next system startup, you will have the latest Windows build, so there’s no need to use Windows Update to install the update that was previously failing.
If the Update Assistant didn’t allow you to circumvent the 0x800700d8 error code or you don’t want to use it to avoid the error code, move down to the next method below.
Method 4: Disabling ‘Defer upgrades’ (if applicable)
As it turns out, this particular error code (0x800700d8) can also occur in instances where your machine is configured to ‘Defer upgrades’ instead of installing them right away. This Windows Update option gives you the option to delay some upgrades for several months (security patches don’t fall into this category).
But keep in mind that not all Windows version includes this Windows Update option. If you’re suspecting that this option might be responsible for this particular issue, you can check the Advanced Options menu of your Windows Update to see if that’s the case.
Several WIndows 10 Enterprise users that were dealing with this problem have reported that it was resolved entirelly once they unchecked the boss associated with Defer upgrades.
Here’s a quick guide on disabling Defer upgrades on Windows 10:
- Press Windows key + R to open up a Run dialog box. Then, type ‘ms-settings:windowsupdate‘ and press Enter to open up the Windows Update tab of the Update & Security menu.

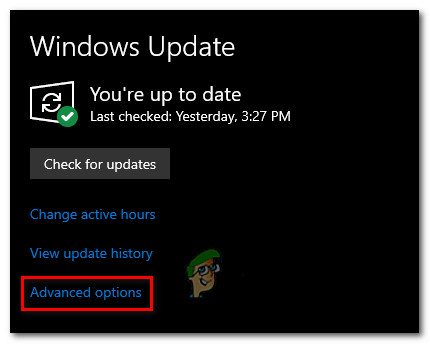
Run dialog: ms-settings:windowsupdate - Once you’re inside the WIndows update screen, move over to the right-hand side and click on Advanced options.
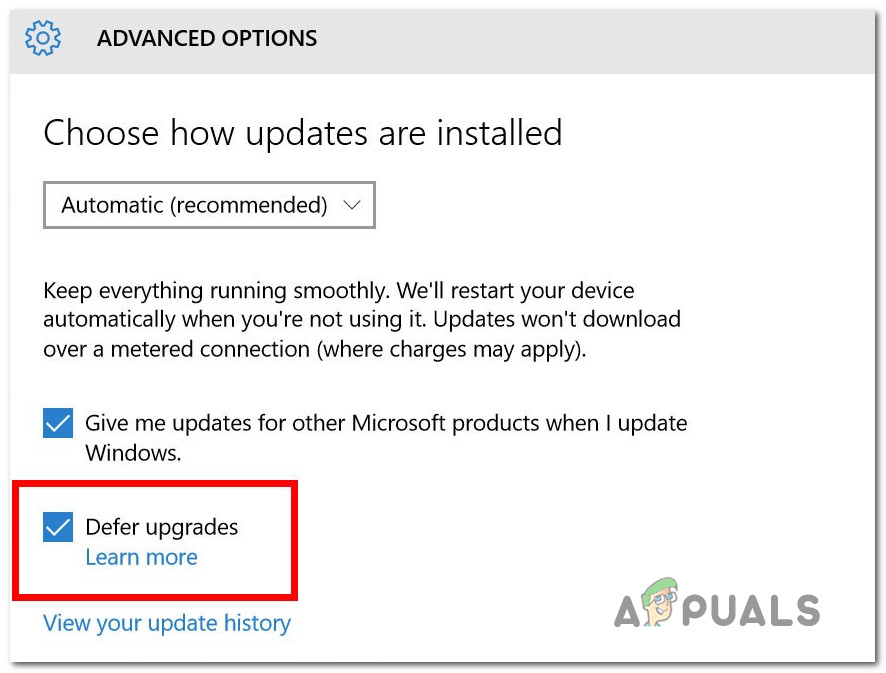
Accessing the Advanced Options menu of Windows Update - From the next menu, uncheck the checkbox associated with ‘Defer Upgrades‘.
Preventing the machines from deferring upgrades - Once the option has been disabled, restart your computer and see if the issue is resolved.
If the same issue is still occurring even after stopping your machine’s ability to defer upgrades or this method wasn’t applicable, move down to the next method below.
Method 5: Reset WU Components
If none of the methods above have allowed you to fix the 0x800700d8 error, it’s probably because you’re dealing with WU glitch that has effectively stopped its ability to install new updates. In this case, you should be able to resolve the issue by resetting all components and dependencies involved in this process.
Several affected users have confirmed that they were able to fix this problem by resetting all Windows Update components manually from an elevated Command Prompt. Here’s a quick guide on how to do this:
- Press Windows key + R to open up a Run dialog box. Then, type “cmd” inside the text box and press Ctrl + Shift + Enter to open up an elevated Command Prompt. If you’re prompted by the UAC (User Account Control), click Yes to grant admin access.

Running CMD as an administrator - Once you’re inside the elevated Command Prompt window, type the following commands in order and press Enter after each one:
net stop wuauserv
net stop cryptSvc
net stop bits
net stop msiserver
Note: After you are finished running these commands, you will have effectively stopped the Windows Update services, MSI Installer, Cryptographic service, and BITS services.
- After you manage to disable all services, run the following commands in the same CMD window and press Enter after each one to rename the SoftwareDistribution and Catroot2 folders:
ren C:\Windows\SoftwareDistribution SoftwareDistribution.old
ren C:\Windows\System32\catroot2 Catroot2.old
Note: These two folders are responsible for storing the update files that are being used by the Windows updating component. Renaming them will force your OS to create new folders that will take their place.
- Once you complete step 3, type these final commands in order and press Enter after each one to start the same services that were previously disabled:
net start wuauserv
net start cryptSvc
net start bits
net start msiserver
- Install the update that was previously failing with the error code and see if the issue is now resolved.
If you’re still encountering the 0x800700d8 error, move down to the next method below.
Method 6: Updating BIOS to the latest version
As it’s been reported by several different users, this particular issue can also occur in instances where the BIOS version is severely outdated. This problem is almost always encountered with Dell computers, but there are other manufacturers with the same issues.
However, before you begin the process of updating your BIOS version, keep in mind that doing this recklessly can lead to other issues if the steps of updating are not followed to the letter.
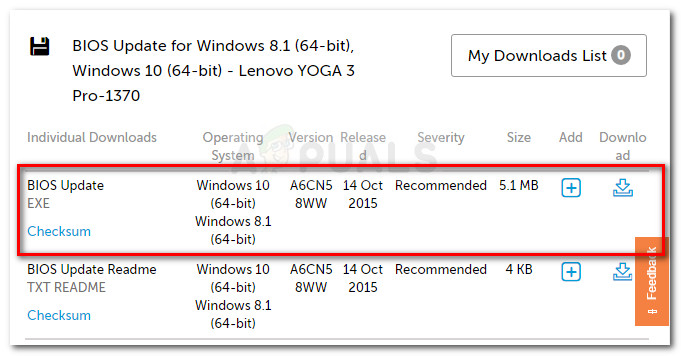
The exact process of updating your BIOS version will be different depending on your motherboard manufacturer. Here’s the official documentation for BIOS updating for the most popular motherboard manufacturers:
Note: Follow the instructions of updating your BIOS version at your own risk!