How to Fix Error 0x80070005 in Windows?
The Feature Update 1903 was a much-awaited update for Windows operating system. The update provided several cool features including Windows Sandbox, Enhanced search mode, and many other improvements. It is also reported to fix several different bugs and issues.
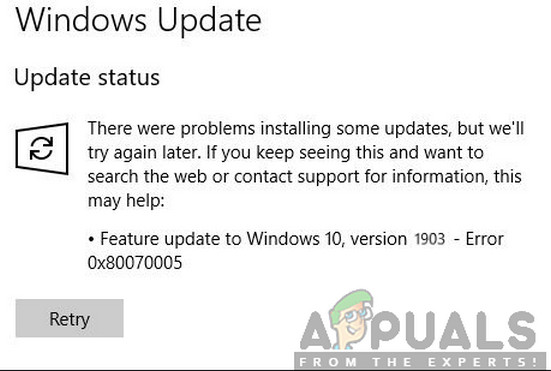
However, despite the popularity and importance, many users experienced several different issues with the update process. This was mostly due to several problems with the components in the operating system as well as because of the user’s setup. In this article, we will go through all the reasons as to why the error code 0x80070005 occurs when updating.
What causes the Error 0x80070005 when updating to 1903?
After our initial thorough research about the issue and the components involved in the update process, we combined our results with user reports and deduced that the issue occurred due to several different factors which are listed below:
- Update service: The Windows Update service is the main process which downloads and installs updates on your computer. This update service, if not set to a running state might hinder the updating process.
- Administrator privileges: As with all other major Windows updates, the computer requires that you provide administrator access to the entire event. If you don’t have this access, you might experience the error message.
- Update components: In some cases, we observed that some users had bad update components which caused the update process to halt. Here, we can make use of Windows Update Troubleshooter to diagnose what the problem is.
- Old update files: If there are old redundant update files on your computer, they might conflict with the new one Windows is trying to download and install. Deleting these usually fixes the issue.
- Antivirus software: In numerous cases, you can experience the error message if there is antivirus software running in your computer which might hinder with the update process in granting it the permissions, you will not be able to install the update in any way.
- PC in error state: Even though this reason is often overlooked, it also proved to be the cause why users were not able to update to 1903. Power cycling helps here.
- Extra hard drives/devices: If there are multiple hard drives connected in your computer, they might prove to be a problem. Even though there shouldn’t be an issue as they are separate from the main drive, the exact reason is still unknown.
- Missing executable: If your system if lacking some important executables required to run the update process, you might get stuck. Replacing these components might help in solving the problem.
- Third-party programs: There might also be third-party applications which might be conflicting with the update process. Stopping each one of them and updating seems to fix the problem.
- Bad Windows installation: If all the above causes don’t fit your case, it is probably because your Windows installation is corrupt. Here you can perform a clean version after backing up your data and update to the latest version 1903.
Before you start with the solutions, make sure that you have an active internet connection. Also, backup all your work beforehand.
Solution 1: Running Windows Update Troubleshooter
Your operating system has an in-built tool to detect issues in the operating system and fixing them automatically. If there is a corrupt file, the troubleshooter will download a fresh copy as well. As our first step, we will try running the update troubleshooter and check if the tool can detect and fix any issues with the update process.
- Press Windows + S to launch the start menu’s search bar. Type “troubleshoot” in the dialogue box and click on the first result which comes forth.
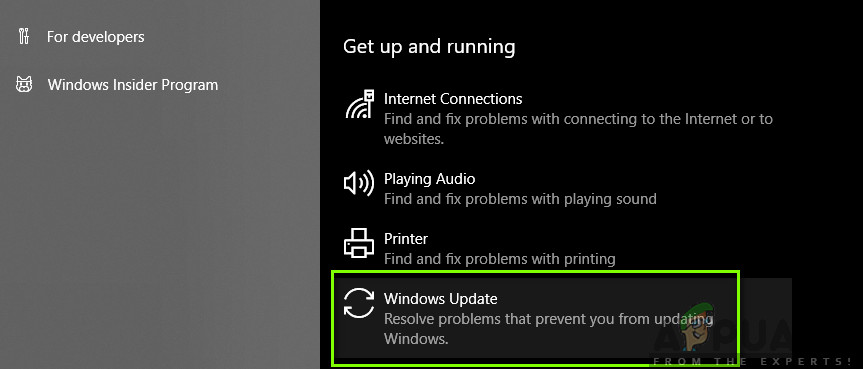
- Once in the troubleshoot menu, select “Windows Update” and click the button “Run the troubleshooter”.
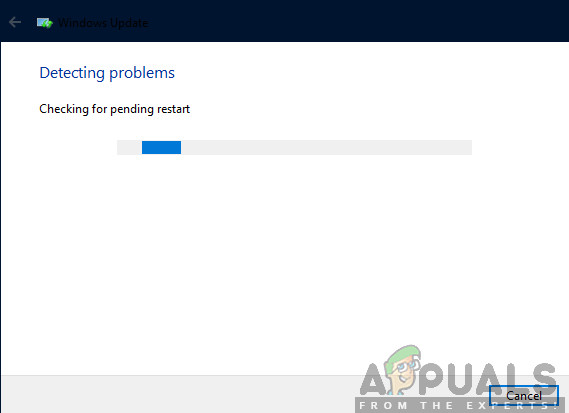
- Now Windows will start the troubleshooting process and see for any discrepancies. You might be prompted that the troubleshooter requires administrator access to check for problems with your system. Click the option “Try troubleshooting as an administrator”.
- After the fixes are implemented, restart your computer and check if the problem got fixed.
Note: This solution requires an active internet connection for optimum results. Also, try to run the troubleshooter several times instead of trying only once.
Solution 2: Power Cycling your Computer
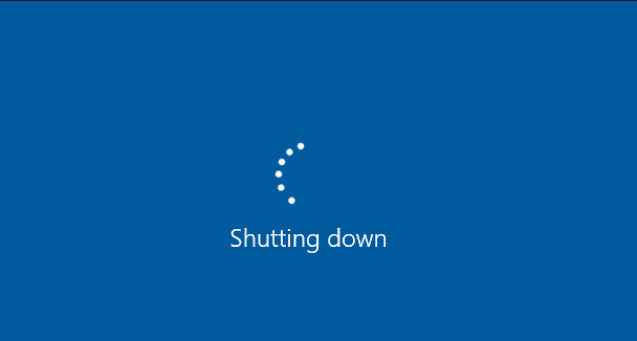
Before we move on to more technical workarounds involved, we shouldn’t ignore the possibility of the computer in an error state. If any of the computer’s modules are not working and requires a jump start, we can get them fixed by power cycling. Power cycling refers to the act of restart your computer completely so all the temporary configurations are erased. When we start the computer again, they will get initialized as default values automatically.
- Turn off your computer and router. Now, take out the main power supply and press and hold the power button for around 2-3 minutes.
Power Cycling your Computer - Now wait for around 5-8 minutes before you plug the power supply back in and power on your devices. Now, try connecting to the network after it has started transmitting and check if the issue is resolved and you can connect to Outlook without any issue.
If the power cycling doesn’t work and you still unable to connect properly, you should move on to the next step of checking the internet.
Solution 3: Removing Extra Devices
Another issue which came to our view was where extra devices (if connected), would cause several problems with the update mechanism. These are a very common scenario seen with various Windows iterations. Hence, it is recommended that you remove all the extra devices connected to your computer such as webcams, consoles.

Also, there are some rare cases where removing (disconnecting) non-primary hard drives from the computer helps a lot. It seems that the update mechanism has trouble deciding on which drive to install. Make sure that you turn your computer off before proceeding to remove the drives. If this doesn’t work, you can always plug them back in.
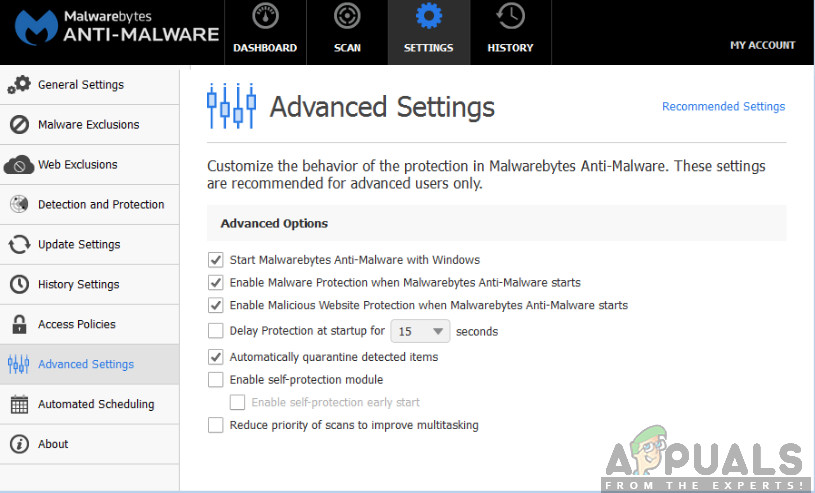
Solution 4: Disabling your Antivirus
Antivirus software is always monitoring services, processes, and downloads occurring on your computer. When the update mechanism starts to work, there is a chance that your Antivirus software will block it even though there is no sign of any malware.
In this solution, you should resort to uninstalling your Antivirus software rather than just disabling it because even if you disable the software, there are still some dependencies in your registry which might persist.
Here is the method of how to uninstall the software from your computer.
- Press Windows + R, type “appwiz.cpl” in the dialogue box and press Enter.
- Once in the application manager, search for the Antivirus software. Right-click on it and select Uninstall.
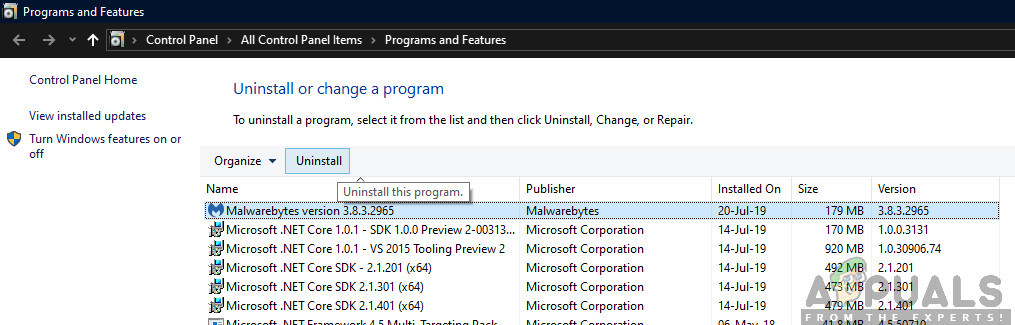
Uninstalling Antivirus Software - After uninstall, restart your computer and start updating again. Check if the issue is resolved.
Solution 5: Restarting Update Service after deleting downloaded content
There can also be the case where the update 1903 files downloaded on your computer are either incomplete or are corrupt. This can be due to several different reasons ranging from bad internet to corruption in the modules itself.
The workaround which we will resort to will disable the update service, delete all the already downloaded content and then turn it back on. This will reinitialize the update process and fresh components will be downloaded from scratch. Make sure that you are logged in as an administrator before proceeding.
Disabling Update Service
- Press Windows + R to bring up the Run application. In the dialogue box, type “msc”. This will bring up all the services running on your computer.
- Browse through the list until you find a service named “Windows Update”. Right click on the service and select Properties.
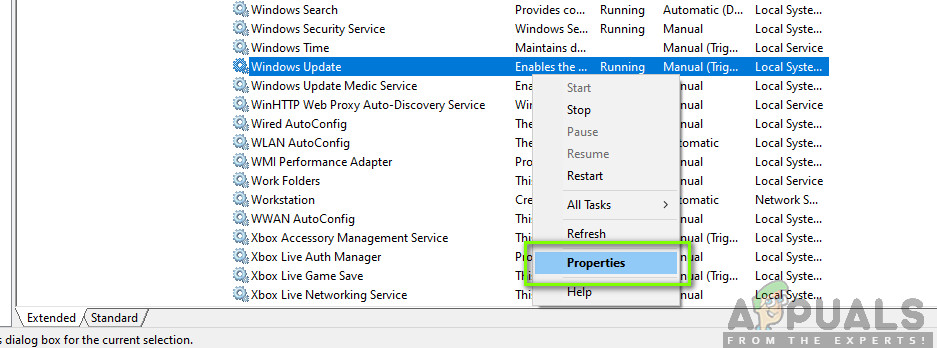
- Click on Stop present under the sub-heading of Service Status. Now your Windows Update service is stopped and we can proceed.
Deleting downloaded files
Now we will navigate to Windows Update directory and delete all the updated files already present. Open your file explorer or My Computer and follow the steps.
- Navigate to the address written below. You can also launch the Run application and copy paste the address to reach directly.
C:\Windows\SoftwareDistribution
- Delete everything inside the Software Distribution folder (you can also cut paste them to another location in case you want to place them back again).
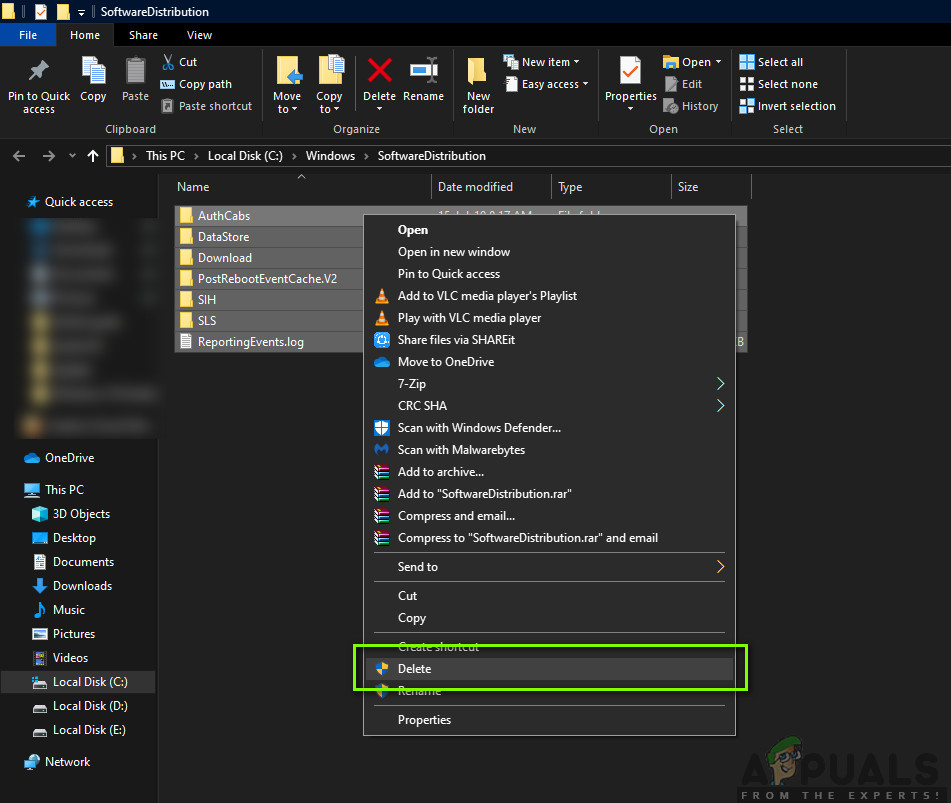
Deleting Software Distribution Files
Turning Update Service back on
Now we have to turn the Windows Update service back on and launch it again. Initially, the Update Manager might take a few minutes to compute details and prepare a manifest for the download. Be patient and let the process complete by itself.
- Open the Services tab as we did earlier in the guide. Navigate to Windows Update and open its Properties.
- Now Start the service again and launch your update manager.
Solution 6: Setting Services as Automatic
If the above method doesn’t work, we will try executing some commands and restart the update module manually. Make sure that you are logged in as an administrator before proceeding.
- Press Windows + S to launch the search bar of your start menu. Type command prompt, right click on the first result which comes forth and selects “Run as administrator”.
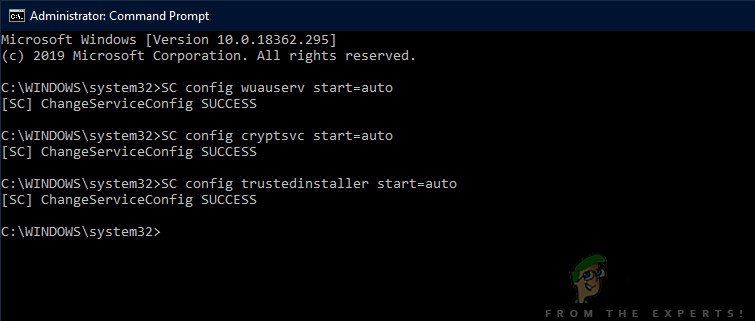
- Once in the command prompt, execute the following commands one by one and make sure that each command is executed before following up with the next.
SC config wuauserv start=auto

config bits start=auto

SC config cryptsvc start=auto

SC config trustedinstaller start=auto
By using these commands, we set all the services to automatic. If they were on a manual prompt, the setting will be changed.
- Exit command prompt and restart your computer. Now check if the update can be installed again.
Solution 7: Clean installing Windows
If all the above methods don’t work out and you are still unable to the problem at hand, we can try installer a fresh version of Windows on your computer. This fixes any issues with the installation files (if any) and solves the problem instantly. Make sure that backup all of your data before proceeding as all your information as well as installed applications will be removed.
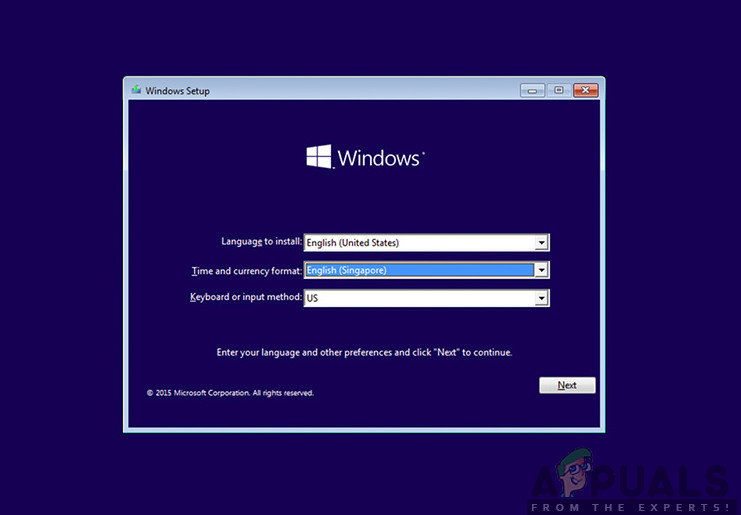
You check out our article on how to install Windows 10 on your computer. You can easily make a Windows bootable by either Rufus or by Windows media creation tool. Do note that you would have to manually install the update by updating the version of Windows installed (or if you clean install Windows directly into update 1903, the problem will go away automatically).


