How to Fix Error 0x000000C2 on Windows?
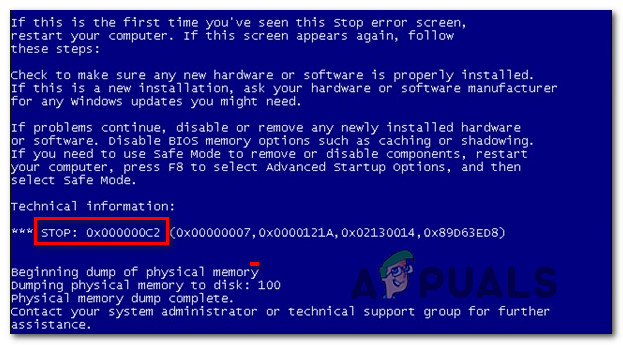
Several users have been reaching us with questions after getting constant BSoDs (Blue Screen of Death) with the error code 0x000000c2. The vast majority of affected users are reporting that the critical crashes seem to occur at random intervals with no apparent trigger. As it turns out, this particular issue is confirmed to occur on Windows 7, Windows 8.1 and Windows 10.
What is causing 0x000000c2 Stop Error Code?
We investigated this particular issue by looking at various user reports and at the repair strategies that are most commonly being used to fix this particular error message. As it turns out, several different scenarios are confirmed to cause this particular behavior. Here’s a shortlist of potential culprits that can be responsible for the 0x000000c2 error:
- AV conflict – As it turns out, this particular issue can occur in instances where the computer has installed two 3rd party antivirus suites at the same time. In a lot of cases, this will end up producing a conflict that will spawn this particular BSOD error as a result. If this scenario is applicable, you can resolve the issue by uninstalling one of the security suites that are part of the conflict.
- AMD Quick Stream technology is causing the crash – There is one AMD developed software that is often reported as being responsible for this particular crash. Quick Stream Technology is a non-essential 3rd party utility that is known to cause this particular error. In this case, you should be able to resolve the issue by uninstalling this particular software.
- BSOD caused by Advanced System Care – This software is an absolute BSOD magnet. The 0x000000c2 error is just one of the issues that are confirmed to occur due to this utility. If you are fond of this tool, try to update it to the latest version as the developer has released some bug-fixes that should take care of the issue. Else, the only fix is to remove it from your computer.
- Bad Memory – As it’s been confirmed by several users, this issue can also be facilitated by bad RAM (memory). If you suspect that the issue is caused by a RAM stick went bad, you can verify it by using the Windows Memory Diagnostic. If your suspicions are confirmed, you’ll need to get a new RAM stick to resolve the issue.
- System File Corruption – System file corruption is one of the most common causes that will trigger this particular error code. If this scenario applies to yourself, you can try to resolve it by using the System Restore utility, by fixing the corruption via DISM or SFC or by performing a repair install.
Method 1: Resolving the AV conflict (if applicable)
One of the most common scenarios that will spawn this particular error is a situation in which the user has installed two 3rd party security solutions that are conflicting with each other. Most commonly, users have reported getting BSOD 0x000000c2 errors after having Malwarebytes installed together with a different security scanner such as ESET or AVAST.
Several other users that were also encountering this issue have reported that they managed to fix the issue by uninstalling one of the 3rd party AV suites that were conflicting with the other. As a rule of thumb, you should never have two anti-virus programs run at the same time.
Here’s a quick guide on resolving the AV conflict by uninstalling one of the conflicting security suites:
- Press Windows key + R to open up a Run dialog box. Next, type “appwiz.cpl” and press Enter to open up the Programs and Features window.

Typing in “appwiz.cpl” in the Run prompt - Once you’re inside the Programs and Features screen, scroll down through the list of installed applications, right-click on the conflicting AV application and choose Uninstall from the newly appeared context menu.
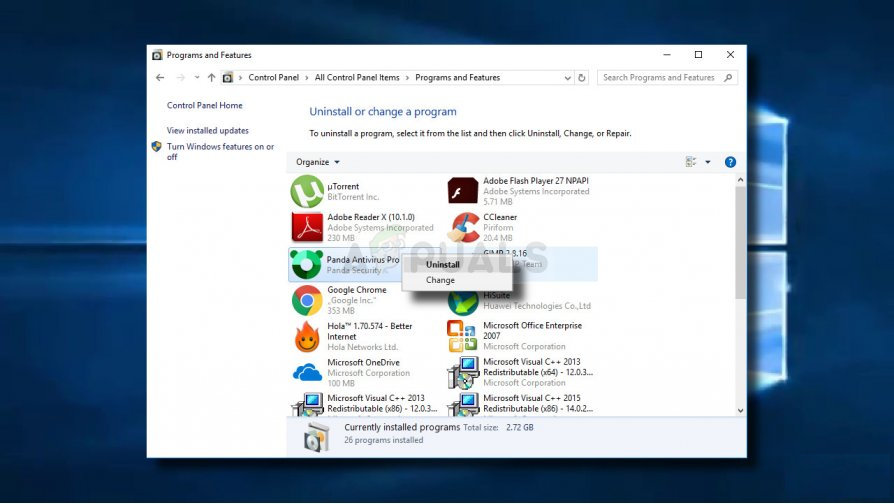
Uninstalling the conflicting antivirus - Follow the on-screen prompts to complete the uninstallation, then restart your computer.
- Once the next startup sequence is complete, follow this article (here) to ensure that you don’t leave behind any remnant files that could still cause the same behavior.
- After you’ve ensured that only one 3rd party suite is active on your computer, do a final restart and see if the BSOD 0x000000c2 error returns starting with the next system startup.
If you’re still facing the same issue, move down to the next method below.
Method 2: Uninstalling AMD Quick Stream Technology (if applicable)
As it turns out, this particular can also be caused by an AMD developed software called Quick Stream Technology. This usually occurs because the software is installed on a Windows version that is not fully compatible with Quick Stream Technology – Windows 7 and Windows 8.1 are known to have issues with this software.
UPDATE: Advanced System Care is yet another software that is known to have BSODs. If you have this tool installed, uninstall it using the instructions below and see if the issue is still occurring.
Several users that found themselves in a similar scenario have reported that they managed to resolve the issue by uninstalling the AMD Quick Stream Technology application. Keep in mind that doing so will not affect the functioning of your OS in any way – unless you’re relying on this app to stream content online.
Here’s a quick guide on uninstalling AMD quick stream technology:
- Press Windows key + R to open up a Run dialog box. Next, type “appwiz.cpl” inside the text box and press Enter to open up the Programs and Features window.
Typing in “appwiz.cpl” in the Run prompt - After you get inside the Programs and Features window, scroll down through the list of applications and locate the AMD Quick Stream Technology application. Once you see it, right-click on it and choose Uninstall from the context menu.
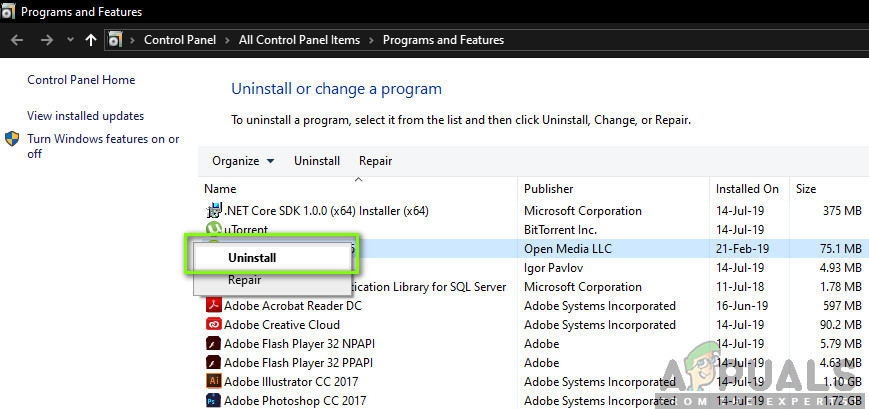
Uninstalling the AMD Quick Steam Technology application - Inside the uninstallation window, follow the on-screen prompts to complete the uninstallation, then restart your computer.
- Once the next startup sequence is complete, see if the same error message is still occurring.
If you’re still encountering the BSOD 0x000000c2 error, move down to the next method below.
Method 3: Using a System Restore point
If none of the methods above have allowed you to resolve the issue, likely, an underlying system file corruption is causing the issue. Since the problem can’t be resolved conventionally, you should try to use System Restore – a utility capable of dealing with critical errors by restoring the entire Windows installation to a healthy state in which the problem doesn’t occur.
However, to get this to work, you need to have a restored snapshot that can be used by the utility to restore your machine to a previous point in time. Fortunately, unless you changed the default behavior, Windows should have automatically saved System Restore snapshots regularly.
But before you go ahead with this method, keep in mind that a system restore will essentially revert all software and firmware to the state it was when the snapshot was created. This means that all games, applications, user preferences and everything else will be reversed.
If you decide to go through with this, here are step by step instructions on performing a System Restore:
- Press Windows key + R to open up a Run dialog box. Next, type ‘rstrui’ inside the newly appeared text box and press Enter to open up the System Restore wizard.
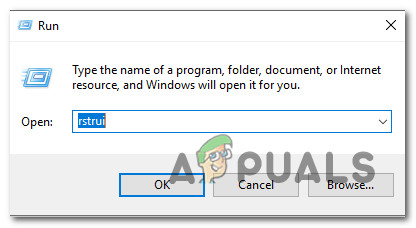
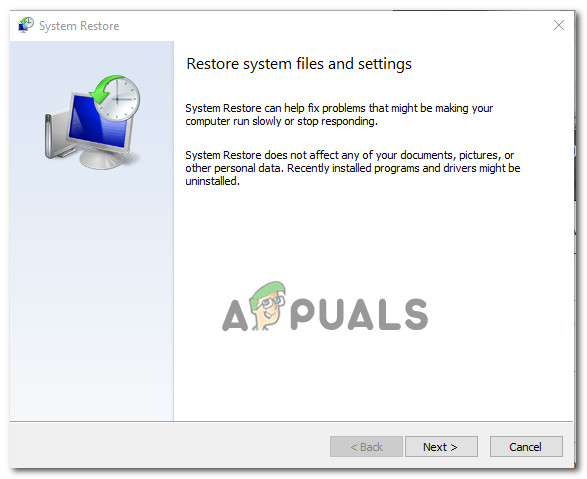
Opening the System Restore wizard via Run box - Inside the initial screen of System restore, click Next to proceed to the next screen.
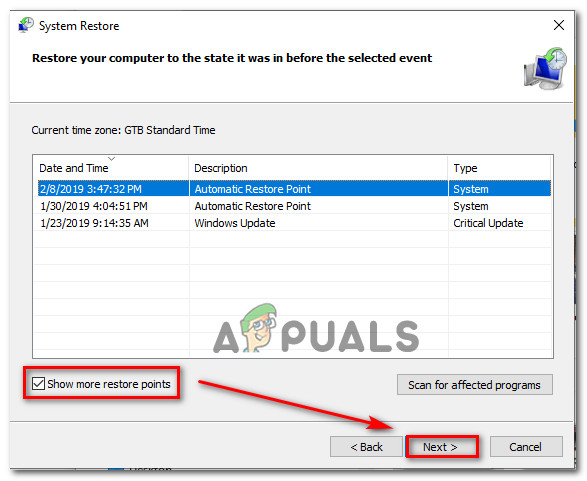
Using System Restore - Once you get to the next screen, start by checking the box associated with Show more restore points. After you tho this, choose a restore point that is older than the apparition of the BSOD 0x000000c2 error and click Next.
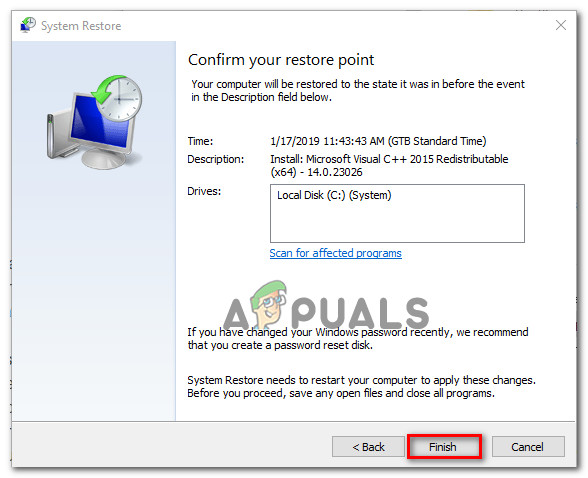
Restoring your system to a previous point in time - To initiate the restoring process, click on Finish. This will force your computer to restart and the older state will be enforced at the next system startup.
Starting the System Restore process - Once the next startup sequence is complete, see if the BSOD 0x000000c2 error is still occurring. If it is, move down to the next method below.
Method 4: Verifying your Memory
Another potential cause that is known to cause this issue is a bad memory. As several other users have reported, this issue is known to occur in situations where your RAM has gone bad and is preventing some data from being stored temporarily.
But before you go ahead and other a new memory for your rig, run the test below to confirm that you’re dealing with a bad memory. This will allow you to confirm or infirm this particular scenario.
Here’s a quick guide on testing your RAM using the Windows Memory Diagnostic Tool:
- Press Windows key + R to open up a Run dialog box. Next, type “mdsched” inside the newly appeared text box and press Ctrl + Shift + Enter to open up the WIndows Memory Diagnostic tool with admin access.
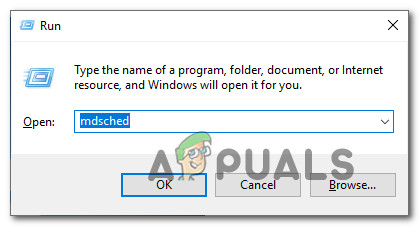
Accessing the Memory Diagnostics Tool from a Run box Note: If you’re prompted by the UAC (User Account Control) window, click Yes to grant administrative privileges.
- Once you’re inside the WIndows Memory Diagnostic issue, click on Restart now and check for problems.
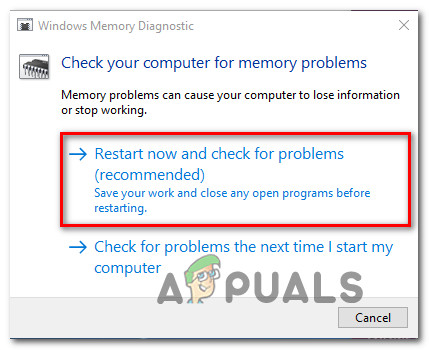
Performing a Windows Memory Diagnostic Check - At the next startup, your computer will boot directly into the Windows Memory Diagnostic Tool. Once it starts, wait patiently until the process is complete.
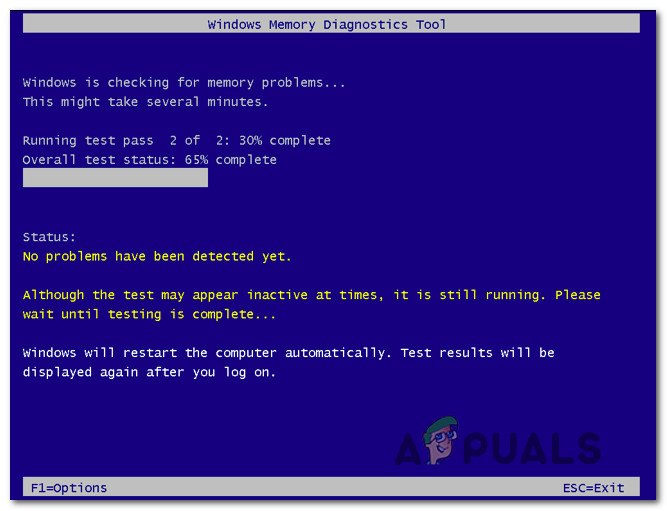
Scanning using the Windows Memory Diagnostics tool - If the scan confirms that you’re dealing with a RAM issue, you have no other alternative other than investing in new memory.
If no problems have been found and you are still encountering the BSOD 0x000000c2 error, exit the setup and move directly to the next method below.
Method 5: Repair system files
If you’ve come this far without a result, some degree of system file corruption certainly is what’s causing the BSOD 0x000000c2 error. There are several different ways of fixing non-critical system file corruption issues, but the most convenable way is to rely on a couple of build-in Windows utilities – SFC (System File Checker) and DISM (Deployment Image Servicing and Management).
DISM relies on WU (Windows Update) to replace corrupted files with healthy copies, while SFC uses a locally stored archive to replace corrupted Windows files. SFC is better at fixing logical errors, while DISM has larger error fixing capabilities since it’s not limited to the local archive of cached items. Because of this, we encourage you to run both utilities to improve your chances of finding the culprit that’s causing the 0x000000c2 BSOD.
Here’s a quick guide on running the two utilities:
- Open a Run dialog box by pressing Windows key + R. Next, once you’re inside the Run window, type “cmd” and press Ctrl + Shift + Enter to open up an elevated Command Prompt. When you see the UAC (User Account Control) prompt, click Yes to grant administrative privileges to the CMD window.
- After you manage to get inside the elevated Command Prompt, type the following command and press Enter to initiate an SFC scan:
sfc /scannow
Note: Keep in mind that once you start this process, it’s highly recommended that you avoid closing the CMD window or restarting your computer until the process is complete. Causing an unexpected interruption during this stage has a high-potential of producing other logical errors that might cause other issues down the line.
- Once the SFC scan is finished, close the CMD and restart your computer.
- After the next startup sequence is complete, follow step 1 once again, then type the following command and press Enter to initiate a DISM scan:
DISM /Online /Cleanup-Image /RestoreHealth
Note: Before you initiate this can, is crucial to make sure that your computer is connected to a stable Iternet connection. DISM downloads healthy copies of corrupted files using WU, which requires an Internet connection.
- Once the scan is completed, restart your computer once again and see if the BSOD 0x000000c2 error has been resolved.
If the same issue is still causing the BSOD 0x000000c2 error, move down to the final method below.
Method 6: Perform a Repair install
If you’ve come this far and you’re still encountering the BSOD 0x000000c2 error, it’s clear that you’re dealing with a severe corruption issue that cannot be resolved conventionally. In this case, the only way of taking care of the problem is to reset all Windows components to ensure that you remove any instance of corrupted system files.
Most users choose the radical solution – a clean install that does the job but also removes any personal data including applications, games, media, and documents.
If you want to go for a less destructive route that will allow you to refresh your Windows components without affecting any of your files (games, apps, photos, documents, etc.), you should go for a repair install. This procedure will allow you to keep all your data.
In case you want to perform a repair install, follow this guide (here) for step by step instructions on completing this procedure.


