When encountering the DNS_PROBE_FINISHED_NXDOMAIN error, your browser fails to find the domain you’re trying to access, displaying a message indicating that the site can’t be reached (essentially, it means the website address could not be found).
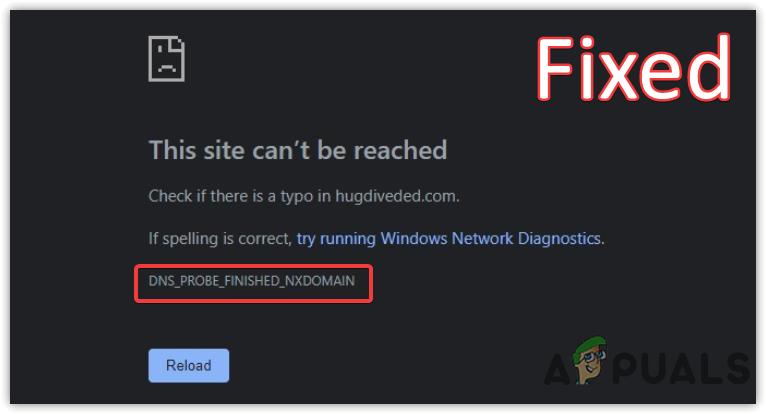
This error means that the DNS (Domain Name System, which translates website names into IP addresses) lookup failed, and the domain name does not exist in the DNS records.
The most common cause of this issue is incorrect DNS configuration, either on the client side (your device) or the server side (the website’s server settings), but it can also be triggered by network issues or DNS server problems.
Basic Troubleshooting
- First, verify the domain name or website URL to ensure accuracy. Attempt to access the website on another device. If successful on a different device, this indicates a misconfiguration on your main device, and you should proceed with the solutions below.
- If the website is not accessible on any device, it could either be that the website has restricted access from your ISP/Country or the website is down, potentially due to issues on the webmaster’s end. In such scenarios, you can only wait until the problem is resolved.
As a webmaster, check the website’s DNS settings to ensure correct configuration. If the DNS settings are not at fault, troubleshoot your hosting to solve the issue.
1. Power Cycle Your Router
For example, I encountered this error when attempting to access my router’s admin panel after prolonged router usage without a restart. Restarting the device immediately resolved the error.
- Unplug the adapter from the modem/router and the electrical outlet.
- Wait for 2 to 3 minutes before plugging the power cables back in.
- Wait for the indicator lights to illuminate.
- Once complete, verify if the error is resolved.
2. Switch to a Public DNS
Normal DNS services map user-friendly domain names to IP addresses so browsers can understand and load the website requested. Automatic DNS servers can be unreliable; hence, we recommend using Google’s Public DNS for stability.
Switch to Google DNS using the following instructions if the automatic DNS provided by your ISP is problematic.
- Click the Start Menu and type Control Panel.
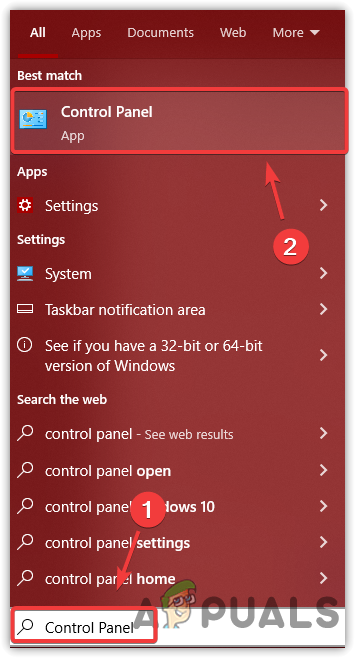
- Open Control Panel and navigate to:
Control Panel\Network and Internet\Network and Sharing Center
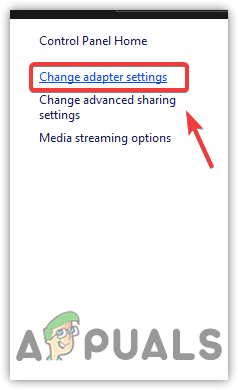
- Select Change Adapter Settings from the left pane.
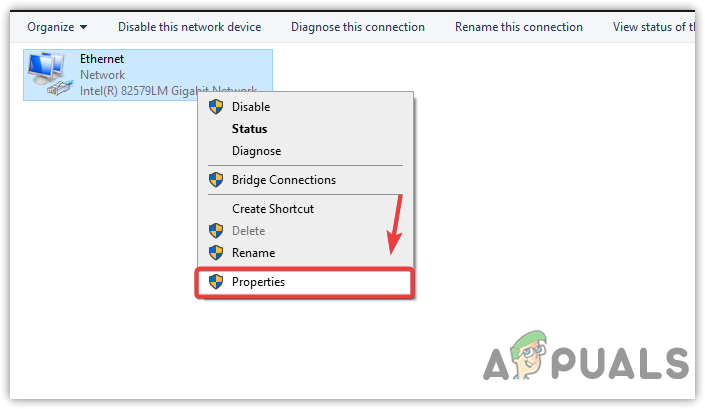
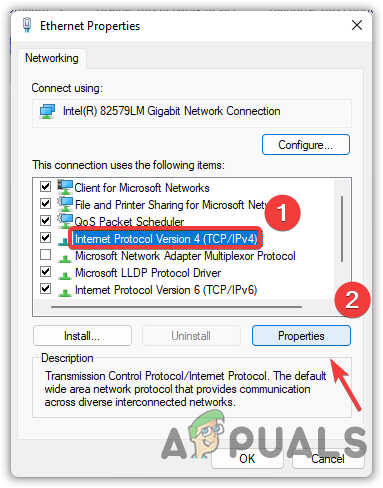
- Right-click on your Ethernet or Wi-Fi connection and choose Properties.
- Locate and select Internet Protocol Version 4 (TCP/IPv4) and then click Properties.
- Choose Use The Following DNS Server Addresses and enter Google’s DNS:
Preferred DNS Server
8.8.8.8
Alternate DNS Server
8.8.4.4
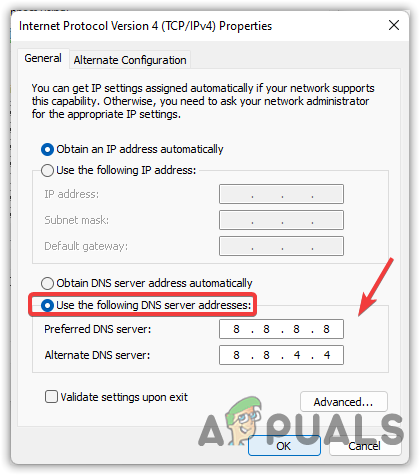
- Click OK to apply the changes.
- Alternatively, to revert to automatic DNS, select Obtain DNS Server Address Automatically and click OK.
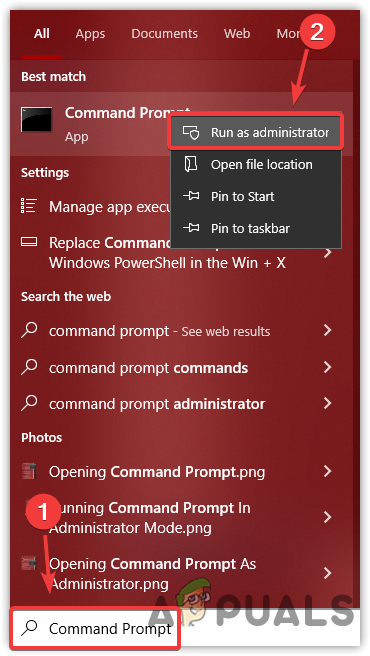
- Type command prompt in the search box.
- Right-click on Command Prompt and select Run As Administrator.
- Execute the following commands to refresh your DNS:
ipconfig /flushdns
ipconfig /registerdns
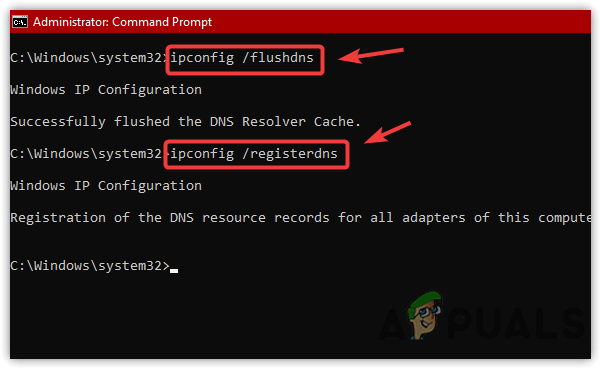
- After completing these steps, check whether the error has been resolved.
3. Assign Automatic IP Address
When you choose Assign Automatic IP Address, your device reaches out to the DHCP (Dynamic Host Configuration Protocol) server in your network. This server automatically assigns an IP address to your device that’s in accordance with your current network settings.
By doing this, you avoid potential IP conflicts or misconfigurations that might disrupt the connection between your device and the DNS server, as a result helping to resolve the error.
- Open Settings from the Start Menu.
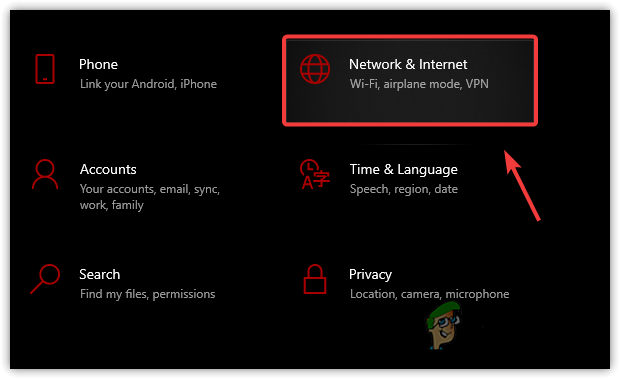
- Go to Network & Internet.
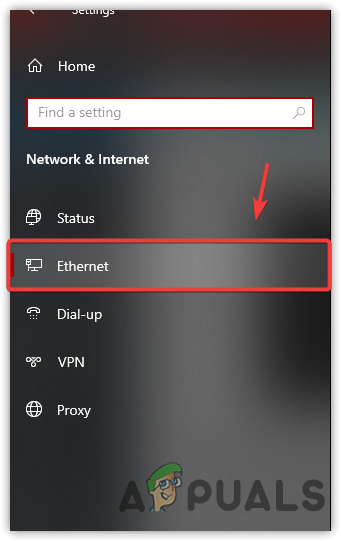
- Click on your Ethernet or Wi-Fi connection.
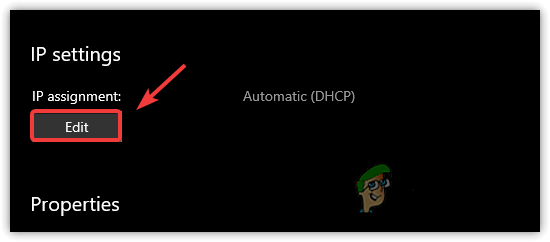
- At the bottom of the settings page, click on the Edit button under IP Settings.
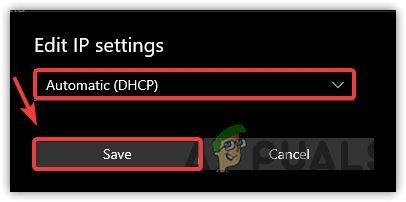
- Select Automatic (DHCP) and hit Save.
- Afterwards, verify if the error still exists.
4. Disable Ad Blocker
Ad blockers work by blocking certain domains known for ads and unwanted content, which could sometimes result in the blocking of legitimate domains.
Disabling the ad blocker allows your DNS queries to proceed unrestrained, potentially resolving the issue and restoring access to the web page you’re trying to visit.
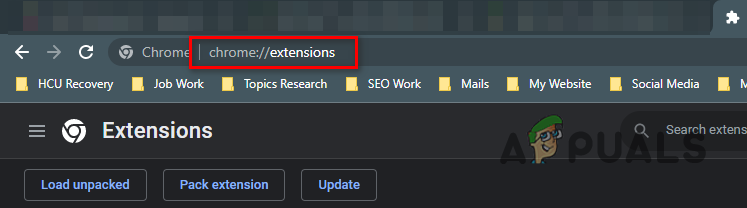
- In your Chrome browser, go to chrome://extensions/.
- Locate your ad blocker and turn it off.
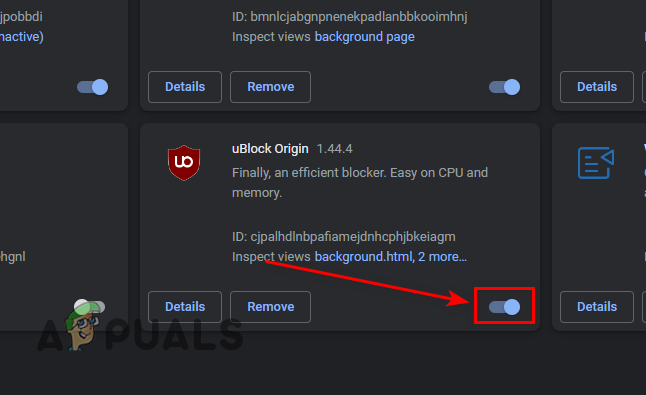
- Check if the website is now accessible.
- If successful, consider whitelisting the site in your ad blocker.
Note: The process for whitelisting varies per ad blocker. Refer to your specific ad blocker’s documentation for guidance.
5. Remove Website From Hosts File (if applicable)
The hosts file is like an address book for your computer, directing where it goes to find certain websites. If a specific domain is incorrectly listed there, it could cause the error by overriding DNS settings.
By deleting any such entries related to the problematic domain, you essentially tell your computer to look up the address elsewhere, which can resolve the issue if the hosts file was indeed causing a blockage.
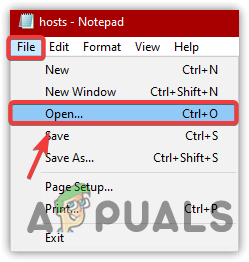
- Run Notepad as Administrator from the Start Menu.

- Once the Notepad is opened, click on File and then click Open.
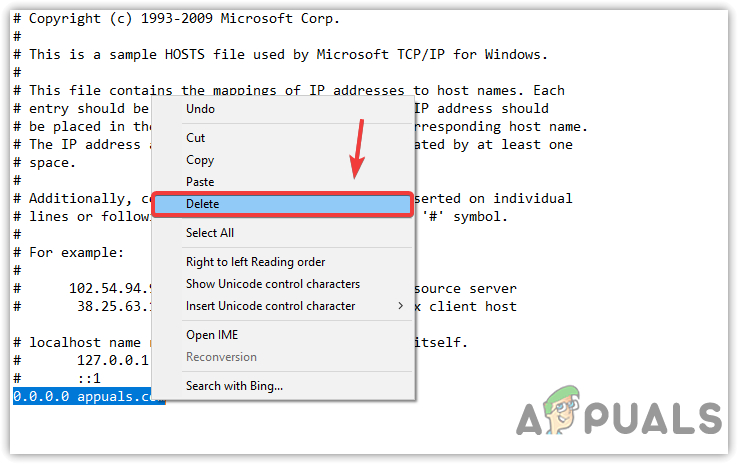
- Open the hosts file located at:
C:\Windows\System32\drivers\etc
- If an entry for the desired domain exists, delete it and save changes with Ctrl + S.
6. Disable Third-Party Antivirus
Sometimes, antivirus software can mistakenly block legitimate DNS queries as part of its protective measures. By disabling the antivirus, you remove this potential blockade, allowing your device to properly communicate with DNS servers and resolve domain names into IP addresses. Always remember to enable your antivirus again after testing to maintain security.
- Find the antivirus icon in the system tray and right-click it.
- Select the disable or pause option, usually found in a sub-menu like Avast Shields Control.
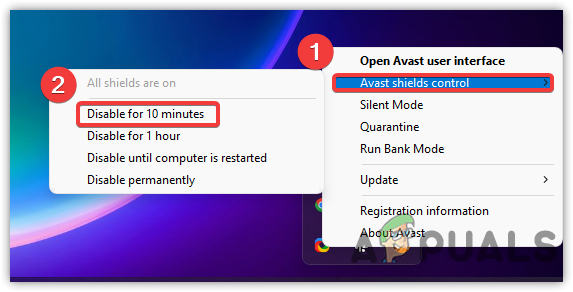
- Confirm the temporary deactivation and check for issue resolution.
7. Use VPN
Bypass restrictions by using a VPN. There are various VPN services available; for recommendations, consider the guide on The Best VPN For Streaming and Gaming in 2022.
Should these methods prove ineffective, the problem may come from your ISP. In that case, contact your service provider to address the DNS error.
Thanks