4 Ways to Fix ‘Corrupt or broken Task Scheduler’ on Windows
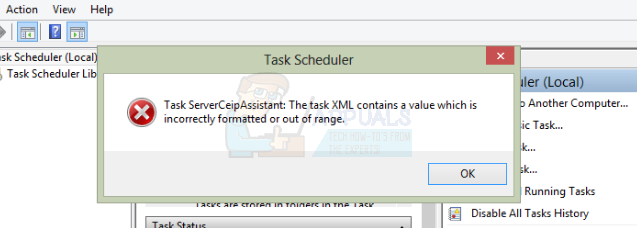
The Windows Task Scheduler is an app that automates tasks that run when specific conditions are applied within Windows. However, it has been plagued by issues, especially with users who use or used Windows 10. What may happen is that the Task Scheduler will get completely broken. You will get error messages such as Windows is unable to run automatic maintenance, The task ******* contains an unexpected node, The Task ******* contains a value which is incorrectly formatted or out of range, etc, and this will affect your overall Window experience – and not in a good way.
This situation usually happens while upgrading or downgrading, however users who haven’t done either aren’t completely excluded. When you’re upgrading from Windows 7, 8 or 8.1 to Windows 10, or when downgrading from Windows 10 to either of the aforementioned editions, having this issue is more common than Microsoft would care to admit, and they haven’t really done much to fix it.

However, there are a couple of things that you can try by yourself, and they have all been reported to work and fix the broken Windows Task Scheduler. They’re all fairly easy to understand and to, and require little to no technical knowledge, so let’s get into them.
Method 1: Use a System Restore image
This method is not for everyone – it requires that you have a System Restore image which is fully working, and at a time where there were no issues with the Task Scheduler. It should also be with the operating system that you’re using, meaning that if you upgraded to Windows 10, then went back to Windows 7 and you’re having this issue, the image should be from before you upgraded to Windows 10. Most people should have this, as creating a restore point before you upgrade is a common precaution.
- Press the Windows key on your keyboard, or press Start, and type in restore. Open the Create a restore point
- Within the System Protection tab, click on System Restore. You should now be in the System Restore wizard.
- Click Next and you should get a list of all available restore points. The ideal one, as mentioned earlier, should be right before the upgrade, and you should know that everything was working at that point.
- This is optional – you may click Scan for affected programs in order to see which pieces of software will be affected with the restore.
- Follow through with the wizard, and Windows should restart your PC, thus beginning the restore process. Don’t interrupt it, this might get you into even more trouble, so if you’re using a laptop, make sure you’re plugged in so it doesn’t turn itself off in the middle of the process.
- When everything is done, you should be running your Windows exactly as you had it at the time when the restore point was created.
Method 2: Check the Time Zone settings
Even though unexpected, having an incorrectly set time zone might cause a number of problems, from the aforementioned one with the Task Scheduler, to inability to use Windows Updates, etc. However, this is easily fixable.
- Press the Windows key on your keyboard and type in Date and Time, then open the result.
- In the window that opens, you will see the Date, Time and Time Zone. Make sure they’re all set correctly.
- If they are, and yet you’re having this issue again, you can try pressing Change time zone and setting it to US. This has fixed the Task Scheduler issue more than once.
Method 3: Use Windows Update
Since this issue has appeared many more times than Microsoft expected, they have actually released a few updates that promised to fix it, and they usually work.
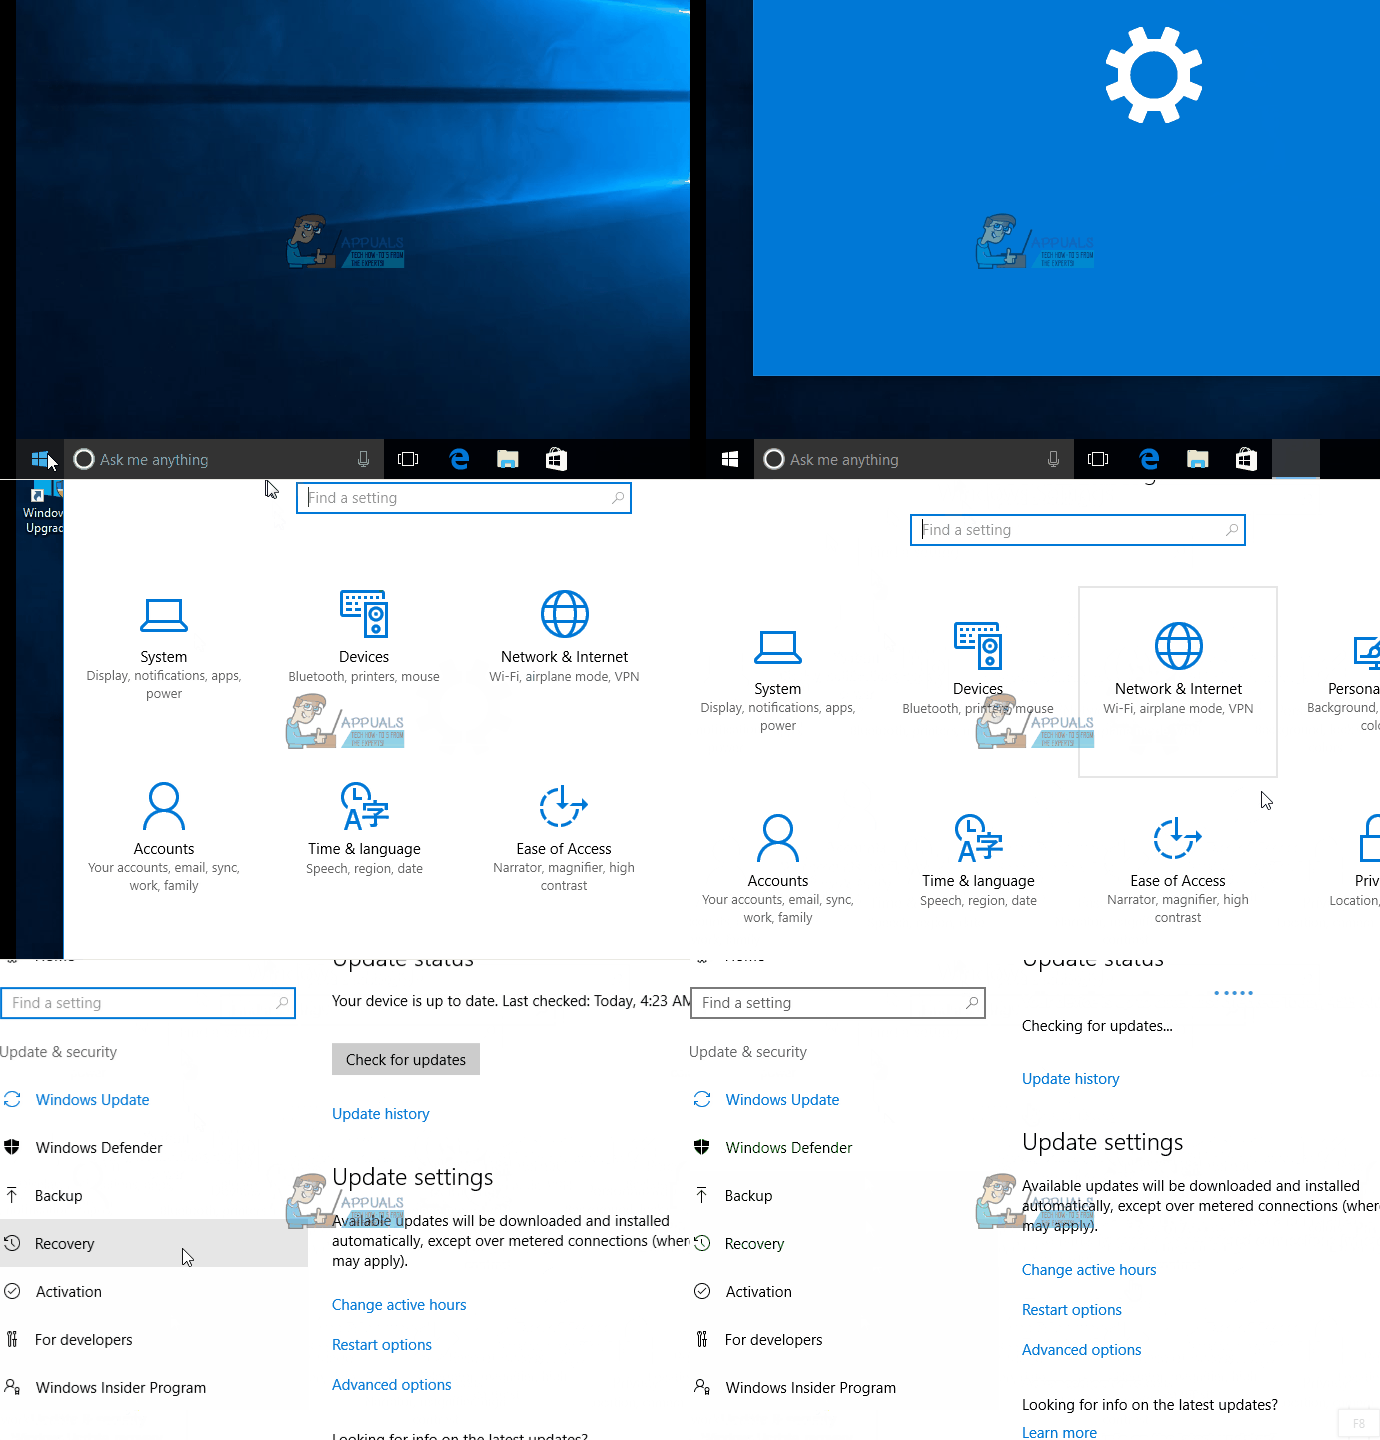
- Press the Windows key on your keyboard and type in Check for updates. Open the result and you should be inside the Windows Update menu. It is different for the different versions of the operating system, but the process is more or less the same.
- Press Check for updates, and let Windows do its thing. This might take a while, depending on your computer and the internet connection, but don’t interrupt it.
- If there’s an update available, Windows will detect it and download it, and most likely fix your issue.

Method 4: Use Repair Tasks
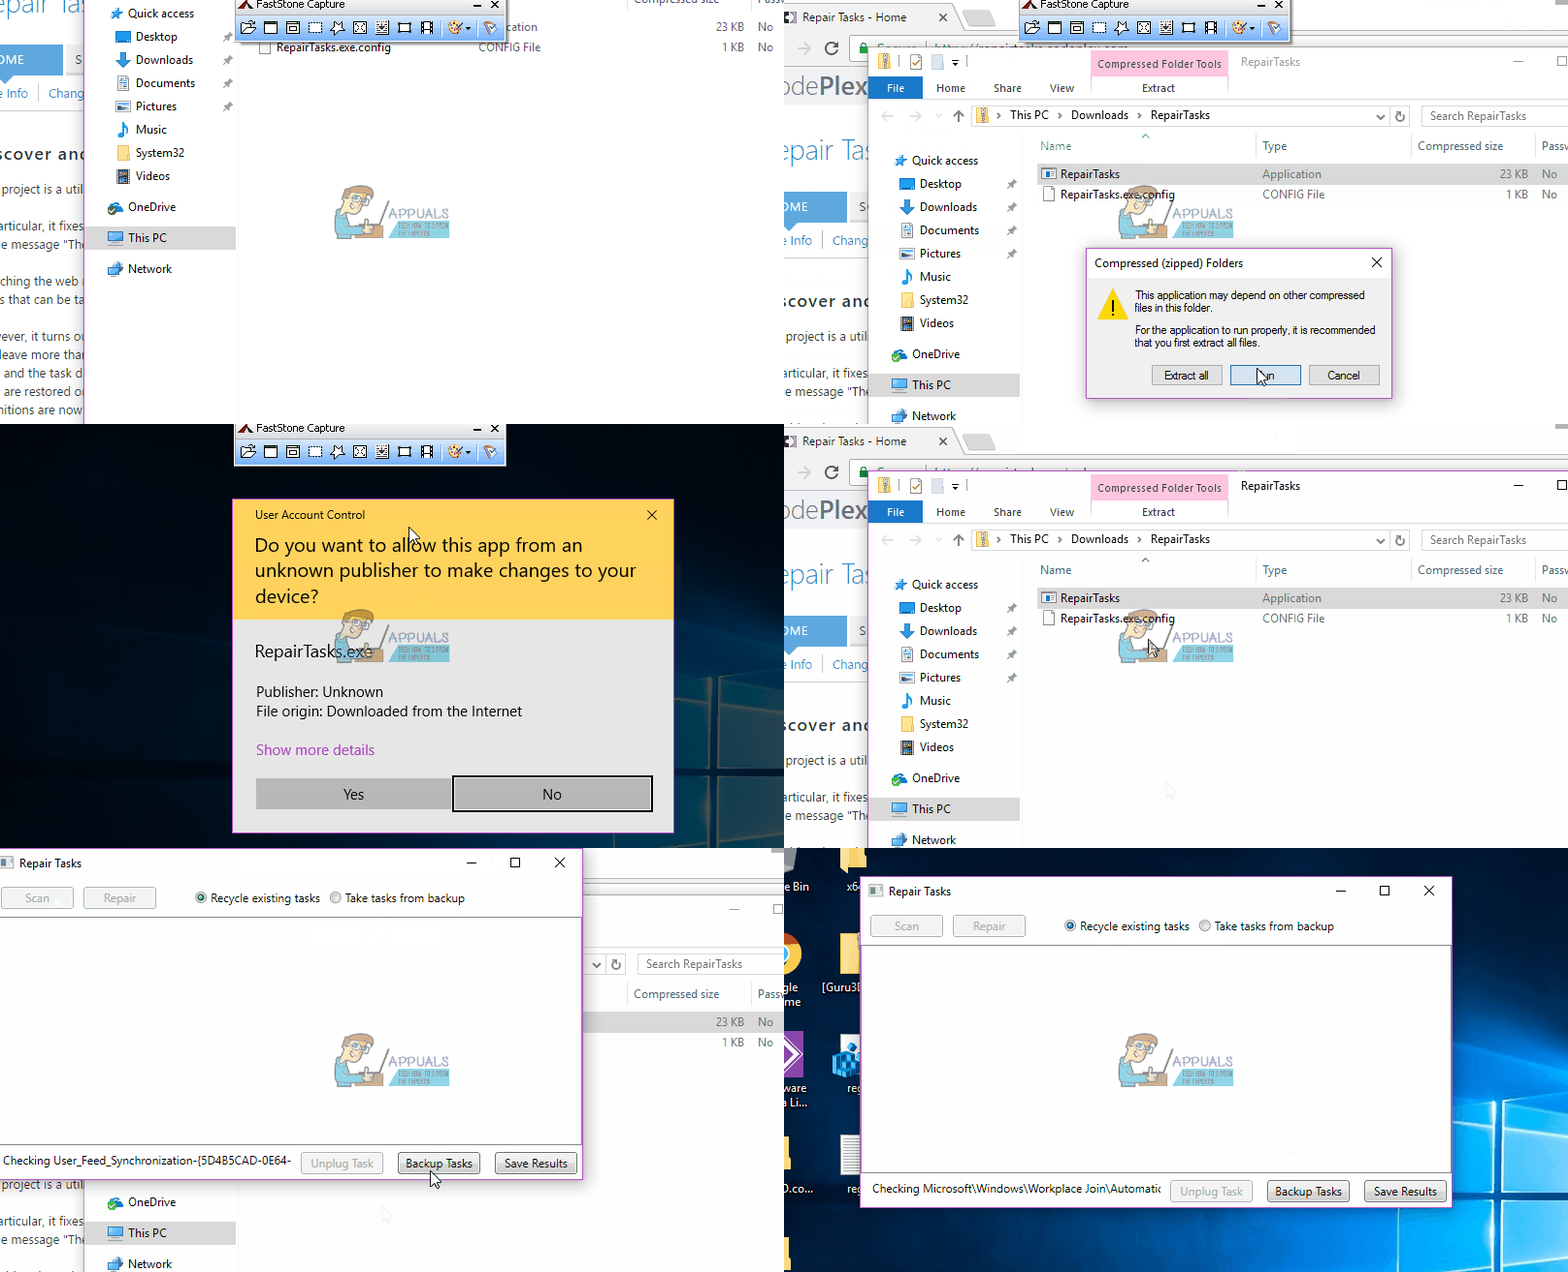
If all else fails, even though it shouldn’t, there is a program created by a Microsoft employee which is meant to discover and fix any potential Windows Tasks issues, known as Repair Tasks. You can download it here. The installation process is straightforward, just head to your Downloads folder and double-click the executable file, then follow the wizard. When it’s installed, you can launch it, and it will fix your Task Scheduler issues.
This issue is one of many that Microsoft overlooked with their operating system, but there is more than one solution available for anyone that is having it. Just try the methods above – one of them will undoubtedly fix your Windows Task Scheduler.
